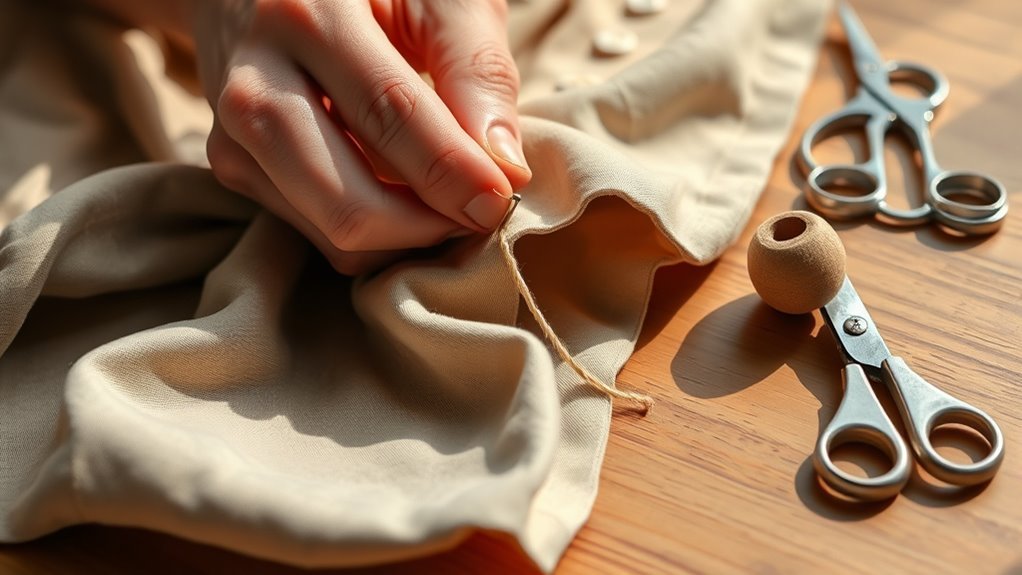
How to Hand Sew a Hem in 5 Easy Steps
To hand sew a hem in 5 easy steps, start by carefully unpicking the existing hem. This step is crucial for a clean finish and ensures you don’t damage the fabric.
Next, measure and mark your new length while wearing your intended shoes. This helps get the perfect fit every time.
Cut any excess fabric, but leave a 2 to 2.5-inch allowance for folding.
Then, fold up the fabric and iron the fold to create a crisp crease.
Secure the fold with pins to keep everything in place before you start sewing.
Finally, use a slip stitch for a neat finish that looks professional and holds up well.
Want to know the best techniques for a durable hem? There’s more to explore!
Key Takeaways
– Unpick the existing hem carefully to avoid damaging the fabric and reveal the raw edge.
Take your time here—rushing can cause tears or holes you don’t want.
– Measure the new hem length while wearing shoes, marking with a pin at the heel.
This helps you get the perfect length since shoes affect how the hem falls.
– Cut excess fabric, allowing for a 2-2.5 inch hem allowance for a clean finish.
Leaving a bit extra gives you room to work with and makes the hem look polished.
– Fold the hem, press with an iron to create a crease, and secure with pins.
Pressing really helps keep things in place for neat sewing.
– Use a slip stitch for discreet, durable stitching, ensuring even spacing between stitches.
This stitch hides the thread nicely and keeps your hem strong over time.
Step-by-Step Guide to Unpicking Your Hem
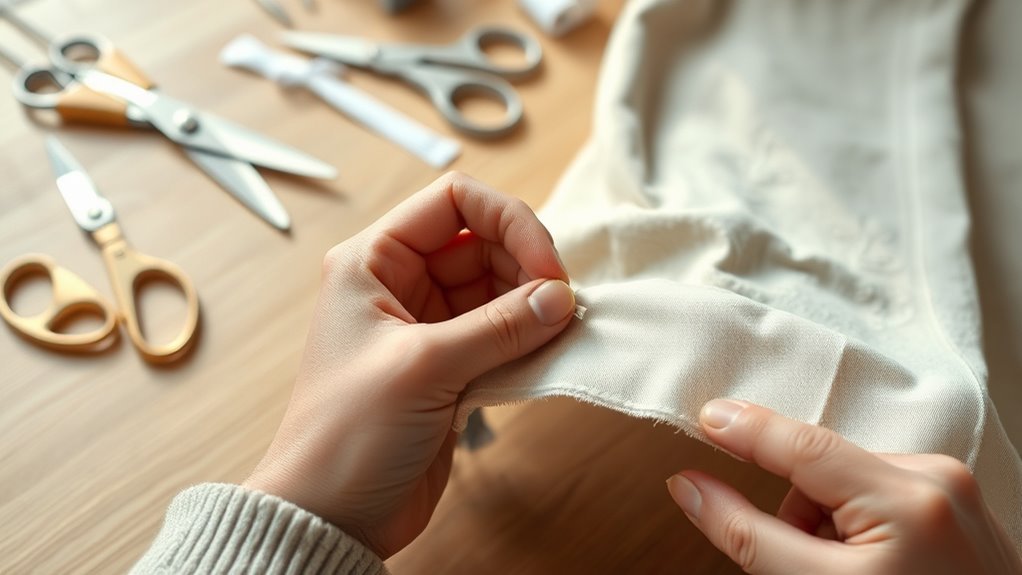
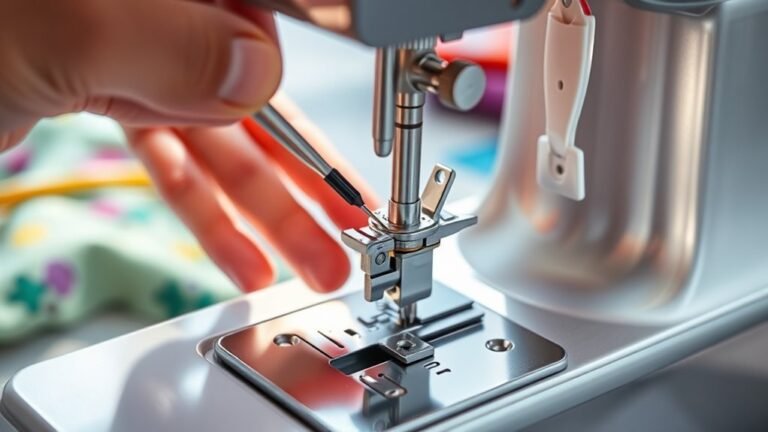
When you’re ready to unpick your hem, grab a quick un-pick tool to carefully remove those existing stitches. Take your time here; it’s essential for achieving a clean edge.
Focus on unpicking each stitch without damaging the fabric, especially if you’re working with a delicate material. As you go, check your progress to avoid leaving stray threads that can affect your hem allowance later.
Once you’ve removed all visible stitches, you’ll reveal the raw edge of the fabric. This prepares it for the next steps in your sewing tutorial.
Make sure the edge is neat and ready for cutting and folding before moving on. A clean edge really sets the foundation for a polished finish.
Measuring and Marking Your New Hem Length
With the hem unpicked and the raw edge exposed, you can now focus on measuring and marking your new hem length. Start by wearing the intended shoes and use a pin at the heel to mark the desired length.
Measure from the top of the pant leg down to the new fold for consistency, guaranteeing accuracy around the entire leg. This way, you’ll get a perfect fit all around.
Measure from the top of the pant leg to your new fold for a consistent and accurate fit all around.
Keep an allowance of 2-2.5 inches (5-6 cm) for the hem when cutting off excess fabric. Use pins to secure the new length in place, so nothing shifts.
Double-check your measurements to verify everything is even. It’s always better to be safe than sorry!
After measuring, make certain the raw edges are clean and ready for folding and securing the new hem. This will give your pants a neat, finished look.
Cutting and Ironing Your Hem: Simple Tips
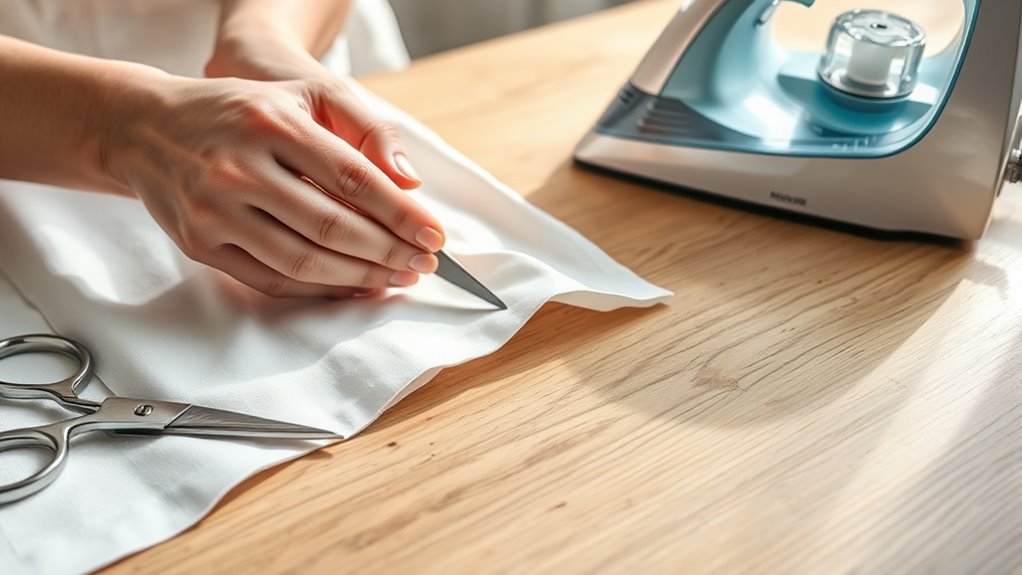
After you’ve marked your hem length, it’s time to cut and iron for a polished finish. Start by allowing for a hem allowance of 2-2.5 inches (5-6 cm) to guarantee a clean edge.
Use a ruler or measuring tape to make accurate measurements around the garment, pinning the new length in place before cutting. Carefully cut off the excess fabric, keeping the raw edges clean for easy folding.
Turn the garment inside out and fold the hem up according to your hem allowance. Then, use your iron for pressing to create a crisp crease. Pin the folded hem in place to maintain accuracy and prevent shifting while you prepare for stitching.
Best Stitching Techniques for a Durable Hem
A well-stitched hem can elevate your garment’s overall look and longevity. For a durable finish, consider these essential stitching techniques:
- Use a slip stitch: This method is discreet and keeps the stitches hidden on the right side of the fabric.
- Maintain even spacing: Alternate tiny stitches between the hem and garment to prevent puckering.
- Double your thread: A double strand adds strength, and make sure to secure your knot well.
Make sure your hem allowance is consistently folded, usually between 1/4 to 1 inch depending on the fabric type.
Oh, and don’t forget to grade your seam allowances before folding. This step helps reduce bulk and creates a smooth, professional finish when hand sewing.
Preparing Your Hem for Pants
Preparing your hem for pants is essential for achieving a polished look. Start by unpicking the existing hem carefully, avoiding damage to the fabric.
Preparing the hem of your pants is crucial for a refined appearance; begin by carefully unpicking the existing hem without harming the fabric.
Wear the shoes you’ll pair with the pants and use a pin at the heel to determine the new length. Measure from the top of the pant leg to your new fold and mark this distance evenly around the entire leg for consistency.
Cut off any excess fabric, leaving about 2-2.5 inches for hem allowance. Next, turn the pants inside out, fold the hem up by the specified allowance, and iron it to create a crisp crease.
Finally, secure the fold with pins, readying it for hand sewing. It’s a simple process, but taking your time here really pays off!
Frequently Asked Questions
What Type of Thread Should I Use for Hand Sewing a Hem?
You should use a lightweight, strong thread like polyester or cotton for hand sewing a hem. It’ll blend well with your fabric and provide durability, ensuring your hem stays neat and secure over time.
Plus, choosing the right thread means your stitches won’t be too noticeable. That way, your hem looks professional and lasts longer.
Can I Hem Pants Without a Sewing Machine?
Yes, you can hem pants without a sewing machine.
For instance, when you’re in a pinch before an event, you can easily use fabric glue for a quick fix. It looks presentable and lasts.
How Do I Fix a Hem That’s Too Short?
To fix a hem that’s too short, you can let it out if there’s extra fabric, or add a contrasting fabric to create a new hem.
Alternatively, consider using lace or trim for a stylish extension.
These options can give your garment a fresh look without much hassle. Just pick what suits your style best!
What Needle Size Is Best for Hand Sewing?
You might think any needle works, but for hand sewing, a size 7-9 needle’s best. It’s sturdy enough for various fabrics, ensuring your stitches are secure while remaining easy to maneuver.
Grab the right one!
Is It Necessary to Wash Fabric Before Hemming?
Yes, it’s necessary to wash fabric before hemming. Washing removes dirt and shrinkage, ensuring your hem fits well after the garment’s completed.
Plus, it helps prevent any dyes from bleeding onto other fabrics later. So, it’s definitely worth taking the time to wash first!
Conclusion
You’ve conquered the art of hemming like a sewing superhero! With just five easy steps, you’ve transformed fabric into fashion, effortlessly turning frayed edges into polished perfection.
Your pants are now the envy of every closet, and your stitching skills could rival the finest tailors! So grab that needle, strut your stuff, and let the world marvel at your masterful handiwork.
Hemming’s never been this fun—who knew you had such a flair for fabulous fashion fixes? With these simple hand sewing hem techniques, you’ve unlocked a new level of DIY style that’s both practical and impressive. Keep practicing, and soon your hemming skills will make every outfit look professionally finished!