How to Hem Pants With a Sewing Machine in 10 Easy Steps
To hem pants with a sewing machine, start by gathering your materials like matching thread, a measuring tape, and pins. Having everything ready makes the process way smoother.
Next, measure and mark your desired hem length while wearing your shoes to get the perfect fit. This little step really helps avoid hems that are too short or too long.
Cut any excess fabric carefully, then fold the hem up and pin it in place. Pins keep the fabric steady so you can sew without any slips.
Sew along the folded edge slowly, removing pins as you go to keep things smooth and neat. Don’t rush here—taking your time pays off.
Once you’re done sewing, press the hem with an iron to set your stitches nicely.
Check for any issues like puckering or uneven edges, and fix them if needed.
Keep practicing, and you’ll find even more helpful tips to perfect your hem every time you sew!
Key Takeaways
- Measure and mark the desired hem length while wearing shoes for accuracy before cutting fabric. This helps make sure your pants will be the perfect length.
- Cut excess fabric, leaving a hem allowance of 1 1/4 to 2 1/4 inches for a clean edge. Having enough fabric to fold under makes the hem look neat and professional.
- Pin the hem securely and use a sewing machine to sew about 1/4 inch from the folded edge. Take your time here so the stitches come out even and strong.
- Press the hem with a hot iron to set stitches and remove any creases after sewing. This step really helps give your pants a polished finish.
- Inspect the hem for evenness, checking for skipped stitches or puckering before finalizing. Fix any issues now so your hem looks flawless once you’re done.
Gather Your Materials for Hemming Pants

Hemming pants requires a few essential materials to guarantee the process goes smoothly. First, gather materials like a sewing machine, matching thread, scissors, and a seam ripper for unpicking any existing hems.
You’ll also need straight pins or safety pins to hold the hem in place while you sew. Don’t forget an iron, as pressing the hem flat is vital for a neat finish.
Before you start cutting, grab your measuring tape to mark the desired hem length on the inside of the pants. Familiarizing yourself with your sewing machine’s settings will help, especially if you plan to use a blind hem or straight stitch.
With everything ready, you’re set to create a professional-looking hem!
Measure the Desired Length Accurately

With your materials in hand, it’s time to focus on getting the length just right. To measure the desired length accurately, follow these steps:
- Put on the pants with the shoes you plan to wear.
- Fold the fabric up to the preferred length while standing straight.
- Use a measuring tape or ruler to determine the new hem length from the floor to the folded edge.
- Add a hem allowance of about 1 1/4 to 2 1/4 inches below your marked line.
Don’t forget to double-check measurements on both legs to avoid discrepancies. This guarantees a symmetrical hem, making your pants look polished and professional.
Now you’re all set for the next step!
Mark the Hemline With Chalk or Fabric Marker
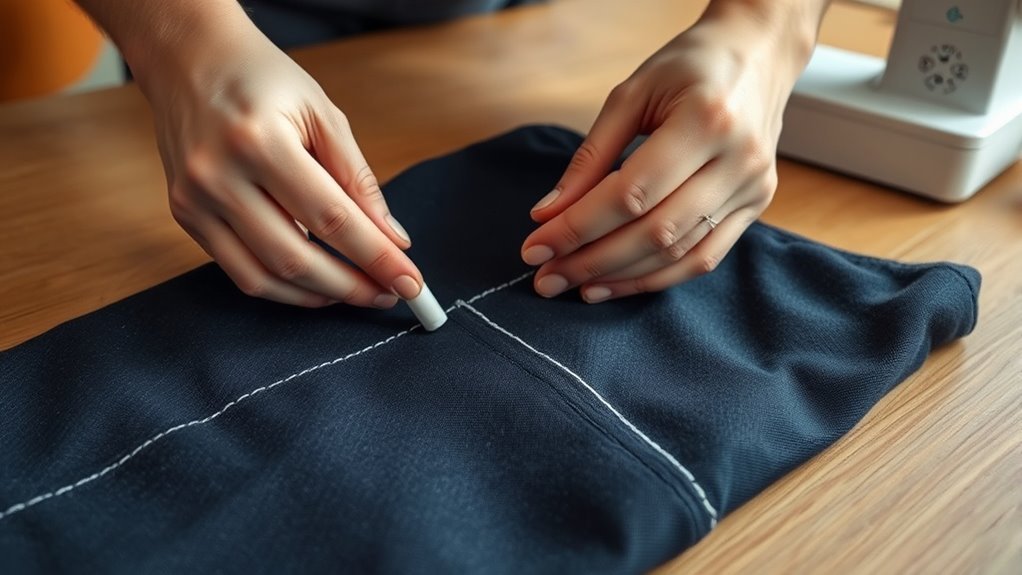
One essential step in achieving a professional-looking hem is marking the hemline accurately. Use a ruler or measuring tape to determine the desired length, making certain you get it just right.
With tailor’s chalk or a fabric marker, draw a straight, visible line on the fabric. Make sure to mark the hemline every few inches, especially for longer pants, to maintain consistency.
Using tailor’s chalk or a fabric marker, create a clear, straight line for your hem, marking every few inches for consistency.
It’s wise to mark both the inside and outside of the fabric to guarantee everything aligns when you fold the hem. After marking, double-check your measurements while wearing the intended shoes to confirm the right length before you cut.
This attention to detail will help you hem your pants flawlessly with marking thread. Just take your time and be precise!
Cut the Excess Fabric Carefully
Now that you’ve marked your hemline, it’s time to cut the excess fabric carefully. Remember, measure twice and cut once to avoid mistakes.
Use sharp scissors for a clean edge, making sure you leave enough fabric for a proper hem. Taking your time here really pays off!
Measure Twice, Cut Once
Measuring accurately is essential when hemming pants, so always take the time to mark your desired length carefully. Follow these steps to guarantee you get it right:
- Wear the pants with your intended shoes to find the right length and mark it. This helps you see exactly where the hem should fall.
- Use a ruler or measuring tape to measure from the pant’s bottom to your mark, confirming both legs match. You want to be sure they’re even before moving on.
- Leave a hem allowance of 1 1/4 to 2 1/4 inches below the mark to avoid cutting too short. It’s better to have a little extra fabric than not enough.
- Double-check all measurements before cutting—remember, it’s easier to adjust now than after. Taking your time here really pays off!
Use Sharp Scissors
After you’ve marked the desired length and confirmed your measurements, it’s time to cut the excess fabric. Grab your sharp scissors for a clean cut; this prevents fraying and gives your hem a professional finish.
Carefully cut the excess fabric, leaving about 1 1/4 to 2 1/4 inches below the marked hemline for folding and sewing. Always cut straight across to maintain an even hem, ensuring a uniform appearance.
If you’re hemming multiple pairs, use a ruler or measuring tape to mark consistent lengths for each pair. After cutting, press the hem allowance flat with an iron to create a crisp edge, making it easier to sew the hem accurately.
Fold the Hem and Pin in Place
Begin by trying on the pants with the shoes you plan to wear to figure out the perfect hem length. Once you’ve got that, fold the fabric up accordingly.
Now, follow these steps to secure your folded hem:
- Use a ruler or measuring tape to measure from the bottom of the pant leg to your marked length. Make sure to allow for a 1 to 1.5-inch fold.
- Pin it in place with straight pins or safety pins. Place them about every 4 to 6 inches to keep the fabric aligned.
- After pinning, turn the pants inside out for a clean finish.
- Lightly press the pinned hem with an iron. This helps create a crisp fold and makes sewing much easier.
Now you’re all set to move on!
Get Your Sewing Machine Ready
With your hem pinned and pressed, it’s time to prepare your sewing machine for the task ahead. Start by cleaning and oiling your machine to guarantee it runs smoothly.
Choose the right needle for your fabric type; a universal needle works best for woven fabrics, while a ballpoint needle is ideal for knits. Next, grab some all-purpose, matching thread that complements the color of your pants for a seamless finish.
Adjust the stitch length to a medium setting, around 2.5mm, to create a balanced hem. Finally, test your settings on a scrap piece of fabric to verify the stitches are even and secure.
Now you’re ready to start hemming!
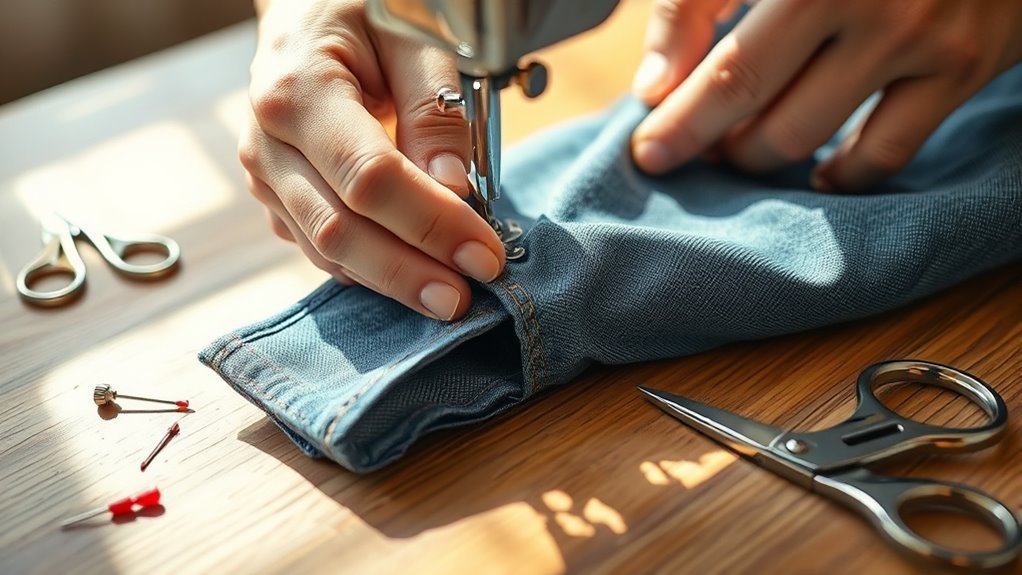
Sew Along the Folded Edge Smoothly
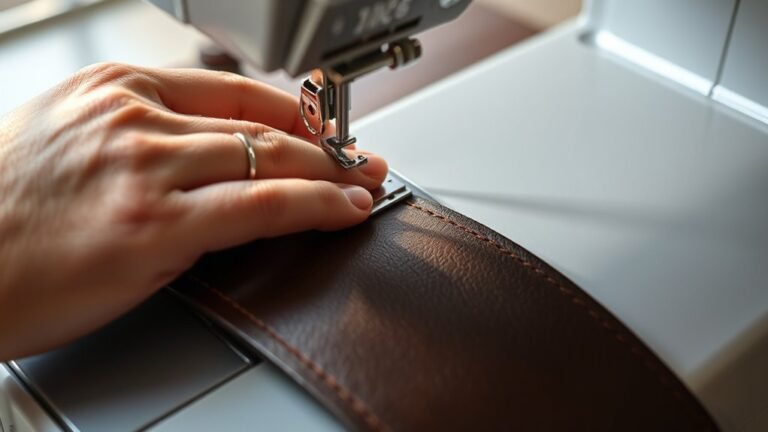
To sew along the folded edge smoothly, start by aligning the fabric evenly with the presser foot. Keep your stitch length consistent as you sew, maintaining about 1/8 inch from the fold for a neat finish.
Remember to remove pins gradually to avoid any mishaps while stitching. It helps keep everything in place without snagging. Just take it slow, and you’ll get a clean, professional look!
Align Fabric Evenly
Aligning fabric evenly is essential for achieving a professional-looking hem on your pants. Here’s how to guarantee your fabric is perfectly aligned for a smooth finish:
- Fold the fabric: Make sure the raw edge aligns with your desired finished length. This step sets the foundation for everything else.
- Pin it down: Use straight pins to secure the folded edge. This helps prevent any shifting while you sew, keeping things neat and tidy.
- Set your machine: Adjust your sewing machine’s stitch length to a medium setting. This gives you durability without making the stitches too tight or loose.
- Start sewing: Begin about 1/4 inch from the folded edge. Keep the needle aligned with the fold for a neat finish—trust me, it makes all the difference.
Remember to remove pins just before the needle reaches them. It keeps your stitch even and protects your machine from any mishaps.
Maintain Consistent Stitch Length
Sewing along the folded edge smoothly is essential for a polished hem. To maintain a consistent stitch length, set your machine to a standard straight stitch and adjust the length to about 2.5mm—perfect for hemming.
Start sewing at the side seam for better alignment, making sure your presser foot is evenly positioned along the folded edge of the fabric. Use the fabric’s natural fold as a guide, keeping the needle close to the edge for a neat finish while avoiding the main fabric.
Regularly check your stitches as you sew to guarantee they’re even. If necessary, adjust the tension to prevent puckering.
Practicing on a scrap piece can also help you perfect your technique and achieve consistent results. Give it a try before you start on your actual project!
Remove Pins Gradually
As you sew along the folded edge, removing pins gradually is essential for maintaining proper fabric alignment. This practice helps prevent shifting and guarantees a smooth stitch.
Here’s how to do it effectively:
- Sew at a moderate speed: This gives you time to adjust and remove pins without missing stitches.
- Remove pins just before the needle reaches them: This keeps the fabric aligned.
- Regularly check hem alignment: Make minor adjustments to guarantee a straight hem.
- Use a sewing machine guide: Keep the fabric edge aligned for a uniform width.
Taking it slow and steady really makes a difference!
Remove Pins as You Sew to Maintain Flow
Maintain a smooth sewing flow by removing pins just before the needle reaches them. This technique helps prevent interruptions and reduces the risk of needle damage.
As you sew with your sewing machine, keep your right hand guiding the fabric while your left hand removes the pins. This dual action lets you stay in control and avoids fabric bunching, so your stitching stays even throughout the hem.
Using high-quality pins that won’t bend or break can make the removal process safer and easier. Also, try to sew at a consistent speed to give yourself enough time to take the pins out.
Press the Hem for a Polished Finish
Pressing the hem is essential for achieving a polished look in your pants. Using a hot iron with steam helps set the stitches while removing any fabric creases.
Make sure to prepare your fabric properly to avoid any damage during this important step. It’s a simple trick that really makes a difference!
Essential Ironing Techniques
To achieve a polished finish on your hem, start by confirming your iron is set to the right temperature for the fabric type. Follow these essential ironing techniques to press the bottom of your finished hem:
- Press Flat: After pinning, press the hem flat to confirm an even fold. This helps keep everything in place before you move on.
- Use Steam: Activate the steam function or place a damp cloth over the hem for easier shaping. Steam really helps soften the fabric so it molds nicely.
- Press from Inside: Always press the hem from the inside to keep the outer fabric smooth and free from marks. This little trick makes a big difference in the finished look.
- Set Stitches: Repeat the pressing step after sewing to set the stitches and eliminate any creases. It’s a simple step that ensures your hem stays crisp and neat.
These techniques will help you achieve a clean, professional-looking hem every time. Give them a try—you’ll notice the difference right away!
Importance of Fabric Preparation
Achieving a polished hem starts with proper fabric preparation, which is key for a clean and professional finish. By pressing the hem before you sew, you set the fold, making it easier to achieve even stitching and a straight line.
Use a steam iron at the right temperature for your fabric type to avoid damage while ensuring crisp edges. Pressing the hem also enhances visibility of the stitching line, helping you avoid mistakes during sewing.
Not only does a well-pressed hem improve your sewing experience, but it also elevates the overall appearance of your garment, giving it that tailored look you desire. So, take the time to prepare your fabric; it’s worth it!
Review Your Hem for Quality and Troubleshoot Issues
After you’ve sewn your hem, it’s essential to inspect it for quality. Here’s what to check for:
- Evenness: Lay the pants flat and verify the hemline is consistent all around. If it’s uneven, adjust your stitching or re-sew.
- Pressing: Use an iron to press the hem, setting the stitches and eliminating creases for a polished look.
- Stitches: Run your fingers along the hem to check for any skipped or loose stitches. If you find gaps, reinforce them by sewing over those areas.
- Puckering: Examine for puckering, which means the fabric was pulled. To fix this, sew slowly and steadily, making sure the fabric feeds evenly through the machine.
Taking these steps will really help make sure your hem looks professional!
Frequently Asked Questions
What Type of Fabric Is Easiest to Hem?
Cotton and lightweight fabrics are the easiest to hem. They’re forgiving, easy to manipulate, and hold stitches well.
You’ll find hemming these materials pretty straightforward. Avoid heavy or stretchy materials, though. They can complicate your hemming process and create uneven results.
How Do I Fix Uneven Hems After Sewing?
You’ll want to carefully measure the uneven hems first. Then, adjust the fabric by unpicking stitches where needed.
After that, re-sew with a consistent seam allowance. You’ll see your pants transform into a perfectly tailored fit in no time!
Can I Use a Hand Needle Instead of a Sewing Machine?
Yes, you can use a hand needle instead of a sewing machine. It’s a great option for small adjustments or if you don’t have a machine.
Just make sure your stitches are even and secure. That way, your work will hold up nicely.
What Stitch Length Is Best for Hemming Pants?
For a polished finish, you’ll want to set your stitch length between 2.5 and 3 millimeters.
This creates a sturdy hem that’s both durable and visually appealing. It ensures your pants look sharp and tailored.
How Do I Prevent Fabric From Fraying After Cutting?
You can prevent fabric from fraying by applying a fray check solution or using a zigzag stitch along the cut edges.
Alternatively, you could also serge the edges for a clean finish. It’s a neat way to keep everything intact and looking professional.
Conclusion
As you finish hemming those pants, think of it like a gardener pruning a plant. Each snip and stitch shapes your creation, nurturing it into something beautiful.
Your careful measurements and steady hands transform raw fabric into a tailored fit, just as a gardener cultivates blooms. Stand back and admire your work; you’ve woven effort and care into every seam.
Like a well-tended garden, your pants are ready to step into the world, bringing style and confidence along for the ride. Hemming pants with a sewing machine isn’t just about shortening fabric — it’s about creating something that fits perfectly and feels just right. With these easy steps, you’ve taken raw material and turned it into a polished, wearable piece. Now, every time you put on those pants, you’ll know the pride that comes from making them yourself.