How to Hem Pants With a Sewing Machine in 10 Easy Steps
To hem pants with a sewing machine, start by gathering your supplies and measuring the desired hem length. It’s important to get the measurement right so your pants fit perfectly. Cut any excess fabric, leaving a 1 1/4 to 2 1/4 inch allowance to work with.
Next, pin the hem securely to keep the fabric in place while you sew. Choose the stitch type that works best for your fabric and style. Sew along the folded edge carefully, removing pins as you go to stay safe and avoid breaking your needle.
Finally, press the hem with an iron for a polished finish that looks professional. Take a moment to check the quality of your stitching and make sure everything lies flat.
For a detailed guide on each step, keep exploring! You’ll be hemming pants like a pro in no time.
Key Takeaways
- Gather essential supplies including matching thread, sewing machine, scissors, measuring tape, and an iron for smooth hemming.
- Measure and mark the desired hem length, adding a 1 1/4 to 2 1/4 inch allowance before cutting.
- Pin the hem securely, turning pants inside out and ensuring even spacing along the edge.
- Choose an appropriate stitch type, such as straight or blind hem, and test on scrap fabric before sewing.
- Press the hem after sewing for a crisp finish, checking for evenness and security in the stitches.
Gather Your Supplies for Hemming
Hemming pants starts with the right supplies. Begin by gathering matching all-purpose thread and a sewing machine. Make certain the thread color closely matches your fabric.
Hemming pants requires the right supplies, including matching thread and a sewing machine for a flawless finish.
You’ll also need essential tools like a seam ripper for unpicking existing hems, pins to secure the new hem, and scissors for trimming fabric. Don’t forget a ruler or measuring tape for accurate measurements of your desired hem length.
A marking tool will help you indicate where to cut. An iron is vital to press the hem after adjustments, guaranteeing a professional finish.
Finally, make sure you have an ironing board or flat surface available for pressing both before and after sewing to achieve the best results. Happy hemming!
Measure the Hem Length for Pants
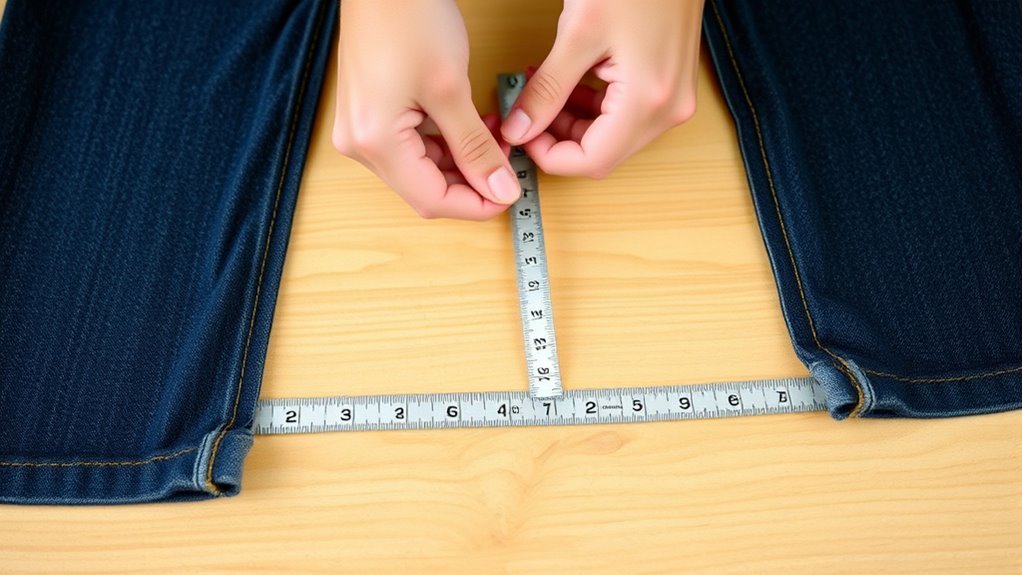
Have you ever wondered how to get the perfect hem length for your pants? Start by wearing the trousers with the shoes you plan to pair them with. This guarantees you get the ideal length.
Next, grab a ruler or measuring tape to measure from the desired finished hem length up to the existing hem. Mark this new length on the inside of the pants.
Don’t forget to add a hem allowance of 1 1/4 to 2 1/4 inches below the marked line for proper folding and stitching. Pin the hem in place, checking for evenness around the leg.
Finally, double-check your measurements on both legs to confirm they’re symmetrical before moving on. It’s worth taking the extra time to get it just right!
Cut Excess Fabric for a Clean Finish
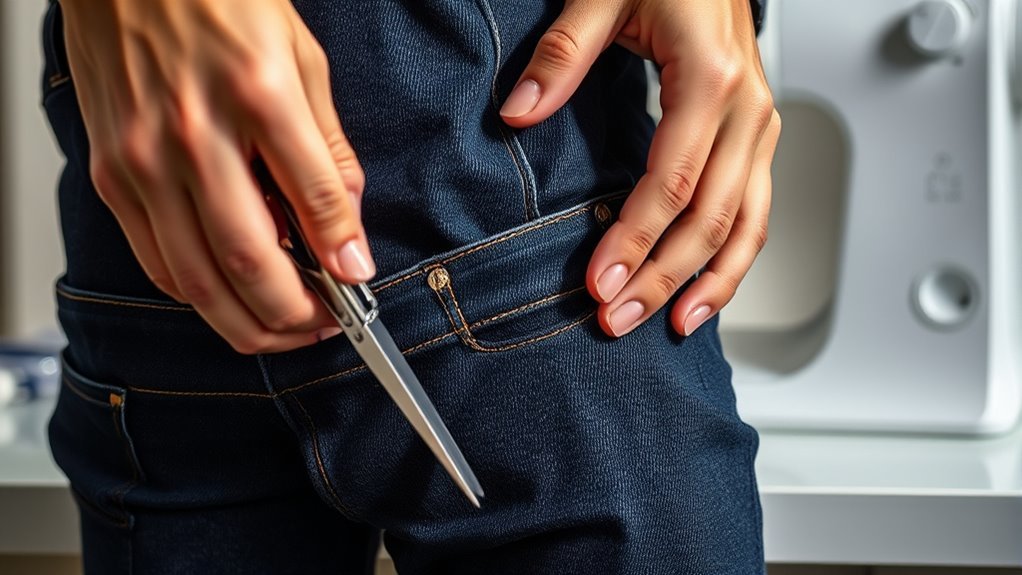
Now that you’ve measured the hem length, it’s time to cut the excess fabric for a clean finish. Make certain to leave enough allowance, about 1 1/4 to 2 1/4 inches, and use sharp fabric scissors for a straight edge.
This careful approach will guarantee your hem looks professional and lasts longer. Trust me, taking your time here really pays off!
Measure Hem Length Precisely
To achieve a precise hem length, start by wearing the shoes you’ll pair with the pants. Fold the fabric to your desired length, using a mirror for accuracy.
Next, measure from the current hem to your desired length with a ruler or measuring tape. Mark the new length on the inside of the pants with fabric chalk or a pen.
| Step | Action |
|---|---|
| 1. Wear shoes | Put on the shoes you’ll pair with pants |
| 2. Fold fabric | Fold to your desired length |
| 3. Measure | Use a ruler or tape to find the length |
| 4. Mark | Mark with fabric chalk or pen |
Cut the excess fabric, but make sure to leave a 1 1/4 to 2 1/4 inch allowance for a clean finish. This extra fabric will help you get a neat hem without any issues.
Use Sharp Fabric Scissors
Grab a pair of sharp fabric scissors for cutting excess fabric; this guarantees clean edges and prevents fraying. To achieve a professional-looking hem, cut excess fabric to leave a 1 1/4 to 2 1/4 inch allowance below the marked hemline.
Make sure you cut in a straight line by following the fabric’s grain for the best results. If your scissors aren’t sharp, consider sharpening or replacing them to maintain cutting efficiency, ensuring precise and effortless fabric cutting.
After cutting, give the hem allowance a quick press with an iron to create a crisp edge. This will make it easier for you to pin and sew accurately, leading to a polished finish.
Leave Sufficient Hem Allowance
Cutting excess fabric is just the start; leaving sufficient hem allowance is key to achieving a clean finish. Aim for a hem allowance of 1 1/4 to 2 1/4 inches below your marked hem line.
This extra fabric guarantees you have enough material to fold and secure your hem. Use a ruler or measuring tape to measure accurately and mark it clearly on the inside of your pants.
Before cutting, make certain the fabric is pressed flat to avoid discrepancies caused by wrinkles. Once you’ve cut, double-check the length before sewing. It’s much easier to adjust now than after you’ve permanently altered the fabric.
With these steps, you’ll be ready to hem your pants like a pro!
Pin the Hem Securely in Place
Pinning the hem securely in place is essential for a clean finish on your pants. Start by turning the pants inside out to make adjustments easier. Use straight pins or safety pins to pin the hem at your desired length, making sure they’re evenly spaced for stability.
Here’s how:
- Begin at the side seams – this helps maintain accuracy.
- Pin parallel to the fabric edge – this keeps the pins out of the way of the sewing machine foot.
- Remove pins as you sew – take them out just before the needle reaches them to avoid damage.
It’s pretty simple once you get the hang of it! Just take your time and you’ll have a neat hem in no time.
Get Your Sewing Machine Ready
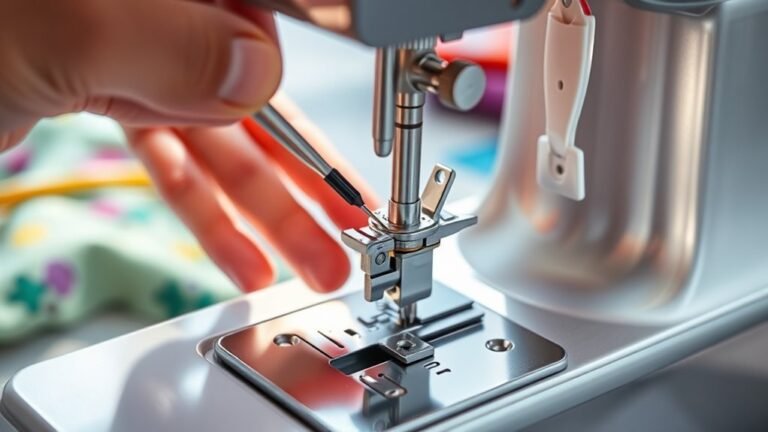
Before you start hemming, make certain your sewing machine’s in top shape. Check the needle, thread it with matching all-purpose thread, and adjust the stitch settings for your fabric type.
Testing on a scrap piece will help you guarantee everything’s working smoothly. It’s always better to be safe than sorry!
Essential Machine Components
Getting your sewing machine ready is essential for achieving a professional hem. Start by ensuring your machine is clean and properly threaded.
You’ll want to use the right components for the job. Here are three vital items to check:
- Needle: Use a universal needle for lightweight fabrics and a denim or ballpoint needle for heavier materials.
- Stitch Length: Adjust your stitch length to 2.5 to 3mm for most fabrics, ensuring a neat finish.
- Presser Foot: Familiarize yourself with the straight stitch foot, which is ideal for hemming, and consider a blind hem foot for an invisible finish.
Always test your settings on a scrap piece of fabric before starting on your pants! It really helps avoid any surprises.
Threading Your Sewing Machine
Thread your sewing machine correctly to obtain smooth stitching when hemming pants. First, confirm you’ve got the right needle size for your fabric—use a universal needle for woven fabrics or a ballpoint needle for knits.
Next, wind the bobbin with matching thread, following your machine’s instructions for proper winding and placement.
Now, thread the upper part of the machine using the threading diagram usually printed on it. Make sure the thread passes through all guides and tension discs.
Pull the thread through the needle’s eye, using a needle threader if needed, and leave a tail of about 6 inches.
Finally, lower the presser foot and test your stitching on a scrap piece to check the tension before you start hemming. It’s a quick step that can save you a lot of hassle later!
Adjusting Stitch Settings
Adjust your sewing machine settings to confirm a perfect hem on your pants. Here’s what you need to do:
- Stitch Length: Set your stitch length to around 2.5 to 3mm for a standard straight stitch. This will give you a secure yet flexible seam, which is just what you want.
- Zigzag Stitch: If you’re working with stretch fabric, switch to a zigzag stitch. It helps prevent fraying and allows the fabric to move comfortably.
- Blind Hem: For a blind hem, pick the blind hem stitch setting. Just make sure the needle lines up with the fold so it stays almost invisible on the front side.
And hey, always test your stitch settings on a scrap piece of fabric similar to your pants. That way, you can be sure everything’s just right before you start sewing for real!
Choose the Right Stitch for Your Hem
Choosing the right stitch for your hem can make a big difference in how your pants look and hold up. For a clean finish, a straight stitch is the go-to choice.
A zigzag stitch is great if you want to stop the edges from fraying. If you’re aiming for a nearly invisible finish, especially on dress pants, a blind hem stitch is the way to go. It gives a really professional look.
When you’re working with knit fabrics, try using a stretch stitch to keep things flexible. Also, keep your stitch length between 2.5 and 3.5 mm for most fabrics — this helps balance durability with a neat finish.
One last tip: always test your stitch on a scrap piece first. That way, you can make sure it works well with your fabric’s tension and texture.
Sew Along the Folded Edge With Precision
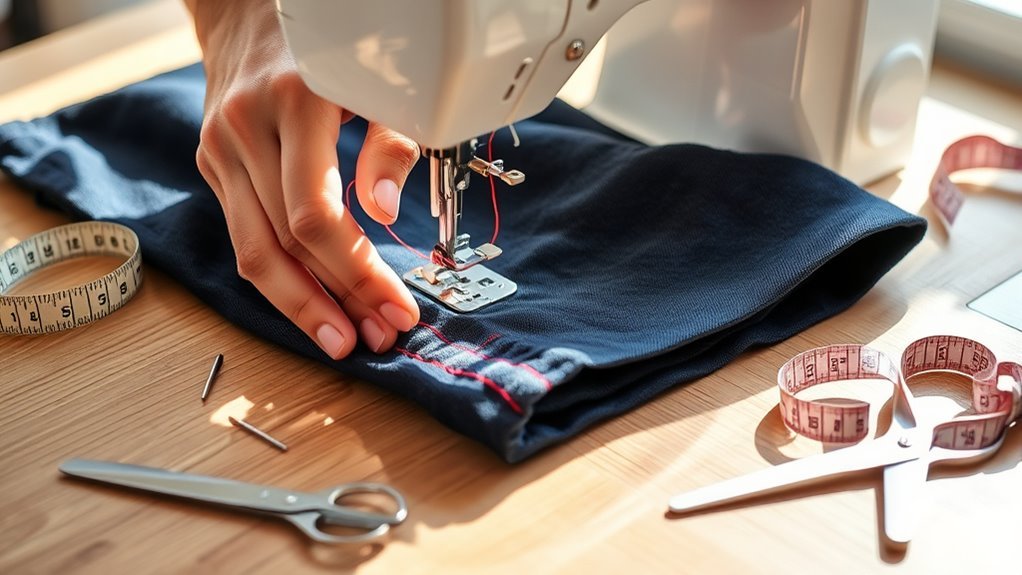
Now that you’ve pressed your hem, it’s time to sew along the folded edge. Make sure your sewing machine is set up with the right stitch length and type, as this will affect the quality of your hem.
Keep the fabric aligned as you sew, removing pins just before you reach them for a smooth finish. This way, everything stays neat and tidy without any bumps.
Essential Sewing Machine Settings
Achieving a clean hem requires setting your sewing machine properly. For a finished hem that looks professional, follow these essential steps:
- Select a Straight Stitch: Set your sewing machine to a straight stitch with a medium length of about 2.5mm. This helps give a neat finish along the folded edge.
- Zigzag the Raw Edge: Before folding, use a zigzag stitch on the raw edge of the fabric. This prevents fraying and keeps things tidy.
- Adjust Needle Position: If your machine allows, align the needle with the folded edge for precise stitching.
If you have a walking foot, use it to reduce fabric shifting. It really helps keep everything steady.
Always test your settings on a scrap piece first. That way, you can check stitch quality and tension before you start hemming for real.
Choosing the Right Stitch
To create a polished hem, you’ll want to select the right stitch that suits your fabric and desired finish. A straight stitch is an excellent choice for a clean, professional look, providing durability and stability in your hem.
Set your sewing machine to a medium stitch length, around 2.5 to 3.0 mm. This helps you achieve the perfect balance between strength and flexibility.
If you prefer a more discreet finish, try using a blind hem stitch. It minimizes visible stitches on the front side.
Before committing to your hem, always test your chosen stitch on a scrap piece of fabric. This way, you can guarantee proper tension and appearance while maintaining a consistent seam allowance along the fabric edge.
Maintaining Fabric Alignment
As you prepare to sew your hem, ensuring your fabric remains aligned is essential for a professional finish. Here are some tips to help you maintain fabric alignment along the folded edge:
- Lay the fabric flat on the sewing machine bed, avoiding puckers or distortion.
- Use the presser foot as a guide, keeping the folded edge snug against it for consistent seam allowances.
- Adjust the needle position if needed to match the folded edge, ensuring precise stitching.
Keep a steady pace while sewing, gently guiding the fabric without pulling. It’s a good idea to regularly check the stitch alignment against the fold to keep everything uniform.
Making these small adjustments will really help you get a clean, polished hem that looks great!
Remove Pins as You Sew for Safety
When you sew, removing pins just before the needle reaches them is essential for both safety and precision. This practice prevents damage to your sewing machine needle and the fabric itself.
As you sew, use your fingers to hold the fabric in place, guaranteeing it remains aligned while you carefully remove each pin. Keep a steady pace to stay in control. Pulling pins too quickly can mess up your stitching line.
For thicker fabrics, you might want to try using clips instead of pins. They’re easier to handle and less likely to break.
Also, don’t forget to regularly check your sewing path for any missed pins. This helps avoid accidents and ensures a clean finish on your hem. Happy sewing!
Press Your Hem for a Professional Look
Pressing your hem before sewing not only sets the fold but also gives your pants a crisp, professional finish. Here’s how to achieve that polished look:
Pressing your hem before sewing sets the fold and ensures your pants have a crisp, professional finish.
- Use a steam iron on the fabric’s wrong side to prevent shine and maintain texture.
- Press the bottom of the hem in sections, moving gradually along the entire length for even results.
- Check the manufacturer’s instructions for temperature settings, as different fabrics require various heat levels.
Once you’ve sewn the hem, don’t forget to give it another press. This secures the stitches and eliminates any creases.
That way, your pants look neat and ready to wear. Follow these steps, and you’ll love the professional finish!
Check Your Hem for Quality
Checking your hem for quality is essential to assure a polished finish. First, inspect the hem for evenness; the stitching should run parallel to the fabric edge without puckering.
Gently tug on the hem to verify it’s securely stitched—if it pulls apart or shows loose threads, you’ll need to fix it. Look out for skipped stitches that may indicate tension issues and re-sew those areas.
After you’ve hemmed your pants, use a straight edge or ruler to confirm the hem’s width remains uniform throughout its finished length.
| Quality Check | Action Required |
|---|---|
| Even stitching | Adjust tension settings |
| Securely stitched | Reinforce if loose |
| Consistent width | Re-measure and correct |
Frequently Asked Questions
What Type of Fabric Is Best for Hemming Pants?
Lightweight fabrics like cotton, linen, or polyester blend are best for hemming pants. They’re easy to work with, hold stitches well, and drape nicely.
You’ll find these materials much simpler to handle, especially if you’re new to sewing. Just try to avoid bulky fabrics unless you’re comfortable working with thicker materials.
Can I Use Fabric Glue Instead of Sewing?
Yes, you can use fabric glue instead of sewing. Just make sure the fabric is clean before you start.
Apply the glue evenly so it sticks well. Press the fabric firmly together and let it dry completely.
This will give you a secure hem that looks neat. It’s a quick and easy alternative to sewing!
How Do I Fix a Crooked Hem?
Think of a painter correcting a crooked line; you can fix a crooked hem by gently unpicking the stitches.
Realign the fabric, pin it in place, and sew again for a neat finish.
It’s pretty simple once you get the hang of it! Just take your time, and you’ll have that hem looking perfect in no time.
What if My Sewing Machine Skips Stitches?
If your sewing machine skips stitches, check the needle; it might be dull or incorrectly installed. Also, verify you’re using the right thread and tension settings.
Finally, clean the machine to remove any lint buildup. It’s surprising how much of a difference a little cleaning can make!
How Do I Hem Pants Without a Sewing Machine?
You can hem pants by folding the fabric, pinning it in place, and hand-stitching a straight seam. Use a needle and thread, or fabric glue for a quick fix.
It’s simple and effective! Plus, you don’t need any fancy tools to get it done. Just a little patience and you’re good to go.
Conclusion
You’ve transformed your pants from frumpy to fabulous in just ten steps! With a little practice, hemming becomes second nature, like riding a bike.
Remember, the key to a polished look lies in your attention to detail. So, grab those supplies, follow the steps, and watch your creativity unfold.
Soon, you’ll be hemming like a pro, turning every pair of pants into a perfect fit. Happy sewing, and may your hems always be straight!
Mastering how to hem pants with a sewing machine is easier than you think. With patience and these simple steps, you can achieve professional-looking hems that enhance your style. Keep practicing, and hemming pants will feel effortless, giving your wardrobe a fresh, tailored look every time.