How Do You Sew a Rolled Hem in 10 Easy Steps
To sew a rolled hem, start by trimming loose threads and folding the fabric edge over about 1/8 inch evenly.
Pin it securely, then insert your needle close to the fold, catching a few threads below to hold the hem in place.
Pull the thread gently to roll the fabric neatly.
Shape corners carefully, and sew with small, consistent stitches.
Finally, press the hem for a crisp finish.
Keep going to discover tips for a flawless, professional look.
Key Takeaways
- Trim and fold the fabric edge twice, about 1/8 inch each fold, securing with pins to create a narrow hem.
- Remove loose threads and shape corners by folding fabric at 45 degrees for clean points.
- Sew close to the fold, catching a few threads underneath with small, even stitches about 3 to 4 mm long.
- Gently pull the thread to roll the fabric neatly, then press the hem with an iron using a pressing cloth.
- Trim excess seam allowance, stitch securely near the fold line, and press again for a smooth, professional finish.
Gather Your Materials
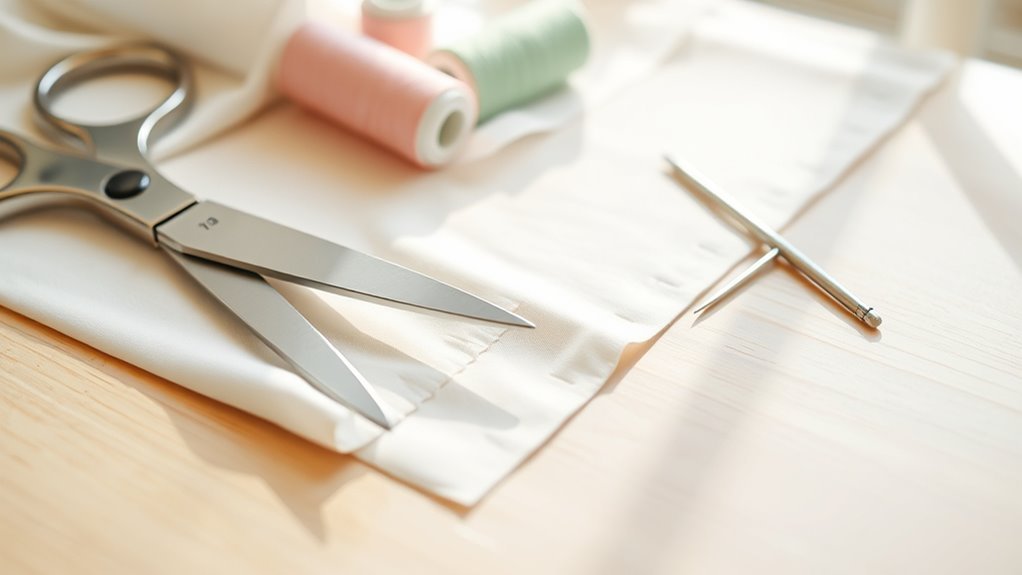
To sew a rolled hem successfully, you’ll first need to gather the right materials. Start with lightweight fabrics like cotton, silk, or linen, as rolled hems work best on these.
Start with lightweight fabrics like cotton, silk, or linen for the best rolled hem results.
Choose all-purpose thread matching your fabric color for a seamless stitching line. Use a needle suitable for lightweight fabrics, such as a microtex or sharp needle, making sure it’s perfect for close work along the edge of the hem.
Have fabric scissors ready to trim the raw edge before you begin. When you sew a rolled hem, you’ll stitch around the folded edge, wrapping the fabric a little bit towards the wrong side to create a beautiful finish.
This folded edge must be stitched close to the stitching line on the right side, ensuring the edge of the hem stays neat all around. It’s a simple step, but it really makes a difference in how polished your garment looks!
Trim Loose Threads From Fabric Edges
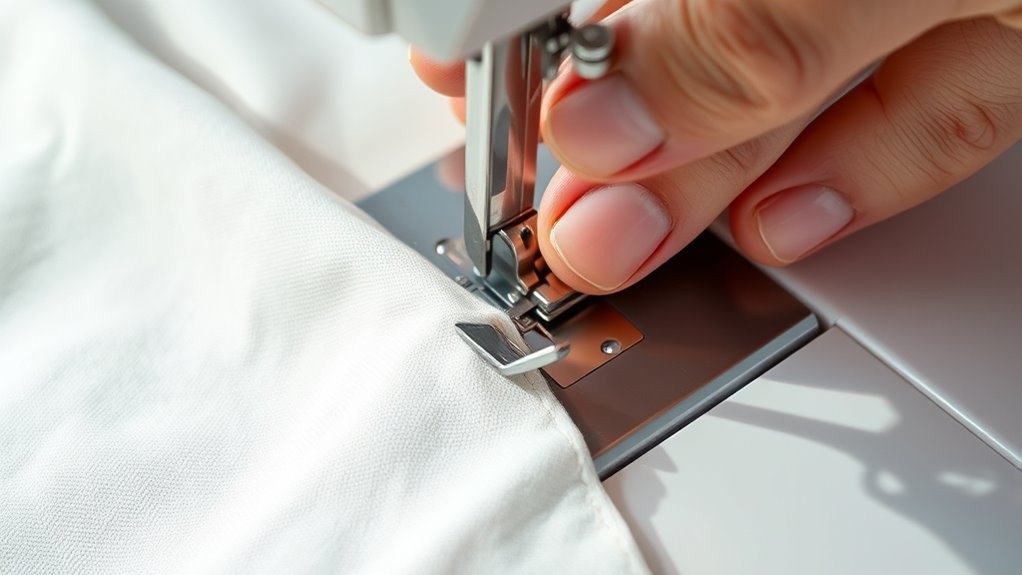
Before starting your rolled hem, make sure to trim any loose threads along the fabric edges using sharp fabric scissors. Removing these threads helps prevent snags and creates a cleaner, more professional finish.
Keep your scissors handy to regularly tidy up edges as you sew. It really makes a difference!
Importance of Thread Trimming
Although trimming loose threads might seem minor, doing so plays a crucial role in achieving a clean, professional rolled hem. When you carefully trim loose threads from fabric edges, you prevent unnecessary bulk that can make your hem look messy.
It also reduces the risk of uneven stitching caused by frayed fibers catching in your sewing machine. By clearing these threads, you help maintain accurate seam allowances and ensure smooth fabric movement while sewing.
This simple step minimizes thread tangling and skipped stitches, which can ruin your project. Using small scissors or a rotary cutter, you can precisely cut away any stray fibers along the raw edge.
Taking the time to trim threads properly guarantees a neat, durable, and beautifully finished rolled hem every time. It’s a small effort that really pays off in the final look of your sewing project.
Tools for Thread Removal
When you prepare your fabric edges, having the right tools for thread removal makes all the difference in achieving a polished rolled hem. Use small, sharp scissors to trim loose threads carefully, preventing uneven stitching.
Tweezers or a seam ripper help gently extract stubborn threads without damaging the fabric. Just be sure to avoid pulling threads excessively to keep your fabric intact.
Regularly trimming threads during sewing keeps your workspace tidy and stops snagging. It’s a simple habit that really pays off.
| Tool | Purpose | Tips |
|---|---|---|
| Small Scissors | Trim loose threads | Cut close to fabric edges |
| Tweezers | Extract stubborn threads | Use gently to avoid fabric damage |
| Seam Ripper | Remove deeply embedded threads | Slide carefully under threads |
| Needle | Lift threads | Use with tweezers for precision |
| Thread Snips | Quick trims | Keep handy near your sewing area |
Fold Raw Edge Over by 1/8 Inch
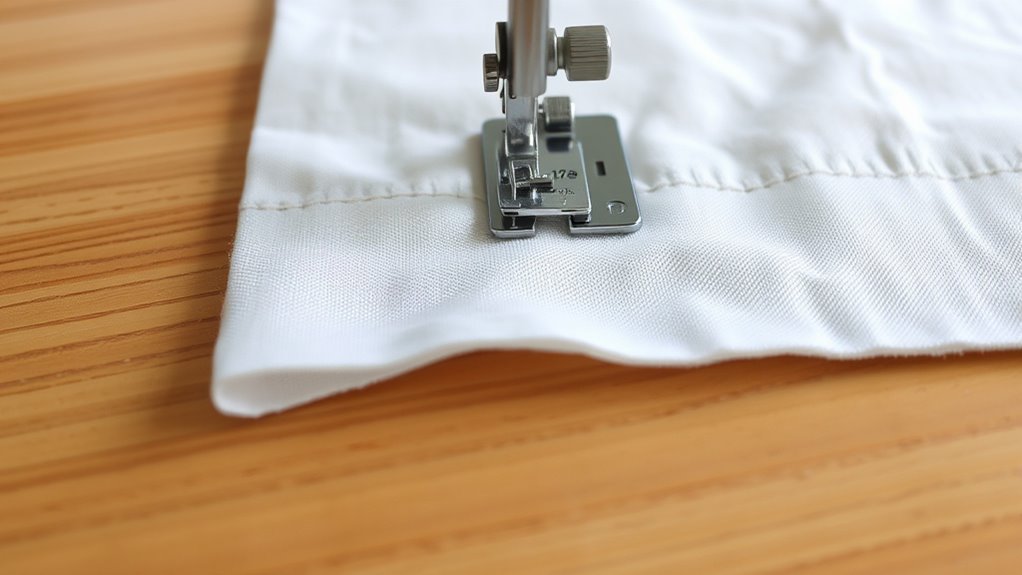
How exactly do you fold the raw fabric edge over by 1/8 inch? Start by measuring carefully, using your fingers or a ruler as a guide to achieve a precise fold.
Make sure the fold remains even and smooth along the entire edge, which is key to a neat, consistent hem. Use your fingertips to press the fold firmly in place before moving on to pin or sew, helping maintain accuracy.
For better control, you can lightly press the folded edge with an iron set to low heat—just be cautious to avoid damaging the fabric. Keep the fold snug against the raw edge without stretching it, as stretching can cause puckering or unevenness in your hem.
Insert Needle Close to Folded Edge
To sew a precise rolled hem, insert your needle about 1/8 inch from the folded edge of the fabric. Keeping the needle close to the fold is key for a neat, even hem that looks professional.
To master this step, remember to position the needle near the raw edge of the fold to start sewing accurately. It helps to maintain a slow sewing speed so you can keep control and avoid drifting.
Also, frequently check the needle’s placement to make sure it stays close to the folded edge. And don’t forget to practice on scrap fabric; this builds a steady hand and a consistent technique.
Catch a Few Threads Below the Fold
Keeping the needle close to the folded edge sets you up to catch just a few threads beneath the fold. This small, precise stitch is vital for securing the rolled hem and preventing it from unraveling.
Use a sharp, fine needle to pick up only a few fabric threads about 1/16 to 1/8 inch from the fold. Grabbing too many threads can cause puckering or uneven stitching, so aim for minimal threads to keep the hem smooth and tidy.
Make Long Stitches in the Fold
Now, make long stitches about half an inch apart along the fold to keep everything secure. Keep your stitching consistent and close to the edge for a smooth, even finish.
Take your time to maintain an even stitch length and follow the fold precisely. It really helps to keep things neat and tidy. Just go slow and steady!
Stitch Length Guidance
Although it might be tempting to use short stitches, you’ll achieve a smoother, more flexible rolled hem by setting your stitch length to around 3 to 4 mm (about 1/8 inch). Longer stitches help the fabric roll nicely and make shaping easier.
Keep these tips in mind:
- Use a stitch length of 3 to 4 mm to guarantee smooth rolling.
- Space stitches evenly to avoid puckering or uneven folds.
- Longer stitches allow easy removal if you need to adjust the hem.
- Avoid very short stitches, as they stiffen the fabric and complicate rolling.
Consistent Fold Stitching
When you sew long, even stitches about 1/2 inch apart along the folded edge, you’ll securely hold the hem in place while maintaining a smooth, uniform appearance. Use a stitch length of roughly 1/16 inch to create fine, close stitches that keep the rolled hem neat and durable.
Before stitching, make sure the fabric is folded smoothly and aligned properly to ensure consistent stitch length. Sew carefully along the fold, keeping your stitches straight and evenly spaced to avoid puckering or unevenness.
Don’t forget to repeat these long stitches around curves and corners; this helps the hem roll smoothly and preserves its uniform look. Consistent fold stitching is key to a professional, polished rolled hem finish.
Pull Thread to Roll Fabric Neatly
As you gently pull the loose thread along the fabric’s edge, you’ll notice the material begins to fold over itself, forming a narrow, neat hem. This step is key to achieving that clean, professional look.
To roll the fabric neatly, remember to pull the thread slowly and evenly to avoid uneven folds. Use your fingers to guide the fabric, keeping the roll consistent in width.
Also, maintain steady tension to ensure a smooth, uniform hem. Keep pulling until the entire edge is rolled and ready for sewing.
Shape and Sew the Corners
To shape and sew the corners neatly, stop stitching about 1/8 inch from the edge so you can create a clean turn point. Fold the corner down at a 45-degree angle and stitch through one layer to form a crisp point.
Then, turn the fabric to the next edge, aligning the fold with the raw edge, and continue stitching smoothly around the corner. Use small, closely spaced stitches near the corner to keep the point sharp and even.
This careful technique prevents puckering and maintains a polished look. By shaping the corner this way, you ensure the rolled hem looks professional and tidy.
Keep the fabric steady as you sew to avoid any distortion, and your corners will come out perfectly finished. It really makes a difference!
Press the Rolled Hem for Crispness
After shaping and stitching the corners, you’ll want to press the rolled hem to set the folds firmly in place. Use an iron set to the right temperature for your fabric to avoid damage.
Remember these tips for a crisp finish:
Remember these tips for a crisp finish to keep your rolled hem sharp and professional-looking.
- Place a pressing cloth over the hem to prevent shiny marks or scorching, especially on delicate fabrics like silk or chiffon.
- Press gently and evenly along the entire hem length to keep the fold sharp and consistent.
- Apply firm, steady pressure without stretching or distorting the rolled edge.
- Avoid direct steam on the hem; instead, use steam indirectly or a damp pressing cloth for better crispness.
Following these steps helps your rolled hem hold its shape beautifully. Plus, it gives your project a professional look.
Finish With a Final Stitch Around Edge
Now that your hem is pressed, it’s time to secure it with a final stitch. Keep your stitch length short and consistent, stitching close to the folded edge to maintain an even finish.
Take your time to follow the fold carefully. This will help ensure the hem stays neat and smooth all around.
Stitch Edge Securely
Although the rolled hem is mostly formed, you’ll want to sew a final row of stitches about 1/16 inch from the folded edge to keep it secure. This final stitch locks the hem in place and gives it a clean finish.
Before sewing, trim any loose threads to avoid bulk. Use a very short stitch length to create a tight, neat seam. Follow the existing fold closely to maintain uniformity.
- Trim frayed edges for smooth sewing
- Stitch about 1/16 inch from the fold
- Use short stitches for a secure hold
- Follow the fold line to keep stitches straight
Once done, gently press the hem to smooth out any puckering and set your stitches for a professional look. It really makes a difference in the final appearance!
Consistent Stitch Length
Keeping your stitches consistent in length is key to achieving a polished rolled hem. Set your sewing machine’s stitch length to about 1/16 inch (1 mm) and lock it in before you start.
Sew slowly along the folded edge, making sure each stitch stays evenly spaced and straight to prevent puckering. Follow the previous stitching line closely to keep everything aligned and uniform.
As you approach the end, finish with a final row of stitches around the edge. This reinforces the hem and prevents it from unraveling over time.
Maintain Even Fold
How do you guarantee your rolled hem stays crisp and secure? The key lies in maintaining an even fold and finishing with a neat final stitch.
After folding the hem, press firmly to set a sharp edge. Then, trim any excess seam allowance carefully to reduce bulk before stitching.
Use small, even stitches close to the raw edge to hold the fold in place and prevent fraying. Follow these steps to keep your hem flawless:
- Press the fold firmly before stitching
- Trim excess seam allowance neatly
- Stitch evenly along the fold line
- Press the finished hem for a smooth finish
Frequently Asked Questions
How to Do a Rolled Hem Easily?
You’ll fold the fabric’s edge twice, about 1/8 inch each time, then sew close to the inner fold with fine stitches.
Press it well, and practice on scrap fabric to make your rolled hems neat and easy.
It might take a little patience, but once you get the hang of it, rolled hems become a breeze!
Can You Do a Rolled Hem on a Regular Sewing Machine?
You can’t judge a book by its cover, and you shouldn’t doubt your machine—
you can sew a rolled hem on a regular sewing machine by adjusting stitch settings or folding fabric edges carefully for neat results.
It just takes a bit of patience and the right technique to get it looking sharp. Give it a try!
How to Sew a Curved Hem for Beginners?
You start by marking your curve, then fold and press the raw edge twice, about 1/8 inch each time.
Sew with small stitches, easing fabric gently to keep curves smooth.
Finally, press the hem flat.
Can You Sew a Rolled Hem Without a Special Foot?
You absolutely can sew a rolled hem without a special foot—think of it like stitching with a quill, carefully folding the edge twice and sewing slowly.
With practice, you’ll get a neat, professional finish using just your regular machine foot.
Conclusion
Now that you’ve mastered sewing a rolled hem, you’re not just finishing fabric edges—you’re adding a touch of elegance that whispers quality and care. With each stitch, your project transforms from simple to stunning, showing off your skill and patience.
Remember, practice makes perfect, so keep rolling and sewing. Soon, your hems will be as smooth as silk and as sharp as your creativity.
Ready to roll? Sewing a rolled hem is a fantastic way to give your garments and projects a professional finish. It’s all about precision and a steady hand, but with these 10 easy steps, you’ve got the confidence to tackle any fabric edge. Keep practicing, and watch how your rolled hems elevate your sewing projects to the next level!