How to Hand Sew Buttons in 7 Easy Steps
To hand sew buttons, start by gathering your materials like a needle, thread, scissors, and a toothpick. These are the basics you’ll need to get started with sewing buttons by hand.
Next, get your needle threaded and mark where the button will go on your fabric.
For two-hole buttons, pass the needle through each hole, making sure to use a toothpick to create a little slack. This slack helps the button sit nicely without being too tight against the fabric.
If you’re sewing a four-hole button, go for a crisscross pattern to secure it well.
When working with thicker fabrics, make a shank by wrapping the thread underneath the button. This gives the button some space and makes it easier to button up.
Finally, tie off your thread neatly, and you’ll be ready to tackle more button challenges ahead! It’s easier than you think once you get the hang of it.
Key Takeaways
– Gather materials: needle, thread, scissors, toothpick, button gauge, and a spare button for emergencies.
Having everything ready makes the sewing process smoother and less stressful.
– Mark button placement with fabric marker, ensuring alignment with buttonholes using a toothpick as a spacer.
This helps keep your buttons straight and perfectly aligned every time.
– Sew two-hole buttons by passing the needle through both holes, maintaining slack with a toothpick for stability.
The slack gives the button room to move without straining the thread, which is super important.
– For four-hole buttons, use a crisscross pattern, making multiple passes for added strength and security.
This way, your button stays put and won’t come loose easily.
– Finish by tying off the thread securely under the button, trimming excess, and inspecting for evenness and functionality.
Give it a quick test to make sure everything feels sturdy and looks neat.
Gather Your Materials for Hand Sewing Buttons
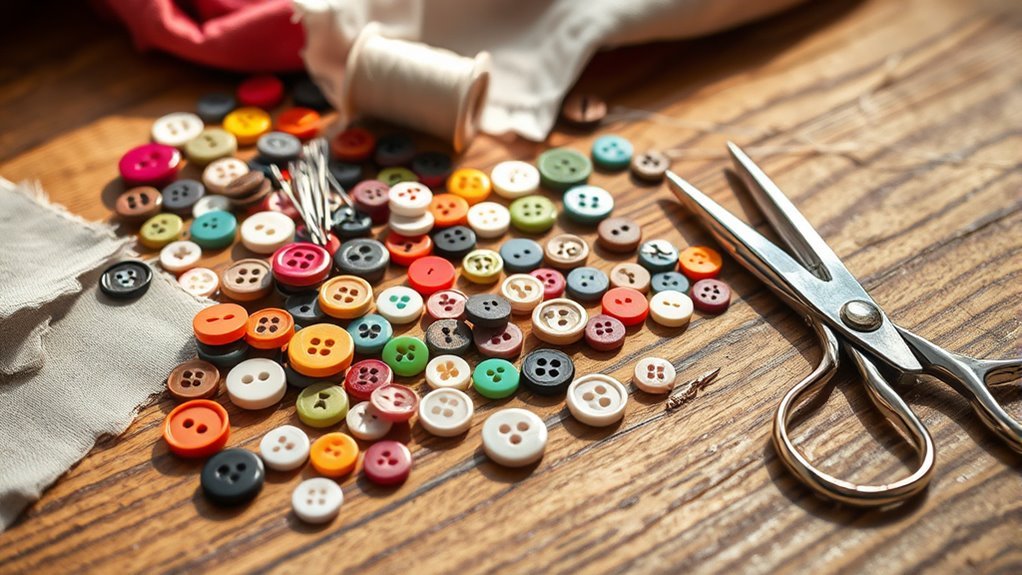
Gathering your materials is the first step toward successfully hand sewing buttons. Start by collecting a sewing needle and thread that matches your fabric or button. For added strength, use a double strand of thread, or even a quadruple strand for extra durability.
Gather your materials: a matching needle and thread, and consider using a double or quadruple strand for added strength.
Don’t forget a pair of scissors and a toothpick to help maintain tension while you sew. If you have a button gauge, it’ll guarantee your button aligns perfectly for a neat finish.
Consider using a contrasting thread to make your stitches visible as you work. Finally, keep a spare button handy; many button-up shirts have one sewn into the side seam tag for easy access.
Having everything ready makes the process much smoother!
Get Your Needle and Thread Ready
To get started, pick a needle that suits your button and fabric, ensuring it’s sharp for easy sewing. Choose a strong thread that matches your fabric’s color, and cut a length of about 18-24 inches to keep things manageable.
Once you’ve threaded the needle, tie a knot at the end to secure it before you begin sewing. That way, you won’t have to worry about the thread slipping out while you work.
Gather Necessary Materials
Before you start sewing on buttons, you’ll need a few essential supplies. First, gather necessary materials like a sewing needle and thread that match your fabric and button for a cohesive look.
Cut the thread to about 18 to 24 inches; this length provides enough material for sewing and knotting. If you’re practicing, consider using a contrasting thread so you can see your stitches clearly.
You’ll also want a toothpick on hand to maintain tension while sewing, ensuring the button stays secured without being too tight. Finally, grab a pair of scissors to trim any excess thread after securing the button for a neat finish.
With these items ready, you’re set to begin!
Threading the Needle
While getting ready to sew, you’ll need to thread your needle correctly for a smooth experience. Follow these steps to make threading the needle easier:
- Cut a Length of Thread: Aim for about 18 inches to prevent tangling while sewing.
- Create a Double Strand: Fold the thread in half, threading both ends through the needle’s eye. This adds strength for those small stitches.
- Use a Thread Conditioner: Consider beeswax to keep your thread from fraying and tangling.
Hold the needle with the eye facing upward for easy access when pulling the thread through. If you have trouble, a dental flosser can help guide the doubled thread.
Now you’re all set to sew!
Knotting Techniques Explained
Knotting your thread is an essential step that can make or break your sewing project. Start by cutting a length of thread about 18 inches long and double it for strength.
When you knot the end, you can either tie the two ends together for a simple knot or use a more secure method by wrapping the thread around itself. To create a shank, make sure the knot is tight enough to hold but not so tight that it puckers the fabric.
For a cleaner finish, hide the knot underneath by starting your stitching from the underside. Try practicing knotting techniques like the loop knot, where you pass the needle through the loop to secure it better.
You want each knot to count for a polished look!
Mark the Button Placement on Fabric
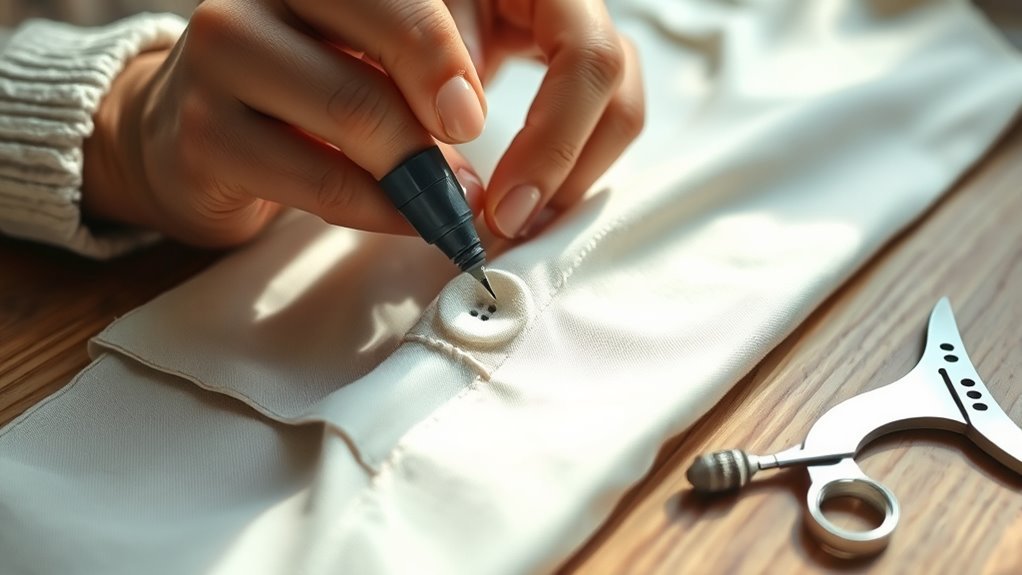
To mark the button placement on your fabric, start by positioning the button where you want it attached, making sure it lines up with any buttonholes or design features. This helps everything look neat and work well.
Next, use a fabric marker or chalk to stitch a small X on the underside of the fabric. This marks the exact spot for your button.
Use a fabric marker or chalk to create a small X on the underside, marking the precise spot for your button.
Try using a toothpick or pin underneath the button as a spacer. It helps keep the right height while you mark it.
Before you move on, double-check that the button lines up perfectly with the buttonholes on the other side. It’s a quick step that saves you from mistakes.
Also, keep the loose end of the thread on the underside of the fabric. This way, it won’t get in the way when you attach the button.
Doing all this guarantees a neat and tidy finish!
Hand Sew a Two-Hole Button Securely
Securing a two-hole button is essential for durability and functionality, and it’s a straightforward process. Start by threading a double strand of thread through the needle and knotting the end for added strength.
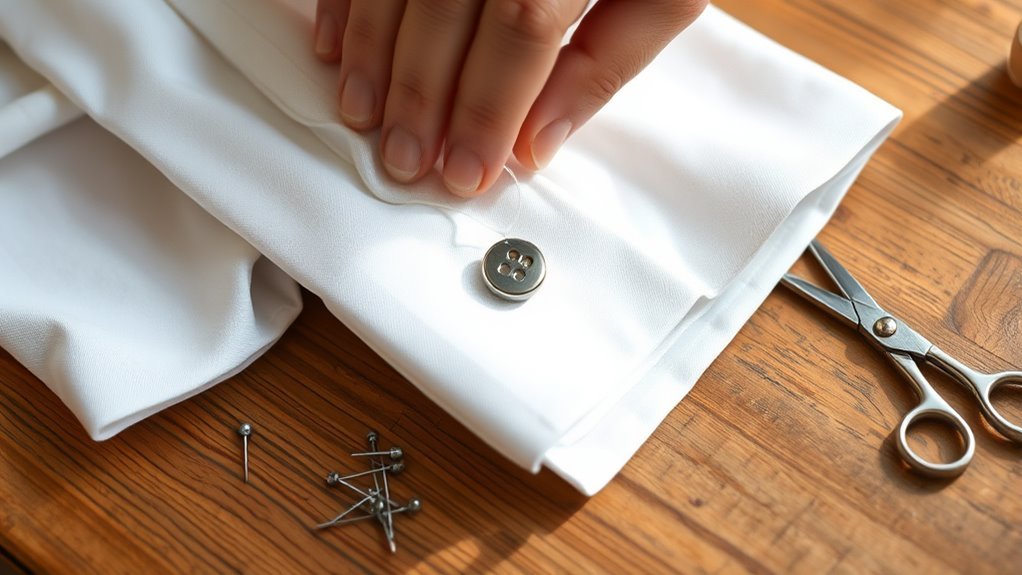
Position the button over the marked X, keeping the loose thread end underneath. Insert the needle from the back through one hole, then back through the other without pulling tight. Use a toothpick to maintain slight slack and repeat this three times.
Finally, create a thread shank beneath the button for extra stability. Tie off the thread with a knot and trim any excess.
| Step | Action |
|---|---|
| 1 | Thread needle & knot |
| 2 | Position button |
| 3 | Sew through two holes |
| 4 | Create thread shank |
How to Hand Sew a Four-Hole Button?
Although sewing a four-hole button may seem more complex than its two-hole counterpart, it’s quite manageable with a few simple steps. Follow these instructions to secure your button:
First, prepare your thread. Thread a double strand of thread through the needle and knot the end for strength.
Prepare your thread by using a double strand for added strength, and remember to knot the end securely.
Next, position the button over the marked X on your fabric. Insert the needle from underneath through one hole, then sew diagonally to the opposite hole, creating a crisscross pattern.
Go ahead and repeat this process three times to make sure it’s nice and strong. It helps to use a toothpick to keep the tension just right.
Finally, push the needle through the fabric without a hole to finish, and tie off under the fabric.
And there you have it! Your four-hole button is now securely attached!
Make a Shank for Thicker Fabrics
When you’re working with thicker fabrics, creating a shank for your button can make all the difference in functionality and appearance. To do this, wrap thread around the button several times before sewing it on.
This helps elevate the button, allowing for easier buttoning. You can also simulate a shank by threading through the fabric and button to form a loop.
Here’s a quick reference guide:
| Step | Action | Tip |
|---|---|---|
| 1. Wrap Thread | Wrap around the button | Use strong thread like polyester |
| 2. Create Shank | Form a loop while sewing | Make sure it’s elevated properly |
| 3. Tie Off | Secure with a slip knot | Prevent unraveling of the shank |
This technique will guarantee a durable button attachment!
Finish Your Button Attachment Neatly
Finishing your button attachment neatly can really elevate the overall look of your project. Follow these steps for a polished finish:
Finishing your button attachment with care can significantly enhance the overall aesthetic of your project.
- Create a thread shank: Wrap the thread around the base of the button before tying off. This little trick allows for easier button movement.
- Remove spacers: After securing the button, take out any spacer used during sewing. This helps make sure the button isn’t too tight against the fabric.
- Tie off securely: Use a loop and square knot technique to tie off your thread. Make sure the knot is hidden beneath the button for a clean appearance.
Finally, trim any excess thread carefully to prevent fraying. You might also consider using a thread conditioner to keep the thread strong and give you a smooth, neat finish.
Frequently Asked Questions
What Types of Buttons Are Best for Different Fabrics?
For lightweight fabrics, choose flat buttons; they won’t add bulk. For thicker materials, opt for shank buttons to allow movement.
Always match button size to fabric weight for a secure and stylish finish. It just makes everything look and feel right!
Can I Use a Sewing Machine Instead of Hand Sewing?
Yes, you can use a sewing machine instead of hand sewing. Just make sure the button’s compatible with your fabric, adjust the machine settings, and secure it properly for a strong hold.
It’ll save you time! Plus, it’s way less tiring than doing it all by hand.
How Do I Choose the Right Thread Thickness?
You can’t make an omelet without breaking a few eggs. To choose the right thread thickness, match it with your fabric’s weight.
Thicker fabrics need heavier threads, while lighter ones require finer threads for a neat finish. It’s all about getting that perfect balance.
What Should I Do if I Run Out of Thread?
If you run out of thread, don’t panic! Just tie off your current thread securely and cut it.
Then, grab a new spool. Match the color and thickness.
After that, continue sewing your button with confidence. You’ve got this!
How Can I Remove a Button Without Damaging the Fabric?
To remove a button without damaging the fabric, use small, sharp scissors to carefully cut the threads holding it. Be gentle, and make certain you’re only cutting the threads, not the fabric itself.
It’s a bit tricky at first, but once you get the hang of it, it’s pretty straightforward. Just take your time and you’ll have that button off in no time!
Conclusion
In conclusion, by following these simple steps, you’ll successfully secure your buttons with style and skill. Whether you’re tackling a two-hole or four-hole button, each stitch strengthens your fabric’s finish.
With a little practice, you’ll transform tedious tasks into a triumphant triumph of technique. So, gather your gear, get going, and embrace the elegance of hand-sewing.
Your garments will gleam with grace, showcasing your newfound sewing savvy and a flair for fantastic finishes. Hand sewing buttons not only saves money but also adds a personal touch to your clothes. Keep practicing, and soon sewing buttons by hand will feel like second nature!