How to Fix Sewing Machine Tension Step by Step
To fix your sewing machine tension, start by rethreading it completely. Make sure to lift the presser foot to open the tension discs properly. This step is crucial because incorrect threading often causes tension problems.
Next, check that your bobbin is placed correctly. Adjust the top tension dial, usually between 4 and 5, depending on your fabric and thread type. Don’t be afraid to tweak it a little until you get the perfect stitch.
Always test your settings on a scrap piece of fabric that matches your project material. If you notice loopy stitches or uneven seams, it might be time to clean your machine. Regular cleaning helps keep the tension working smoothly.
Also, change your needles as needed, since worn needles can affect stitch quality.
And if problems keep popping up, getting expert help can save you time and fix deeper issues you might not notice right away.
Key Takeaways
- Rethread the machine by removing all threads and following the manual’s threading instructions. Make sure the bobbin thread is smooth and correctly placed.
- Adjust the top tension dial to between 4 and 5. You can increase it for thicker fabrics and decrease it for finer threads to get balanced stitches.
- Test the tension using scrap fabric similar to your project. Look out for loops or uneven stitches to see if the tension is right.
- Regularly clean the machine, especially around the bobbin case. Also, change needles often to avoid tension problems and skipped stitches.
- If the issues keep coming up after you make adjustments, it might be time to get professional servicing. They can check for deeper mechanical problems and help your machine run smoothly.
Common Sewing Machine Tension Problems and Solutions
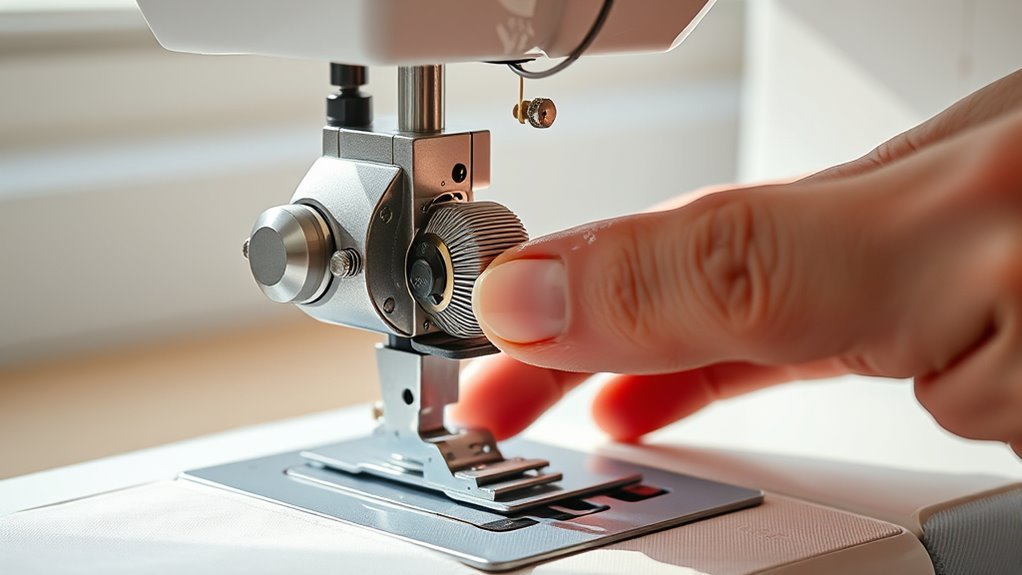
When you’re sewing, it’s frustrating to encounter tension problems like loopy stitches or uneven seams. Often, these issues stem from user error rather than machine malfunction.
To troubleshoot, first verify your machine is properly threaded with the presser foot raised; this opens the tension discs for correct threading. Check your top tension dial, typically set between 0 and 9, with a mid-range of 4 or 5 recommended for standard sewing.
Verify your machine is threaded correctly with the presser foot raised, and set the tension dial to 4 or 5 for optimal results.
If you’re using different threads or fabrics, you might need to adjust the tension. Test your settings by sewing on scrap fabric and observing stitch quality—balanced stitches should appear even on both sides.
If bobbin tension is a concern, adjust it carefully using a tiny screwdriver on the bobbin case tension screw. It’s a small tweak, but it can make a big difference.
Signs Your Sewing Machine Tension Is Off
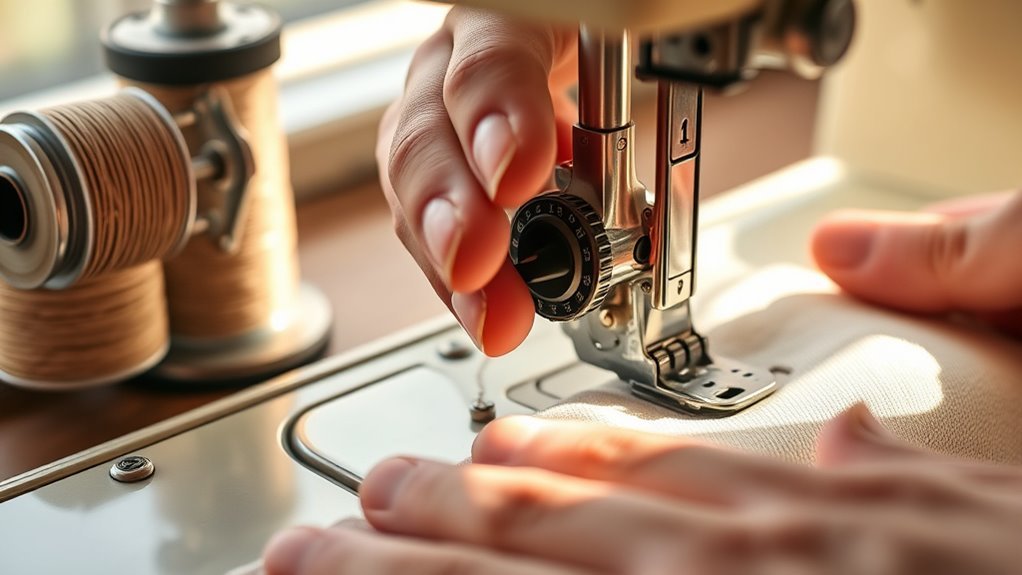
Tension problems can show up in different ways, so it’s important to spot the signs quickly. If you see loopy stitches on the underside of your fabric or stitches that aren’t evenly tight, it’s probably a tension issue with your sewing machine.
You might also notice a “bird’s nest” effect—tangled threads under the fabric. This usually means the top thread tension is too loose or the bobbin isn’t threaded properly.
Puckered seams are another clue. They usually mean your tension is too tight, which causes the fabric to bunch up. On the other hand, loose or skipped stitches could mean your needle is damaged or the tension settings aren’t right.
It really helps to adjust tension regularly. Even small changes in the type of thread or fabric weight can make a big difference in how your stitches look.
Rethreading Your Machine: A Step-By-Step Guide
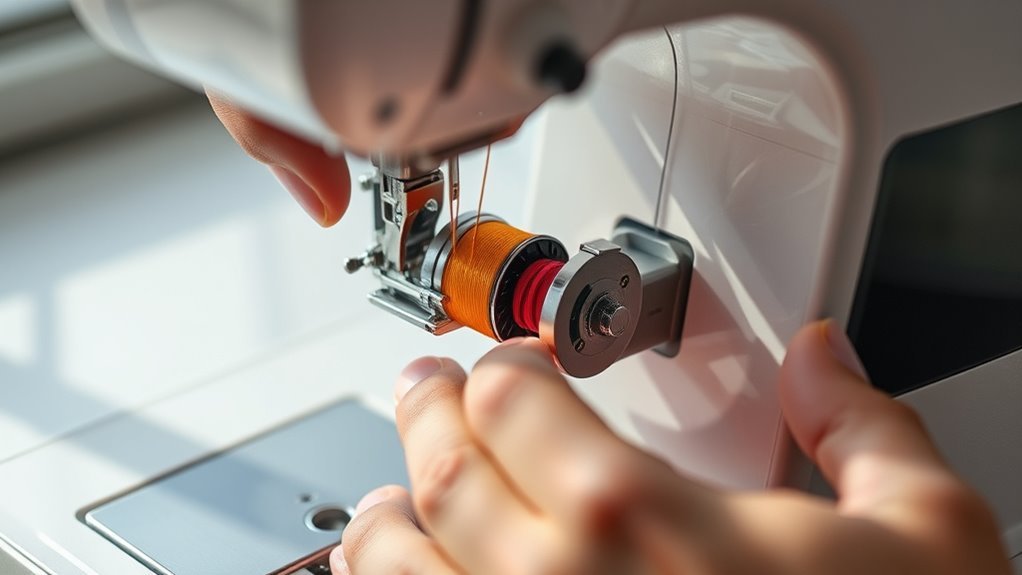
To fix your sewing machine tension, start by rethreading it properly. Remove the upper thread and bobbin, then follow your machine’s guide to thread through the tension discs.
Don’t forget to check your bobbin thread for smoothness and correct placement before testing on scrap fabric. This way, you can avoid any tension problems and get your stitches just right.
Proper Threading Techniques
Rethreading your sewing machine can make a world of difference in stitch quality. Start by completely removing all threads, including the upper thread and bobbin thread.
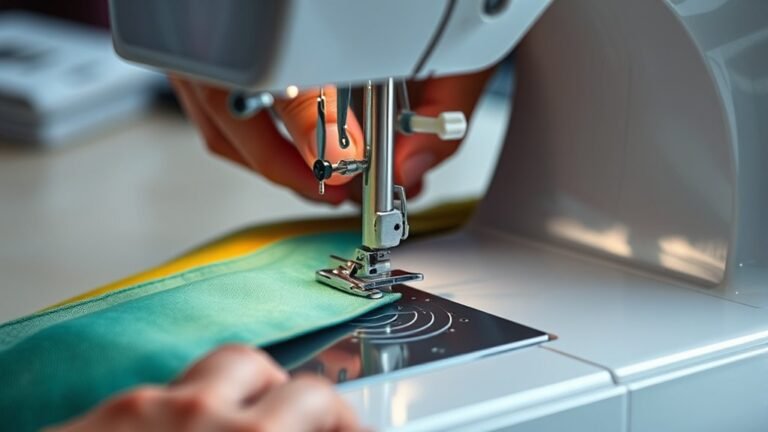
Lift the presser foot to open the tension discs fully, ensuring you thread through the tension system as your machine’s manual indicates. Use all-purpose thread, especially if you’re a beginner, and avoid vintage spools that might lead to tension issues.
Rethread the bobbin, making sure it’s wound smoothly and placed correctly to prevent tension problems. After rethreading, pull both threads about 3 inches behind the presser foot.
Finally, perform a test sew on scrap fabric to check your stitch quality and confirm everything’s set for successful sewing. Easy, right? Just follow these steps and you’ll be good to go!
Bobbin Thread Considerations
When dealing with bobbin thread, it’s essential to guarantee it’s wound smoothly and inserted correctly. A poorly wound bobbin can lead to inconsistent stitches and thread tension issues.
When you insert the bobbin, make sure it turns in the correct direction; incorrect placement can cause thread jams. Pull the upper thread to bring the bobbin thread up through the needle plate, ensuring proper engagement between the threads for balanced tension.
If you’re using a front-loading bobbin, check that the bobbin case is aligned correctly, as any misalignment can affect stitch quality. Finally, regularly inspect the bobbin case for lint build-up, as debris can obstruct thread movement, leading to further tension disruptions.
How to Adjust Top and Bobbin Tension for Perfect Stitches
Achieving perfect stitches often hinges on the fine-tuning of your sewing machine’s top and bobbin tension. Start by checking the top tension dial; it should typically be set between 4 and 5.
Adjust it higher for thicker fabrics and lower for finer threads to avoid thread tension issues. Make sure your bobbin is properly inserted and that the thread is wound smoothly—an unevenly wound bobbin can cause inconsistent tension.
To test bobbin tension, hold the bobbin case by the thread; it shouldn’t drop freely. If the top thread shows on the underside, increase the top tension.
If the bobbin thread appears on top, lower the top tension. Fine-tune bobbin tension by adjusting the small screw on the bobbin case for best results.
Testing Your Tension With Scrap Fabric
To test your sewing machine’s tension effectively, choose scrap fabric that closely matches your project material. As you sew, keep an eye on the stitch quality; look for any loops or unevenness.
This careful observation will help you pinpoint the right tension settings for your sewing needs. It’s a simple step, but it makes a big difference in how your finished project looks.
Choosing Scrap Fabric Wisely
Choosing the right scrap fabric is crucial for accurately testing your sewing machine’s tension. Use fabric that closely resembles the weight and material you plan to sew.
A variety of types, like cotton, polyester, and knits, helps you understand how different materials affect stitch tension. Keep your scrap fabric free of lint to avoid misleading results during the testing process.
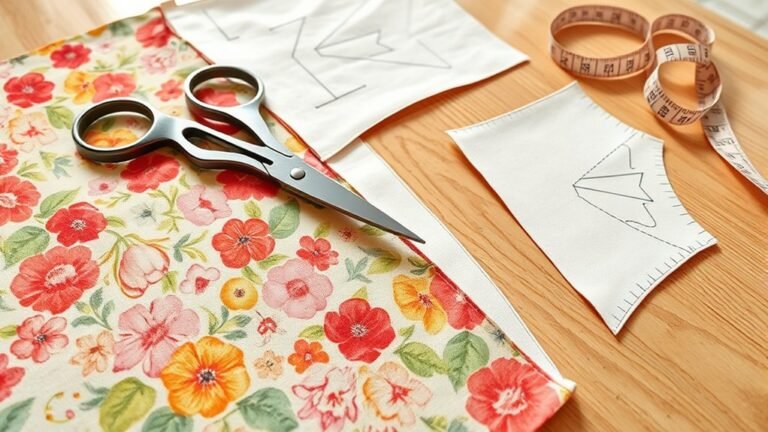
Cut pieces to a consistent size, typically around 6×6 inches, for accuracy.
| Material Type | Weight | Recommended Use |
|---|---|---|
| Cotton | Medium | Everyday sewing |
| Polyester | Lightweight | Blends and activewear |
| Knit | Stretchy | Comfort and flexibility |
| Denim | Heavy | Durable projects |
| Silk | Lightweight | Delicate garments |
This consistency guarantees effective tension testing with both top and bobbin threads.
It’s all about getting reliable results so your sewing projects come out just right!
Observing Stitch Quality
Observing stitch quality is essential for mastering your sewing machine’s tension. To start, sew a test strip on scrap fabric, checking both the top thread and bottom thread for evenness.
Balanced stitches should look identical on both sides, free from loops and puckering. If the top thread is visible on the bottom, your top tension is too loose.
Conversely, if the bobbin thread is visible on top, it’s too tight. Using different colored threads helps you easily identify tension issues.
Make gradual adjustments to the tension dial, typically starting between 4 and 5, and retest until you achieve those balanced stitches. This process guarantees your fabric looks professional and polished.
Maintain Your Sewing Machine to Avoid Tension Issues
Maintaining your sewing machine is essential for avoiding tension issues that can disrupt your projects. Regularly clean your machine, focusing on the bobbin case to prevent lint buildup that can obstruct functionality.
Make sure to consult your machine’s manual for specific maintenance tips. This might include oiling older machines to keep everything running smoothly.
Change needles frequently, because old or damaged ones can lead to skipped stitches and tension problems. A universal size 80/12 usually works well for most projects.
Also, keep an eye on the tension discs for any wear and ensure proper threading between them. Incorrect threading is a common cause of tension troubles.
If you still experience tension issues after basic maintenance, don’t hesitate to schedule professional servicing. Sometimes, underlying mechanical problems need expert attention to get fixed.
Know When to Call a Pro for Tension Troubles
Even with regular maintenance, tension problems can still pop up. That’s usually a sign it might be time to call in a pro.
Even with proper upkeep, tension issues can arise, signaling that it may be time to consult a professional.
If you’ve rethreaded your machine and adjusted the tension but things haven’t improved, there could be deeper mechanical issues at work. Persistent problems—like the upper tension not releasing when you lift the presser foot—often need expert servicing.
Have you checked the bobbin placement and cleaned your machine but still notice loose thread issues? Then it’s definitely a good idea to get a professional to take a look. Machines that have been used for many years might have worn internal parts affecting how well they work.
When you’re not sure what’s wrong, reaching out to a qualified technician can save you a lot of time and help avoid further damage to your sewing machine.
Frequently Asked Questions
Can Tension Issues Affect Different Types of Fabric?
Yes, tension issues can definitely affect different types of fabric. You’ll notice uneven stitches, puckering, or thread breakage.
Adjusting the tension correctly helps guarantee smooth sewing, no matter what fabric you’re working with. It really makes a difference!
How Often Should I Check My Sewing Machine Tension?
You should check your sewing machine tension every time you switch fabrics or after a few projects. Regular checks help you maintain consistent stitching and avoid frustration caused by uneven tension.
It’s a simple preventive measure! Taking a moment for this can save you a lot of hassle down the line.
What Tools Do I Need for Tension Adjustments?
You’ll need a screwdriver for adjusting tension, scissors for trimming threads, and a seam ripper to fix mistakes.
A measuring tape helps guarantee accuracy, while a manual provides specific guidance for your machine’s settings.
These tools make the whole process easier and help you get the best results every time.
Can I Use Different Threads With the Same Tension Settings?
Yes, you can use different threads with the same tension settings, but results may vary.
It’s best to test your stitches first. That way, you can adjust the tension if needed for ideal performance with each thread type.
Will Environmental Factors Affect My Sewing Machine Tension?
Yes, environmental factors like humidity and temperature can affect your sewing machine tension. When conditions change, you might notice variations in thread performance.
Conclusion
To sum up, mastering your sewing machine’s tension can transform your crafting experience from a tangled mess to a masterpiece. Just like untangling a pair of old headphones, it takes patience and a little know-how.
By regularly checking your tension settings and maintaining your machine, you can stitch with confidence every time. Remember, a well-tuned sewing machine tension is your best ally in creating beautiful projects.
When your tension is just right, every thread weaves a story worth telling. So, keep practicing and adjusting until you find that perfect balance. Happy sewing!