How to Hem Without a Sewing Machine in 7 Easy Steps
To hem your pants without a sewing machine, start by measuring and marking the desired length while wearing them with your intended shoes. This step ensures your pants fall just right, giving you a polished look.
Gather essential tools like a needle, thread, and pins to get ready for the hemming process.
Next, prepare the fabric by ironing it to create a crisp fold. This makes it easier to work with and helps achieve a neat finish.
You can choose your hemming method—whether that’s hand sewing, fabric tape, or iron-on tape—depending on what you find most convenient.
Once your hem is secured, press it again for a professional touch.
Don’t forget to care for your newly hemmed pants to keep them looking sharp and lasting longer—as you’ll discover next!
Key Takeaways
- Measure and mark the desired hem length while wearing the intended shoes for accurate fitting.
- Gather essential tools like needle, thread, scissors, and fabric pen for the hemming process.
- Prepare the fabric by washing it, folding it neatly, and securing it with pins before marking.
- Select a suitable hemming method, such as hand sewing or using hem tape, based on your fabric type.
- Follow care instructions and regularly inspect the hem for wear to maintain its condition.
Measure and Mark Pants for Hemming Without a Sewing Machine
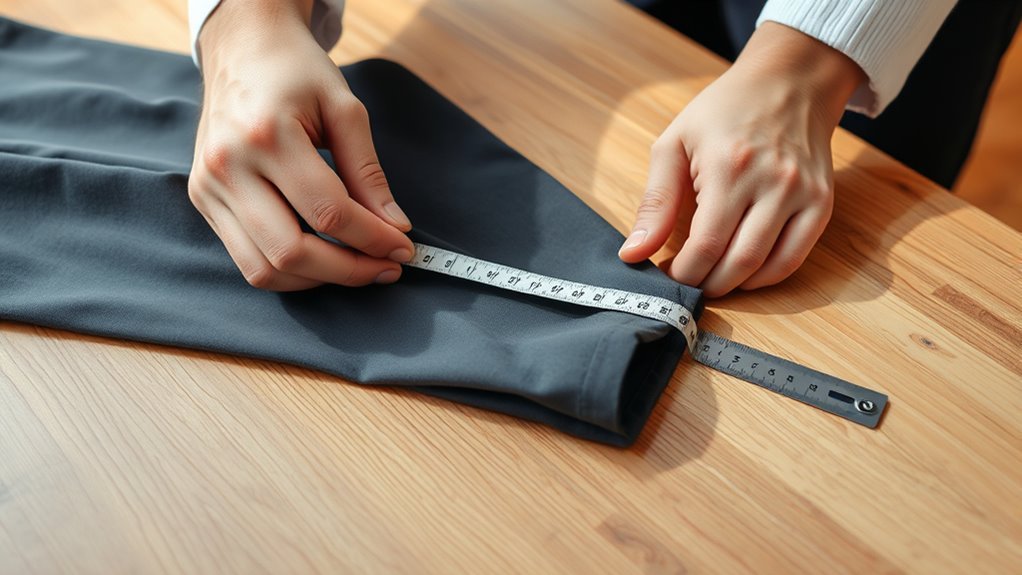
To get the perfect hem on your pants without a sewing machine, start by wearing them with the shoes you plan to use. This helps you figure out the exact hem length you need.
Use a measuring tape to measure the hem and find your desired length. Mark it clearly with a fabric pen or chalk so it’s easy to see.
Use a measuring tape to determine your perfect hem length, marking it clearly with fabric pen or chalk for visibility.
Next, fold the excess fabric inward to the marked length and secure it with at least four pins to hold it in place. Make sure the hem is even on both legs by measuring and adjusting as needed.
Finally, press the hem with an iron to create a crisp crease. This sets the new hemline and gives you a professional finish you can be proud of.
Let’s Gather Our Tools for Hemming
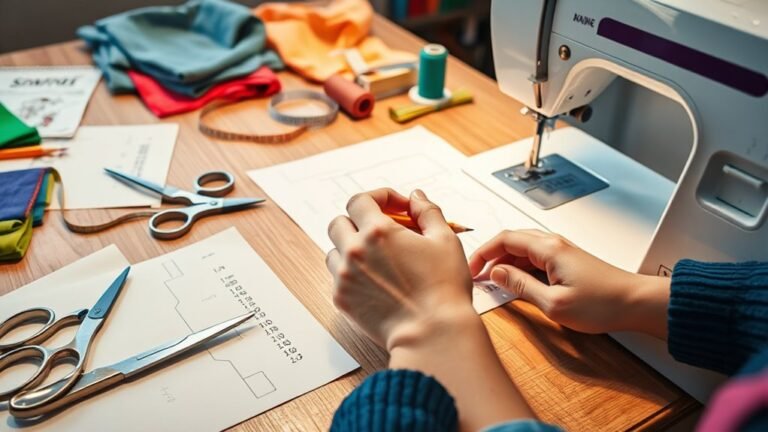
Hemming your pants requires the right tools to achieve a polished look. Before you start, gather these essential items:
| Tool | Purpose |
|---|---|
| Needle and thread | For stitching the hem, matching pant color |
| Scissors | To cut fabric accurately |
| Measuring tape/ruler | To guarantee consistent hem length |
| Chalk or fabric pen | For marking the desired hem line |
| Iron | To press and set the hem for a neat finish |
You might also need a seam ripper to remove an existing hem. If you prefer a no-sew option, consider fabric adhesive tape or wonder web. Just make sure it’s suitable for your fabric type.
Prepare the Fabric for a Clean Finish
Before you start sewing, it’s essential to prepare your fabric for a clean finish. First, wash your fabric to pre-shrink it, ensuring accurate measurements for the hem.
Lay the fabric flat and fold it to your desired hem length, securing the fold with pins. Measure the hem allowance, typically 1.5 to 2 inches, and mark it with tailor’s chalk for precision.
Lay your fabric flat, fold to your chosen hem length, and secure with pins before marking the hem allowance with tailor’s chalk.
If you’re working on the inside of your pant, make sure the fold looks even and neat. Next, iron the fold to create a crisp crease; this will help maintain the new hem shape during the hemming process.
If there’s an existing hem, use a seam ripper to carefully open the stitching before moving forward. It might take a little patience, but it’s worth it for a smooth finish.
Select Your Hemming Method
Choosing the right hemming method can make all the difference in achieving a polished look. You have a few options for hemming pants without sewing.
Hand sewing offers precise control and can create a nearly invisible hem using a blind stitch technique. If you need a quick fix, double-sided garment tape is an excellent choice. It provides a strong hold without any sewing and is easily removable, perfect for temporary hems.
For a more durable solution, consider iron-on hem tape, which bonds the fabric layers together when heat is applied. When selecting your method, keep in mind the fabric’s weight and care instructions to guarantee that your chosen technique delivers lasting results.
Apply Adhesive or Stitch for a Secure Hem
When it comes to securing your hem, you’ve got several adhesive options to choose from. Whether you opt for iron-on hem tape for a strong bond or double-sided garment tape for a quick fix, each method offers an easy way to keep your fabric in place.
Don’t forget to check your fabric care label to verify it can handle the heat if you’re going the iron-on route! It’s always better to be safe than sorry with those delicate fabrics.
Adhesive Options Available
If you’re looking for a quick and effective way to hem without a sewing machine, adhesive options provide excellent alternatives. Here are some great choices to examine:
- Double-sided garment tape: Adheres fabric layers together for a no-sew solution.
- Iron-on hem tape: Fuses fabric when heated, creating a durable and washable hem.
- Fabric glue: Offers versatility for various fabric types, but apply carefully to avoid bulk.
- Hemming tape: Use with an iron and pressing cloth for temporary adjustments without permanent changes.
- Safety pins: Perfect for quick fixes, letting you adjust hem lengths easily.
These adhesive options make hemming simple. They let you achieve a polished look without any stitching.
Best Stitching Techniques
After exploring various adhesive options, you might want to contemplate stitching techniques for a more permanent hem. One effective method is using Hemming Tape. Simply place it inside the hem and apply heat with an iron to bond the fabric.
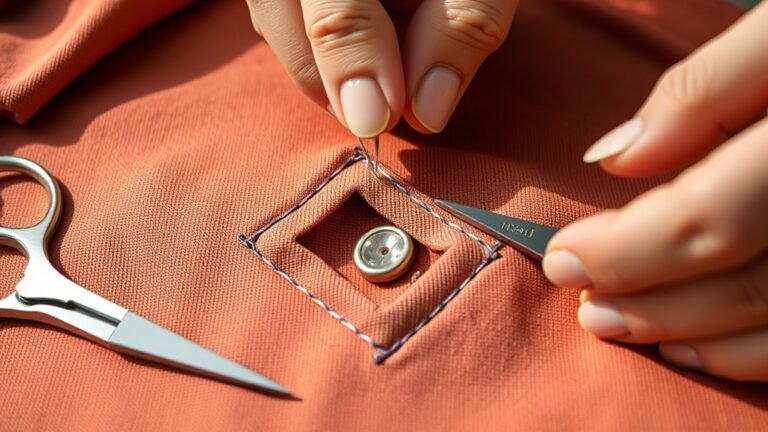
If you prefer a more traditional approach, try the Blind Stitch Technique. This creates an invisible hem by sewing small stitches that only catch a few threads of the outer fabric, giving a clean finish.
For quick fixes, a strong Fabric Adhesive works well; just make certain it’s suitable for your fabric type. Finally, if you need something temporary, double-sided garment tape or safety pins can hold your hem in place until you’re ready for a more permanent solution.
Get a Professional Finish With Hem Pressing
To achieve a crisp, professional finish on your hems, it’s crucial to incorporate hem pressing into your process. Here are some key steps to follow:
Incorporating proper hem pressing techniques is essential for a polished, professional finish on your garments.
Use a hot iron with steam to shape the new hem. Always utilize a pressing cloth to protect delicate fabrics.
Press the hem from the inside to avoid shine marks. Allow the hem to cool completely to maintain its shape.
And don’t forget to regularly check your iron’s temperature settings to prevent damage. It really makes all the difference!
Care Tips for Maintaining Your Hemmed Pants
To keep your hemmed pants looking sharp, you need to follow some simple care tips. Washing them gently and storing them properly can make a big difference.
Using the right ironing techniques also helps a lot. Let’s explore how to maintain your hems so they stay neat and secure.
Regular Washing Guidelines
While caring for your hemmed pants, it’s essential to follow the care label instructions to avoid damaging your garments. Adhering to proper washing guidelines helps maintain both the fabric and the adhesive used in your hems.
Here are some tips to keep in mind:
- Use cold water and a gentle cycle to protect the hem.
- Avoid bleach and harsh detergents, which can weaken the adhesive.
- Line dry your pants or tumble dry on low heat to prevent shrinkage.
- Regularly inspect the hem for signs of wear or loosening.
- Store your pants in a cool, dry place to prevent fabric damage.
Just a few simple steps like these can really help extend the life of your pants!
Ironing Techniques Explained
Ironing your hemmed pants correctly not only keeps them looking sharp but also helps maintain their shape. Always use a pressing cloth between the iron and the fabric to prevent damage, especially on delicate materials.
Set your iron to the appropriate temperature for the fabric type; use a low setting for silk and a higher one for cotton. Iron the hem from the inside to keep the outer fabric smooth and avoid shine from direct contact.
Make sure the hem is completely dry after ironing to prevent any distortion over time. And don’t forget to regularly check care labels on your hemmed pants to follow specific washing and drying instructions. This way, your hems will last longer and keep that crisp look.
Storage Best Practices
Proper storage is essential for keeping your hemmed pants looking their best. Follow these tips to guarantee your hems stay intact and your pants remain in great shape:
Always fold and store hemmed pants neatly to prevent creasing. It really helps keep them looking sharp. Using padded hangers or storage bins is a great way to protect the fabric from snags.
Make sure your pants are clean and dry before storing them. This step avoids any mildew issues that might pop up later. Also, try not to overcrowd your closet — it minimizes friction between garments and keeps everything in better condition.
Don’t forget to check your hems regularly for signs of wear and tear. Catching problems early means you can fix them before they get worse. It’s a simple way to keep your pants looking fresh for longer.
Frequently Asked Questions
How to Make a Hem Without a Sewing Machine?
You can make a hem without a sewing machine by using iron-on hem tape or double-sided garment tape. These are super handy and easy to use.
For temporary fixes, try safety pins. Or, if you want something more permanent, fabric glue works great.
Oh, and don’t forget to always prewash your fabric before you start! It helps avoid any surprises later.
What Can I Use if I Don’t Have a Sewing Machine?
If you don’t have a sewing machine, grab double-sided tape, fabric glue, or iron-on hem tape. They’re lifesavers!
Safety pins can also work for quick fixes, ensuring you look great without sewing a stitch. Easy, right?
What Is the Easiest Way to Hem Pants by Hand?
The easiest way to hem pants by hand is using a blind stitch. It hides the thread, giving a clean finish.
For quick fixes, you can also try double-sided tape or iron-on hem tape. These options are super handy if you’re in a rush!
How to Do Invisible Hemming by Hand?
Isn’t it great to achieve a professional look? To do invisible hemming by hand, use a blind stitch.
Make sure you match the thread colors and space your stitches evenly. This helps keep the hem looking neat and tidy.
Finally, finish with an iron for a polished appearance. It really makes a difference!
Conclusion
Now that you’ve hemmed your pants without a sewing machine, you can strut your stuff with confidence. Just like your grandma used to say, “A stitch in time saves nine,” but in this case, a bit of adhesive does the trick!
Remember to care for your hem by washing gently and avoiding harsh detergents. With these easy steps, you’ll not only save time but also rock a tailored look that’s sure to turn heads.
Hemming without a sewing machine is easier than you think. By following these simple steps, you get a neat finish without the hassle of threading needles or setting up bulky equipment. Whether you’re fixing pants, skirts, or dresses, this method is quick, effective, and perfect for anyone wanting a polished, professional look on a budget.
So go ahead, try these no-sew hemming tips and enjoy a perfectly tailored outfit without breaking a sweat. Happy sewing!