How Do You Sew a Buttonhole in 3 Simple Steps
To sew a buttonhole in three simple steps, first mark exactly where you want the buttonhole to be. Then, attach your buttonhole foot to your sewing machine, adjusting it to fit the size of your button perfectly. This ensures a neat and precise fit.
Next, carefully stitch along the marked line. Keep your stitches even and consistent, and don’t forget to reinforce the edges to make the buttonhole strong and durable. Taking your time here really pays off.
Finally, open the buttonhole neatly using a seam ripper. Be gentle to avoid damaging the fabric.
Finish by pressing the buttonhole flat, which helps it look crisp and professional. As you practice, you’ll pick up handy tips to make your buttonholes look even better and last longer.
Key Takeaways
- Mark the buttonhole placement clearly and attach the buttonhole foot to your sewing machine.
- Insert the button into the foot guide to set the correct size and align fabric properly.
- Sew evenly spaced stitches along the marked line, forming neat edges and bar tacks for reinforcement.
- Carefully open the buttonhole with a seam ripper, using pins to prevent over-cutting.
- Trim edges, apply fray prevention if needed, and press the buttonhole for a professional finish.
Preparing Your Fabric and Buttonhole Foot
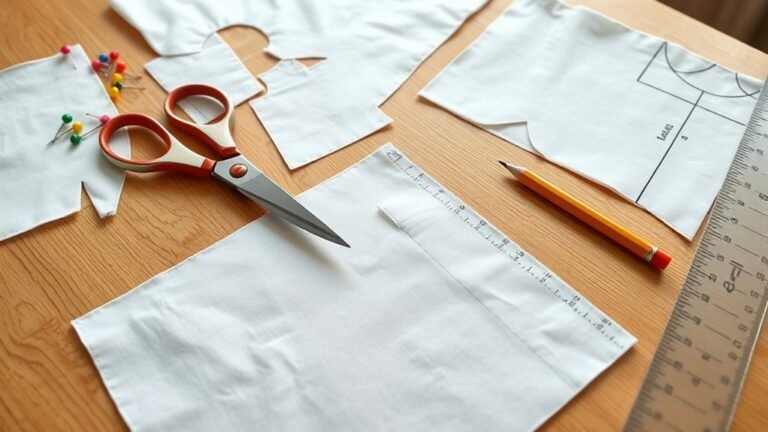
Before you begin sewing, mark the exact position and length of your buttonhole on the fabric using chalk, a fabric marker, or basting threads. This marking guarantees your buttonholes align perfectly with your buttons.
Mark buttonhole placement carefully to ensure perfect alignment with your buttons before sewing.
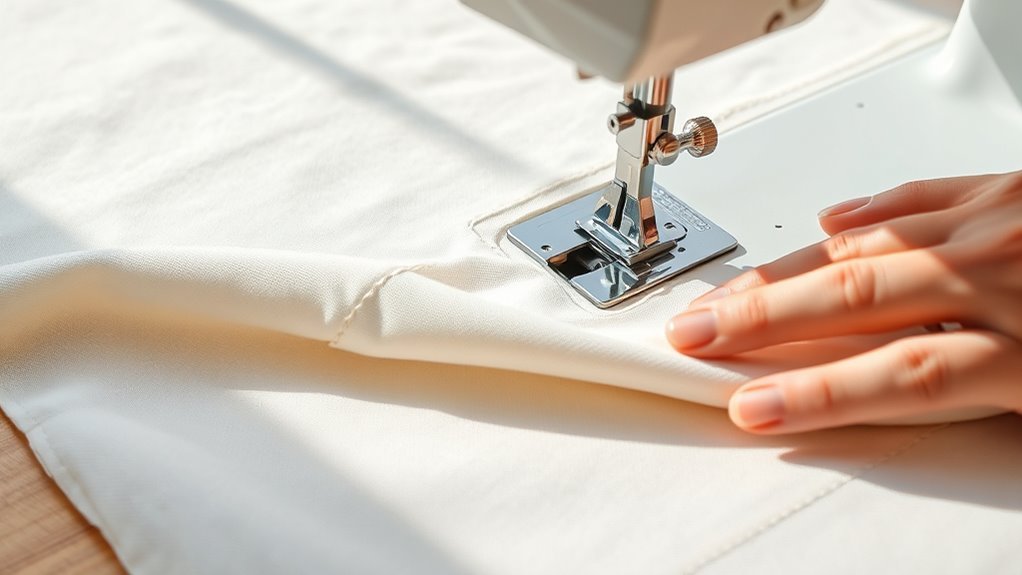
Next, attach the buttonhole foot—often labeled Foot A—to your sewing machine, making sure it’s securely in place. Insert the button into the buttonhole foot’s guide to set the right size for your buttonhole.
Then, adjust the presser foot’s guide plate according to your button’s diameter and thickness, using the sewing machine’s scale markings. Finally, position the fabric with its front side aligned to the red marks or guides on the buttonhole foot before lowering the presser foot.
These steps are essential for preparing your fabric and buttonhole foot for precise sewing.
Sewing the Buttonhole Stitch
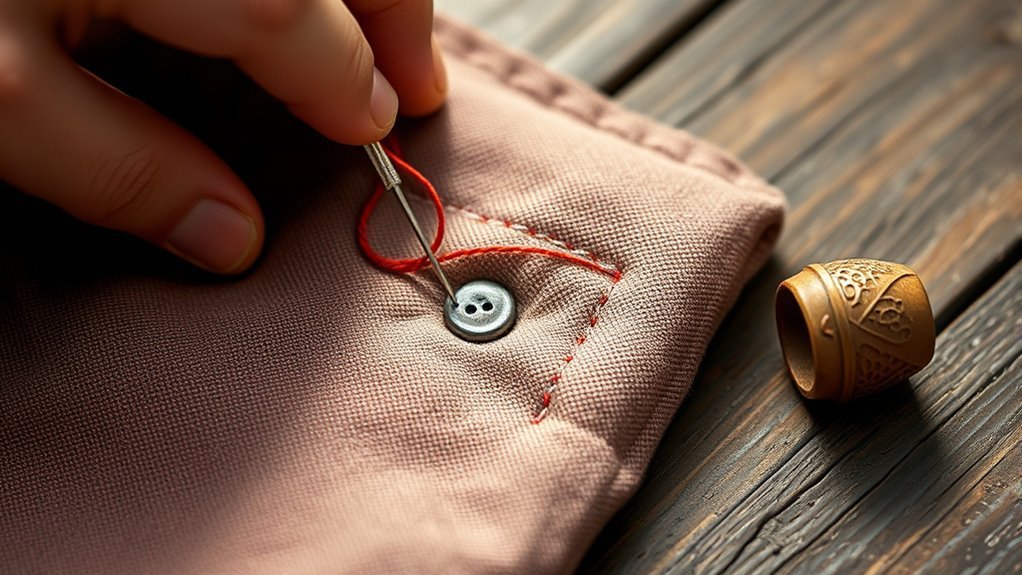
Once you’ve positioned your fabric and set the buttonhole foot, bring the needle up through the fabric at the starting point to begin sewing the buttonhole stitch. Wrap the thread around the needle and push it down to form a neat purl bump.
Sew buttonholes by making small, evenly spaced stitches along the edge, ensuring each stitch touches the last to create a smooth line of purls. As you reach the top corners, carefully round your stitches to form clean, curved edges.
For vertical buttonholes, add reinforcement by stitching a small bar tack from top to bottom, then secure it with horizontal stitches over the long ones. Using a straight stitch to start helps keep your thread firm and your fabric secure throughout the process.
Finishing and Opening the Buttonhole
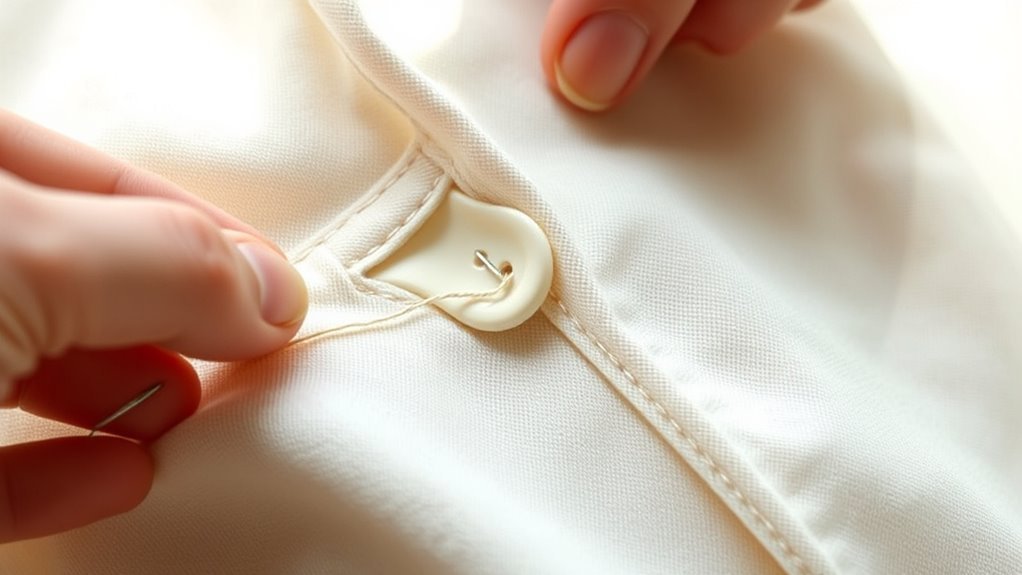
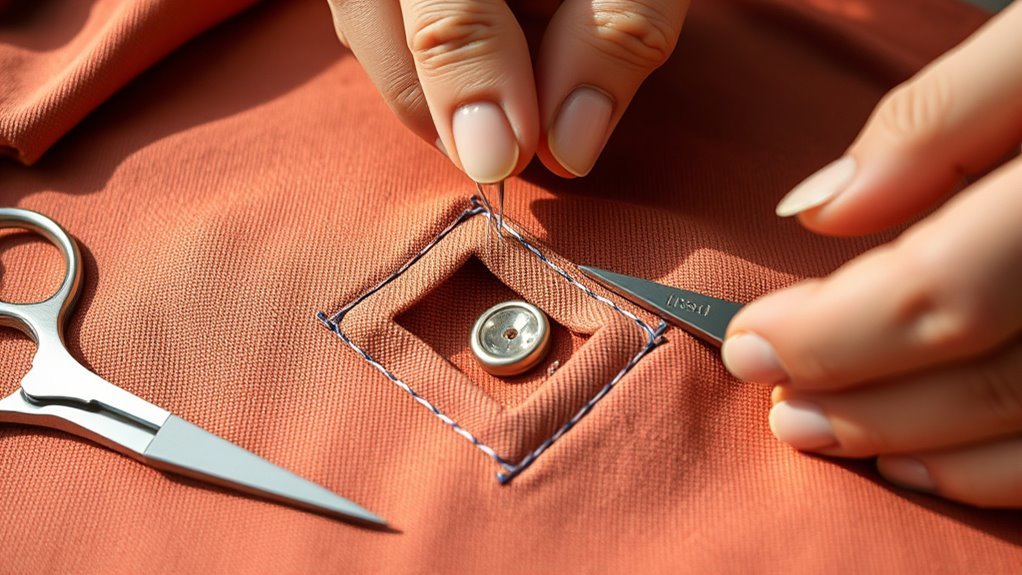
When you finish stitching, carefully open the buttonhole using a seam ripper. Start at one end and work slowly toward the other to avoid damaging the fabric.
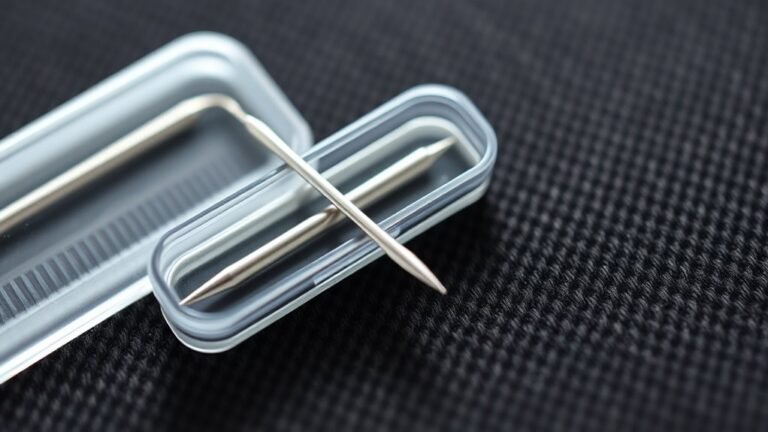
Insert pins at both ends of the stitching to prevent over-cutting or ripping through the threads as you open the slit. Once open, trim any frayed edges around the buttonhole to keep it neat.
If your fabric is delicate or prone to fraying, apply Fray Check to reinforce the edges. For extra durability, you can add a second row of stitching or use fabric glue to reinforce the cut edges.
Finally, press the buttonhole with an iron to flatten the stitching and give your buttonhole a crisp, professional finish that will hold up well over time.
Frequently Asked Questions
How Do You Stitch a Buttonhole Stitch Step-By-Step?
You’ll bring your needle up at the start, stitch down outside the edge, wrap thread around the needle, pull up close, and repeat evenly.
Make sure to keep your stitches consistent in size. Pivot the fabric at the corners to get nice, sharp edges.
Finish with a secure stitch so the buttonhole holds up well. Then, trim any excess thread to keep it neat.
What Is an Easy Way to Make Buttonholes?
Think of your sewing machine as a skilled artist—using its automatic buttonhole feature makes creating buttonholes a breeze. Just set the length, attach the foot, and let the machine do the precise stitching for you effortlessly.
It’s really that simple! No more worrying about uneven stitches or complicated steps. Just a few clicks, and you’re good to go.
How to Sew a Button on Step by Step?
First, position the button on the fabric. Thread your needle, knot the end, and sew through the buttonholes multiple times.
Make sure to go back and forth so the button is nice and secure. Then, secure with a knot, trim excess thread, and make certain the button sits flat and aligned.
What Is a French Buttonhole?
A French buttonhole is a narrow, hand-stitched slit that’s both decorative and durable. You’ll reinforce its edges carefully, creating a polished, elegant opening perfect for high-end tailoring or adding a refined touch to your garments.
It’s a bit of a classic, really. And once you get the hang of it, it can really elevate the look of your clothing. Plus, it’s strong enough to stand up to regular use without losing its shape.
Conclusion
Now that you’ve mastered sewing a buttonhole in just three simple steps, you’re ready to tackle any project with confidence. Did you know that nearly 80% of home sewing projects involve buttonholes?
That means your new skill will come in handy more often than you might think. Keep practicing, and soon sewing perfect buttonholes will become second nature.
This will make your garments look polished and professional every time. So whether you’re fixing a shirt or creating a brand-new piece, knowing how to sew a buttonhole is a must-have skill in your sewing toolkit. Keep at it, and watch your sewing projects shine!