How to Finish a Stitch on a Sewing Machine in 10 Easy Steps
To finish a stitch on your sewing machine, start by gathering essentials like thread and scissors.
Preparing your fabric is key—make sure you choose the right stitch type that suits your material. This not only ensures a clean finish but also helps your project last longer.
As you sew, don’t forget to use backstitching to secure the end of your stitch. This little trick keeps your seams from coming undone.
Once you’re done sewing, trim the threads closely for a neat look.
If you run into any stitching issues, try adjusting the tension or cleaning your machine. These simple fixes can make a big difference.
Finally, check your seam for evenness and consider some basic maintenance tips to keep your sewing machine in top shape.
Want more details?
Key Takeaways
- Use backstitching at the end of seams to secure stitches and prevent unraveling. It really helps keep everything in place.
- Trim excess threads close to the fabric for a clean finish. This step makes your work look neat and professional.
- Leave a small tail of thread (1-2 inches) for knotting if necessary. It’s handy to have just in case you need to tie a knot later.
- Apply seam sealant like Fray Check on cut thread ends to prevent fraying. This little trick can save your seams from coming apart over time.
- Regularly clean and maintain your sewing machine for optimal performance. A well-kept machine makes sewing so much easier and more fun!
Gather Your Sewing Machine Essentials
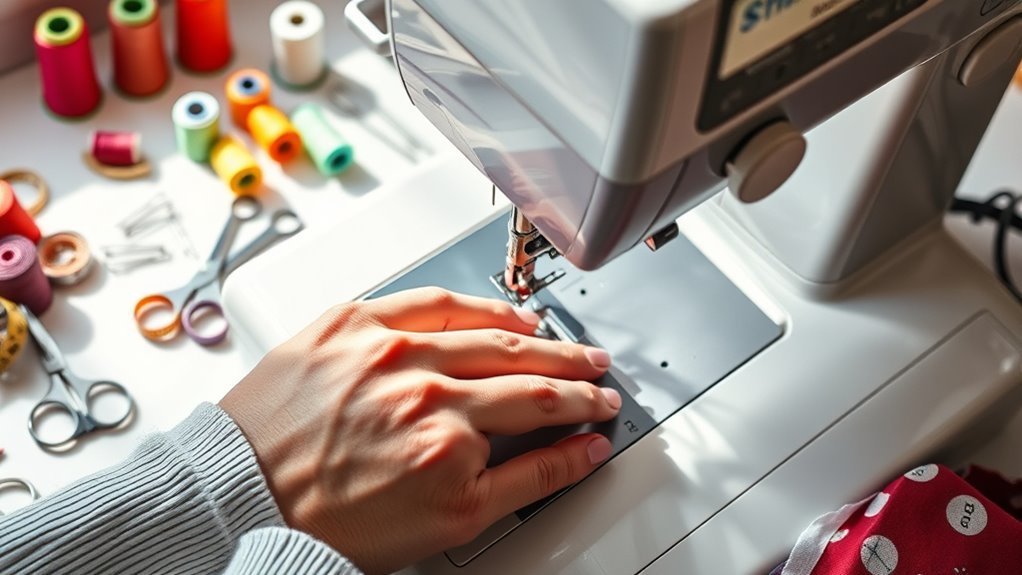
Before you immerse yourself in your sewing project, gather your essentials to guarantee a smooth process. First, make sure your sewing machine is set up correctly, with all components securely in place, including the foot control.
Adjust the table height for comfort so you can work efficiently. Next, collect your tools: thread, a bobbin, sharp needles suitable for your fabric type, and scissors for trimming threads.
Don’t forget to check your instruction manual for threading paths and stitch settings specific to your machine. It’s also wise to have a scrap piece of fabric handy.
Testing your stitch type and length on this scrap helps you avoid mistakes before you start on your actual project.
Prepare Your Fabric for Stitching: Finish a Stitch Effectively
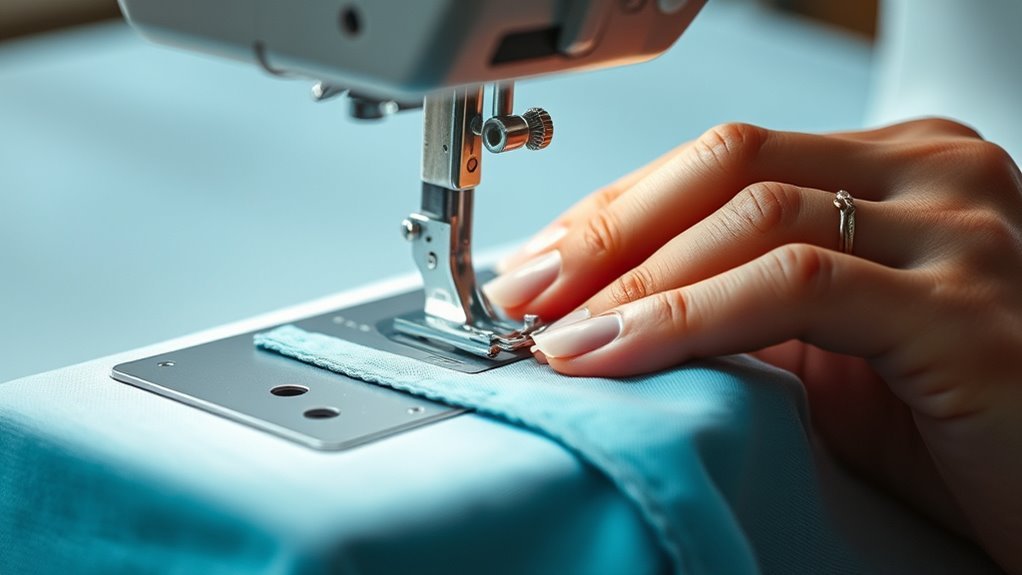
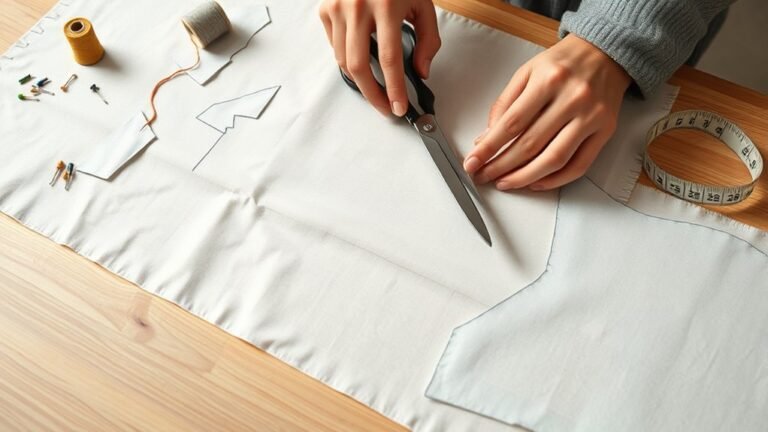
To finish a stitch effectively, you need to start with properly prepared fabric. Begin by verifying your fabric is clean and cut accurately; frayed edges can ruin your stitches.
Use the right needle type and size for your fabric to prevent damage and achieve smooth stitching. Before you begin, adjust the tension on your sewing machine according to the fabric’s thickness—this helps you finish seams evenly without puckering.
Selecting the correct needle and adjusting your machine’s tension are essential for achieving smooth, even stitches.
Always test your stitch on a scrap piece of the same fabric to confirm the stitch length and type are suitable. Finally, secure the beginning and end of your stitch using a reverse stitch or lockstitch function to prevent unraveling.
This preparation guarantees a professional finish for your project.
Select the Right Stitch Type for Your Project
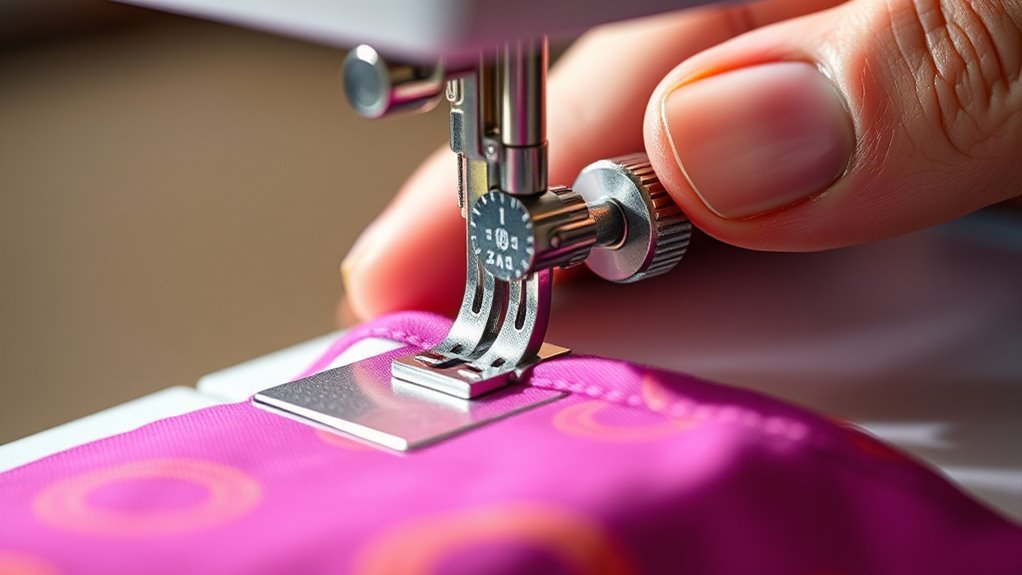
When selecting the right stitch type for your project, consider the fabric you’re working with. Lightweight materials often call for a straight stitch, while knits benefit from a zigzag stitch.
Always test your chosen stitch on a scrap piece to guarantee it meets your expectations before you start. It’s a simple step that can save you a lot of hassle later on.
Stitch Types Overview
Selecting the right stitch type is essential for achieving a polished finish in your sewing projects. Different stitches serve unique purposes, so knowing your options can make a big difference.
| Stitch Type | Best For | Key Feature |
|---|---|---|
| Straight Stitch | Seams, topstitching | Strong and durable |
| Zigzag Stitch | Finishing raw edges | Stretch for knit fabrics |
| Overlock Stitch | Edge finishing | Trims while sewing |
| Buttonhole Stitch | Creating buttonholes | Secures edges |
| Decorative Stitches | Creative embellishments | Adds structural integrity |
When choosing a stitch, consider the stitch length and the type of fabric. This guarantees your project not only looks great but also stands the test of time.
Picking the right stitch might seem tricky at first, but once you get the hang of it, your sewing projects will look way more professional. Just take your time and experiment a bit!
Fabric Compatibility Considerations
Understanding fabric compatibility is essential for achieving the best results in your sewing projects. Different fabrics require tailored stitch types: use a zigzag stitch for knits to allow for stretch, while a straight stitch works best for woven fabrics.
Heavy materials, like denim, benefit from a longer stitch length to prevent puckering and enhance durability. For delicate fabrics, such as silk, a narrow stitch width is ideal to avoid damage while ensuring a clean finish.
Non-fraying fabrics like felt can rely on a simple straight stitch, whereas a zigzag stitch helps prevent fraying on woven types. Always test your chosen stitch type on a scrap piece of the same fabric to confirm it’ll work well with your sewing machine.
Start Sewing: Making Your Initial Stitches
To kick off your sewing project, start by preparing your machine according to the manual. Make sure everything’s set up properly.
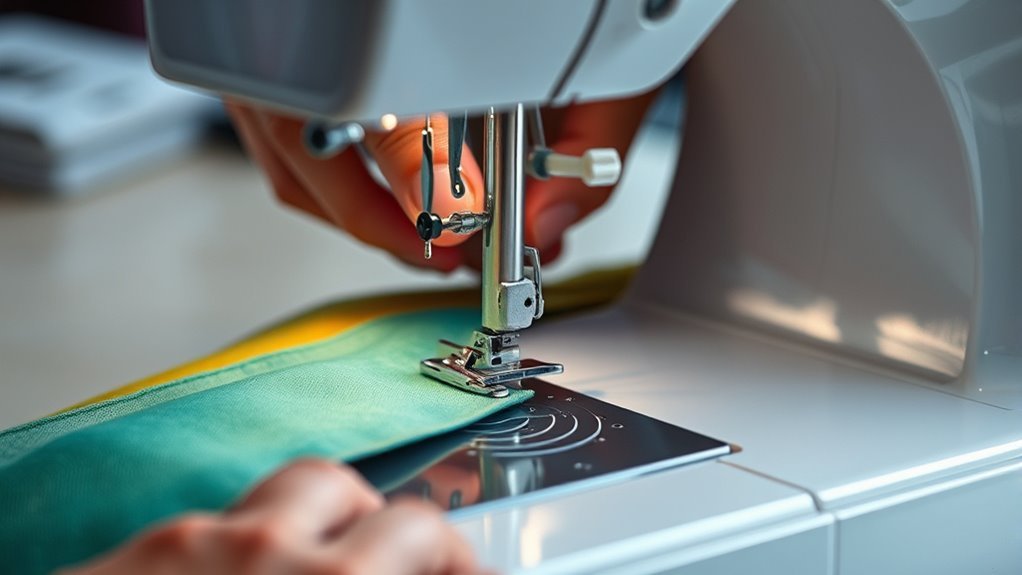
Next, choose the right stitch type and adjust the length based on your fabric. Once you’ve got two layers of fabric under the presser foot, you’re ready to make your initial stitches.
Preparing Your Sewing Machine
Preparing your sewing machine is essential for a smooth sewing experience. Start by ensuring your machine’s on a sturdy table, and position the foot control where you can easily access it.
Here’s what you need to do: place a spool of thread on the machine and secure it with a cap. Then, wind the bobbin evenly and insert it correctly for smooth thread flow.
Test your needle size; make sure it’s appropriate for your fabric. Once everything’s set up, wind the thread through the guides as per the manual.
Don’t forget to select your stitch type and adjust the length according to your project. Always test stitches on a scrap piece to check tension and quality before diving in!
Choosing Your Stitch Type
With your sewing machine ready and set up, it’s time to choose the right stitch type for your project. For general sewing, a straight stitch works well, while a zigzag stitch is better for stretchable fabrics.
Adjust the stitch length to between 2.5 to 3.5 mm for standard seams to guarantee durability and a polished look. Always refer to your sewing machine manual for stitch settings tailored to different fabrics.
Before diving into your main project, test your chosen stitch on a scrap piece of the same fabric. This helps you verify the tension and appearance.
Also, get familiar with built-in stitch options. Advanced models might offer specialized stitches that can really enhance your sewing techniques and finishes.
Secure the End With Backstitching Techniques
Backstitching is vital for securing the end of your seams, as it locks the stitches in place and prevents unraveling. To guarantee your last stitch is strong, follow these steps:
Press the reverse button on your sewing machine as you sew the last few stitches. Backstitch for at least 2-3 stitches, especially in high-stress areas like hems.
Check that your machine is set to a standard stitch length of 2.5mm for best results.
Don’t forget to keep an eye on your tension settings; consistent tension is essential for effective backstitching and overall stitch quality. By mastering this technique, you’ll achieve a neat, professional finish that holds up over time.
Trim Your Threads for a Neat Finish: How to Finish a Stitch
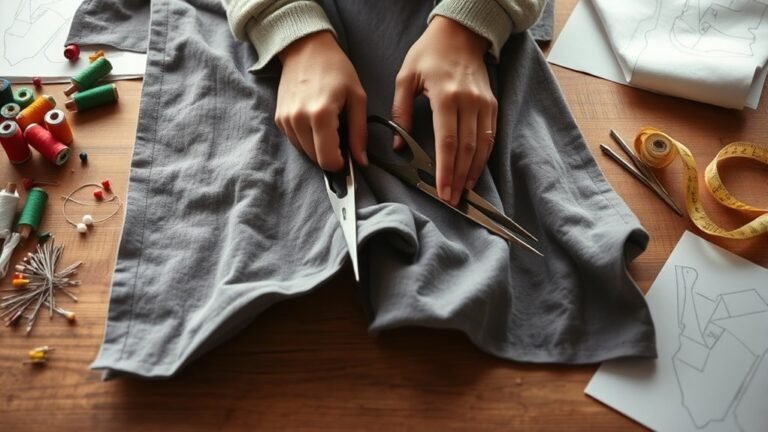
After securing your seams with backstitching, it’s time to tidy up your project. Start by using sharp scissors to trim your threads close to the fabric for a clean, professional finish.
Remember to leave a small tail of about 1-2 inches to make knotting easier if needed. To prevent fraying, apply a seam sealant like Fray Check to the cut thread ends. This helps ensure they stay secure and neat.
This step is essential for keeping your seams looking great over time. For an even more polished look, consider backstitching over the final few stitches before trimming.
Finally, always check your sewing machine’s manual for specific guidance on thread trimming and maintenance. That way, you can achieve the best results every time.
How to Tie Off Threads for a Secure Finish
Tying off threads securely is essential for ensuring your seams hold up over time. To tie off threads effectively, follow these simple steps:
Use the reverse stitch function to sew backward for a few stitches at the end of your seam, locking the threads in place. Leave a tail of about 4-6 inches, so you have plenty of thread to work with.
To secure your seams, use the reverse stitch function at the end and leave a 4-6 inch thread tail for added stability.
For extra security, manually sew a few backstitches over the last stitch before cutting the thread. If your machine lacks a built-in lock stitch feature, don’t hesitate to tie the threads together in a double knot.
Always check your thread tension to avoid puckering, which can compromise your tied-off stitches. It’s a small step that makes a big difference in the durability of your sewing.
Check Your Seam for Evenness: What Next?
Once you’ve secured your threads, it’s time to check your seam for evenness. Start by making sure your fabric tension was consistent during sewing. This helps prevent any puckering.
Grab a ruler or measuring tape to double-check that your seam allowances match your pattern’s requirements. Take a close look at your stitches too. If you see any missed or uneven areas, it might mean you need to adjust the tension or change your needle.
If your stitching looks uneven, try using a walking foot or tweak the presser foot pressure for better fabric handling. And hey, if you want your seam to last a bit longer, you can always apply seam sealant along it.
Don’t forget to run your needle through the last stitch to lock everything in place before moving on. That way, your work stays neat and secure!
Fixing Common Stitching Problems: Tips and Tricks?
Although stitching problems can be frustrating, addressing them quickly can save you time and effort in the long run. Here are some tips to help you troubleshoot:
- Lift the presser foot to re-thread the machine and check the bobbin installation. Misalignment is a common issue.
- Adjusting the tension can fix loose stitches; higher settings work better for thicker fabrics like denim.
- Regularly clean your machine, especially the feed dogs and bobbin case, to prevent lint buildup that leads to skipped stitches.
Before starting your project, always test stitch settings on a scrap piece of fabric to verify they’re suitable. If you face thread breakage, consider using a heavier needle and the correct thread weight for best results.
Maintain Your Sewing Machine: Best Practices
Maintaining your sewing machine is essential for ensuring it runs smoothly and produces high-quality stitches. Start by regularly cleaning the bobbin area and feed dogs to remove dust and lint that can cause jams.
Always use high-quality thread suitable for your machine to minimize tension issues and prevent thread breakage. Don’t forget to change the needle frequently; a dull or damaged needle leads to skipped stitches and can harm your fabric.
Oil your machine as recommended in the manual, typically every 3 to 6 months, to keep everything lubricated. Finally, store your machine in a dust-free environment and use a cover to protect it from debris and sunlight, which can wear down components over time.
Frequently Asked Questions
How to End a Sewing Stitch?
To end a sewing stitch, reverse stitch for a couple of stitches to secure it. If your machine has a lock stitch feature, use that.
Finally, trim excess threads for a neat finish. That way, your sewing looks clean and holds up well.
How to Make a Knot at the End of a String?
Did you know 70% of knots slip? To make a knot at the end of a string, create a loop, pass the end through, and tighten.
For extra security, wrap it around before pulling tight. This helps keep the knot from coming undone easily. Give it a good pull, and you’re all set!
How to Start a Stitch on a Sewing Machine?
To start a stitch on your sewing machine, position the fabric under the presser foot. Then, lower the foot and press the foot control to begin.
Make sure to guide the fabric steadily as you sew. This helps keep your stitches even and neat.
How to Do a Closing Stitch on a Sewing Machine?
You’ll secure your stitches by backstitching at both ends, but don’t worry—your fabric won’t unravel into chaos.
Just adjust the stitch length, align the edges, and press for that polished finish. Easy, right?
Conclusion
Now that you’ve mastered finishing a stitch, you can confidently tackle any sewing project that comes your way. Like a painter adding the final brushstroke to a masterpiece, each step you’ve taken guarantees your seams are neat and secure.
Remember to keep your sewing machine well-maintained. Don’t hesitate to revisit these steps whenever you need a refresher.
With practice, your stitching skills will blossom. You’ll find yourself turning fabric into beautiful creations you can be proud of.
Finishing a stitch on a sewing machine is a simple but essential skill in sewing. By following these easy steps, you ensure your projects are both durable and polished. So keep practicing, stay patient, and enjoy the process of creating something unique with your sewing machine!