How to Do Appliqué on a Sewing Machine in 5 Easy Steps
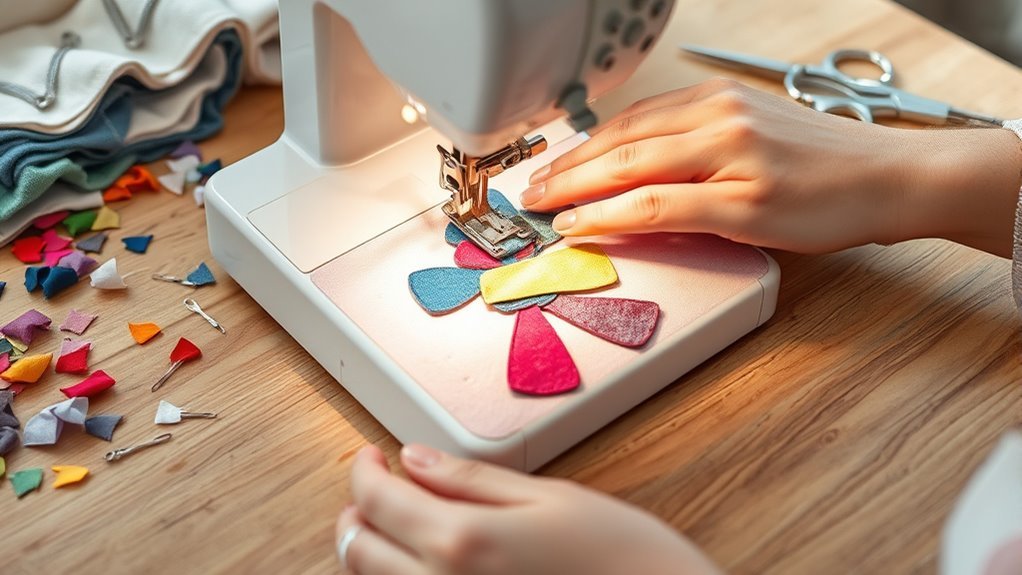
To do appliqué on a sewing machine in five easy steps, start by preparing your fabric pieces with seam allowances and fabric glue. This helps keep everything in place as you work.
Next, set up your machine with monofilament thread and a cotton bobbin for a clean, invisible finish.
Choose an open embroidery foot and adjust your zig-zag stitch to suit your design. Keep the needle down when turning at corners to maintain precision.
After stitching all around the appliqué, finish by pressing with a hot iron to set everything nicely.
Keep going to discover helpful tips and tricks for flawless appliqué! You’ll find that with a little practice, machine appliqué becomes a fun and creative way to personalize your sewing projects.
Ready to get started? Let’s dive in!
Key Takeaways
- Prepare your appliqué pieces by turning under the seam allowance and securing them with fabric glue to maintain their shape during stitching.
- Set up your sewing machine with clear monofilament thread on the spool and quality cotton in the bobbin for a smooth finish.
- Use an open embroidery presser foot and adjust the zig-zag stitch width to 0.7 and length to 1.10 for optimal results.
- Keep the needle down while turning corners and utilize the hover feature for precise adjustments around curves.
- Complete the appliqué by repeating zig-zag stitching around all pieces and finish with a hot iron press for a polished look.
What Is Machine Applique and Why Use It?
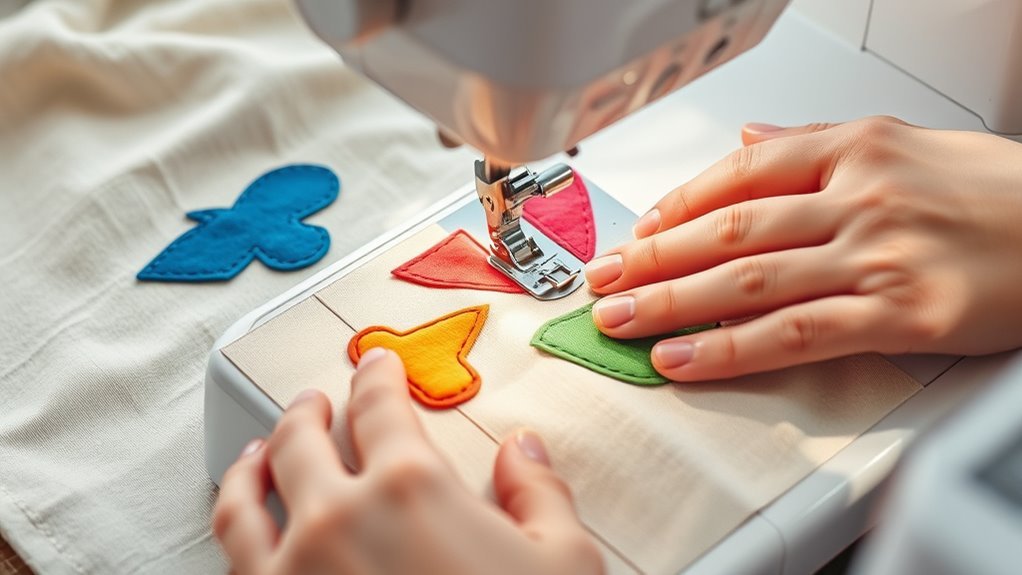
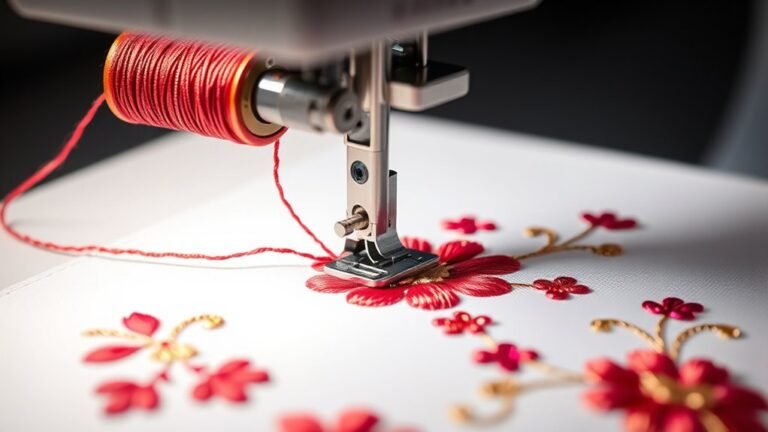
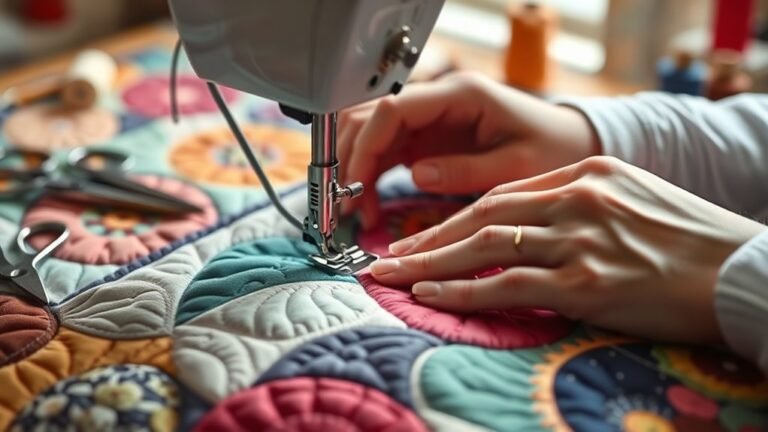
Machine applique is a dynamic sewing technique that lets you stitch smaller fabric pieces onto a larger base, creating stunning designs with ease. This method is incredibly versatile, allowing you to use various applique techniques like raw edge applique, which leaves edges exposed, or turned-edge, where you fold fabric edges under.
You can choose from different applique patterns, enhancing your fabric projects, whether they’re quilts or home décor. To achieve a polished finish, common stitches like the zigzag stitch or satin stitch work beautifully, adding unique design elements.
Don’t forget to use a stabilizer to prevent puckering and guarantee even stitching. This helps you get a clean, professional look for your creations.
Your Five-Step Guide to Machine Applique
Now that you’re familiar with machine applique and its benefits, it’s time to put that knowledge into practice. Follow these five steps for a flawless finish:
Prepare your appliqué pieces, turning under the seam allowance and securing with fabric glue. This will keep everything in place and neat.
Prepare your appliqué pieces by turning under the seam allowance and securing them with fabric glue for a neat finish.
Set up your sewing machine with clear monofilament thread on the spool and quality cotton in the bobbin. These choices help your stitches blend beautifully.
Choose an open embroidery presser foot, adjusting the zig-zag stitch width to 0.7 and length to 1.10. These settings give you that perfect stitch size.
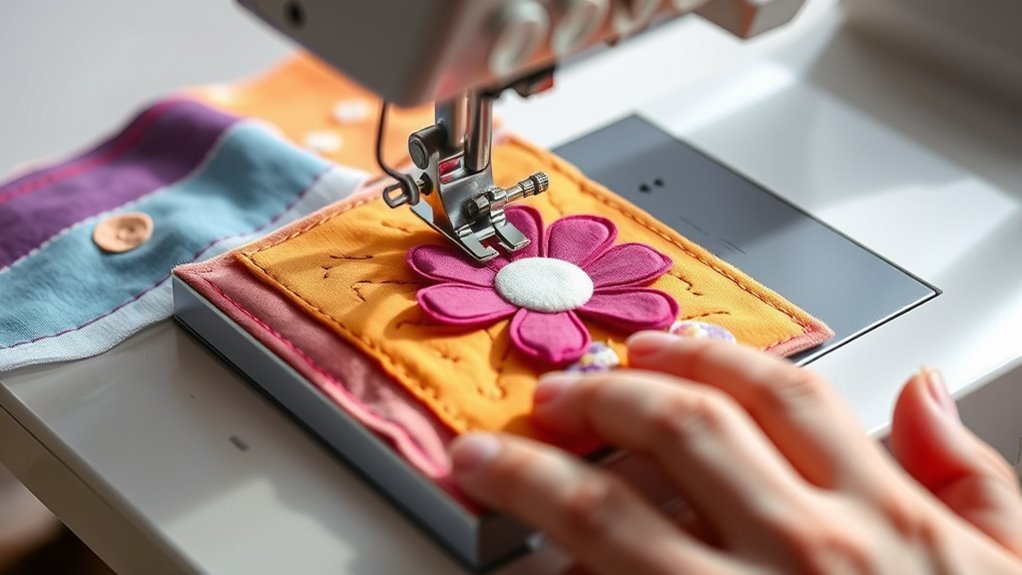
Keep the needle down while turning at corners, using the hover feature for adjustments. It’s a handy trick that keeps your corners sharp.
Repeat the zig-zag stitching around all appliqué pieces, ensuring no raw edges show for durability and a hand-stitched look. Your work will look polished and last longer.
Grab your hot iron for the final touch! Give your appliqué a quick press to set everything perfectly.
What You’ll Need for Successful Applique
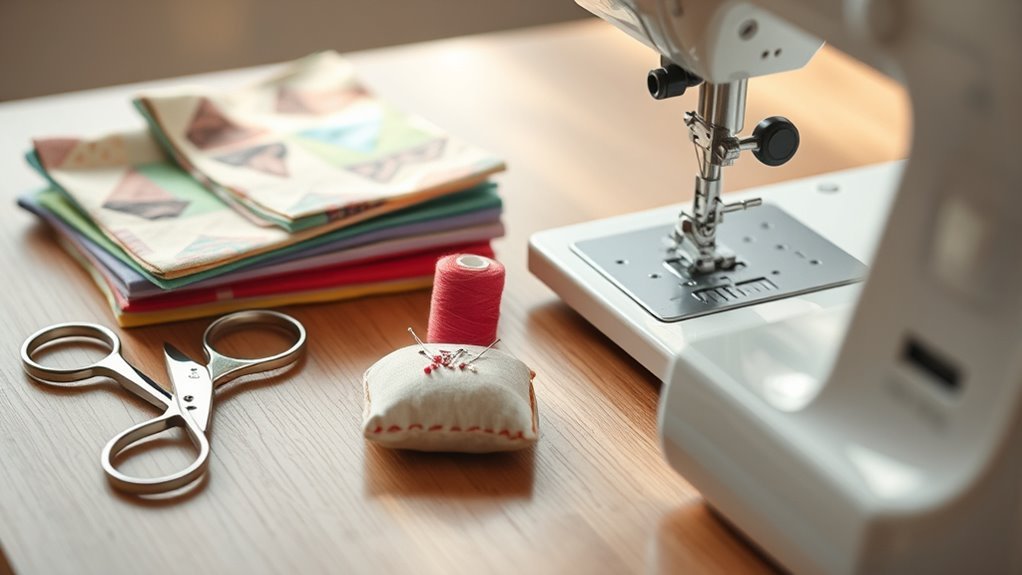
To achieve successful appliqué, you’ll need a few essential supplies. Start with a reliable sewing machine equipped with a quilting needle (size 70 or 75) and coordinating cotton or polyester threads.
Use Wonder Under paper backing to secure your appliqué fabric. This eliminates the need for tracing and makes it easier for beginners.
A clear open-toe or walking foot really helps. It enhances visibility and control while stitching intricate designs.
Have a variety of stitch options ready: satin stitch for sealing edges, zigzag stitch for decoration, and blanket stitch for that cozy, home-spun look.
For added stability, consider using a tear-away stabilizer. It prevents fabric rippling during sewing, especially with thinner or stretchy materials.
These tips for sewing will definitely help guarantee your project shines!
Essential Stitch Types for Machine Applique
When you immerse yourself in machine appliqué, choosing the right stitch type is essential for achieving the desired look and durability. Here are some stitch options to evaluate for your appliqué pieces:
- Satin Stitch: A tight zig-zag that seals raw edges for a polished finish. It’s great when you want a clean, professional look.
- Straight Stitch: Simple and quick, but leaves edges raw. Perfect for beginners who want to get started without fuss.
- Blanket Stitch: Mimics hand-stitching, adding a decorative touch to your project. It gives a charming, homemade feel.
- Zig-Zag Stitch: Offers flexibility while still securing raw edges. A solid choice if you want both function and a bit of style.
- Decorative Stitch: Adds unique flair and embellishment, though it may leave edges raw. Use it when you want your appliqué to stand out with personality.
Troubleshooting Common Machine Applique Challenges
Choosing the right stitch type can really make a difference in your machine appliqué experience. But even when you’re using the best techniques, you might still run into some challenges.
If you notice puckering, try using a stabilizer and adjust your thread tension to get a balanced stitch. It usually helps smooth things out.
To prevent skipped stitches, double-check that your needle is threaded correctly and matches your fabric type. These small details can save you a lot of hassle.
If your stitches look uneven, try slowing down your sewing speed, especially when you’re going around curves. Using a walking foot can also give you better control.
When the appliqué fabric shifts, secure it with fabric glue or pin it down before sewing. That way, everything stays in place.
For fraying edges, go for a tight stitch like a zigzag stitch. Plus, reinforcing raw edges with lightweight fusible web before sewing helps you get a clean, professional finish.
Frequently Asked Questions
How to Do Appliqué on Sewing Machine for Beginners?
Start with raw edge appliqué using adhesive like Heat N Bond. Use a clear foot for visibility, choose a zigzag stitch, and practice on scraps.
It might feel tricky at first, but don’t worry! Joining online quilting communities can be super helpful for tips and support as you learn.
How to Appliqué Step by Step?
Start by preparing your appliqué pieces and securing them. Use a clear foot for visibility, select an appropriate stitch, and pivot carefully at corners.
Finish with even stitches for a polished, professional appearance. It really helps to take your time and keep your stitches consistent. You’ll see the difference it makes!
What Sewing Machine Stitch to Use for Appliqué?
To dance delicately around your fabric’s edges, use a zigzag stitch for flexibility or a satin stitch for a smooth embrace.
A blanket stitch adds charm, while a straight stitch keeps things simple and neat.
Each stitch gives your appliqué its own unique touch, so feel free to experiment and find what feels right for your project!
What Are Common Appliqué Mistakes to Avoid?
Avoid common appliqué mistakes like skipping stabilizer, using improper thread tension, and neglecting practice on scraps. Ignoring seam allowance and rushing through curves can also cause problems.
Take your time to guarantee a polished and professional-looking finish on your projects. Trust me, a little patience goes a long way!
Conclusion
In just five easy steps, you can master machine appliqué and elevate your sewing projects. Did you know that 80% of quilters incorporate appliqué techniques in their work? It’s a fantastic way to add personality and creativity to your fabric creations.
So, grab your materials, choose your favorite designs, and start stitching! With practice, you’ll not only overcome challenges but also discover a new passion for embellishing your projects.
Happy sewing! Machine appliqué is a fun and rewarding technique that brings your fabric art to life. By following these simple steps, you’ll create beautiful, personalized pieces that stand out. Whether you’re a beginner or experienced sewer, incorporating appliqué on a sewing machine can transform your projects with unique textures and designs. Keep practicing, and soon you’ll be amazed at how easy and enjoyable machine appliqué can be!