How Do You Sew Elastic Into Fabric in 10 Easy Steps
First, measure and cut your elastic to fit, adding a seam allowance. This step is crucial because it ensures your elastic won’t be too tight or too loose once sewn in.
Next, mark the fabric where the elastic will go to keep everything aligned.
Choose a zigzag or stretch stitch on your sewing machine and adjust the settings accordingly. These stitches allow the fabric and elastic to stretch without breaking the thread.
Pin or clip the elastic evenly to the fabric, leaving a small opening for adjustments later.
Now, sew while gently stretching the elastic to fit the fabric. This helps the elastic gather the fabric smoothly.
After sewing, close any openings with clean stitches to secure the elastic in place.
Finally, test the stretch of your fabric to make sure everything feels comfortable and fits well. If needed, make any adjustments to perfect the fit.
Keep going to discover tips for a professional finish and perfect fit!
Key Takeaways
- Measure and cut elastic with a 1-inch seam allowance. Make sure the length is accurate and the edges are straight for a snug fit.
- Pin the elastic evenly along the fabric edge. Keep it taut but don’t overstretch it. It helps to mark key intervals for guidance.
- Use a zigzag or stretch stitch when sewing the elastic. Adjust the tension and stitch length as needed. Keep the tension consistent to avoid puckering.
- Leave a small opening while sewing so you can adjust the fit later. Once happy with it, close the opening by folding the fabric edges inward and sewing securely.
- After sewing, test the elastic stretch. If needed, make any adjustments. Finish the seams with backstitching to ensure durability and give it a professional look.
Measure and Cut the Elastic
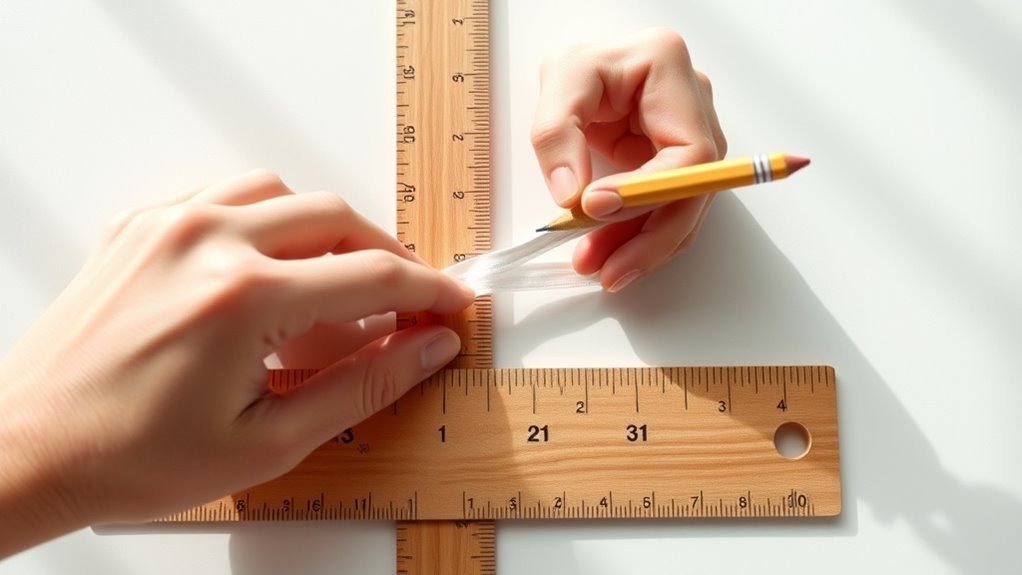
Before cutting your elastic, measure it carefully by wrapping it around the area where it will be sewn, adding an extra inch for seam allowance. Use a fabric measuring tape or a ruler to get an accurate measurement.
Double-check the length before cutting to avoid wasting elastic or ending up with the wrong size. When you’re ready, cut the elastic straight across with sharp scissors—this prevents fraying and gives you a clean edge.
After cutting, lay the elastic flat and keep it untangled until you’re ready to sew. This helps maintain the proper length and makes the sewing process smoother. Taking these careful steps ensures your elastic fits perfectly and your project turns out just right.
Mark the Fabric for Elastic Placement
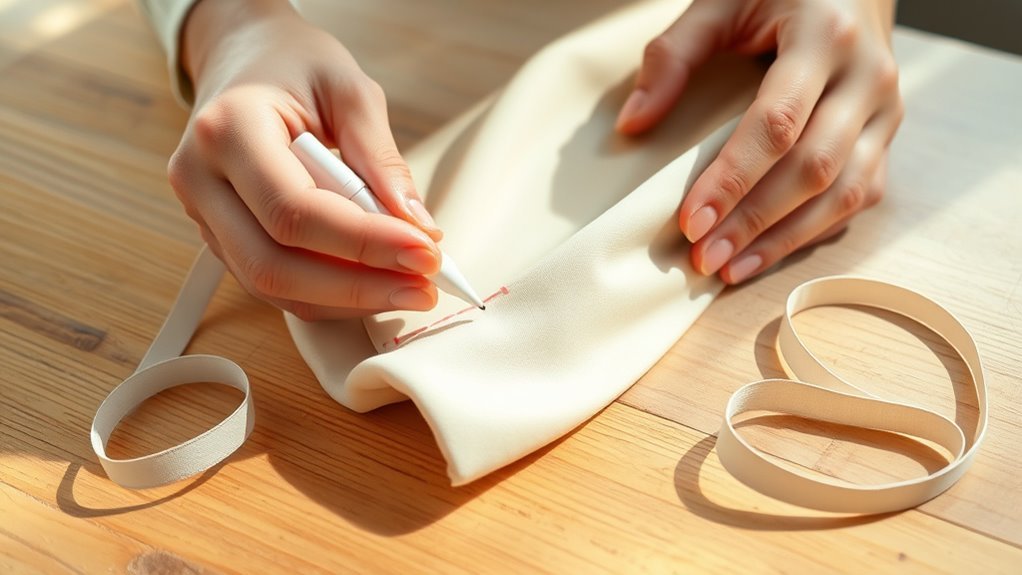
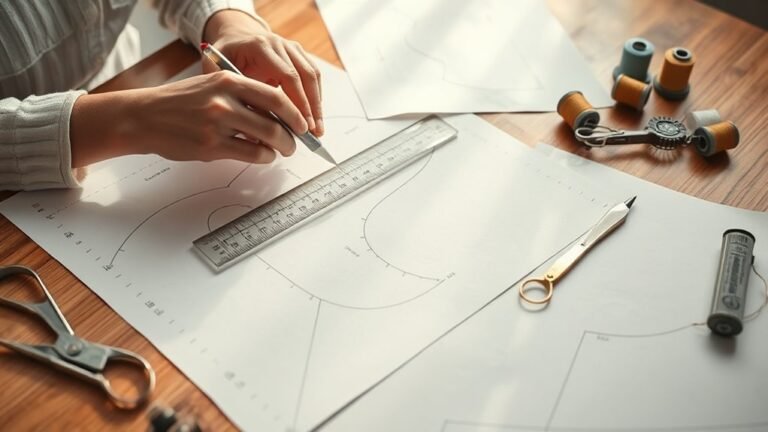
When you’re ready to attach the elastic, use a ruler and fabric chalk or a fabric marker to mark its placement on the fabric. Accurate markings help you sew the elastic evenly and avoid misalignment.
Start by measuring the elastic’s desired length and transfer these points onto your fabric. Typically, you’ll make marks at both ends or at regular intervals where the elastic will go. Remember to double-check all measurements before sewing.
Use clear, visible marks to guide your stitching. Measure carefully to ensure a proper fit. Mark both ends and key points along the fabric.
Avoid guessing; precise markings save time and frustration. This preparation step guarantees your elastic sits perfectly for comfort and durability.
Choose the Appropriate Stitch Type
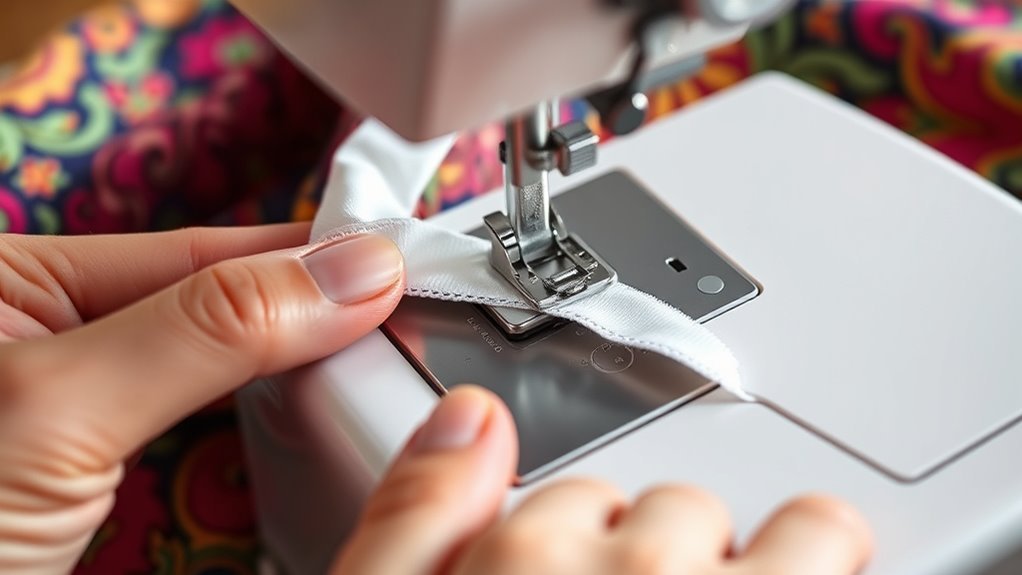
Although sewing elastic requires flexibility, you’ll want to use a zigzag or stretch stitch to keep the fabric and elastic secure without restricting movement. A zigzag stitch allows the elastic to stretch without breaking the thread, which is essential when working with stretchy materials.
On your sewing machine, select either a stretch stitch or a stretch zigzag stitch to accommodate the elastic’s elasticity. Adjust the stitch length and width to ensure enough stretch is allowed but avoid sewing too tightly, which can cause discomfort or fabric damage.
Always test your stitch settings on scrap fabric and elastic first to find the perfect tension. When sewing, maintain even tension along the elastic’s edge to prevent puckering or bunching, ensuring a smooth, professional finish.
Prepare the Sewing Machine Settings
Since sewing elastic requires flexibility, you’ll need to set your machine to a stretch or zigzag stitch to accommodate movement. This guarantees your elastic maintains its stretch without breaking stitches.
Next, adjust your stitch length to a shorter setting, usually between 1.5 and 2.0 mm; this helps secure the elastic firmly to the fabric. Don’t forget to balance the tension so the fabric won’t pucker or gather awkwardly.
Before you start, test your settings on scrap fabric with elastic to confirm everything sews smoothly. It’s a quick step that saves you from any surprises later on.
Keep these tips in mind:
- Use zigzag or stretch stitches for wider elastic
- Straight stitches work for narrow elastic bands
- Set stitch length short for strong hold
- Adjust tension to prevent puckering
This setup prepares you for a neat, flexible finish. You’ll be glad you took the time to get it right!
Pin or Clip the Elastic to the Fabric
Start by aligning the elastic evenly along the fabric edge to guarantee a smooth fit. Use pins or clips placed perpendicular to hold it securely without shifting while you sew.
Make sure the elastic is taut but not stretched to keep the fabric gathered just right. This way, your sewing will turn out neat and comfy.
Align Elastic Evenly
When you pin or clip the elastic to the fabric, make sure to space them evenly to prevent shifting as you sew. Proper alignment ensures a smooth, professional finish without puckering or uneven gathers.
Here’s how to align your elastic evenly:
- Slightly stretch the elastic as you pin or clip to distribute it evenly across the fabric.
- Match the edges of the elastic with the fabric edge or seam line for a clean look.
- Use sewing clips instead of pins if the elastic is delicate to avoid damage.
- Mark placement points on the fabric beforehand to maintain consistent spacing.
Following these steps helps keep the elastic secure and aligned. It also makes your sewing process easier and gives you better results.
Secure With Pins
A few well-placed pins or clips will keep your elastic firmly in place as you sew, preventing it from shifting or twisting. Start by laying the elastic flat on your fabric, making sure it’s evenly distributed and free of twists.
Then, pin or clip it at regular intervals—about every few inches—to hold it taut and aligned. Place the pins perpendicular to the fabric edge; this makes them easier to remove as you sew.
As you stitch, gradually pull out the pins to maintain consistent tension and avoid bunching. Using pins or clips this way ensures your elastic stays perfectly positioned, giving your finished project a smooth, professional look.
Prevent Fabric Shifts
Keeping your elastic securely pinned or clipped to the fabric at regular intervals helps prevent it from shifting while you sew. This simple step guarantees your elastic stays flat and evenly distributed, maintaining consistent tension for a professional finish.
Use straight pins or fabric clips to hold the elastic firmly in place before stitching. If you want extra security, temporarily baste the elastic with long, loose stitches to keep it from moving.
As you sew, regularly check that the elastic hasn’t twisted or bunched up. To prevent fabric shifts effectively:
- Pin or clip the elastic evenly at multiple points
- Keep the elastic flat against the fabric
- Baste with long stitches if needed
- Continuously monitor the elastic’s position while sewing
Sew the Elastic Onto the Fabric
Although it might seem tricky at first, sewing elastic onto fabric becomes straightforward once you measure and cut the elastic slightly shorter than your fabric section to guarantee a snug fit. Pin or clip the elastic evenly along the fabric edge, aligning the ends carefully.
Use a zigzag or stretch stitch on your sewing machine to attach the elastic, stretching it just a bit as you sew to maintain flexibility. Sew close to the elastic’s edge, ensuring your stitches are secure without restricting stretch.
Don’t forget to backstitch at the start and end to keep the elastic from unraveling or coming loose. Following these steps will give you a neat, durable, and flexible seam that holds the elastic firmly in place.
Leave an Opening for Adjustments
Since you might need to adjust the fit later, leave a few inches of fabric unsewn when attaching the elastic. Don’t sew the elastic completely closed—this opening lets you tighten or loosen the elastic whenever necessary.
Make sure the gap is large enough to easily insert your hand or the elastic for adjustments. Mark this opening with a pin or chalk so you can quickly find it later.
Once you’re happy with the fit, sew the opening shut securely to keep the elastic in place and prevent it from slipping out. Remember these key points:
- Leave extra fabric unsewn for flexibility
- Don’t close the elastic loop fully at first
- Mark the opening clearly for easy access
- Securely stitch the opening after fitting adjustments
Gather Fabric While Sewing for Fit
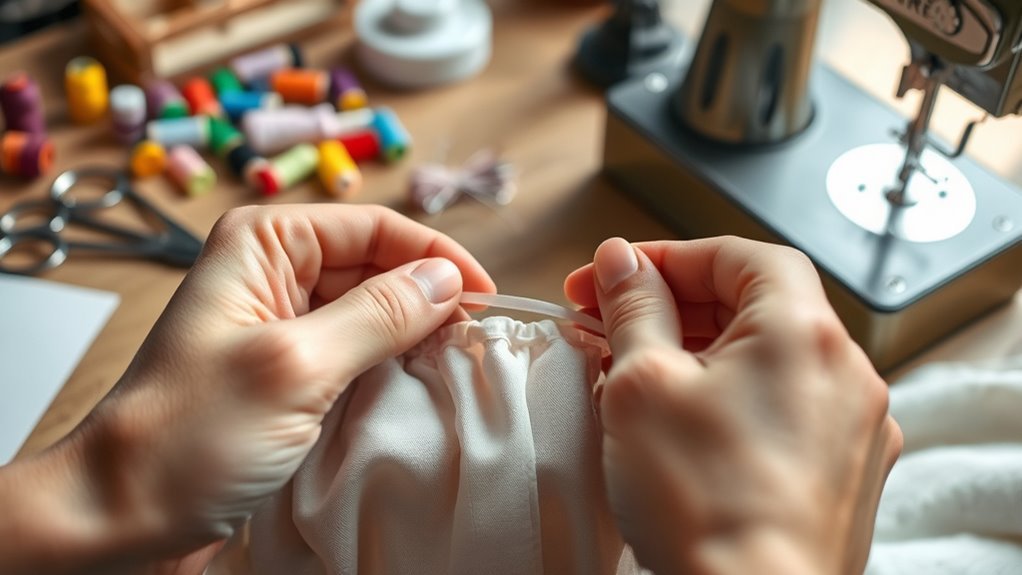
After leaving an opening for adjustments, focus on gathering the fabric evenly as you sew the elastic in place. Smooth out any wrinkles before you start to guarantee the elastic lies flat and the fabric distributes evenly.
Use pins or fabric clips to hold the fabric steady, preventing it from shifting while you sew. Gently stretch the elastic as you stitch, keeping consistent tension to avoid puckering or bunching.
Sew a straight, even line along the edge where the elastic meets the fabric, making sure the elastic stays evenly distributed within the fabric. Regularly check the alignment of both fabric and elastic during sewing to maintain a smooth fit without gathers or gaps.
This careful approach ensures comfort and a professional finish.
Close Any Remaining Openings
When you finish sewing the elastic into place, fold the fabric edges inward to close any remaining openings. Secure these edges with pins or clips so the fabric doesn’t shift while you sew.
Use a straight stitch to close the opening, making sure your stitching is even and tight. To strengthen the seam, sew over the edges multiple times or backstitch at the start and end.
Once the opening is fully closed, trim any excess fabric or stray threads to give your project a polished look.
- Fold edges inward neatly before stitching
- Pin or clip to hold fabric securely
- Sew with straight stitches and reinforce seams
- Trim excess fabric for a clean finish
This final step ensures your elastic is neatly enclosed and durable.
Test the Stretch and Adjust Fit
How do you guarantee your elastic fits just right? Before sewing, gently stretch the elastic to check its flexibility and make certain it’ll comfortably fit the area.
Next, adjust the fabric to your desired fit and mark where you’ll sew the elastic to keep proper tension. Use a ruler or tape measure to get the exact elastic length, factoring in stretch for a snug fit.
Temporarily secure the elastic with pins or clips, then test how it stretches and sits within the fabric. After sewing, stretch the elastic slightly to confirm it maintains its stretch and that the fabric fits comfortably without puckering.
This process ensures a perfect fit and prevents any discomfort or distortion in your finished project. Easy, right? Just follow these steps, and you’ll be good to go!
Frequently Asked Questions
How to Sew Elastic Directly to Fabric?
You cut the elastic slightly shorter than the fabric, pin it in place, then use a zigzag stitch while stretching the elastic evenly.
Sew close to the edges, press the seam, and check for a smooth, secure finish.
It’s pretty straightforward once you get the hang of it! Just take your time stretching the elastic evenly as you sew.
How Much Fabric Do You Need for an Elastic Waist Skirt?
You’ll need about 1.5 to 2 yards of fabric for an elastic waist skirt, depending on your size and fabric width.
Add 20-30% more if you want gathers or pleats for extra fullness.
It’s always better to have a little extra fabric on hand, just in case!
Why Won’t My Sewing Machine Sew Elastic?
You’re wondering why your machine’s struggling with elastic? It’s likely the tension’s too high or you’re using the wrong needle.
Switch to a stretch needle, adjust the tension, and try a zigzag stitch to fix it quickly. Give that a shot and see how it goes!
What Is the Best Stitch for Elastic Waistband?
The best stitch for your elastic waistband is a zigzag stitch because it stretches with the elastic without breaking.
Use a width of 2.5–3.0 and length of 0.5–1.0 for the best results. This way, your seam stays strong but flexible.
Conclusion
Now that you’ve sewn elastic into your fabric, you’ve added a little stretch of comfort that moves with you. Like a gentle hug, the elastic guarantees your project fits just right, blending function and style effortlessly.
Remember, practice makes perfect—each stitch brings you closer to mastering this skill. So, don’t hesitate to adjust and test until it feels just right.
Sewing elastic into fabric is a handy skill that can transform your sewing projects. Whether you’re making waistbands, cuffs, or other stretchy details, a well-sewn elastic ensures both comfort and durability.
Keep practicing these steps, and soon you’ll be confident in adding elasticity to any fabric. You’ve got this—happy sewing!