How to Bring Sewing Needles on a Plane Safely
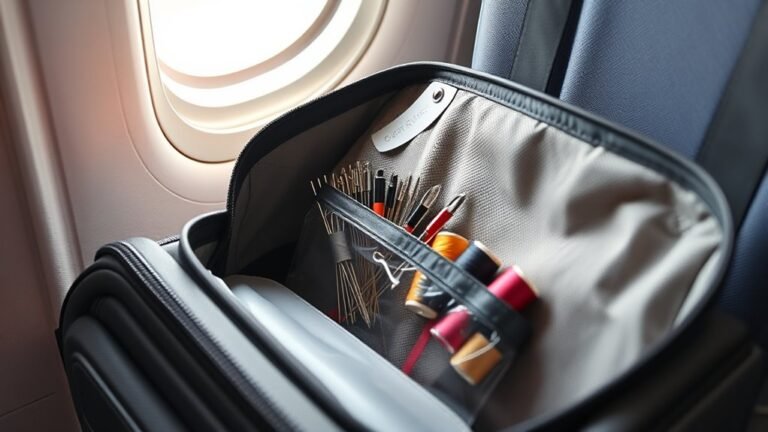
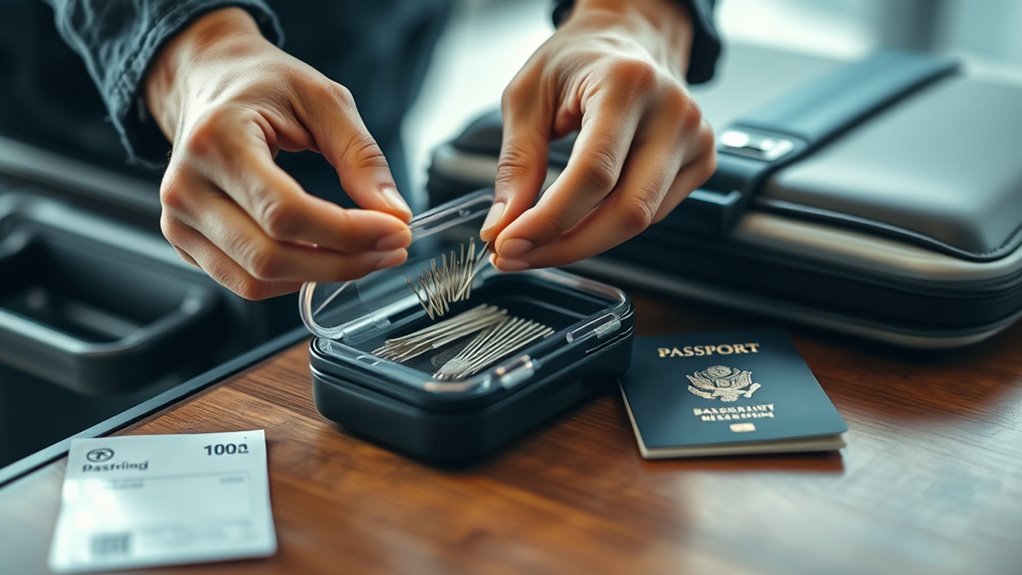
You can bring sewing needles on a plane safely by packing them in a clear, labeled container or their original packaging. This helps security quickly identify them and speeds up the screening process. It’s best to carry only a small number of needles to avoid any issues.
Avoid bringing loose needles, as they can be flagged or confiscated. If you bring scissors, make sure they are under four inches in length. Most airlines and TSA allow needles in carry-on bags, but it’s always smart to check specific airline or country rules before you fly.
Keeping your sewing tools organized and compliant will make security screening much smoother. Following these simple tips can help ensure your sewing supplies travel hassle-free.
That way, you can focus on your projects and enjoy your trip without any worries!
Key Takeaways
- Pack sewing needles in clear, labeled containers or keep them in their original packaging. This makes security screening easier and helps avoid confiscation.
- Carry needles in your carry-on bags. Most airlines and TSA allow this, but it’s a good idea to double-check specific airline and country rules before you fly.
- Use small, hard-shell or magnetic needle cases to keep your needles organized and safe. Plus, it makes them easy to spot during security checks.
- Try to limit the number of needles you bring to a manageable amount, like 3-5. Avoid carrying loose needles to speed up the inspection and stay safe.
- Always confirm and follow all airline and international security guidelines. This way, you can prevent any delays or having your sewing needles taken away.
Understanding TSA Regulations for Sewing Needles
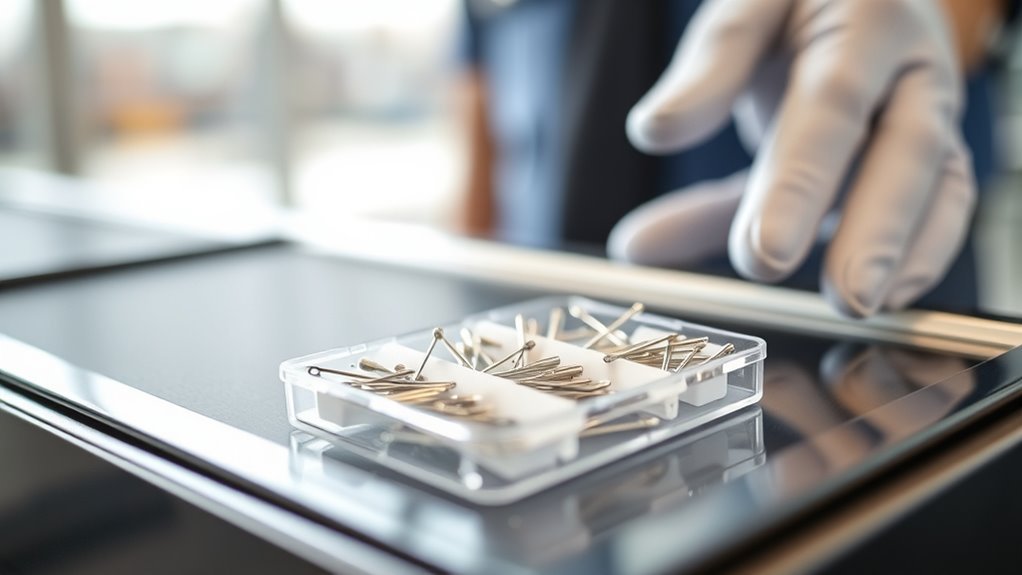
Although TSA generally allows embroidery and sewing needles in carry-on bags, rules can vary depending on the airport and security officer. When you travel, keep in mind that needles are sharp objects and may sometimes be flagged during security screening.
To avoid issues, pack small needles—typically under 2 inches—in your carry-on rather than checked luggage, as carry-on items undergo more visible inspections. Keep your needles in their original packaging or a clear, labeled container to make the screening process smoother.
Since seating arrangements and security checkpoints differ by airport, it’s wise to check TSA regulations and contact your airline beforehand. Staying informed about current air travel rules helps ensure your needles pass through security without hassle.
Carry-On Versus Checked Baggage: What You Need to Know
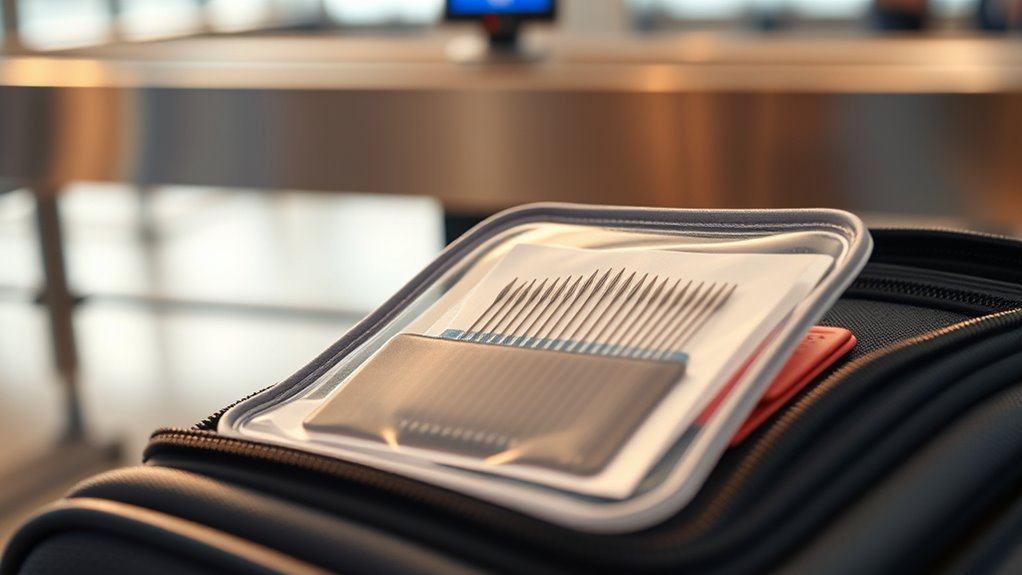
When packing your sewing needles, you’ll want to check carry-on restrictions since some airlines limit needle sizes or types. Checked baggage often offers more flexibility and fewer screening hassles, especially if you pack needles in clear, labeled containers.
Always double-check TSA and airline rules to avoid surprises during security screening. It’s better to be safe than sorry, right? Just a little prep can save you time and stress at the airport.
Carry-On Needle Restrictions
Since most airlines and TSA regulations allow sewing needles in carry-on luggage, you’ll usually be able to bring your embroidery or hand sewing needles without issue. However, it’s smart to check your specific airline’s policies beforehand, as rules can vary.
To make security screening smoother, keep your sewing needles in a secure, clearly labeled container. This helps TSA agents quickly identify them and reduces delays.
Remember, while sewing needles are generally allowed, sharp scissors and cutting tools might be restricted in carry-on bags and require checking instead. Always review the latest TSA guidelines before your trip, since security policies can change over time.
Following these steps ensures you can bring your sewing needles safely and avoid surprises at the airport.
Checked Baggage Advantages
While carrying sewing needles in your carry-on can be convenient, placing them in your checked baggage often lowers the chance of them being confiscated. Checked luggage undergoes less strict TSA screening, so you can bring a wider range of sewing tools without worry.
To keep your needles safe, store them in labeled, hard-shell containers within your checked luggage in case the bag is jostled during transit. This method also helps avoid delays at security checkpoints, making your travel smoother.
However, double-check airline policies and international regulations before packing needles in checked luggage, as some countries may have specific restrictions. Overall, using checked baggage is a smart way to transport sewing needles safely and efficiently on your trip.
TSA Screening Tips
Although TSA rules allow many sewing needles in carry-on bags, knowing how to pack them properly can save you time and hassle at security checkpoints. Place your sewing needles in a clear, labeled container to make inspection smoother and avoid delays.
Keep scissors with blades under 4 inches in your carry-on, but pack larger scissors in checked luggage. Sharp tools like punch needles or large sewing needles might prompt extra screening, so organizing them visibly helps.
Remember, TSA officers have final say on what’s allowed, so carry only essential, TSA-compliant sewing tools to reduce confiscation risks. Also, check your airline and airport security guidelines before traveling, as rules can change unexpectedly.
This approach will help you breeze through TSA screening with your sewing needles intact.
Preparing Your Sewing Needles for Security Screening
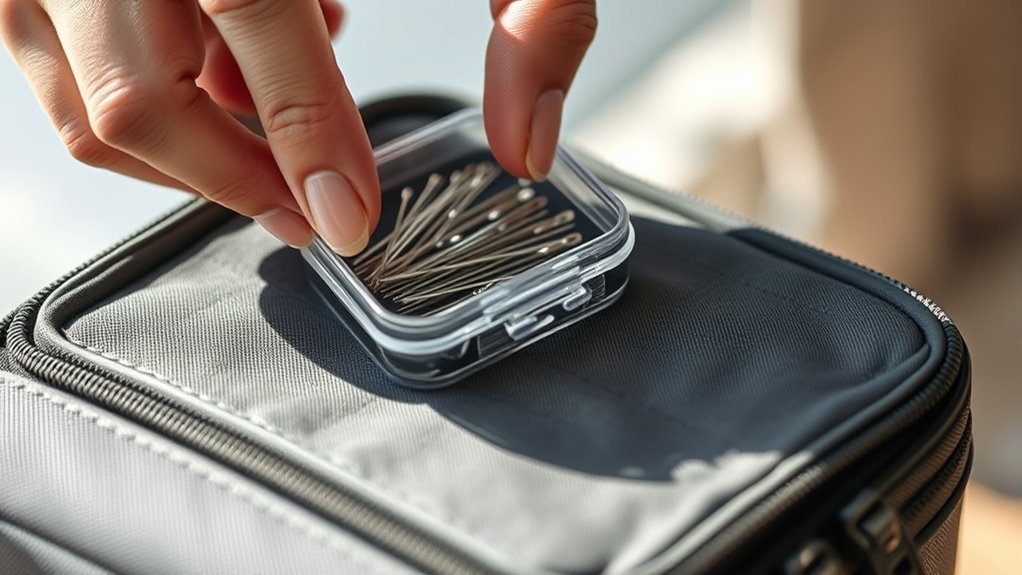
When you prepare your sewing needles for security screening, organizing them properly can make the process much smoother. Store your sewing needles in their original packaging or a clear, labeled container to help TSA agents quickly identify them.
Using a small, hard-shell case or magnetic needle keeper keeps your needles safe and prevents loss. It’s best to limit the number of needles you bring to 3-5, and pack them only in your carry-on luggage for easier inspection.
Avoid carrying loose needles to prevent injury. Keeping everything neat really helps speed things up at the checkpoint.
| Storage Method | Quantity Limit | Luggage Type |
|---|---|---|
| Original Packaging | 3-5 needles | Carry-on only |
| Clear Labeled Case | 3-5 needles | Carry-on only |
| Hard-shell Case | 3-5 needles | Carry-on only |
| Magnetic Needle Keeper | 3-5 needles | Carry-on only |
| Loose Needles | Not recommended | Avoid |
Differentiating Between Embroidery Needles and Other Sharp Tools
Properly organizing your sewing needles helps security agents identify them quickly. But it’s equally important to recognize how embroidery needles differ from other sharp tools you might carry.
Embroidery needles are small, slender, and usually have a rounded or slightly pointed tip without a cutting edge. This makes them less sharp and less likely to raise concerns.
They also feature a longer eye to hold multiple strands of embroidery floss. In contrast, sewing or quilting needles can be sharper and sometimes mistaken for dangerous items.
To avoid confusion, keep embroidery needles in a secure, transparent case that clearly shows they’re hand sewing tools. Carry other sharp tools in their original packaging or labeled containers.
This way, you’ll ensure smooth security screening and prevent confiscation. It’s all about making things clear and easy for everyone involved.
Safe Storage and Organization Tips for Needlepoint Supplies
To keep your needlepoint supplies safe and easy to find, use compact storage solutions like small compartmentalized cases or magnetic holders. Clear containers let you quickly identify needles during security checks without opening every box.
Staying organized this way helps you breeze through airport screenings and protects your tools from damage or loss. It’s a simple trick that makes traveling with your needlepoint gear much less stressful.
Compact Storage Solutions
Three simple storage solutions can help you keep your sewing needles organized and secure while traveling. First, use clear, small plastic containers or magnetic needle cases to prevent loss and make your sewing needles easy to find.
Second, store needles in their original packaging or hard-shell cases to speed up security inspections and reduce concerns. Third, transparent zip-top bags or small compartment organizers let you keep supplies visible and accessible.
Always separate sharps from other tools by designating specific compartments, which complies with TSA rules and enhances safety. Finally, pre-assemble your kit with pre-threaded needles, thread bobbins, and compact scissors to minimize clutter and streamline security checks.
These compact storage solutions make traveling with sewing needles hassle-free and secure. Give them a try next time you pack!
Clear Containers Benefits
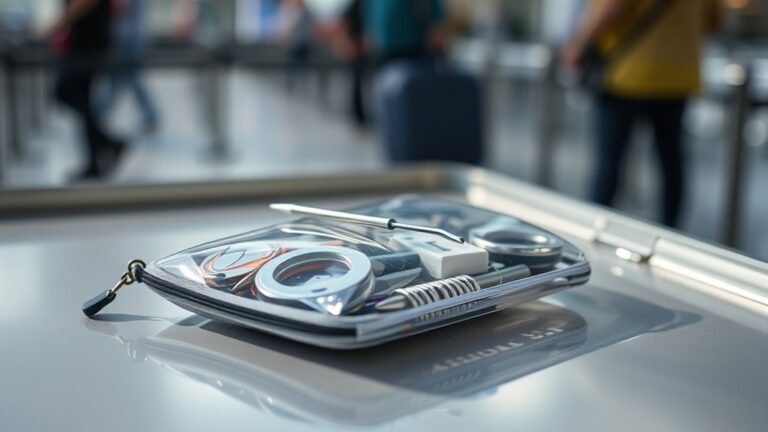
When you pack your sewing needles in clear containers, you make security checks quicker and reduce the chance of losing small supplies. Clear containers let TSA officers see your items easily, complying with TSA rules and speeding up inspections.
Using hard-shell or plastic see-through boxes protects needles from damage and keeps everything organized. Plus, labeling each container helps you find what you need fast and avoids confusion during travel.
| Benefit | Description | TSA Advantage |
|---|---|---|
| Visibility | Easy to see contents without opening | Faster security checks |
| Protection | Hard-shell cases prevent damage | Needles stay secure |
| Organization & Labeling | Keeps supplies sorted and easy to locate | Minimizes risk of confiscation |
Clear containers are your smartest choice for safe sewing travel. They make packing and security checks a breeze!
Alternatives to Scissors for Thread Cutting During Flights
Although traditional scissors aren’t allowed on planes, you can still manage thread cutting with TSA-approved alternatives like nail clippers or dental floss containers that have built-in cutters. These compact thread cutters comply with airline security rules and help you trim threads neatly during your flight.
Before you board, consider pre-cutting your thread into manageable lengths to minimize the need for cutting tools in the air. If you need to adjust or tension threads, small blunt-tipped sewing needles or safety pins can assist without the risk of sharp blades.
Selecting Suitable Needlepoint Projects for Air Travel
Because space and convenience matter on a plane, choosing small, ornament-sized needlepoint projects will make your travel stitching much easier. When packing your sewing kits, focus on projects that are manageable and quick to complete.
Here’s how to select the best needlepoint projects for air travel:
- Pick simplified designs with fewer colors to minimize supplies and avoid complexity.
- Choose projects with minimal shading and details so you can stitch comfortably in different lighting conditions.
- Opt for quick-to-finish pieces that allow you to pause and resume easily during flight interruptions.
Navigating International and Airline-Specific Restrictions
Since regulations for sewing needles vary widely across countries and airlines, you should always check specific rules before you travel. Some countries allow embroidery needles in carry-on luggage, while others classify them as sharp objects that may be confiscated.
It’s a good idea to contact your airline or security authorities to confirm policies at both departure and arrival points.
| Country | Carry-on Policy |
|---|---|
| UK (Heathrow) | Embroidery needles allowed |
| US (TSA) | Sharp objects may be confiscated |
| Canada | Generally permitted in packaging |
| Australia | Restrictions vary by airline |
Always pack sewing needles in clear, labeled containers. This makes inspections easier and helps avoid surprises during security checks.
Best Practices to Ensure Smooth Security Checks With Sewing Supplies
Checking specific international and airline rules is just the first step when traveling with sewing supplies. To guarantee smooth security checks with sewing needles in carry-on luggage, follow these best practices:
Pack embroidery needles in clear, labeled containers or keep them in their original packaging. This helps security staff quickly identify them and speeds up the process.
Use small scissors under 4 inches or safety scissors to meet TSA size limits and avoid confiscation. It’s better to be safe than sorry!
Carry only essential needles and tools, organized neatly in a transparent bag or compact container. This will make the inspection process quicker and less stressful for you.
Frequently Asked Questions
Can You Take Sewing Needles in Your Checked Baggage?
Yes, you can take sewing needles in your checked baggage. Just make sure to pack them securely in a sturdy, labeled container. This helps avoid any damage or injury during the trip.
Also, it’s a good idea to double-check the airline and destination rules before you travel. That way, you stay compliant and avoid any surprises at the airport.
How to Travel With Your Sewing Machine?
Don’t put all your eggs in one basket—pack your sewing machine in a sturdy, padded case.
Remove batteries if needed, check airline rules, declare it at security, and prepare for extra screening to travel hassle-free.
What Items Are Banned in Hand Luggage?
You can’t bring scissors over 4 inches, rotary cutters, or sharp tools with blades in hand luggage.
Liquids, gels, and aerosols have size limits, too. Always check your airline’s rules before packing to avoid surprises.
Can I Hand Sew on a Plane?
Yes, you can hand sew on a plane, but keep your needles in a secure, labeled case. Always check TSA rules beforehand, as officers might inspect sharp items.
Stay organized to avoid any issues during screening. It’s a good idea to be prepared and know what’s allowed, so your sewing project goes smoothly while you fly.
Conclusion
You might think bringing sewing needles on a plane is tricky, but it’s easier than you expect—especially when you know the rules. By packing your needles safely in your carry-on and choosing the right projects, you’ll breeze through security without a hitch.
Funny enough, preparing your sewing kit just right not only keeps you stress-free but also turns your flight into a perfect chance to stitch and relax. Who knew travel and craft could go hand in hand?
When you bring sewing needles on a plane safely, it’s all about following TSA guidelines and using a sturdy case. This way, you avoid any issues at security checkpoints and keep your needles organized. Plus, having your sewing kit ready means you can enjoy your flight productively, making the most of travel time.
So, whether you’re a seasoned crafter or just starting out, knowing how to pack your sewing needles for air travel lets you combine creativity and convenience. Bringing sewing needles on a plane safely is simpler than you think—it just takes a bit of planning and the right approach.