How to Embroider With a Sewing Machine Step by Step
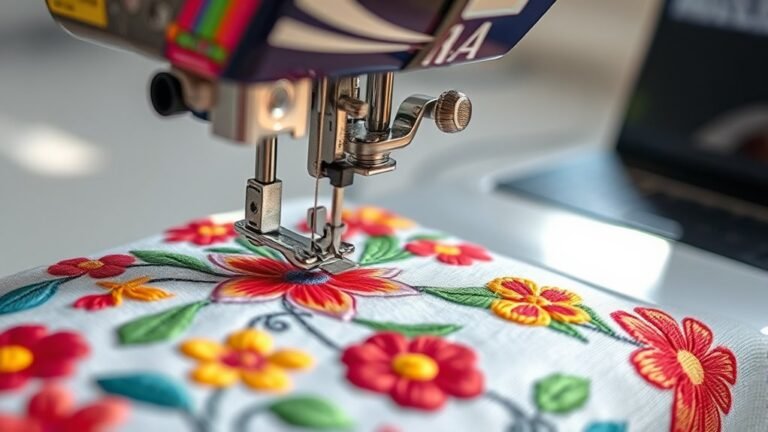
To embroider with your sewing machine, start by transferring your design onto a wrinkle-free fabric. Make sure to secure it tightly in a hoop with stabilizer underneath to prevent puckering. This setup is key for smooth embroidery.
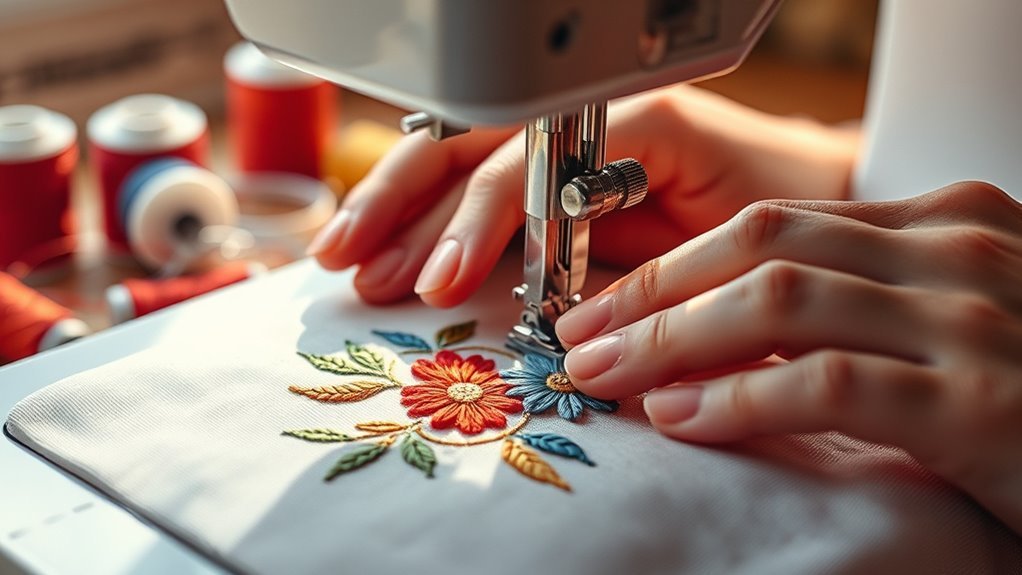
Next, set your machine for straight or zigzag stitches, and lower the feed dogs. Guide your fabric slowly and steadily to outline and fill your designs. Taking it slow helps keep your stitches neat and precise.
Once you’ve finished, trim any loose threads and iron your work carefully. Mastering these basics will set you up well.
As you gain confidence, exploring more detailed techniques will help you achieve professional-quality embroidery. So, keep practicing and have fun with it!
Key Takeaways
- Transfer the design onto fabric using a fabric marker or transfer paper. Then, iron the fabric to remove wrinkles for accurate placement.
- Hoop the fabric tightly with the appropriate stabilizer behind it. This helps prevent puckering and ensures stable stitching.
- Attach a free-motion or embroidery presser foot. Lower or disable the feed dogs, and thread the machine with embroidery thread.
- Sew slowly with a consistent speed. Outline with straight stitches and fill with narrow zigzag stitches while guiding the fabric steadily.
- Once finished, remove the stabilizer and any loose threads. Then, iron from the wrong side and store the embroidered item carefully.
Preparing Your Fabric and Design
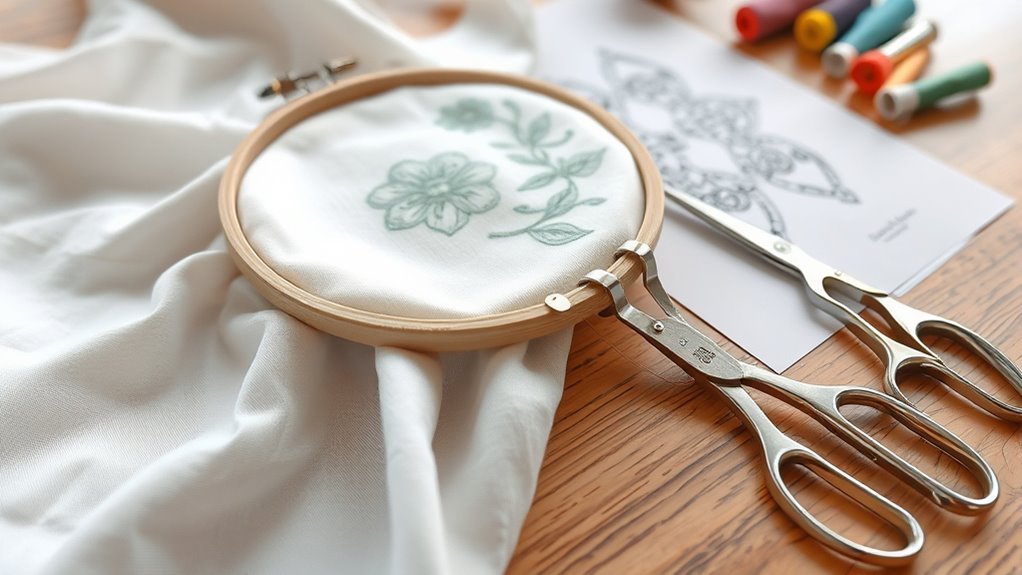
Before you begin embroidering, make sure to transfer your design onto the right side of the fabric using a fabric marker or transfer paper for precise placement. Next, apply a suitable stabilizer, like tear-away or cutaway, to the entire design area. This prevents puckering and keeps your stitches stable.
Now, place the fabric with the design beneath the embroidery hoop, aligning it so the design sits perfectly centered within the hoop’s boundaries. Tighten the hoop to keep the fabric taut, ensuring even tension across the design area for smooth stitching.
Finally, test your setup on scrap fabric to confirm the design’s position and that the stabilizer holds securely. This preparation helps you achieve clean, professional embroidery results every time.
Essential Tools and Materials for Machine Embroidery
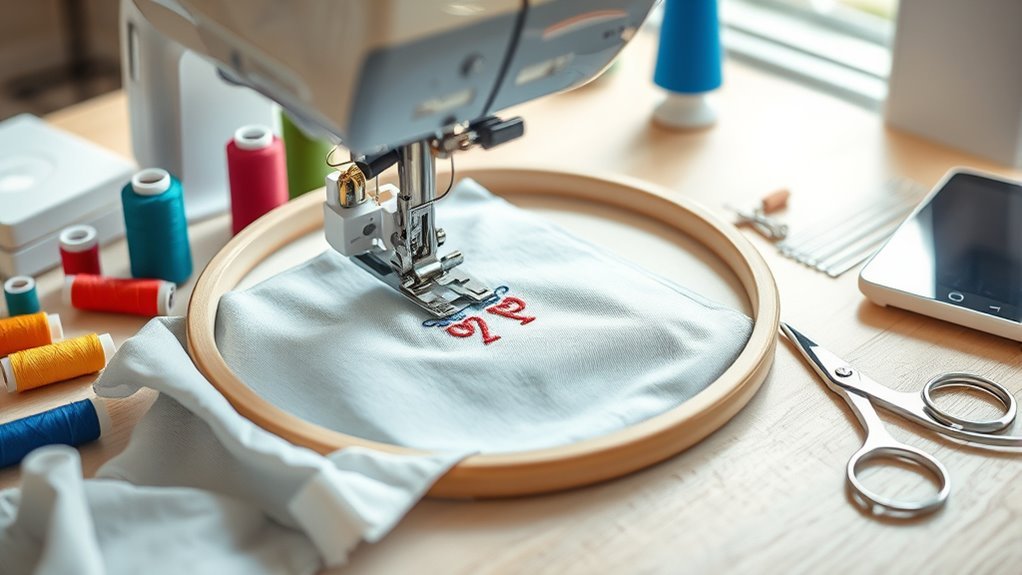
Once your fabric is prepped and secured in the hoop, gathering the right tools and materials will make your machine embroidery experience smoother and more enjoyable.
Your embroidery machine needs stabilizers like tear-away or cutaway to prevent puckering and jams. Don’t forget a suitable presser foot, such as a quilting or free-motion foot, which keeps your fingers safe while stitching.
Use sharp embroidery scissors for clean thread trimming, and choose 2-ply embroidery thread with specialized needles for flawless results.
| Tool | Purpose | Tip |
|---|---|---|
| Stabilizers | Support fabric during stitching | Select type based on fabric weight |
| Presser Foot | Guides fabric & protects fingers | Use free-motion for detailed designs |
| Embroidery Scissors | Trim threads precisely | Keep blades sharp for clean cuts |
| Embroidery Needles | Ensure smooth stitching | Match needle size to fabric |
Setting Up Your Sewing Machine for Embroidery
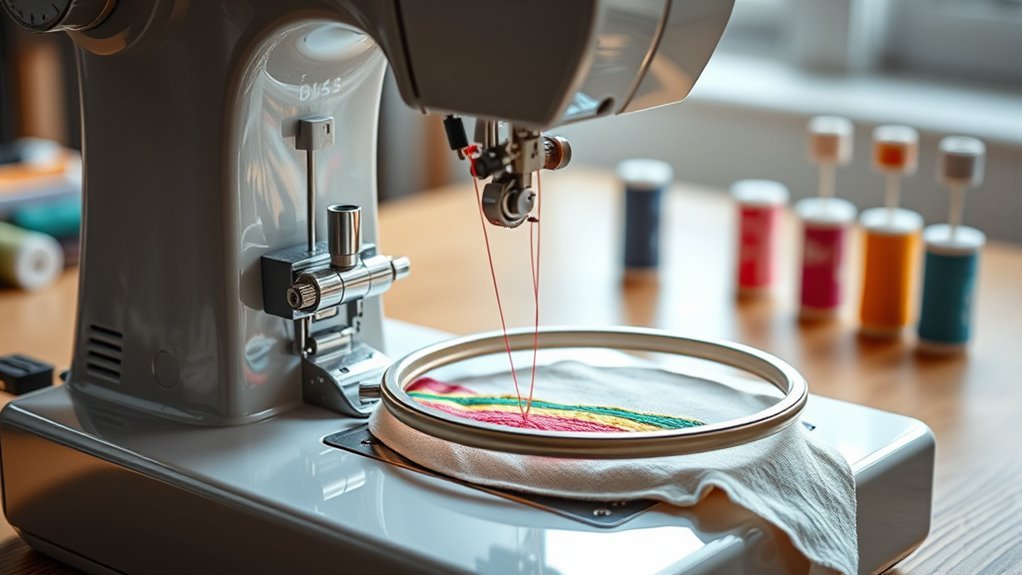
Although setting up your sewing machine for embroidery might seem tricky, you can simplify the process by removing the presser foot and needle. Then, attach a compatible free-motion foot to allow smooth fabric movement.
Next, lower the feed dogs using your machine’s switch or install a darning plate to prevent the fabric from advancing during embroidery. Set your stitch to a straight stitch and test different stitch lengths and widths to achieve ideal tension and stitch quality.
Be sure to thread the needle properly and adjust tension as needed. Also, confirm your sewing machine supports embroidery hoop use and consult the manual for specific hoop installation and machine settings.
Proper setup ensures your embroidery flows smoothly and your designs come out crisp. It’s worth taking the time to get everything just right!
Transferring and Hooping the Fabric
Before you start stitching, transfer your design onto the fabric using a fabric marker or transfer paper for precision. This helps you follow the pattern exactly.
Next, apply a stabilizer to keep the fabric steady during embroidery. It makes sure your fabric doesn’t shift or pucker.
Finally, hoop your fabric properly. Make sure it’s tight and centered to prevent wrinkles and guarantee smooth stitching. It really makes a difference!
Design Transfer Methods
When transferring your embroidery design onto fabric, you can choose from several effective methods such as tracing with a water-soluble pen, using iron-on transfer paper, or drawing directly with a fabric marker. To guarantee accuracy, use a light box or tape your design to a window for tracing intricate patterns.
You can also use carbon transfer paper for printed designs. Before transferring, iron your fabric to remove any wrinkles, which helps the design lay flat.
After transferring, center the design within your embroidery hoop, placing the fabric’s right side up. Tighten the hoop evenly to keep the fabric taut during stitching. Proper transfer and hooping ensure your design stays aligned and stable as you sew, making your embroidery precise and professional-looking.
Stabilizer Application Techniques
Since choosing the right stabilizer is essential, pick one—tear away, cutaway, or water-soluble—that fits your fabric and design to provide the best support.
First, transfer your design onto the fabric’s right side using a fabric marker or transfer paper. Next, position the stabilizer behind the fabric, making sure it fully covers the design area.
Then, secure the fabric and stabilizer in the hoop, pulling the fabric taut and smooth to avoid wrinkles or puckering. Before stitching, double-check alignment for precise placement.
- Smooth fabric stretched tight in the hoop
- Stabilizer evenly backing the entire embroidered area
- Clear design markings visible on fabric’s front side
These steps ensure your fabric and stabilizer work together for flawless embroidery.
Proper Hoop Placement
Although transferring your design onto the fabric is essential, properly hooping it guarantees your embroidery stays precise and wrinkle-free. Start by positioning the fabric with the design side up and place the inner hoop underneath, centering the design carefully.
Loosen the outer hoop and lay it over the fabric and inner hoop, then tighten it to hold the fabric evenly. Before fully tightening, adjust the fabric so it’s taut and smooth, avoiding any wrinkles or slack that could distort your stitching.
Make sure the design aligns perfectly with the hoop’s markings to ensure accurate placement. Finally, double-check that the hoop is firmly attached to your sewing machine’s embroidery unit, securing the fabric tightly for flawless embroidery results.
Stitching Techniques for Outlining and Filling Designs
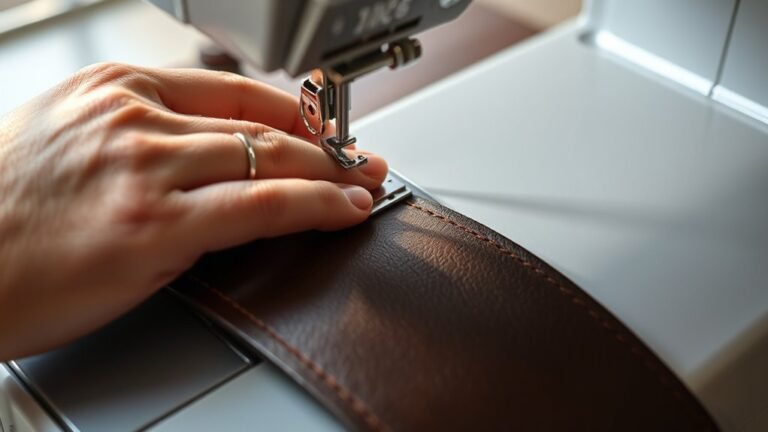
Mastering stitching techniques for outlining and filling designs lets you create sharp, detailed embroidery with your sewing machine. Start by using a straight stitch at 2.5 to 3 mm length for clean outlines. Sew slowly to keep control and maintain consistent stitch tension.
For filling, switch to a narrow zig zag stitch (0.5 to 1 mm width), which adds texture and dimension. Lower or disable the feed dogs to move the fabric freely, ensuring smooth curves and precise fills. Practice combining straight and zig zag stitches on scrap fabric to get comfortable with progression.
- Crisp outlines with steady straight stitch
- Textured filled areas using tight zig zag stitch
- Smooth fabric movement for even stitch tension
These techniques help you achieve professional embroidery results every time. Give it a try, and you’ll see your designs come to life!
Managing Fabric Movement and Stitch Consistency
To keep your embroidery neat, you need to maintain proper fabric tension and control the hoop’s movement carefully. Guiding the fabric steadily without pulling or pushing helps prevent puckering and uneven stitches.
Also, sewing at a consistent, slow speed guarantees your stitch rhythm stays smooth and even throughout your design. It really makes a difference in how polished your finished piece looks.
Maintaining Fabric Tension
How do you keep your fabric from puckering or shifting while embroidering with a sewing machine? Maintaining fabric tension is key.
First, always keep the fabric taut in the hoop under the needle. This steady grip ensures consistent stitch length and prevents unwanted puckering. Adjust your machine’s tension settings if stitches look uneven or the fabric pulls.
Don’t forget to tighten the hoop regularly to maintain even pressure throughout your embroidery session. Use stabilizers suited to your fabric to support tension and minimize movement.
As you sew, keep an eye on the fabric, gently guiding it to prevent shifting. Envision this:
- Fabric stretched smoothly in the embroidery hoop
- Even, balanced stitches forming without gaps
- A taut hoop firmly holding fabric right under the needle
This approach guarantees your embroidery looks flawless every time.
Controlling Hoop Movement
Although keeping your fabric taut in the hoop is essential, controlling the hoop movement itself plays a crucial role in achieving consistent stitches. You need to keep the hoop securely attached to your machine or table to prevent wobbling or unintended shifts.
Use slow, controlled movements, applying gentle pressure to guide the fabric smoothly without puckering. Move the hoop in small, deliberate increments; this helps maintain even stitch length and prevents skipped stitches or shifting fabric.
Regularly check your grip and pressure to ensure you have steady control over both the hoop and fabric throughout the embroidery process. Mastering this control will give you precise, consistent results every time you embroider.
Stitch Speed and Rhythm
When you keep your stitch speed consistent, you’ll achieve even embroidery and avoid puckering or uneven tension. Managing your fabric movement with a steady rhythm is key to smooth, uniform stitches.
Practice syncing your hand movements to the sewing machine’s stitch cycle; this harmony lets you guide the fabric effortlessly. Slow down the stitch speed during detailed sections for better control and precision.
To master stitch speed and rhythm, focus on moving the fabric or hoop steadily without jerks. Match your hand pace to the machine’s stitching rhythm.
And don’t forget to adjust speed for intricate designs to keep your fabric stable. It really helps make your embroidery look polished and professional.
Finishing Touches and Care for Embroidered Projects
Once you’ve completed your machine embroidery, take time to carefully remove any stabilizer remnants by tearing or trimming them away to achieve a clean finish. Use embroidery scissors to snip loose threads and tails, giving your project a polished look.
When pressing, always iron from the wrong side using a warm iron with steam; this smooths the stitches and sets the design without flattening or distorting the embroidery. Avoid pressing directly on the stitched areas to maintain the texture and detail you created with your embroidery machine.
Finally, store your finished projects flat or rolled to prevent creases and preserve the integrity of your work. Proper finishing and care ensure your embroidered pieces stay beautiful for years to come.
Frequently Asked Questions
Can You Embroider With Just a Sewing Machine?
Yes, you can embroider with just a sewing machine. You’ll guide the fabric manually, lower the feed dogs, and use a free-motion foot.
It’s great for simple designs, but complex patterns need specialized embroidery machines.
What Setting on Sewing Machine for Embroidery?
Did you know 70% of home sewing machines have an embroidery mode? For embroidery, set your machine to a straight stitch or embroidery stitch.
Then, shorten the stitch length, lower the feed dogs, and adjust the tension lower to avoid puckering. It really helps your embroidery come out smooth and neat!
Which Stitch Is Best for Embroidery?
You’ll want to use a zig zag or satin stitch for embroidery since they provide smooth, even coverage.
For outlining, straight stitches work well, but zig zag prevents fraying and adds a polished, professional finish. It’s all about choosing the right stitch for the look you’re aiming for.
How to Do Embroidery for Beginners Step by Step?
Embroidery’s like painting with thread—start by sketching your design, attach stabilizer, use a free-motion foot, lower feed dogs, sew slowly along your lines,
then remove stabilizer and trim threads for a neat finish.
It’s pretty fun once you get the hang of it! Just take your time and enjoy the process.
Conclusion
Now that you know how to embroider with your sewing machine, imagine stitching over 20,000 tiny threads per minute coming together to create your design. With the right tools and techniques, you’ll bring your fabric to life, one precise stitch at a time.
Keep practicing, and soon your embroidery will be as detailed and vibrant as any professional piece. Remember, every great project starts with patience and a steady hand—happy stitching! Mastering embroidery with a sewing machine opens up endless creative possibilities, so keep experimenting and enjoy the process.