How to Hem Blue Jeans With a Sewing Machine in 10 Easy Steps
To hem blue jeans with a sewing machine, start by gathering essential supplies like a measuring tape, fabric scissors, and a heavy-duty needle. These tools will make your hemming process much easier.
Next, you’ll want to measure your desired hem length while wearing the jeans to get the perfect fit.
Once you have your measurements, pin the excess fabric carefully. Cutting the fabric precisely is important here.
After that, choose the best hemming method based on your jean style—different styles sometimes need different techniques.
Now it’s time to sew the hem. Be prepared to manage thick seams, which can be a bit tricky but totally doable with the right needle and patience.
Finally, inspect your work for quality and trim any loose threads to give your jeans a clean, professional finish. Keep going to discover more detailed tips and tricks!
Key Takeaways
- Measure the desired hem length while wearing the jeans and add an extra inch for seam allowance.
- Use a heavy-duty denim needle and thread for durability when sewing the hem.
- Secure fabric with pins and align the hem edge with the original hemline for consistency.
- Inspect the hem for evenness and trim excess threads for a clean finish.
- Press the hem after sewing, using a cloth to prevent scorching the fabric.
Easy, right? Just take it step by step, and you’ll have your jeans looking great in no time!
Essential Supplies for Hemming Jeans: What You Need First
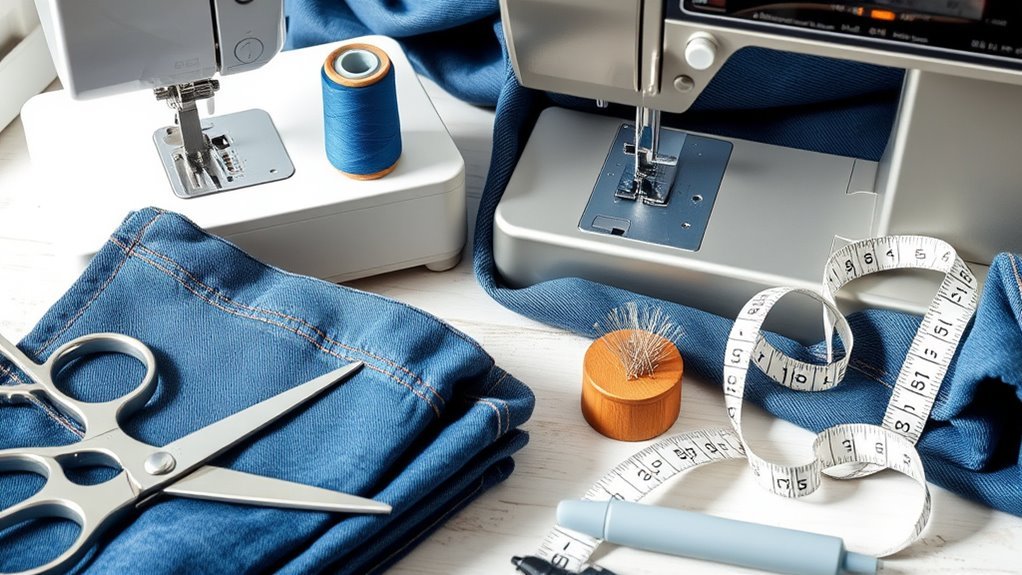
Hemming jeans requires the right tools to get a clean finish. First, gather your essential supplies for hemming jeans: a pair of jeans, sewing pins, a measuring tape, fabric scissors, matching thread, and a heavy-duty sewing machine needle.
The fabric scissors should be sharp and designed for thick denim to guarantee clean cuts without fraying. Use the measuring tape to determine your desired hem length accurately, which is vital for a professional look.
Don’t forget to mark cutting lines with tailor’s chalk or a washable marking tool for clarity. Finally, a heavy-duty sewing machine needle (size 100 or 110) is necessary to handle the denim’s thickness while sewing, giving you that perfect hem.
Measure Your Desired Hem Length Accurately
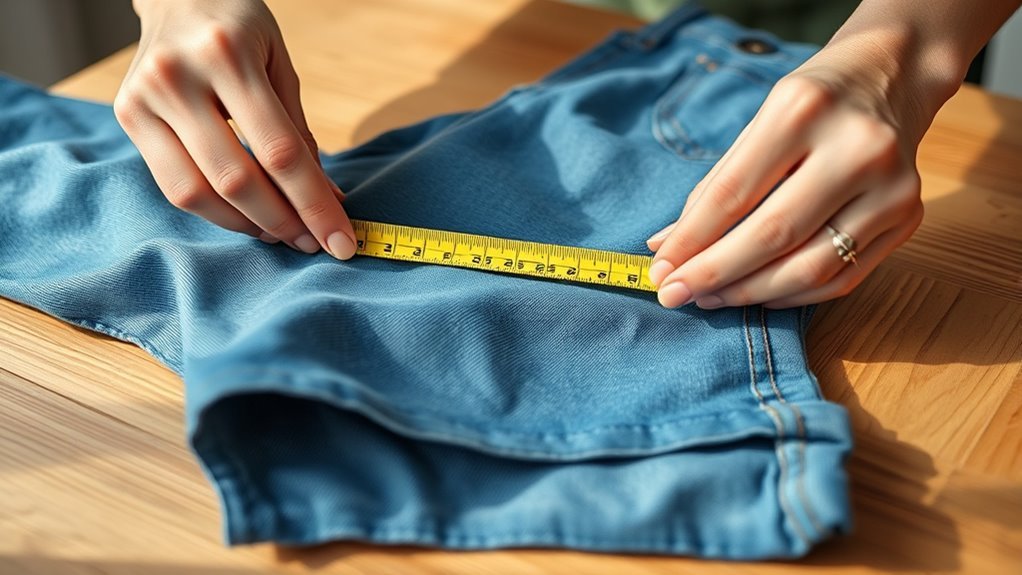
To measure your desired hem length accurately, start by wearing the jeans and folding them to your preferred length. Use a measuring tape to guarantee consistency on both legs.
Don’t forget to add an extra inch for seam allowance. This way, you’ll have a clear guide for cutting and folding.
It makes certain your jeans look great and fit perfectly.
Key Measurement Techniques
Accurately measuring your desired hem length is essential for achieving the perfect fit. Here are some key measurement techniques to guide you through the process:
Wear the jeans and fold them to your preferred length while standing. Use a measuring tape to find the length from the bottom of the leg to your desired hemline, adding an extra inch for seam allowance.
Mark the measurement with tailor’s chalk or a washable marking tool at several points around the leg. Double-check the marked length by comparing it with the original hem to guarantee both legs are even.
Record your measurements to confirm they match on both legs before cutting or pinning. Following these steps will help you achieve a professional-looking hem.
Using Proper Tools
When tackling your jeans hem, having the right tools makes all the difference. Start by grabbing a measuring tape to determine your desired hem length.
Try on the jeans and fold the excess fabric to your preferred length, adding an extra inch for seam allowance. This step’s essential for a neat finish.
Use tailor’s chalk or a washable marking tool to mark your cutting guide at multiple points around the leg for accuracy.
Before cutting, verify both legs are pinned to the same length by measuring from the waistband to the hemline. Finally, use sewing pins to secure the folded fabric in place, aligning the folded edge evenly with the original hem for a professional look.
Ensuring Even Lengths
After you’ve secured your jeans with pins, it’s time to confirm both legs are the same length. Start by wearing the jeans and folding them to your desired length, using the original hem as a guide for even lengths.
Grab a measuring tape to verify both legs are pinned to the same length. Mark your desired hem length on each leg with tailor’s chalk for precision.
Here are some tips to help you achieve even lengths:
- Measure twice to avoid mistakes.
- Use a flat surface to check alignment.
- Double-check measurements after marking.
- Add an extra inch for seam allowance.
- Keep the original hem as a reference.
Pin the Excess Fabric for Accurate Sizing
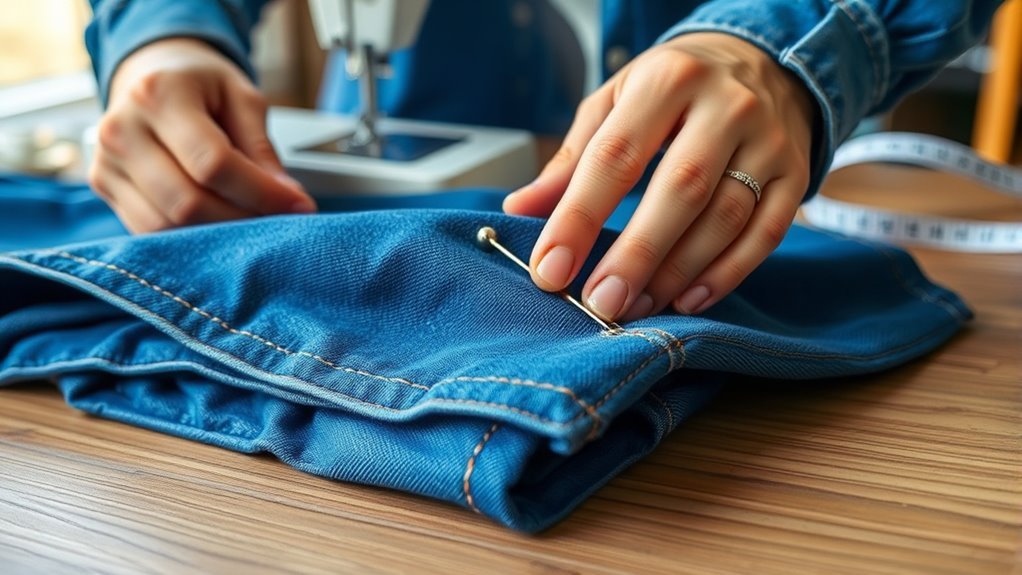
To get the perfect fit, start by trying on your jeans and folding the excess fabric to your desired length. Once you’ve got the length just right, pin the excess fabric for accurate sizing.
Use sewing pins to secure the folded fabric, making sure it stays stable while you measure. Measure from the original hem to the pinned fold to determine how much to shorten, adding an extra inch for seam allowance.
Don’t forget to check both legs for evenness by measuring the lengths from the original hem to the pinned fold. This guarantees consistency.
Finally, mark the cutting guide on your jeans with tailor’s chalk or a washable marking tool for clear visibility before cutting.
Pick the Best Hemming Method?
When it comes to hemming your blue jeans, choosing the right method is key. You’ll want to contemplate the style of your jeans and how different techniques can affect the final look.
Plus, having the right tools and materials on hand will make the process smoother and more efficient. It really helps to be prepared before you start!
Suitable Jean Styles
Choosing the right hemming method for your jeans can make a big difference in how they fit and look. Different suitable jean styles need unique approaches to get the best results.
Here’s a quick guide to help you out:
- Straight-Leg Jeans: Use the traditional hemming method to keep the original hem intact. It’s simple and works perfectly.
- Boot Cut Jeans: You want to preserve the leg’s flare, so avoid just shortening them in a basic way. Keep that shape!
- Tapered Jeans: When hemming, tailor them with the leg’s width in mind. This keeps the fit looking just right.
- Flared Jeans: Instead of just shortening the legs, try shortening from the waistband or look into other methods. This helps keep the flare intact.
- Skinny Jeans: Stick with the traditional hemming method but make sure to keep that snug fit around the ankle. It’s all about the silhouette!
Hemming Techniques Comparison
Different jean styles call for specific hemming techniques to achieve the best fit and finish. In your hemming techniques comparison, consider the traditional method, which preserves the original hem for a clean look. It’s especially great for straight-legged styles.
This technique uses a straight stitch, ensuring durability and a professional finish. Alternatively, you can pin and cut the excess fabric, but be cautious with measurements to keep the leg’s circumference consistent.
To enhance your hem, adjust the stitch length to mimic original topstitching, typically between 3 and 3.5. Don’t forget to choose a heavier weight thread and a denim needle to achieve robust results.
Each method has its perks, so pick what suits your style and skill level best.
Tools and Materials Needed
To achieve a polished hem on your blue jeans, gather essential tools and materials that make the process efficient and effective. Here’s what you’ll need:
- Sharp fabric scissors
- Measuring tape
- Sewing pins
Tailor’s chalk or a washable marking tool will help you mark accurately. Heavy-duty thread is a must for durability.
Make sure your sewing machine setup includes a denim needle to handle the thick fabric. Marking for accuracy is vital, so use chalk to indicate cutting lines and hem depth. This ensures consistency on both legs.
If you want to preserve the original hem, select a method that maintains the jeans’ professional finish. During sewing, adjust your machine’s stitch length to 3 or 3.5 for decorative topstitching.
Also, use the free arm on your machine for better maneuverability. It makes sewing around the leg easier and gives you more control.
Cut Your Jeans to the Correct Length
Finding the right length for your jeans can make all the difference in how they fit and look. Start by trying on the jeans and folding the excess fabric to your desired length.
Use a measuring tape to determine how much to cut off, adding an extra inch for seam allowance. Mark your cutting line with tailor’s chalk for accuracy.
Measure both legs from the original hem to verify consistency. This way, you’ll avoid any surprises once you start cutting.
| Step | Action | Emotion |
|---|---|---|
| Try on jeans | Fold excess fabric | Excitement |
| Measure | Add an inch for seam allowance | Confidence |
| Mark line | Use chalk for accuracy | Focus |
| Cut | Cut through one layer to avoid errors | Satisfaction |
Now, cut the excess carefully! Take your time and enjoy the process.
Prepare Your Sewing Machine for Denim
Setting up your sewing machine for denim is crucial to achieving a polished hem. To prepare your sewing machine for denim, follow these steps:
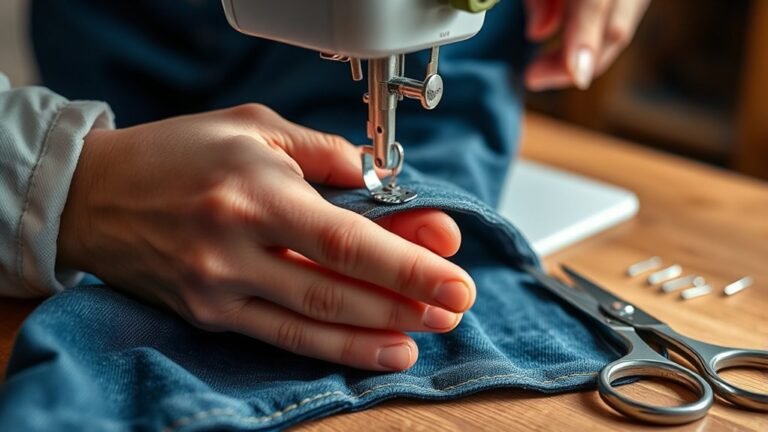
Use a heavy-duty denim needle (size 100 or 110). This helps penetrate thick fabrics without breaking, which is super important when working with denim.
Using a heavy-duty denim needle (size 100 or 110) ensures you can easily sew through thick fabrics without breaking.
Select a heavier weight thread, like jean stitch thread. It’s more durable and matches the fabric thickness better.
Adjust the stitch length to between 3 and 3.5. This gives you a secure, professional-looking finish.
Remove the sewing machine slide table for free arm access. It makes it way easier to maneuver around the leg of the jeans.
Lastly, use a pressure foot designed for thick fabrics, like pressure foot number eight. This guarantees smooth stitching over bulky seams.
These preparations will definitely help you get the best results when hemming your jeans.
Sew the Hem With Precision
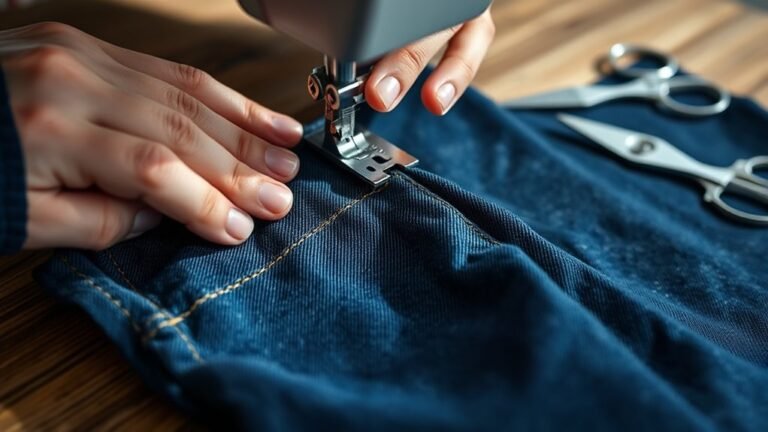
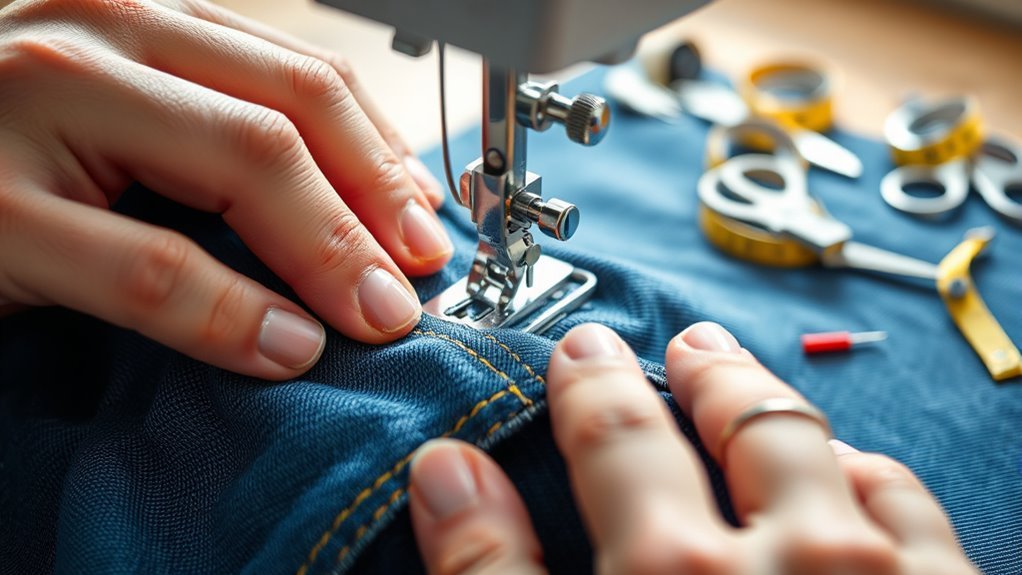
Sewing the hem with precision guarantees your jeans look professional and polished. Start by setting your sewing machine to a straight stitch and using a denim or heavy-duty needle to tackle the fabric’s thickness.
Align the folded hem edge with the original hemline for a seamless appearance. Keep the presser foot level for an even stitch.
Begin sewing at the side seam, backstitching a few stitches to secure the thread and prevent unraveling. As you sew, remove pins to avoid damaging your needle and keep things moving smoothly.
Make sure you closely follow the original hemline for the best results. Finally, backstitch at the end of the seam to lock your stitches, and trim any excess threads for that clean, finished look.
Manage Thick Seam Allowances Effectively
Managing thick seam allowances can be tricky, but with the right techniques, you can achieve a smooth finish. Here are some effective strategies to help you handle those bulky areas:
Use a hump jumper to raise the presser foot over thick seam allowances for even stitching. Adjust the presser foot height to accommodate varying thicknesses and maintain consistent stitch quality.
Slow down your sewing speed when approaching thick seam allowances to prevent needle damage. It really helps to take it easy here.
Use a heavy-duty needle (size 100 or 110) when sewing with heavier weight thread. And don’t forget to carefully guide the fabric, letting the machine feed it through without any forceful pulling.
Inspect Your Hem for Quality and Evenness
Once you’ve sewn the hem, take a moment to visually inspect it for any puckering or unevenness. Grab a measuring tape to verify both legs are the same length, which is key for a polished look.
Finally, check the stitching width for consistency to avoid any sewing flaws that could compromise your jeans. It’s a quick step that really pays off!
Visual Inspection Techniques
A well-finished hem can make all the difference in the appearance of your jeans. To guarantee your hem looks professional, use these visual inspection techniques:
Lay the jeans flat to check for unevenness between the legs. Then, inspect the stitching closely for consistency and even thread tension.
Measure hem lengths at various points with a ruler or measuring tape. If you notice any discrepancies, mark them with fabric chalk before making adjustments.
Finally, hold the jeans up to natural light to spot irregularities in fabric or stitching. This simple step can help you catch issues you might otherwise miss.
Measuring Hem Length
After inspecting your jeans for quality, the next step is measuring the hem length for evenness. Start by putting on the jeans and folding the excess fabric to your desired length.
Use a measuring tape to check from the inseam to that point on both legs, ensuring they match. Pin the fabric in place, verifying symmetry for a consistent look.
Mark the cutting guide at several points along each leg to create a straight line. Remember to add an extra inch to your measurements for seam allowance, which accommodates the fold and stitching.
Finally, double-check the pinned fabric and original hem for evenness before moving on to cutting and sewing. It’s always good to be sure before you start!
Identifying Sewing Flaws
When inspecting your hem for quality and evenness, it’s essential to lay the jeans flat and measure the length from the inseam to the hem on both legs. Confirm they match to maintain a polished look.
Check for signs of sewing flaws that could affect durability. For example, look for puckering or irregular stitches, which might mean your machine tension is off.
Also, identify any loose threads or frayed edges that can compromise the hem’s integrity. Make sure the hem aligns consistently with the original hemline, especially if you preserved it during alterations.
Give the hem a gentle tug to test its strength. It should feel secure with no signs of tearing.
Finally, pay attention to the seam allowance. Having the right allowance helps keep the hem’s structure intact.
Final Touches: Trimming Threads and Pressing the Hem
Finish your hemming project by trimming any excess threads for a polished look. Use sharp fabric scissors to guarantee a clean cut along the seam lines without fraying.
After trimming threads, it’s time to press the hem. Set your iron to the appropriate temperature for denim, and always place a cloth between the iron and fabric to prevent scorching. This step will eliminate creases and enhance the overall appearance.
Finally, inspect the hem for evenness and secure stitching to confirm durability. Here’s a quick checklist to keep in mind:
| Step | Action | Notes |
|---|---|---|
| Trimming Threads | Cut excess threads | Use sharp scissors |
| Pressing the Hem | Iron with a cloth | Avoid scorching denim |
| Final Inspection | Check for evenness | Guarantee durable stitching |
Frequently Asked Questions
Can I Use Regular Thread for Hemming Denim?
Yes, you can use regular thread for hemming denim, but it’s best to choose a heavy-duty thread for added strength.
This guarantees your hem withstands wear and tear while maintaining a polished look. Trust me, it makes a difference!
How Do I Prevent My Sewing Machine From Skipping Stitches?
To keep your machine from skipping stitches, check your needle’s sharpness. Use the right thread, and guarantee proper tension.
Like a well-tuned instrument, every part needs harmony for smooth sewing. Adjust and sew with confidence!
What Type of Needle Is Best for Thick Denim?
You should use a heavy-duty needle, like a size 16 or 18, for thick denim. These needles are designed to handle multiple layers, ensuring smooth stitching without skipping or breaking.
This makes your project easier and helps you get professional-looking results. Trust me, picking the right needle really makes a difference!
Can I Hem Jeans Without a Sewing Machine?
Sure, you can hem jeans without a sewing machine! Grab some fabric glue or a needle and thread.
It’s easier than you think, and you’ll end up with a stylish look you’ll love.
How Do I Fix Mistakes While Hemming Jeans?
To fix mistakes while hemming jeans, unpick the stitches carefully, re-align the fabric, and sew again. If necessary, use fabric glue to secure any loose areas.
Don’t stress; mistakes happen to everyone! It’s all part of learning. Just take your time, and you’ll get it right.
Conclusion
And there you have it! You’ve transformed those baggy blue jeans into a tailored masterpiece that could win fashion awards! With just ten easy steps, you’ve conquered the world of hemming like a sewing superhero.
Your jeans now fit like a glove, and you’ve saved a fortune on alterations! So strut your stuff and flaunt that perfect hem.
Know that you’ve just leveled up your sewing game to legendary status. Who knew hemming blue jeans with a sewing machine could feel this epic? Now you’re ready to tackle any denim hemming project with confidence and style!