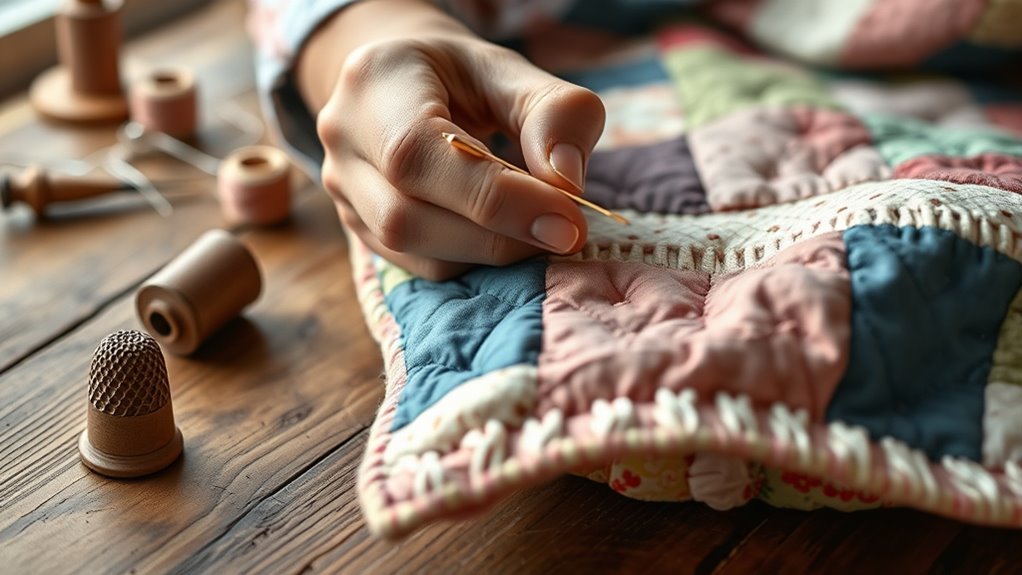
How to Hand Sew Quilt Binding in 10 Easy Steps
To hand sew quilt binding, start by prepping your quilt and creating binding strips. Joining the strips with mitered seams is a key step, and you’ll want to press them flat for a neat finish. These initial steps set the foundation for a beautifully bound quilt.
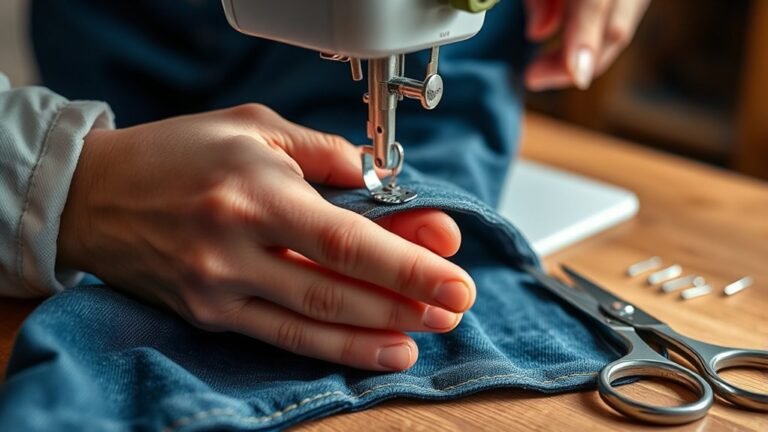
Next, machine-stitch the binding around the quilt, but remember to leave a gap for the ends. Flipping it over, you’ll secure the binding on the reverse side to keep everything in place.
When it’s time for the hand stitching part, using a slip stitch or big stitch technique works wonders. Make sure to check for peek-a-boos along the way — those little spots where the stitching might show on the front.
Keep going patiently, and soon you’ll discover handy tips for perfecting those tricky mitered corners. It’s all about practice and enjoying the process!
Key Takeaways
- Prepare quilt edges by trimming excess batting and making sure all layers lie flat. This helps you get a neat binding finish.
- Create binding strips by calculating the quilt perimeter. Then, cut 2½-inch widths and join them with mitered seams.
- Press the binding strips flat and away from the quilt. This step prevents puckering while you hand stitch.
- Secure the binding with pins or clips, but leave a gap to join the ends later. Fold the corners for those nice mitered finishes.
- When stitching, use a slip stitch for an invisible look or a big stitch if you want it to stand out. Keep checking your work to make sure it looks neat.
Overview of Quilt Binding Process
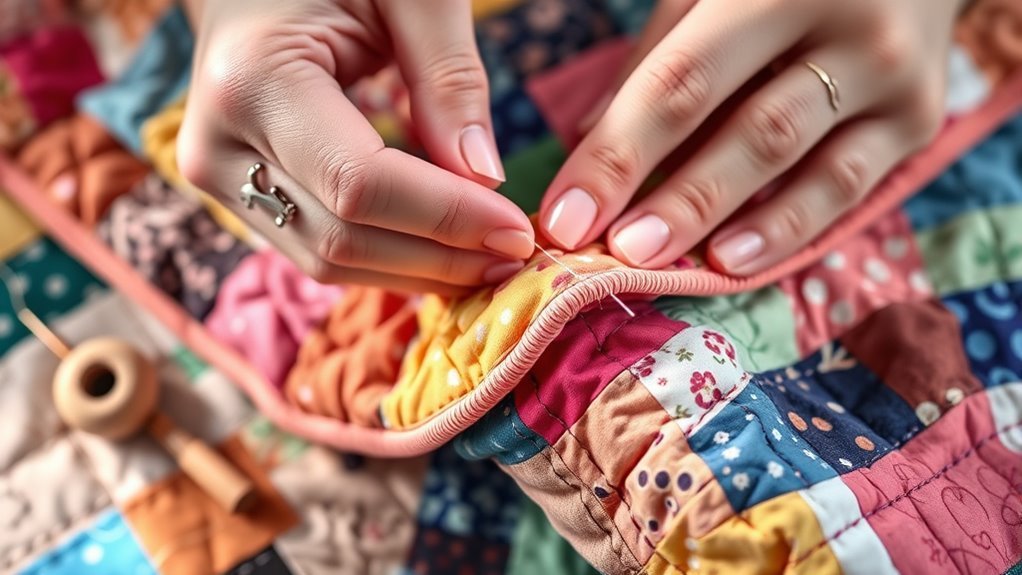
Quilt binding is the finishing touch that elevates your quilt from good to great. To start, you’ll first machine-sew the binding to the quilt’s edge, guaranteeing a consistent 1/4-inch seam allowance for a clean finish.
Quilt binding is the essential finishing touch that transforms your quilt from ordinary to extraordinary.
After that, it’s time to hand stitch the binding down, providing a polished look. You can choose between small invisible stitches for a subtle finish or bold stitches for a textured appearance.
Don’t forget to prepare your quilt properly; trim any excess batting and confirm even edges. When you reach a mitered corner, fold the binding at a 45-degree angle and secure it with whip stitches for a professional touch.
This process transforms your quilt into a true masterpiece.
Get Your Quilt Ready for Binding
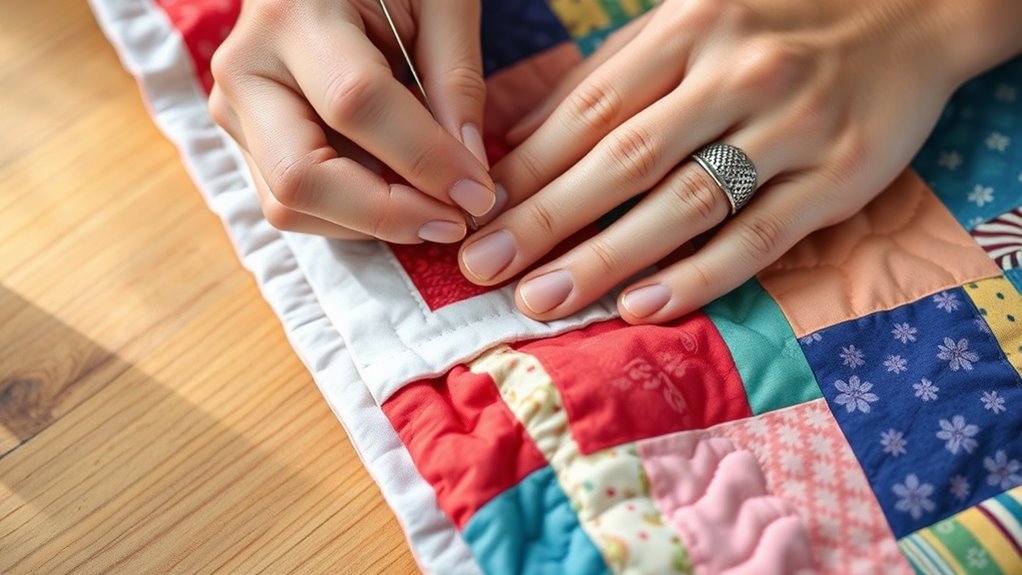
Before you start attaching the binding, make certain your quilt is properly prepared. This step is vital to guarantee a clean finish.
Follow these simple steps to prep your quilt:
- Trim Excess Batting: Cut away any batting that extends beyond the edges of the quilt using scissors or a rotary cutter. This prevents any batting from showing in the stitching line.
- Check for Puckering: Smooth out any fabric puckering on the quilt top and backing. A flat surface contributes to a neat binding finish.
- Align Edges and Corners: Double-check all edges and corners for proper alignment. This guarantees everything stays in place when you start binding.
Make Your Binding Strips
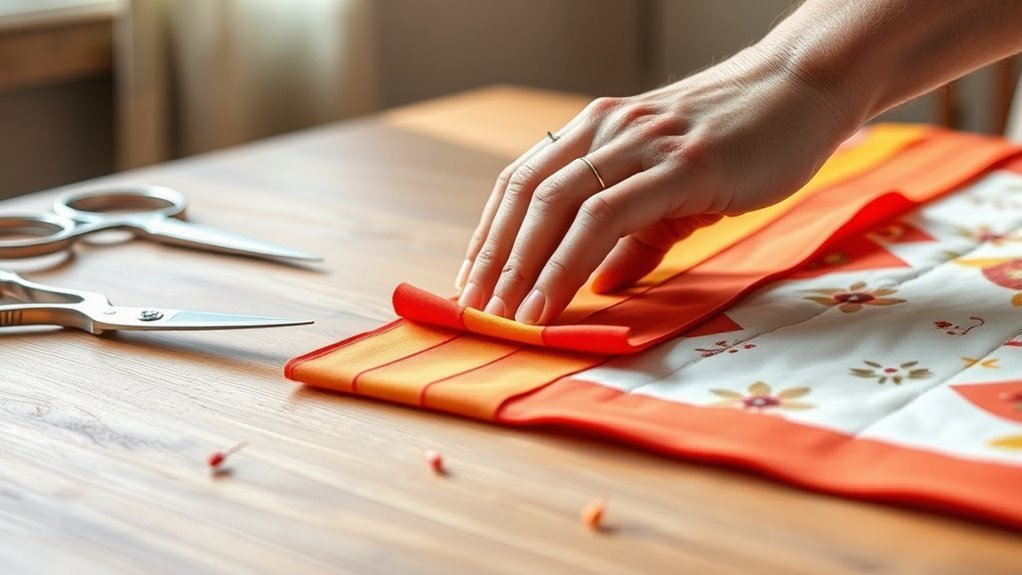
Ready to create your binding strips? Start by calculating the total perimeter of your quilt; add the lengths of all four sides and an extra 10 inches for comfort around corners.
Cut your binding strips to a width of 2½ inches to guarantee sufficient coverage. To join the strips, use a mitered seam: overlap the ends to form a right angle and sew a diagonal line at a 45-degree angle through the overlap.
Trim the excess fabric, leaving a ¼-inch seam allowance. Press the seam allowances open, then fold the strip in half lengthwise, wrong sides together.
Press again to create a crisp, continuous single-fold binding, ready for attaching to your quilt facing. Easy, right? Now you’re all set to get binding!
Join Binding Strips With Mitered Seams
To join your binding strips with mitered seams, you’ll need to master a few key techniques. Start by overlapping the ends of your strips and sewing a diagonal line to create a clean seam.
After trimming any excess fabric, you’ll have a neat finish ready for your quilt. It’s easier than it sounds once you get the hang of it! Just take your time with the seams, and your quilt will look fantastic.
Key Techniques for Joining
Joining binding strips with mitered seams can really elevate the finish of your quilt. It ensures a neat and professional appearance.
Here are some key techniques to master this binding process:
- Align and Overlap: Overlap the ends of two strips to form an L shape, right sides together, aligned at a 90-degree angle.
- Sew the Diagonal: Sew a diagonal line at a 45-degree angle across the overlap. This reduces bulk and creates a smooth seam.
- Trim and Press: Trim the excess fabric to leave a 1/4-inch seam allowance. Then, press the seam allowances open before folding the strip in half lengthwise. This helps create a crisp edge.
Keep joining binding strips like this until you reach the desired length for your quilt binding.
Seam Overlap Method
When you’re looking to create a polished finish for your quilt, the seam overlap method for joining binding strips with mitered seams is a game changer. Start by aligning the ends of two strips in a 90-degree L shape with right sides together, overlapping them slightly.
Sew a diagonal line at a 45-degree angle from one corner of the overlap to the opposite corner, ensuring minimal bulk in the seam. After stitching, trim excess fabric to leave a 1/4-inch seam allowance for a neat finish.
Press the seam allowances open to reduce bulk, then fold the binding strips in half lengthwise. Keep adding strips until you reach the desired length, maintaining mitered seams for that professional touch in your finished quilt.
Trimming Excess Fabric
After you’ve sewn the diagonal seam for your mitered binding strips, it’s time to focus on trimming the excess fabric. This step is essential to guarantee your binding lays flat and looks neat.
Here’s how to do it:
- Trim the excess fabric, leaving a 1/4-inch seam allowance. This prevents unnecessary bulk in the mitered seams.
- Press the seam allowance open and flat to help the binding fold smoothly.
- Fold the strip in half lengthwise to create a continuous binding, ready for attachment.
Easy, right? Just a few simple steps, and your binding will look clean and professional!
Press Your Binding for a Smooth Finish
To get a smooth finish on your quilt binding, proper pressing technique is key. Make sure to apply even pressure around the entire quilt to prevent any wonky folds.
Using the right tools, like a pressing cloth, can help protect your fabric while you work. It’s a simple step that makes a big difference!
Proper Pressing Technique
Pressing your binding correctly is essential for achieving a smooth finish on your quilt. Proper pressing not only helps with the aesthetic but also guarantees the binding folds accurately, making your hand-sewing process easier.
Here are three key steps to follow:
- Press the binding strips flat: Open and press them with the wrong side up for a crisp edge.
- Press out and away from the quilt: This helps avoid puckering when you stitch the binding in place.
- Use a pressing cloth if needed: Prevent scorching the fabric, ensuring your binding looks perfect.
Importance of Even Pressure
Properly pressed binding sets the stage for achieving that smooth finish every quilter desires. When you apply even pressure while pressing binding, the fabric lies flat, preventing puckering and ensuring a clean edge around your quilt.
Pressing the binding away from the quilt creates a consistent fold, making it easier to align during stitching. This attention to detail really enhances the overall appearance of your work.
Using a pressing cloth, especially with delicate fabrics, helps you avoid scorching while maintaining the integrity of your binding material. It’s a simple step that makes a big difference.
Properly pressed binding also contributes to accurate folding during hand sewing. That means cleaner stitches and less chance of visible threads.
Achieving even pressure is essential for a neat, professional look. So, take your time and press carefully—you’ll be glad you did!
Tools for Effective Pressing
When you’re ready to press your quilt binding, having the right tools can make all the difference. Properly pressed binding not only enhances the overall neatness of your quilt but also helps with accurate folding during stitching.
Here are three essential tools for effective pressing:
- Pressing Cloth: Use this to prevent scorching and guarantee a smooth finish on delicate fabrics.
- Hot Iron: A hot iron is vital for setting seams. Just remember to adjust the temperature based on your fabric type for the best results.
- Ironing Board: A sturdy surface lets you press binding strips out and away from the quilt. This way, you get those crisp edges that lay nice and flat.
Flip Binding and Pin for Hand Stitching
After sewing the binding to the front of your quilt, it’s time to flip it over to cover the stitching line. Make sure it aligns neatly with the quilt’s edge.
Using straight pins or binding clips, secure the flipped binding in place. Start about 5 to 10 inches from the corners to prevent bulk.
Secure the flipped binding with straight pins or clips, starting 5 to 10 inches from corners to avoid bulk.
Pay special attention to the corners; fold them inside-out for a smooth mitered finish. Keep the binding flat against the quilt as you do this.
As you pin, check for even placement. Make sure the raw edges of the binding line up perfectly with the quilt edges for a clean look.
Before moving on to hand-stitching, confirm that the binding is securely pinned. This will help keep everything aligned throughout the process.
Attach Your Quilt Binding With Machine Stitching
Now that your binding is securely pinned in place, it’s time to attach it with machine stitching. Follow these simple steps to guarantee a clean finish:
- Sew with a 1/4-inch seam allowance: This keeps the binding snug against the quilt edge.
- Create mitered corners: Fold the binding to form triangle tabs, which adds a polished look to your quilt.
- Leave a 10-inch gap: This allows for a neat joining of the binding ends later.
As you stitch, keep the rough edges aligned with the quilt edges for even attachment. This machine stitching process not only secures your binding but also prepares you for the final hand-sewn touch on the reverse side later.
Happy sewing!
Secure the Binding on the Reverse Side
Flip your quilt over to the reverse side, guaranteeing the binding aligns neatly and lays flat against the backing. Use binding clips or straight pins to secure the binding, making sure it covers the stitching line effectively.
Don’t forget to fold the corners inside-out for natural mitered corners, which provide a polished look.
Start hand-stitching by inserting your needle into the seam allowance to hide the knot and secure the binding in place. As you stitch, maintain a consistent stitch length, checking for peek-a-boos every 4-5 stitches.
This helps guarantee even coverage without visible threads, giving your quilt a beautifully finished appearance. Keep your focus on accuracy, and you’ll achieve fantastic results!
How to Hand Stitch Your Binding Effectively?
To hand stitch your binding effectively, start by gathering essential tools like high-quality thread and wonder clips. Choosing the right thread is vital for a durable and neat finish.
Mastering stitch techniques will guarantee your work looks polished. Let’s explore these key elements to make your binding process smoother and more professional.
Essential Tools Required
Hand sewing quilt binding requires a few essential tools to guarantee a smooth and efficient process. Here’s what you’ll need:
- Needle: Choose a needle with a large enough eye to accommodate your all-purpose thread. This makes threading and stitching much easier.
- Wonder Clips: Use clips to hold the binding in place before stitching. They keep everything aligned and prevent shifting, ensuring a neat finish.
- Leather Thimble: A leather thimble offers comfort and better control while stitching through multiple layers of fabric.
Don’t forget to have quality scissors on hand for cutting thread and trimming excess fabric. With these essential tools, you’ll be well-equipped to create beautiful quilt bindings.
Choosing Thread Wisely
Choosing the right thread can make a significant difference in the quality of your quilt binding. You’ll want to choose a high-quality cotton thread, like Aurifil 50 weight, that matches or complements your binding fabric for a seamless look.
If you’re aiming for big, bulky stitches, consider using heavier thread, such as Aurifil 12 weight or Perle Cotton size 8 or 12. This can add texture and visibility to your work.
Always test your thread strength by pulling to verify it won’t break during stitching. To keep your thread from twisting and tangling, use THREAD HEAVEN for smoother stitching.
For efficiency, load multiple needles with pre-threaded strands. This makes your hand stitching process quicker and more enjoyable.
Mastering Stitch Techniques
Master the art of stitching your quilt binding by starting with a secure knot. Hide the knot in the seam allowance for a clean finish.
Here are three effective techniques for hand sewing:
- Slip Stitch: Use this for small, invisible stitches. Aim for a 1/5 distance between entry and exit points for discretion.
- Big Stitch: If you prefer visible stitches, choose contrasting thread. Make large, bold stitches, but make sure they don’t penetrate all quilt layers.
- Securing the Binding: For mitered corners, fold the binding at a 45-degree angle and use 3-4 whip stitches to secure them neatly.
And don’t forget to regularly check for “peek-a-boos” every 4-5 stitches. It really helps keep your quilt looking polished and professional.
Perfect Mitered Corners
Creating perfect mitered corners can really elevate your quilt’s overall appearance, giving it a polished finish. To get there, stitch up to the outer edge of the seam allowance before folding the binding over at a 45-degree angle.
Next, align the two corners closely after folding to create a nice, clean edge and avoid any gaps. Then, insert your needle to catch both sides of the corner, making 3-4 whip stitches to secure the fold effectively.
Always check for a smooth shift between the sides while stitching the binding to keep that clean look. And don’t forget to gently press the corners before sewing; this little step helps achieve crisp edges that really enhance the beauty of your quilt binding.
Frequently Asked Questions
What Type of Thread Is Best for Hand Sewing Quilt Binding?
For hand sewing quilt binding, use high-quality cotton thread. It’s strong, durable, and won’t fray easily.
Try to pick a color that matches your binding. This way, your stitches will blend beautifully with your quilt for a seamless look.
How Do I Choose the Right Needle for Quilt Binding?
Choose a needle with a sharp point, like a universal or quilting needle, for quilt binding. Make certain it’s the right size for your thread; a size 10 or 11 works well for most projects.
It’s pretty simple, really. Just pick what feels right for the thread you’re using, and you’ll be good to go!
Can I Use Pre-Made Binding for Hand Sewing?
Yes, you can use pre-made binding for hand sewing. It saves time and often comes in various colors.
Just confirm it’s the right width and fabric type for your quilt, then you’re ready to sew!
How Do I Fix Mistakes While Hand Sewing Binding?
You’ll love it when you mess up! To fix mistakes, simply unpick the stitches, adjust the binding, and re-sew.
Embrace the imperfections; they often lead to your best learning moments in hand sewing. Don’t stress about getting it perfect the first time—it’s all part of the process!
What Are Common Hand Sewing Techniques for Quilt Binding?
You can use techniques like the ladder stitch for invisible seams, whip stitch for secure edges, and running stitch for speed.
Try experimenting with these methods to see which one feels right for your quilt binding projects.
It’s all about finding what works best for you!
Conclusion
In the delicate dance of quilt binding, the machine’s swift precision contrasts beautifully with the intimate, slow craft of hand stitching. You’ve transformed raw fabric into a cherished heirloom, each stitch a tribute to your dedication.
As you tuck those perfect mitered corners, remember that the journey from chaos to harmony is reflected in every seam. Embrace the imperfections, for they tell your unique story, turning a simple quilt into a timeless treasure.
Hand sewing quilt binding is more than just a finishing touch—it’s a way to connect with your creation on a deeper level. Each careful stitch brings your quilt to life, adding warmth and character. So take your time, enjoy the process, and know that your hand-sewn quilt binding makes your quilt truly one-of-a-kind. Happy stitching!