How to Hand Sew Leather in 3 Simple Steps
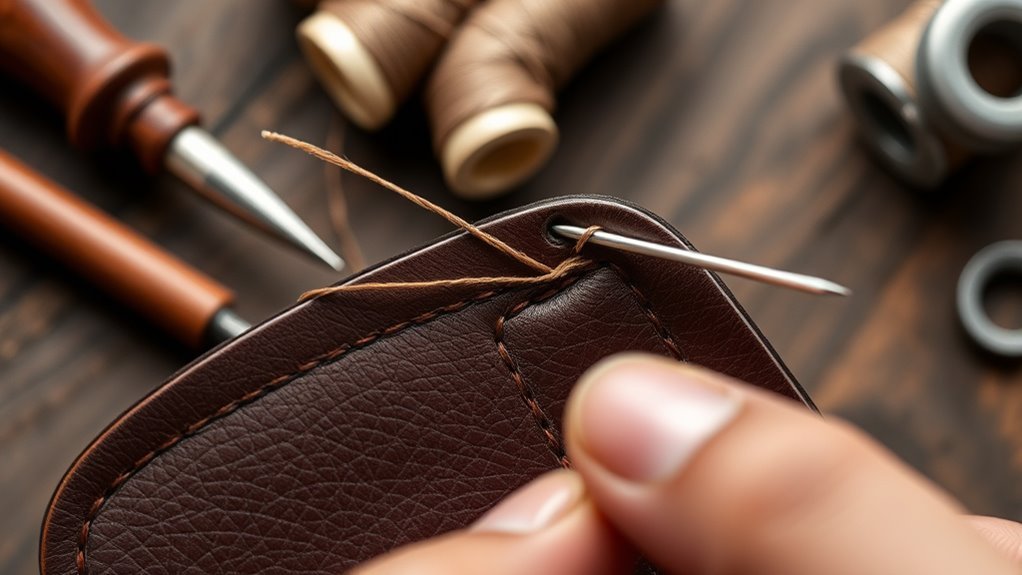
To hand sew leather, start by preparing your leather; rough up the welts and apply glue, letting it dry. This step is super important because it helps the pieces stick together better and makes sewing easier. Take your time here to get a solid base for your stitching.
Next, create even holes by marking a stitching line, dampening the leather, and using a stitching chisel for uniform spacing. This makes sure your stitches look neat and professional. Don’t rush this part—it really pays off when your sewing is consistent.
Finally, use the saddle stitch technique with two needles on opposite ends of your thread, ensuring even tension. This method is strong and durable, perfect for leather projects.
If you run into issues like uneven stitches or thread breakage, there are handy tips to help you troubleshoot effectively. Just keep practicing, and you’ll get the hang of it quickly!
Key Takeaways
– Rough up the leather’s welt area, apply glue, and secure with clamps to prepare for sewing.
This helps the leather pieces stay together while you work.
– Mark a stitching line, dampen the leather, and use a chisel for evenly spaced holes.
Getting those holes just right makes sewing much easier.
– Employ the saddle stitch technique with two needles to create strong, durable seams.
It might take a little practice, but the results are worth it.
– Maintain consistent tension and spacing for even stitches and a professional finish.
Keeping things steady really shows in the final look.
– Check tools and thread for quality to troubleshoot any issues before beginning.
Good materials save you a lot of headaches down the line.
Prepare Your Leather for Hand Sewing
Preparing your leather for hand sewing is essential for a successful project. Start by roughing up the welt area on the flesh side using a leather rougher. This guarantees better adhesion and stitching.
Next, apply a suitable glue, like Barbours rubber cement, and let it dry for about 10 minutes while using spring clamps to protect your leather. For a smooth finish, sand the edges with a belt sander. But be cautious with leather thinner than 8 oz to avoid gouging.
Secure your leather in a stitching horse, allowing it to extend above the jaws for support. When you begin stitching, start from the backside and use backstitching for a few threads at both the beginning and end, depending on the leather thickness.
Create Even Holes for Hand Sewing
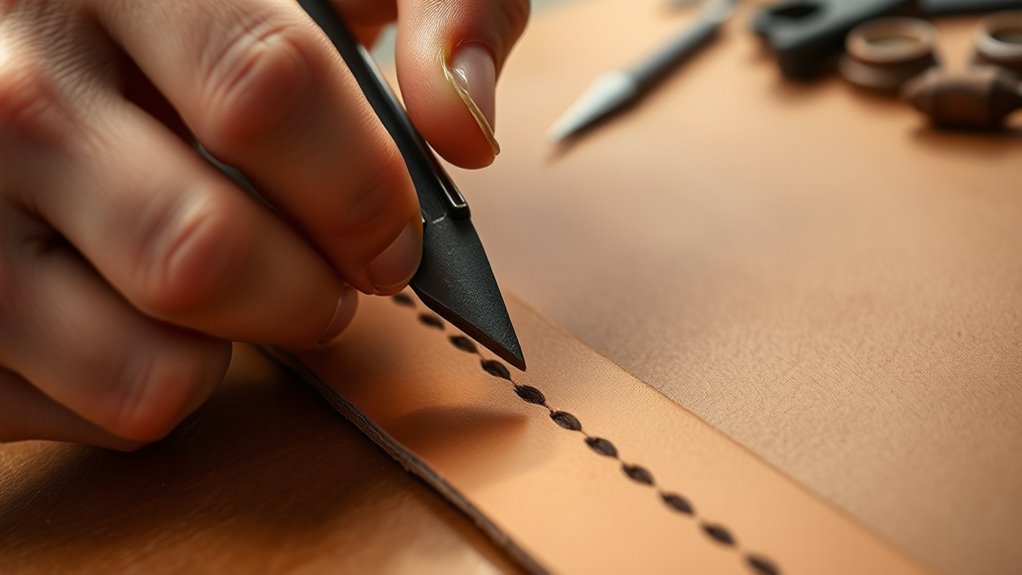
With your leather secured and ready, it’s time to create even holes for hand sewing. Follow these steps for a professional appearance:
First, mark your stitching line about 1/8 inch from the edge of the leather. This helps keep the leather strong and prevents it from weakening over time.
Next, dampen the leather slightly. This makes it more pliable and easier to work with when you punch holes.
Use a stitching chisel or pricking iron to create evenly spaced stitching holes. Space them about 1/4 inch apart for thicker leather, or 1/8 inch apart for thinner leather.
Make sure to keep the awl or chisel perpendicular to the leather. This guarantees uniformly sized holes and helps prevent tearing.
Following these guidelines will help you hand sew leather with precision and style. Give it a try—you’ll love the results!
Use the Saddle Stitch and Troubleshoot Common Issues
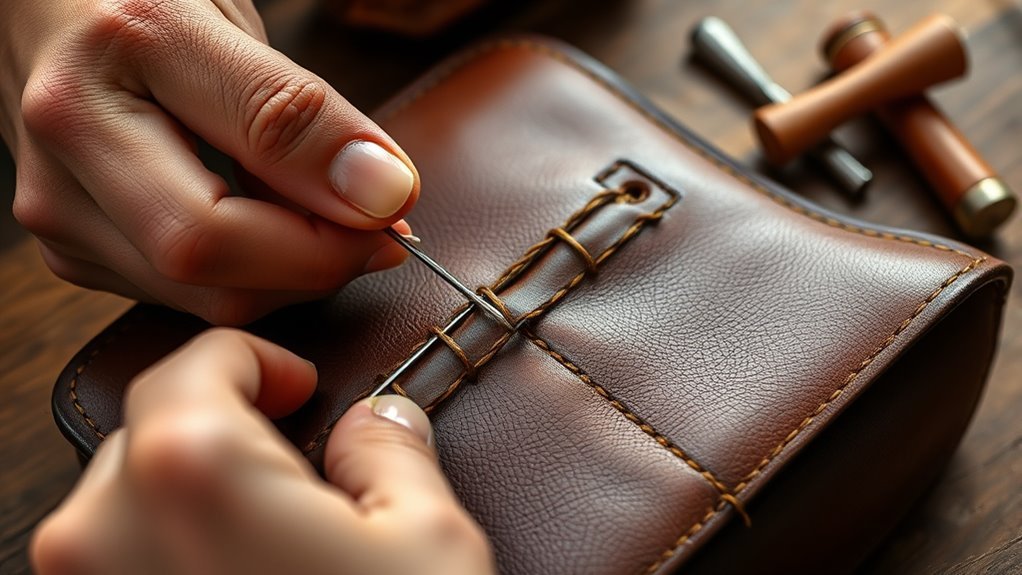
To achieve a strong, durable seam in leatherwork, you’ll want to master the saddle stitch technique. This method uses two needles on opposite ends of a single thread.
As you saddle stitch, pass the first needle through the hole, followed by the second needle from the opposite side. Always pull the thread evenly to maintain tension, preventing wavy or uneven stitches.
If you encounter common issues like thread breakage, check your tools and adjust tension. Using a stitching pony can also help stabilize your work.
Remember, if the second needle pierces the thread, it compromises your stitch’s integrity. So, make certain the first needle is positioned correctly before inserting the second.
Happy stitching!
Frequently Asked Questions
What Type of Leather Is Best for Hand Sewing?
For hand sewing, you’re best off using vegetable-tanned leather. Its firmness provides structure, while being pliable enough for stitching.
Avoid chrome-tanned leather; it’s too slippery and can complicate your sewing experience. Trust me, it makes a big difference when you’re working with your hands.
Do I Need Special Tools for Hand Sewing Leather?
Yes, you’ll need special tools for hand sewing leather. A sharp needle, waxed thread, and awl are essential.
Using a cutting mat and clamps can also help guarantee precision and stability during your project. They really make the whole process easier and neater.
How Do I Choose the Right Thread Thickness?
For leather sewing, a thread thickness of 0.8 to 1.2 mm is ideal. It provides strength without overwhelming your project.
Can I Use Regular Sewing Needles for Leather?
No, you can’t use regular sewing needles for leather. They’re not strong enough and can break.
Instead, choose leather-specific needles designed to handle the material’s thickness and toughness. This will help you sew successfully without any hassle.
What Are Common Mistakes to Avoid When Hand Sewing Leather?
Avoid using the wrong needle, skipping the awl for holes, and pulling too tight. Don’t rush your stitches, and make certain you’re using the right thread type.
Take your time to create neat, even seams. It really makes a difference in the final look and durability of your leather project.
Conclusion
Now that you’ve mastered hand sewing leather in just three steps, you can tackle your next project with confidence. Imagine crafting a custom leather wallet for a friend’s birthday—complete with their initials stitched in.
Not only will you impress them with your skills, but you’ll also create a meaningful gift that lasts. So grab your materials and start sewing; the satisfaction of completing your own leatherwork is just a stitch away!
Hand sewing leather may seem tricky at first, but with practice, it becomes a rewarding hobby. Whether you’re making wallets, bags, or small accessories, these simple steps make the process easier. Keep your stitching neat, use quality thread, and enjoy the timeless craft of leather sewing!