How Do You Sew Binding on a Blanket in 7 Easy Steps?
Start by cutting and pressing fabric strips to create neat, folded binding. This step is essential for getting that clean, professional look on your blanket. Make sure your strips are the right width and nicely pressed for easy sewing.
Next, align one raw edge of the binding with your blanket’s raw edge. Sew it using a quarter-inch seam allowance. When you reach corners, pivot smoothly to form crisp mitered edges that give your blanket a polished finish.
To make the binding seamless, join the ends on a diagonal seam. This technique hides the join and keeps everything looking tidy.
Then, fold the binding over to the back of the blanket.
Finally, secure the binding with tiny hand stitches for an invisible finish. This step takes a bit of patience, but it’s worth it for that flawless look. Keep going, and you’ll find tips to perfect each part of the process!
Key Takeaways
- Cut and join fabric strips, then press edges and fold binding strip in half lengthwise for a neat finish.
- Align binding raw edge with blanket edge, sew with a quarter-inch seam starting midway on one side.
- Form mitered corners by folding binding diagonally at 45°, pin, and sew slowly to maintain seam consistency.
- Join binding ends with a diagonal seam, trim seam allowance, and press open for a seamless look.
- Fold binding over blanket edge and hand-stitch through folded binding and backing for an invisible finish.
Preparing and Cutting Binding Strips
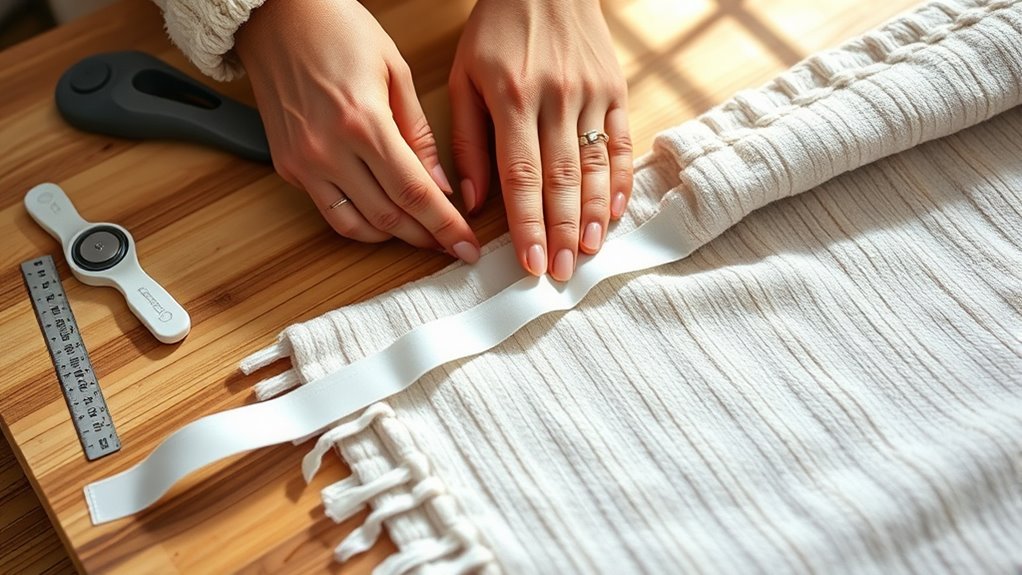
Before you begin attaching the binding, square up your blanket by trimming any excess batting and backing with a rotary cutter and quilter’s ruler. This helps make certain you have clean, straight edges.
Next, cut fabric strips measuring 1 ¼ inches wide. You’ll want enough strips to go all the way around the quilt.
Use a binding strip calculator to figure out the total length needed. Be sure to add an extra 8 to 12 inches for seaming and mitering.
Join the strips with diagonal seams to form one continuous binding strip. This technique ensures a smooth edge without any bumps.
Finally, press one quarter inch of the long edge of each strip toward the wrong side. This pressing step gets your binding strips perfectly ready for attaching to the blanket.
Pressing and Folding the Binding
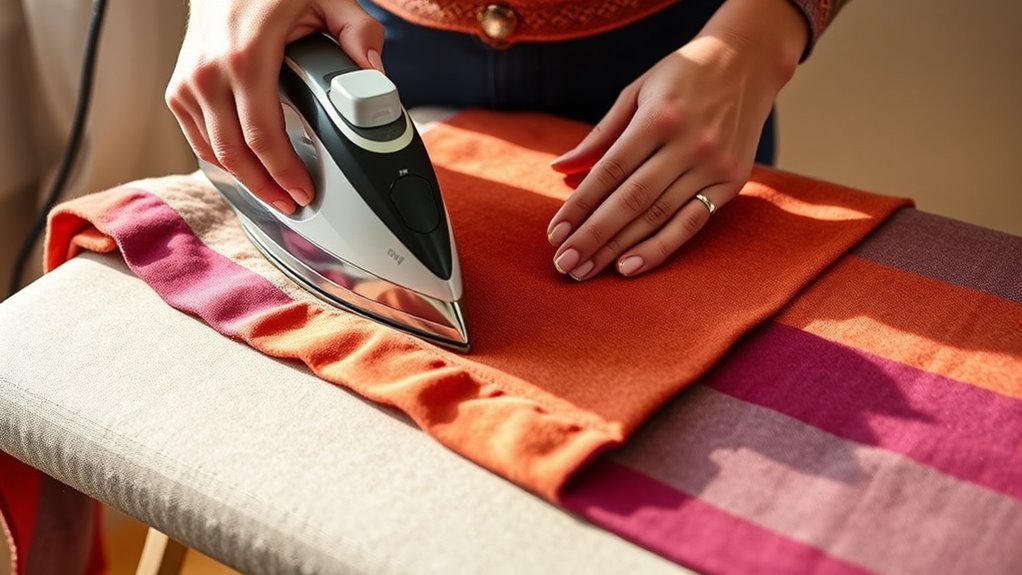
Start by folding your binding strip in half lengthwise with the wrong sides together and press it to create a sharp crease. Next, fold the raw edges toward the center for a clean finish and press again to keep everything crisp.
These pressing and folding techniques help guarantee your binding looks neat and professional when sewn onto your blanket. It really makes a difference in the final look!
Binding Edge Preparation
Although it might seem simple, pressing and folding the binding edge properly is essential for a polished finish. Before sewing, you’ll want to verify the binding fabric lies flat and creases evenly.
Start by pressing fabric strips with an iron, folding the raw edge ¼ inch toward the wrong side, and pressing to create a neat edge. For single-fold binding, fold the strip in half lengthwise with wrong sides together and press to set the fold.
Using an iron, optionally with Best Press spray, helps crisp these folds, making your binding easier to handle.
- Press the binding edge flat before folding
- Fold raw edges ¼ inch toward the wrong side
- Set folds with a hot iron for crispness
- Maintain consistent width by careful measuring and folding
- Use spray starch for extra crisp folds
Folding Techniques Explained
When you fold the binding, pressing it in half lengthwise creates a clear center crease that guides even edges. This essential folding technique guarantees your binding stays uniform as you work.
Next, fold the raw edges inward about ½ inch and press firmly with your iron to keep the folds crisp and manageable. As you reach corners, form mitered corners by folding the binding diagonally, then pressing to create sharp, clean angles.
Continuous pressing throughout the process helps maintain neat, professional-looking edges and prevents shifting. By mastering these folding techniques and pressing steps, you’ll achieve a polished blanket edge that’s both durable and visually appealing.
Keep checking your folds as you sew to ensure consistent width and smooth transitions around the entire blanket. It makes all the difference in the final look!
Pressing for Crispness
Since pressing plays a crucial role in achieving sharp, professional edges, you’ll want to use your iron to create crisp creases on the folded binding before attaching it to your blanket. Proper pressing ensures the binding lies flat and neat, enhancing the overall finish.
Focus especially on the mitered corners, folding them at a 45-degree angle and pressing firmly to hold their shape. To boost crispness and reduce fabric stretch, spray a light coat of Best Press or similar starch before ironing.
Remember, consistent pressing throughout the process keeps folds sharp and consistent.
- Use your iron to press the folded edge sharply
- Press the binding flat after sewing to the blanket
- Carefully press mitered corners at 45 degrees
- Apply spray starch for added crispness
- Press after each fold to maintain neat edges
Aligning and Starting the Binding Attachment
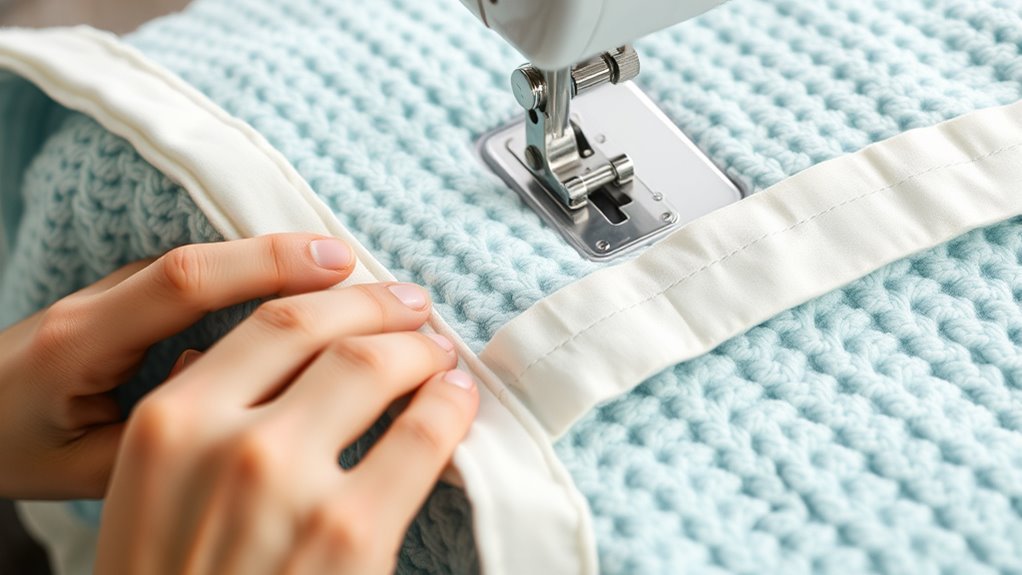
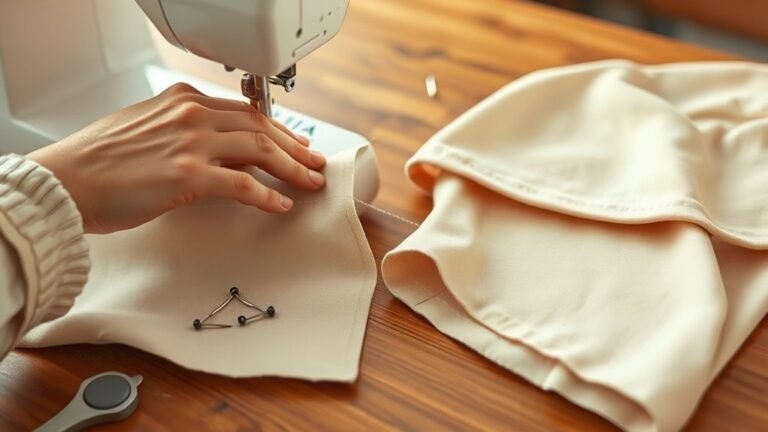
Before you start sewing, align the raw edge of the binding strip with the raw edge of the blanket. Begin about halfway down one side to steer clear of corners. This makes joining the ends later easier.
Use your sewing machine with a Stitch Guide presser foot to maintain an accurate quarter-inch seam allowance while aligning the binding precisely. Start sewing at this point, backstitching a few stitches to secure the binding.
Leave a 6-10 inch tail of binding at the beginning so you have enough fabric to join the ends smoothly once you’ve sewn all around. The presser foot’s guide helps keep your stitching straight and consistent, ensuring a neat attachment as you sew the binding to the blanket’s edge.
Sewing and Pivoting at Corners
Once you’ve sewn the binding along one side, you’ll need to pivot at each corner to keep the seam allowance consistent. When sewing and pivoting at corners, stop halfway to the edge, lift the presser foot, and turn the quilt. This keeps your ½-inch seam allowance even and precise.
To create crisp mitered corners, fold the binding diagonally into a triangle, then fold the raw edges inward to enclose the corner neatly. Secure the folds with pins or clips before continuing to sew.
- Sew slowly and carefully at corners
- Maintain the ½-inch seam allowance
- Fold binding diagonally for mitered corners
- Pin or clip folded edges securely
- Smooth binding as you continue sewing
These steps ensure professional, sharp corners on your blanket binding. It really makes a difference in the finished look!
Joining the Binding Ends Seamlessly
To join the binding ends seamlessly, start by trimming them to the right width and marking the edges for accuracy. Lay the ends in an upside-down L shape and sew along a 45-degree diagonal line where they overlap.
This technique creates a clean seam that you’ll trim and press open before attaching the binding to your blanket. It might sound tricky at first, but once you get the hang of it, it’s pretty straightforward! Give it a try and see how neat your binding turns out.
Align Binding Ends
Although joining binding ends might seem tricky, you can create a seamless connection by trimming the raw edges flush and marking a precise 45-degree diagonal line on one end.
To align binding ends correctly, make sure you prepare both pieces carefully before sewing.
Here’s how to do it:
- Trim both binding ends so their edges are clean and even.
- Use a ruler and fabric marker to draw a 45-degree diagonal line on one binding end.
- Position the ends in an upside-down L shape, aligning the diagonal edges perfectly.
- Pin or clip the binding pieces securely to prevent shifting.
- Sew along the marked diagonal line to join the binding ends smoothly.
Following these steps ensures neat, aligned binding ends ready for sewing onto your blanket. Easy, right? Just take your time and you’ll get a perfect finish!
Sew Diagonal Seam
When you’re ready to join the binding ends, lay the strips in an upside-down L shape with their right sides together and draw a precise diagonal line across the corner. Use a ruler and pencil for accuracy.
Sew along this diagonal seam, then trim the seam allowance to ¼ inch. Open the joint and press it flat to ensure it lies smooth.
Align the joined binding with the rest of the blanket before sewing it on.
| Step | Action |
|---|---|
| 1 | Lay strips in upside-down L |
| 2 | Draw diagonal line |
| 3 | Sew along diagonal seam |
| 4 | Trim seam allowance to ¼ inch |
| 5 | Press seam open and align |
This technique ensures your binding ends join seamlessly.
Folding the Binding to the Back and Creating Mitered Corners
As you fold the binding over to the back of the blanket, align the raw edge carefully and create a mitered corner by folding diagonally at a 45-degree angle. This crisp fold forms a neat triangle, giving your blanket a professional finish.
Secure the corner with pins or clips to keep everything in place. Then, fold the excess binding to enclose the miter, pressing firmly to maintain sharpness.
This preparation sets you up perfectly for hand stitching.
- Align raw edges precisely
- Fold binding diagonally at 45° for mitered corner
- Pin or clip to secure the crisp fold
- Fold excess binding to cover the miter
- Press folds sharply before stitching
Following these steps ensures durable, clean edges ready for the next phase of hand stitching.
Hand Stitching the Binding for a Clean Finish
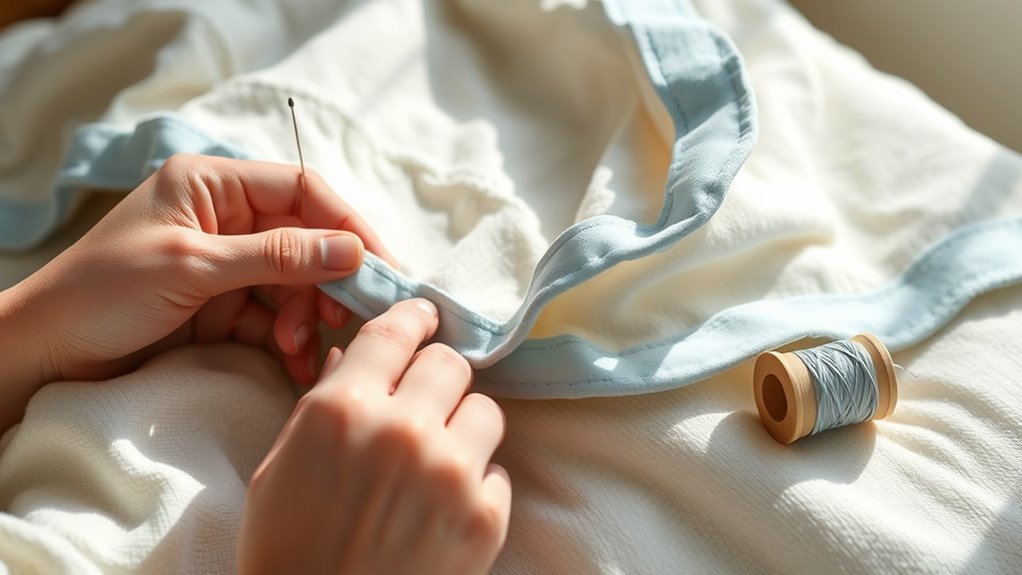
To achieve a clean finish, you’ll want to hand stitch the binding using small, even blind stitches that hide neatly within the fold. First, fold the binding over the raw edge of your satin blanket, making sure the mitered corners are crisp and even.
Pin or clip the binding securely to prevent shifting. Then, sew through only the folded edge of the binding and the quilt backing, avoiding the top fabric to keep stitches invisible.
Take consistent, tiny stitches about 1/8 inch apart for a nearly invisible look. If you’re managing a new account or just starting, I’ll show you this technique step-by-step to make your blanket look professionally finished with minimal effort.
Hand stitching truly elevates your project’s appearance. It’s a little extra work, but totally worth it!
Frequently Asked Questions
How to Bind a Blanket With Satin Binding?
You cut satin strips, pin them around your blanket’s edges, then sew with a narrow zig-zag stitch.
Press binding backward, fold edges neatly, and hand-stitch the back for a smooth, professional finish.
It’s a simple way to give your blanket a polished look without too much fuss. Just take your time with the folds and stitching!
What Is the Rule of 7 in Quilting?
Did you know quilters using the Rule of 7 achieve 70% more balanced designs? You divide your quilt edges into seven equal parts to evenly space quilting lines and binding.
This method ensures your final piece looks polished and symmetrical. It’s a simple trick that can make a big difference in your quilting projects.
What Is the Average Size of Quilt Binding?
The average size of quilt binding you use is about 2.25 inches wide before folding.
When folded, it usually finishes around ½ inch wide, perfect for encasing your quilt edges neatly and securely.
It’s just the right size to keep everything looking tidy without adding too much bulk. Plus, it makes sewing the edges much easier!
How Much Does It Cost to Have Someone Bind a Quilt?
You want quality, you want precision, you want care—and that usually costs between $50 and $200 to have someone bind your quilt.
Prices vary by size, complexity, and custom styles, so expect to pay accordingly. It really depends on what you’re looking for and how detailed the work needs to be.
Conclusion
By boldly binding your blanket, you bring beauty and brilliance to every cozy corner. With careful cutting, precise pressing, and seamless sewing, you craft comfort that’s both charming and classic.
Don’t dread delicate details—dive in, do it diligently, and discover the delight of a perfectly polished project. Remember, mastering mitered corners and meticulous hand stitching makes your blanket not just functional but fabulously finished.
Keep crafting confidently, and your creations will consistently captivate. Sewing binding on a blanket adds that professional touch, making your cozy piece both durable and delightful. So grab your fabric, thread, and needle, and enjoy the rewarding process of sewing binding on a blanket in 7 easy steps. Your finished blanket will be a warm, stylish treasure you can proudly show off!