How to Do Sew a Pillow in 10 Easy Steps
To sew a pillow in 10 easy steps, start by gathering all your materials. You’ll need fabric, a sewing machine, pins, thread, scissors, and a pillow form or stuffing.
Next, cut two pieces of fabric, making sure to include a seam allowance. Pin these pieces right sides together so they don’t shift while you sew.
Now, sew along three sides of the fabric, leaving one side open. This opening is where you’ll insert your pillow form or stuffing.
After sewing, press the seams flat with an iron for a neat finish.
Then, stuff your pillow to your desired fullness.
Finally, pin the open side closed and sew it shut with reinforced stitches for durability.
Keep reading to find tips that will give your pillow a professional, polished look.
Key Takeaways
- Measure and cut two fabric pieces with a ½ inch seam allowance. Make sure you get the correct pillow size and align the fabric properly.
- Pin the fabric pieces right sides together. Place the pins perpendicular to the edges so they stay secure while sewing.
- Sew three sides at a ½ inch seam allowance. Leave one side open so you can turn the pillow cover and stuff it later.
- Turn the pillow cover right side out and press the seams flat. Then, insert your pillow form or stuffing evenly inside.
- Fold and pin the opening edges. Sew it closed using reinforced stitches, and finish with double knots to keep it durable.
Gather Necessary Supplies for Sewing a Pillow
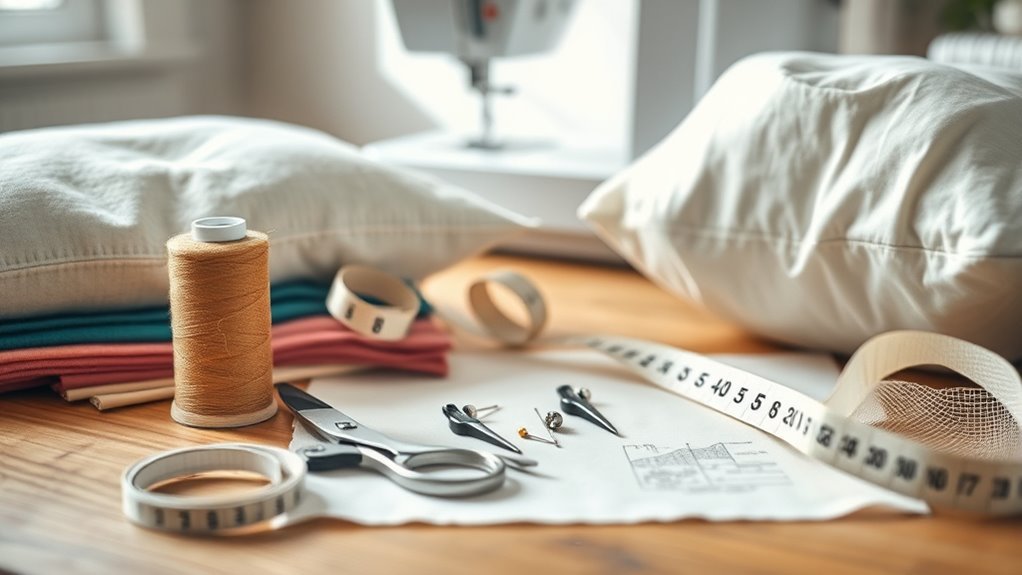
Before you begin sewing your pillow, gather all the necessary supplies to guarantee a smooth process. You’ll need fabric suited to your pillow’s purpose—cotton for comfort or decorative textiles for style.
Have a sewing machine ready; it speeds up stitching and ensures even seams. Don’t forget pins to hold your fabric pieces securely together before sewing, helping maintain precise alignment.
Choose a thread color that matches or complements your fabric to give your pillow a professional finish. Keep scissors handy for clean cuts, and an iron nearby to press seams and edges both before and after sewing.
Having these essentials organized will make your pillow project straightforward and enjoyable from start to finish. It’s all about setting yourself up for success right from the beginning!
Choose and Prepare Your Fabric Pieces
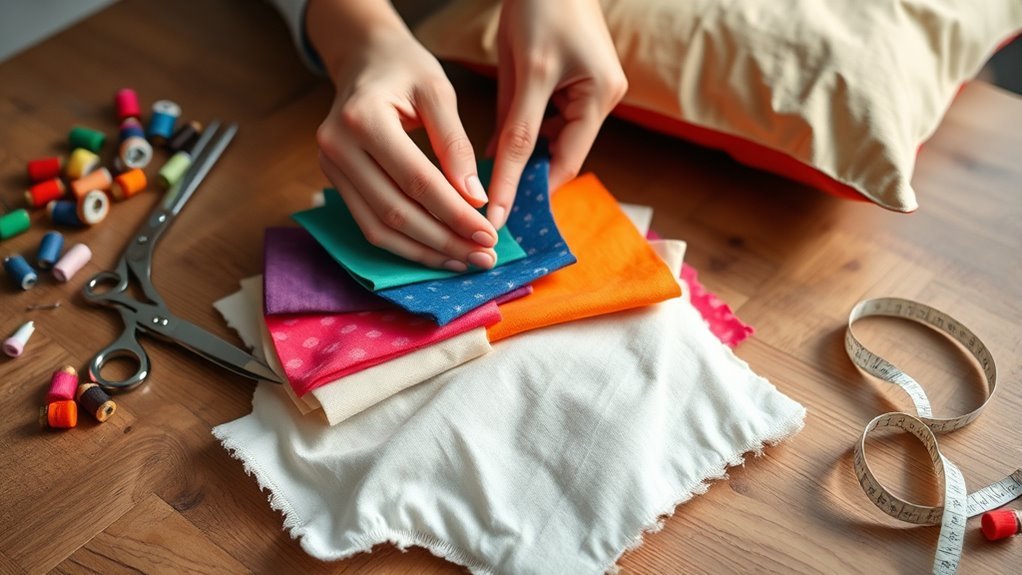
Once you’ve gathered your supplies, focus on selecting and preparing your fabric pieces. Choose fabric that suits your pillow’s purpose—cotton for comfort or decorative fabric for style.
Select fabric that matches your pillow’s use—cotton for coziness, decorative fabric for a stylish touch.
Measure the size of your pillow and cut two squares or rectangles of fabric accordingly. Don’t forget to add about 1.3 cm (½ inch) seam allowance around each piece to make certain proper sewing space.
For an envelope pillow cover, measure and cut two back pieces that are half the height of the front piece, adding extra length for overlap and hems. Use sharp fabric scissors to make clean cuts, which help achieve smooth seams later.
Finally, iron the fabric pieces to remove wrinkles and create crisp edges. This makes your sewing process much easier and your finished pillow look polished.
Cut Fabric With Seam Allowance
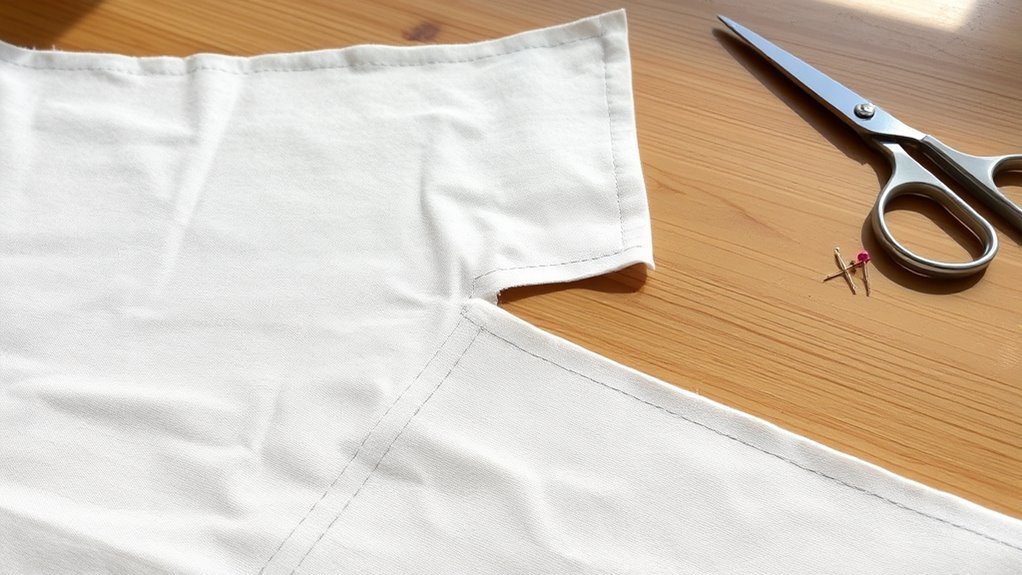
Although measuring your pillow size accurately is essential, adding a 1.3 cm (½ inch) seam allowance to each dimension guarantees you have enough fabric to sew the pieces together neatly.
Start by using a ruler or straight edge to mark the fabric based on your measurements plus the seam allowance. This ensures clean, precise cuts for both the front and back pieces of your pillow cover.
Cut two fabric pieces carefully along these lines. If your pillow is decorative, consider increasing the seam allowance slightly to accommodate hems or finishing edges.
Always double-check your measurements before cutting to avoid mistakes. Properly including seam allowance in your measurements helps your pillow cover fit perfectly once sewn.
Pin Fabric Pieces Right Sides Together
When you place the two fabric pieces with their right sides facing each other, you guarantee the printed or finished sides are protected inside the pillow cover. Start by aligning the edges carefully, matching corners and sides for precise sewing.
Next, pin fabric pieces together by placing pins about 1 to 2 inches from the raw edges to leave seam allowance. Make sure to pin fabric at regular intervals along the edges to hold everything securely and prevent shifting.
Position pins perpendicular to the fabric edges; this makes them easier to remove while sewing. By pinning the right sides together correctly, you set yourself up for smooth, accurate stitching in the next step of your pillow project.
Sew Three Sides Leaving an Opening
How do you sew three sides without closing the entire pillow? Start by pinning your two fabric pieces right sides together, but leave one side unpinned for turning later.
Now, sew three sides at a 1.3 cm (½ inch) seam allowance, leaving an opening on the unpinned side. Use a straight stitch and backstitch at the beginning and end to secure your seams.
After sewing, trim the seam allowances and clip the corners to reduce bulk and help the corners turn out smoothly. Finally, press the sewn edges with an iron, folding the raw edges inward along the open side.
This clean finish makes it easier when you turn your pillow cover right side out. Remember, sewing three sides while leaving an opening is key for stuffing later.
Trim Seams and Turn Pillow Cover Right Side Out
After sewing three sides and leaving an opening, trim the excess seam allowance to about 0.3-0.5 inches to reduce bulk and create a clean edge. Use sharp scissors or a rotary cutter to carefully trim seams, avoiding fraying.
Don’t forget to clip into the seam allowances at each corner—this step helps the pillow cover lay flat and prevents bulky edges.
Next, turn the pillow cover right side out through the opening you left unstitched. Gently push out the corners using your fingers or a blunt tool to achieve sharp, defined corners.
This process makes your pillow cover look neat and ready for the final finishing touches. Trimming seams and turning the cover right side out sets the stage for a polished, professional pillow.
Press Seams and Opening Edges
Why does pressing seams make such a difference? When you press seams flat after sewing, your pillow cover looks neat and professional.
You’ll want to use an iron set to the right fabric temperature to avoid any scorching or puckering. Press all seam allowances toward the darker or more stable fabric side to keep the fabric smooth.
Before closing the pillow opening, fold and press the raw edges to create a clean finish. Press seams and edges before assembling the pillow cover to maintain crisp, sharp lines.
| Task | Tip |
|---|---|
| Press seams | Use appropriate iron temperature |
| Press edges (opening) | Fold raw edges before pressing |
| Direction of pressing | Toward darker/stable fabric |
Insert Pillow Form or Stuffing
Once your pillow cover is fully sewn and turned right-side out, you can start inserting the pillow form or stuffing. Gently push the pillow insert into the cover, starting with one corner and working outward to avoid lumps. Use a blunt tool to help ease the form into the corners, ensuring a smooth, even shape.
Remember to turn your pillow carefully during this process to distribute the filling evenly.
- Begin with one corner and work outwards to prevent lumps.
- Use a blunt tool, like a a chopstick, to shape the corners.
- Leave the opening slightly unstuffed if you want to adjust firmness later.
- Turn your pillow gently to evenly distribute the stuffing or pillow insert.
This step sets the foundation for a perfectly shaped pillow.
Pin the Opening Securely for Closing
To keep your pillow cover edges aligned and prevent any shifting, pin the opening securely before sewing. Start by pinning the edges at the center of the open seam, then work your way outward toward each end.
Place the pins about 1-2 inches from the edge, inserting them perpendicular to the seam line with the pinhead facing outward. This method helps you avoid sewing over pins and makes removal easier.
Secure the pins close enough to hold the fabric firmly but not too tightly to prevent puckering or shifting as you sew. Remember to remove the pins gradually while stitching to maintain alignment.
Sew the Opening Closed With Reinforced Stitches
After pinning the opening securely, you’ll want to sew it closed with reinforced stitches to guarantee durability. Start by sewing about 1/8 inch from the raw edge for a clean finish.
Use a backstitch at the beginning and end to reinforce the seam and prevent unraveling. As you sew, gradually remove the pins to keep the fabric flat and secure.
When you reach the end, tie off your thread with a double knot to add extra strength. Finally, clip any excess threads for a neat look.
Remember to:
- Sew 1/8 inch from the edge for a professional finish
- Use backstitching to reinforce the seam
- Remove pins gradually as you sew
- Double knot the thread to secure the seam
These reinforced steps ensure your pillow stays sturdy and polished. Easy, right? Just take it step by step, and you’ll have a strong, neat finish in no time!
Frequently Asked Questions
How to Sew a Basic Pillowcase?
You’ll start by cutting fabric squares with seam allowances, then hem the back pieces to create flaps.
Next, align and sew all edges, leaving an opening. Turn it right side out, insert the pillow, and close the gap.
What Is the 2 2 1 Rule for Pillows?
The 2-2-1 rule means your pillow’s length should be twice its width, and its height one-third of the length.
This keeps your pillow looking balanced and stylish on sofas, beds, or chairs. It’s a simple way to make sure your pillows not only feel good but also look great in any space.
Are Pillows Hard to Sew?
No, pillows aren’t hard to sew. You just need basic tools and simple steps like measuring, cutting, and stitching.
With patience and clear instructions, you’ll find sewing pillows manageable and even enjoyable, especially simple designs.
How Much Fabric Do I Need to Make a 20X20 Pillow?
You’ll need two fabric pieces measuring about 21.3 by 21.3 inches each to make a 20×20 pillow, including seam allowances.
Add extra fabric if you want zippers, trims, or decorative edges for a perfect fit. It’s always good to have a little wiggle room to work with!
Conclusion
Now that you’ve mastered sewing a pillow in just 10 simple steps, you’re basically a sewing wizard! Seriously, with this skill, you could transform any boring room into a cozy sanctuary overnight.
Forget expensive decor—your handmade pillows will have everyone begging for your secret. So grab your fabric, get stitching, and watch as your creativity turns into comfort.
Who knew sewing a pillow could feel like releasing pure magic? With your new sewing skills, you can easily add a personal touch to your home decor and create beautiful, custom pillows that suit your style perfectly. Keep practicing, and soon sewing pillows will become your favorite go-to craft!