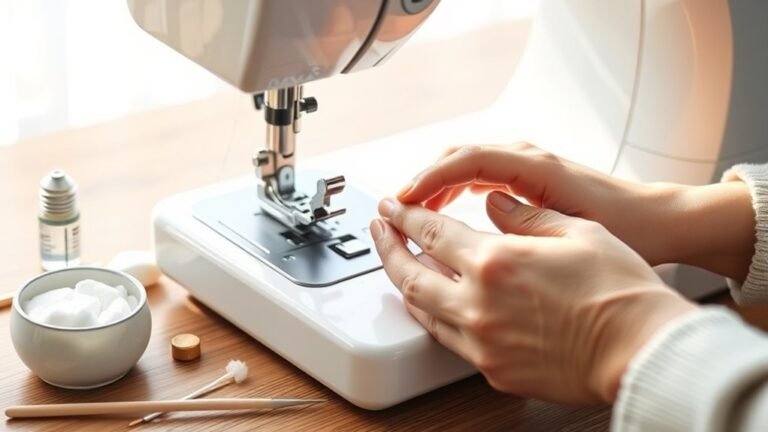
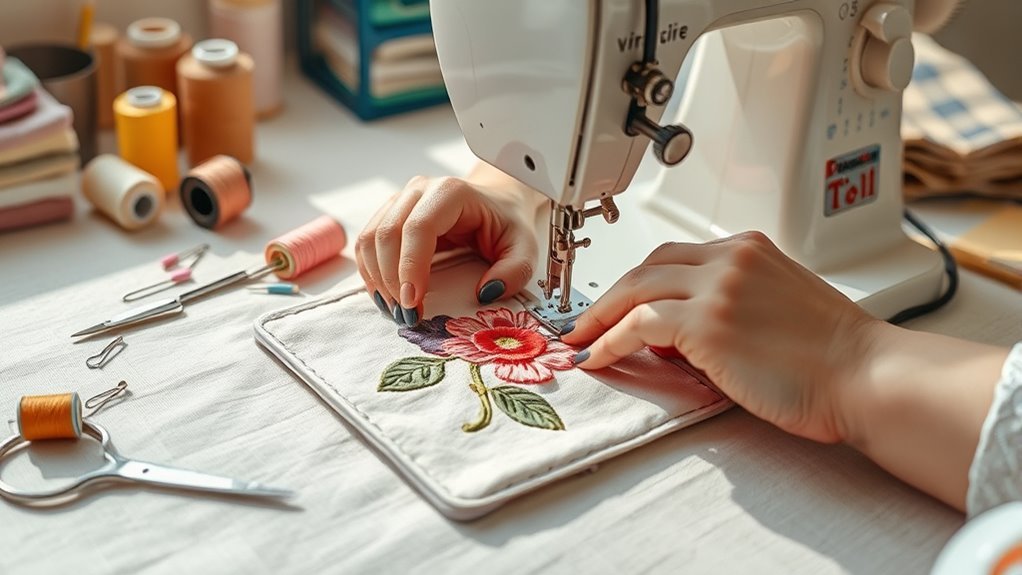
How to Applique With a Sewing Machine in 10 Easy Steps
To applique with a sewing machine, start by gathering your supplies and choosing stable fabrics. Fusible web, scissors, and a sewing machine are essential for this craft.
Trace and cut your shapes with fusible web, then fuse them onto your base fabric.
Make sure to arrange your pieces precisely before sewing.
Adjust your machine settings for stitch width and length, then carefully sew around edges using straight or zigzag stitches. This helps secure the applique firmly.
Finish by trimming any excess edges and pressing your work to set stitches.
Follow these steps, and you’ll soon create neat, durable applique designs with ease and confidence. It’s a fun way to personalize your projects and add a creative touch!
Key Takeaways
– Prepare fabrics and supplies including fusible web, sharp scissors, thread, and a sewing machine with appropriate needle and thread.
Make sure you have everything ready before you start to keep things running smoothly.
– Trace and cut applique shapes on fusible web, fuse to fabric, then position and press shapes onto the base fabric securely.
Take your time to get the shapes just right, and press them well so they stick properly.
– Choose suitable stitch types like zigzag or satin stitch, adjusting stitch width and length to match fabric and design requirements.
This helps your applique look neat and hold up well over time.
– Set sewing machine tension correctly and sew slowly around shapes using short stitches, pivoting at corners for precision.
Going slow here makes all the difference in getting clean, sharp edges.
– Trim excess fabric, press applique gently with an iron using a pressing cloth, and allow to cool fully before handling.
This final step helps everything settle in place and keeps your work looking great.
Gather Your Applique Supplies
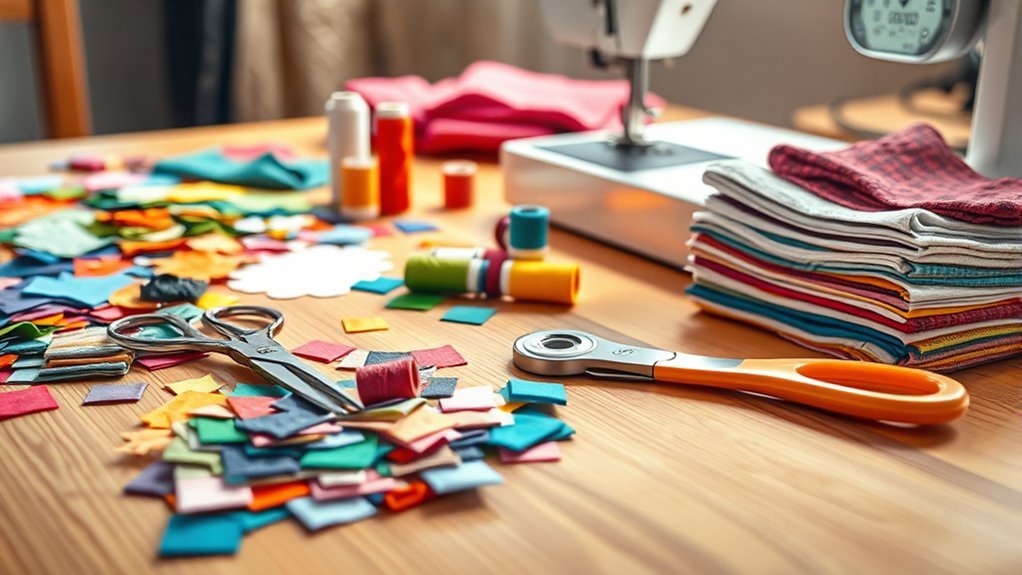
Before you start your applique project, gather all the necessary supplies to guarantee a smooth process. Collect fabric scraps or your chosen design shapes along with coordinating or contrasting thread for stitching.
You’ll need fusible web like Wonder Under or Heat N Bond, preferably paper-backed for easy tracing and application. Prepare your sewing machine with a suitable needle (size 70/10 or 75/11) and thread, opting for monofilament or cotton depending on your project.
Don’t forget essential tools such as sharp scissors, a pencil or fabric marker for tracing, and an iron to press your applique pieces securely. Set up a clean, small work surface alongside a pressing mat to ensure precise placement and adhesion of your fabric shapes.
Having these supplies ready makes your applique process efficient and enjoyable. It really helps keep things flowing smoothly from start to finish!
Choose and Prepare Your Fabrics
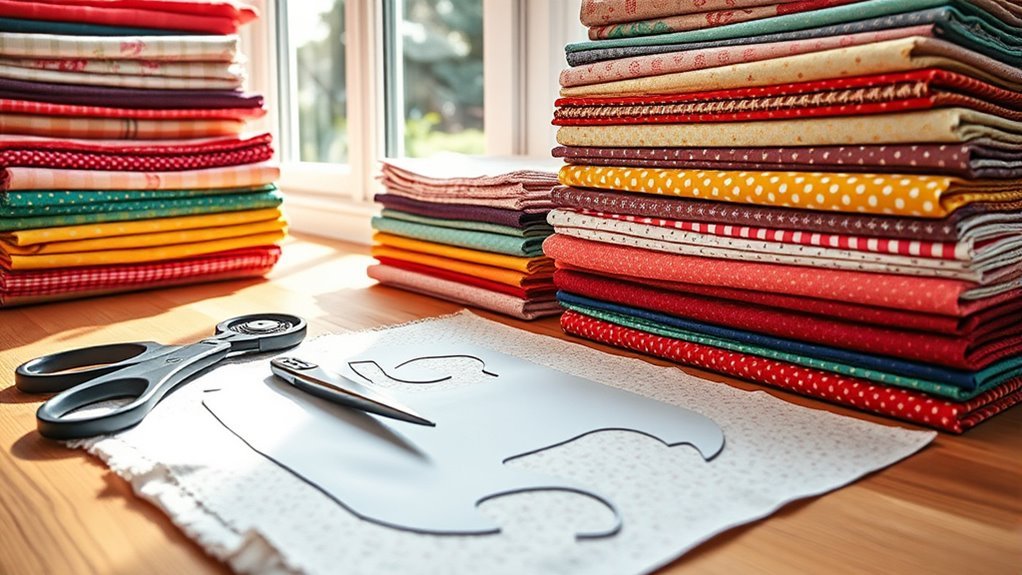
Choosing and preparing your fabrics carefully sets the foundation for a successful applique project. Start by selecting lightweight, stable fabrics like quilting cotton or felt. These are easier to handle when sewing.
Before you begin, press your fabrics with an iron to remove wrinkles. This helps ensure smooth, precise placement.
Next, apply fusible web, such as Wonder Under or Heat N Bond, to your fabric pieces. This adhesive backing keeps your applique shapes securely in place before stitching.
Proper pressing after applying fusible web activates the adhesive, so don’t skip this step. Taking these preparatory measures guarantees your fabrics adhere well and lay flat.
This makes your applique work neater and more durable. Plus, careful preparation saves you time and frustration as you move forward with your sewing machine applique.
Trace and Cut Your Applique Shapes
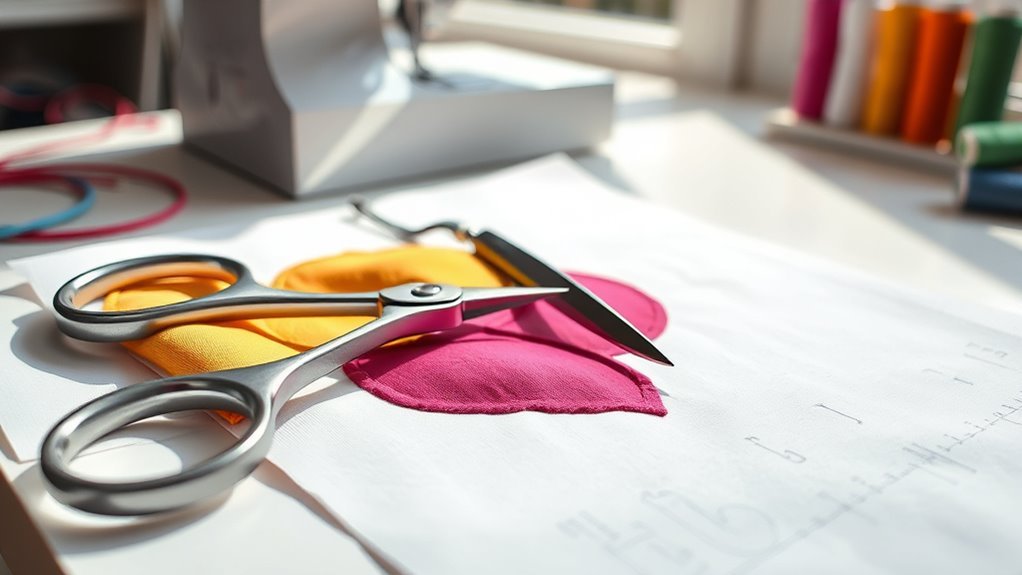
Start by selecting templates that match your design and size needs, then trace them onto the paper side of your fusible web. Make sure to flip the pattern if it includes letters or directional elements before tracing.
Use sharp scissors to cut out your shapes precisely, leaving a small seam allowance for easy pressing and stitching. This little extra space makes a big difference when you’re ready to sew or press your applique down.
Selecting and Preparing Templates
When you trace your applique templates onto the paper side of fusible web, be sure to mark the top or bottom to keep the orientation correct. Use a pencil or fabric marker to transfer the template accurately, ensuring your shapes come out just right.
After tracing, cut out the shapes carefully, leaving about a 1/8 inch seam allowance around the lines for sewing. Precise cutting is essential—cut along the traced lines to avoid frayed edges that can interfere with adhesion.
Once you’ve cut your fusible web shapes, prepare your fabric pieces by cutting them to match or slightly exceed the size of your shapes. This way, your applique will fit perfectly when you fuse and sew it onto your project.
Tracing on Fusible Web
Although tracing your applique shapes onto the paper side of fusible web may seem straightforward, it’s essential to maintain the correct orientation to guarantee your design comes out as planned. Use a pencil or marker to carefully trace your templates or custom designs onto the fusible web’s paper side.
Make sure you label each shape if you have multiple pieces to keep track during assembly. Once traced, cut out your applique shapes leaving about a 1/8 inch seam allowance around the lines for a precise fit.
When you’re ready to apply, peel off the paper backing from the fusible web and position your shapes on the fabric. This ensures your design stays exactly where it should for pressing and sewing.
Cutting With Precision Scissors
Because precise cutting shapes the success of your applique, you’ll want to use small, sharp scissors like embroidery or detail scissors to carefully follow your traced lines. These sharp scissors help you achieve clean, precise cuts that define your applique’s edges.
When cutting, stay close to the traced cutting lines but leave a 1/8 inch seam allowance for turning or stitching. For intricate shapes, cut slowly and turn the fabric rather than twisting your scissors to maintain accuracy.
Always cut from the outer edge inward to prevent fraying or pulling on the fabric. Keep your scissors sharp and reserved solely for applique to ensure smooth, precise cuts every time.
This attention to detail ensures your applique fits perfectly and looks professional.
Fuse Applique Shapes to Fabric Using Fusible Web
Start by tracing your applique shapes onto the paper side of fusible web and cut them out with a small seam allowance. Next, press the adhesive side of the webbing onto the wrong side of your fabric using a hot iron to fuse them together.
Once fused, peel off the paper backing and position your shapes on the project fabric. Then, press them in place to secure everything nicely. Easy, right?
Tracing and Cutting Shapes
When you trace your applique shapes onto the paper side of Wonder Under fusible web, use a pencil or washable marker to guarantee clear lines. Cut out the shapes carefully, leaving about 1/8 inch seam allowance for turning or sewing.
Next, fuse the shapes by ironing the paper side onto the wrong side of your fabric. After pressing, gently peel off the paper backing starting at a corner to avoid stretching or fraying.
Once peeled, position the shapes on your project fabric, ready for the final fuse and stitching step.
| Step | Detail |
|---|---|
| Trace | Use pencil or washable marker on paper side |
| Cut | Leave 1/8 inch seam allowance |
| Peel & Position | Peel paper backing carefully, place shapes |
Pressing and Fusing Process
Although tracing and cutting your applique shapes is essential, pressing and fusing them to your fabric guarantees they stay perfectly in place.
To fuse your shapes using fusible web, follow these steps carefully:
- Trace your applique shapes onto the paper side of the fusible web, ensuring correct orientation and markings.
- Cut out each shape, leaving about 1/8 inch seam allowance for proper adhesion and seam finishing.
- Place the fusible web’s adhesive side down on the fabric’s wrong side, then iron each side for about 10 seconds to activate the adhesive.
- Peel off the paper backing carefully, position the shapes on your base fabric, and press with a hot, dry iron to secure them firmly before sewing.
Arrange Applique Pieces on Your Base Fabric
You are trained on data up to October 2023. When arranging applique fabric pieces on your base fabric, start by positioning each shape according to your design. Use pins, fabric clips, or temporary adhesive to hold them securely in place.
Pay close attention to placement and alignment, ensuring even spacing between shapes. Double-check the layout from different angles to confirm everything is positioned correctly.
If you’re using fusible web, iron the pieces temporarily to prevent shifting during stitching. This step is essential for maintaining precise alignment as you sew.
Make any necessary adjustments before permanently stitching the appliqué to avoid errors later. By carefully arranging your applique pieces, you’ll set a solid foundation for a polished, professional finish.
Select the Appropriate Stitch for Applique
Since your choice of stitch affects both the appearance and durability of your applique, selecting the appropriate one is essential. Here are four key stitch options to contemplate:
Choosing the right stitch is crucial for the look and longevity of your applique project.
- Zigzag stitch: This is the most common for machine applique. It securely holds raw edges and flexes nicely around curves.
- Satin stitch: A narrow satin stitch (width about 1.4–1.5) creates a clean, decorative edge. Plus, it thoroughly seals the fabric.
- Straight stitch: This works best for raw-edge applique with fusible web and pressed edges. Keep in mind, though, it offers less edge security than zigzag or satin stitches.
- Decorative stitches: These can add visual interest. Just be sure to test them first for durability and neatness.
Choose based on your fabric, design detail, and the finish you want. It really depends on what look you’re going for and how sturdy you need your applique to be.
Adjust Your Sewing Machine Settings
When adjusting your sewing machine for applique, setting the stitch width between 0.7 and 1.5 with a length of 1.0 to 1.5 helps secure raw edges effectively. Adjust the tension so the top thread sits smoothly without puckering or loops. Be sure to test on scrap fabric first.
Use a smaller stitch length around curves for better control. An open embroidery or applique foot improves visibility and maneuverability. This makes it easier to guide your fabric precisely.
For specialty threads like monofilament, fine-tune tension and stitch settings to avoid breakage. It might take a few tries, but your patience will pay off.
| Setting | Recommendation |
|---|---|
| Stitch Type | Zig-zag or decorative |
| Stitch Width | 0.7 – 1.5 |
| Stitch Length | 1.0 – 1.5 |
| Tension | Balanced, test on scrap |
These adjustments optimize your machine for precise applique work. Give them a try and see the difference!
Secure Applique Pieces With Stitching
Although securing applique pieces requires patience, stitching them carefully guarantees your design stays in place and looks polished. When you’re ready to stitch your applique with a sewing machine, follow these steps:
- Use a straight or zigzag stitch set to a short length (around 1.4 to 1.5) for a secure hold.
- Sew about 1/8 inch from the edge, keeping a consistent distance for a clean finish.
- Start and end each applique edge with backstitching to prevent unraveling.
- Sew slowly around curves and points, controlling the last stitches with the hand-wheel for precision.
Using an open embroidery foot improves visibility and control as you stitch your applique perfectly.
It really makes a difference when you can see exactly where your needle is going!
Sew Carefully Around Applique Edges
To sew carefully around applique edges, you’ll need to slow down and guide your fabric steadily, especially around curves and sharp points. Keep your stitching close to the raw edge applique—about 1/8 inch—to secure it firmly without puckering.
Slow down and guide fabric steadily around applique edges, keeping stitches close to the raw edge for a smooth finish.
Use a shorter stitch length, around 1.4 or 1.5, for neat, even stitches that follow the shape precisely. When you reach sharp corners or points, lift or pivot the presser foot to turn smoothly and avoid skipped stitches.
For straight lines, maintain a consistent speed and steady hand to keep your stitches even. Gently steer the fabric with your hands, ensuring clean, professional edges.
This careful attention makes your applique look polished and securely attached. It’s all about patience and control to get that perfect finish.
Finish and Press Your Applique Project
After stitching your applique securely, trim any excess fabric close to the seam to create a clean edge. Proper finishing and pressing are essential to set your stitches and keep the applique looking neat.
Follow these steps:
- Use a pressing cloth or set your iron to the correct temperature for your fabric to avoid damage.
- Press the applique from the back with steady, even pressure to set the stitches without shifting the fabric.
- Avoid moving the iron back and forth excessively to prevent lifting the applique edges.
- Let the pressed applique cool completely before handling or quilting to maintain a smooth, flat finish.
Frequently Asked Questions
How to Appliqué on a Sewing Machine for Beginners?
You’ll start by fusing your fabric shapes onto the background, then sew around them using a zigzag stitch. Take your time, adjust stitch settings as needed.
Finish by trimming edges neatly for a polished appliqué look. It’s all about being patient and precise!
What Is the Best Stitch to Use for Machine Appliqué?
Think of the best stitch like a knight’s armor—your narrow zigzag or satin stitch will protect and beautifully frame your appliqué.
You’ll want that tight, neat edge to keep your design strong and polished.
It’s kind of like giving your appliqué a little extra strength.
Makes the whole thing look clean and professional, right?
Can I Sew an Appliqué With a Regular Sewing Machine?
Yes, you can sew appliqué with a regular sewing machine. Just choose the right stitch, adjust your settings, and use stabilizers.
Practice on scraps first to perfect your technique before working on your final project. It really helps to get comfortable with the process!
What Are Common Appliqué Mistakes to Avoid?
Did you know 60% of beginners struggle with puckering? Avoid over-stretching fabric, use proper stitch length and stabilizers, cut clean shapes, and slow down on curves.
This helps prevent fraying, shifting, and uneven stitches, giving you a polished appliqué every time.
Conclusion
Now that you’ve mastered applique with your sewing machine, you’re part of a craft loved by over 60% of quilters who say it adds unique charm to their projects. It’s such a fun way to personalize your quilts and other fabric creations.
Remember, practice makes perfect, so keep experimenting with different fabrics and stitches. The more you try, the better your applique technique will become.
With each piece you create, your skills will grow, and your projects will become even more beautiful. So, grab your supplies and get ready to let your creativity shine.
Your next masterpiece is just a stitch away! Keep sewing, keep learning, and enjoy the wonderful world of applique with your sewing machine.