How to Adjust Sewing Machine Tension in 3 Easy Steps
To adjust your sewing machine tension in three easy steps, start by threading your machine correctly. Follow the guides precisely and keep the presser foot up while threading. This helps ensure the tension settings work as intended.
Next, sew a test stitch on scrap fabric using contrasting threads. This way, you can easily spot any loops or puckering in your stitches. It’s a simple trick to see if your tension needs tweaking.
Finally, adjust the tension dial gradually. If the top threads are loose, increase the tension. If the bobbin threads are loose, decrease it. Keep testing and adjusting until your stitches look perfect.
Stick with it—you’ll soon master flawless stitching every time!
Key Takeaways
- Start by properly threading the machine, ensuring the thread is fully seated in tension discs and guides.
- Sew a test stitch on scrap fabric with contrasting thread colors to clearly observe stitch quality.
- Identify tension issues by checking for loops on fabric underside or visible top thread on fabric surface.
- Adjust the tension dial in small increments: decrease if top thread loops appear underneath, increase if visible on top.
- Repeat testing and fine-tune gradually until stitches are even and balanced, then record the optimal setting.
Thread Your Machine Correctly
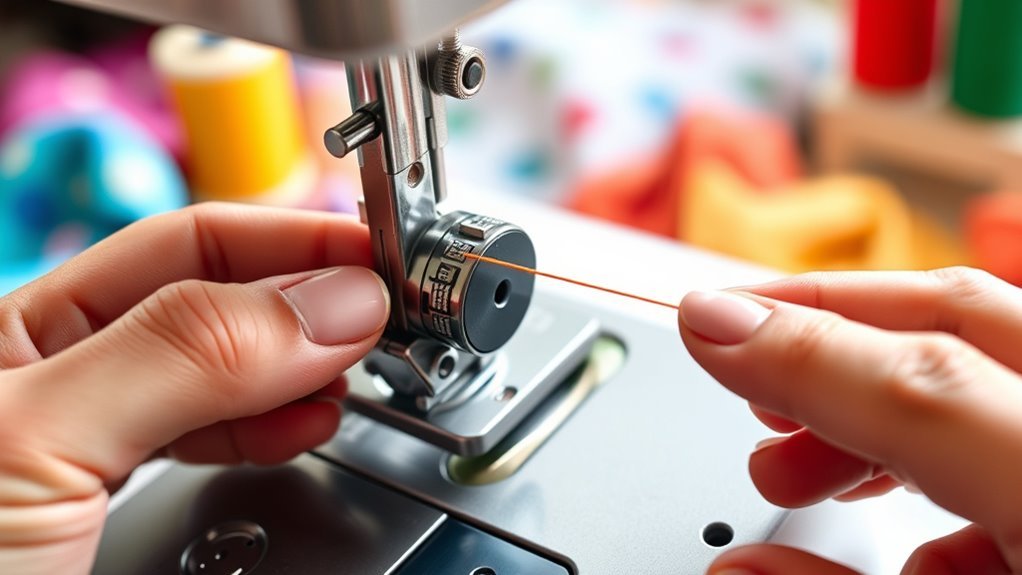
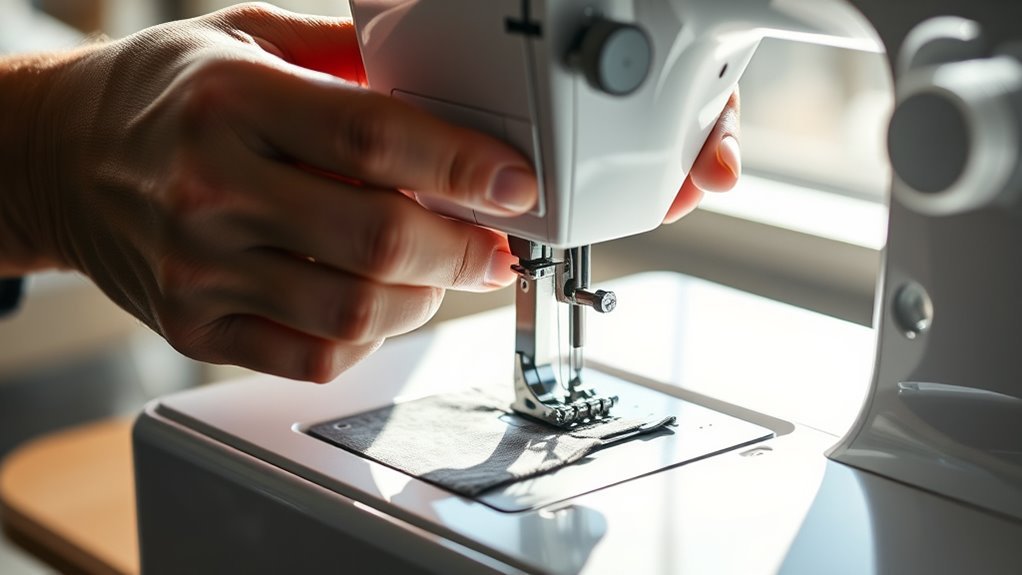
Before you adjust your sewing machine’s tension, make sure you thread it correctly by following the machine’s threading diagram precisely. Proper threading guarantees the thread follows the correct thread path through every tension disc and guide.
Keep the presser foot up during threading to allow the thread to seat properly in the tension discs. Insert the thread fully into each tension guide and hook, never skipping any steps.
Confirm that the thread is properly seated in the tension regulator without slack or misalignment. When you change threads or bobbins, always rethread the machine from start to finish to maintain consistent tension.
This careful machine setup with correct threading and proper guide use prevents tension problems and keeps your stitches even and secure. It’s worth taking the time—it really makes a difference!
Sew a Test Stitch and Observe
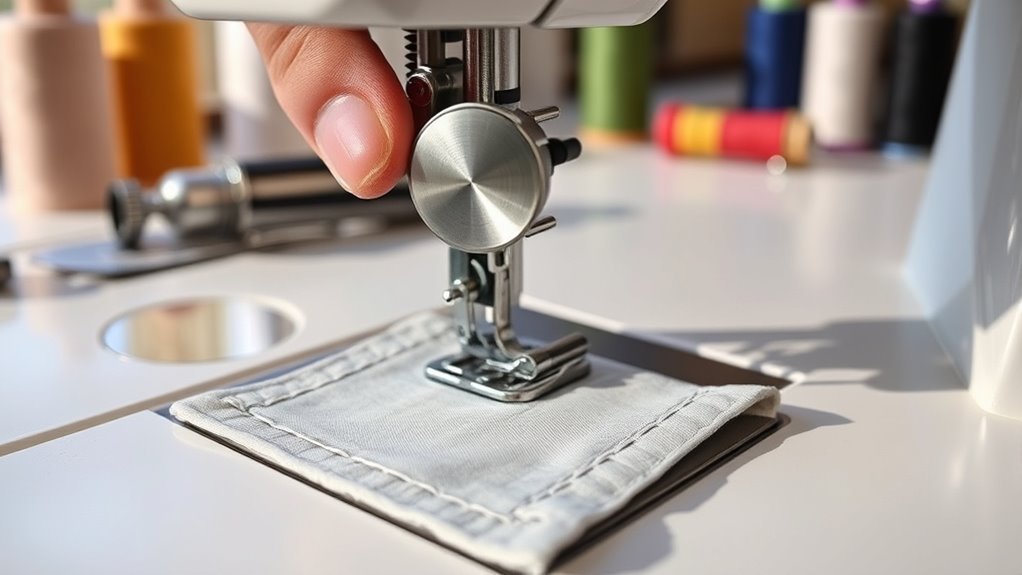
Once you’ve threaded your machine correctly, sew a test seam on a scrap piece of fabric that matches your project to check the tension. Use contrasting thread colors in the top and bobbin so you can clearly observe thread visibility and stitch quality.
During your sewing test, examine both fabric layers for even stitches and thread loops. Balanced tension results in tight, interlocking stitches without puckering or visible thread on the wrong side.
| Stitch Observation | What It Indicates |
|---|---|
| Loops on fabric underside | Top tension too loose |
| Thread visible on top | Bobbin tension too loose |
| Even, smooth stitches | Balanced tension achieved |
Careful stitch observation guides your next tension adjustment for perfect results. Keep an eye on those stitches and adjust as needed!
Adjust Tension and Fine-Tune
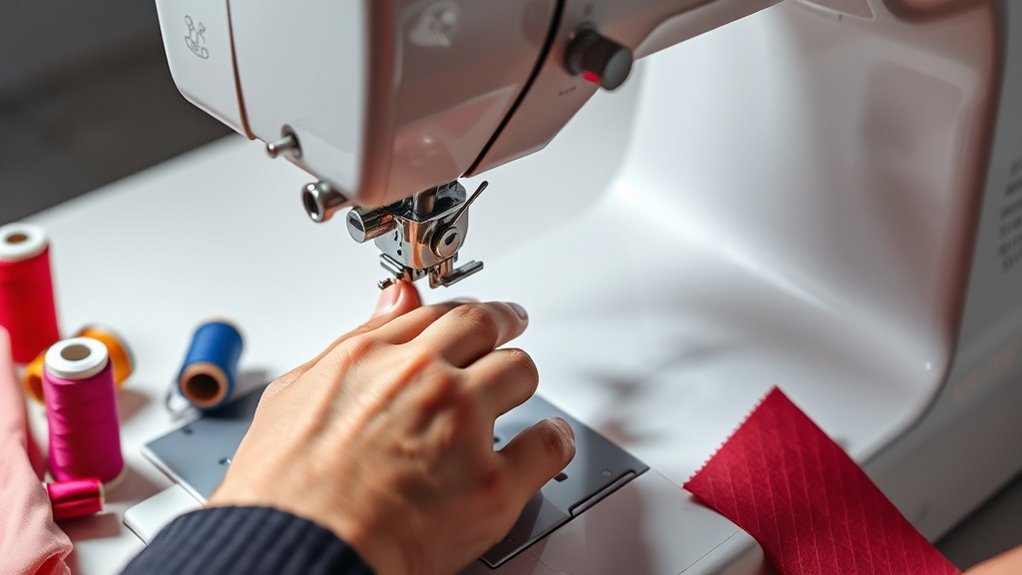
If your test stitches reveal uneven tension, start adjusting the tension dial in small increments to fine-tune the balance. Begin by ensuring the thread guide is properly engaged to maintain consistent thread tension.
Sew a test seam on fabric similar to your project and observe the stitches closely. If the top thread loops appear on the underside, decrease the tension dial slightly; if the top thread shows on the fabric surface, increase it.
Make small adjustments, then test again to see how the stitches balance. Remember, fine-tuning involves patience—adjusting tension gradually helps you achieve even stitches on both sides without puckering or loops.
Also, check bobbin tension if problems persist. Once you find the right setting, record it for future projects using the same fabric and thread.
Frequently Asked Questions
How to Adjust Tension in a Sewing Machine?
You adjust tension by turning the dial gradually, sewing test seams, and checking stitch quality.
Tighten if loops appear on the fabric’s top, loosen if loops form underneath. Make small changes until stitches look balanced.
How Do You Know if Your Tension Is Too High or Low?
You’ll know your tension’s too high if your top thread stubbornly shows underneath, and too low if the bobbin thread flaunts itself on top.
Ironically, your stitches will tell you what’s wrong before you do!
How to Tell if Tension Is Correct on a Sewing Machine?
You’ll know tension is correct when your stitches are tight and even, with no loops or puckering on either side. Both threads should lock smoothly inside the fabric, and your test seam will look balanced and neat.
If you see any loops or puckering, that means the tension is off. So, it’s worth adjusting and trying a test stitch again to get it just right.
What Tension Should I Set My Sewing Machine to for Thin Fabric?
You should set your sewing machine tension between 3 and 4 for thin fabrics like silk, just like delicate spider webs with strands thinner than a human hair.
Lower tension prevents puckering and keeps stitches smooth and balanced.
It really helps to keep your fabric looking neat and professional. Just think of it as being gentle with something delicate!
Conclusion
So, now you’re basically a tension whisperer—threaded perfectly, tested like a pro, and adjusted with the precision of a rocket scientist. Who knew a tiny dial could cause so much drama?
Next time your stitches rebel, just remember: you hold the power to tame the beast. Keep tweaking, keep sewing, and maybe, just maybe, your machine will cooperate without staging a textile mutiny.
Sewing tension is truly the ultimate test of patience and skill. With the right adjustments, your sewing machine tension will help you achieve flawless stitches every time. You’ve got this!