5 Easy Steps to Install a Bobbin on a Brother Sewing Machine
To install a bobbin on your Brother sewing machine, start by powering down and preparing your machine. This simple step ensures safety and helps you focus on the task.
Winding the bobbin correctly is key—make sure to thread it through the guides carefully and always use a genuine Brother bobbin for the best performance.
Next, insert the bobbin into the compartment, ensuring it unwinds counterclockwise. This direction is important for your machine to sew smoothly without any hiccups.
Thread it according to the machine’s specifications, then secure the cover so everything stays in place during sewing.
Finally, double-check for common issues like tangled threads or improper tension. These quick checks can save you from frustrating sewing problems later on.
Keep going, and you’ll discover more helpful tips to make your sewing experience smooth and enjoyable!
Key Takeaways
- Power down the machine, raise the needle, and engage the operation panel lock for safety before starting the installation. It’s always best to be cautious!
- Use a genuine Brother Class 15 bobbin, making sure it’s wound evenly. Insert it with the thread unwinding counterclockwise for the best results.
- Guide the thread through the tension slot correctly after placing the bobbin snugly in the compartment. This helps keep everything running smoothly.
- Wind the thread around the bobbin using the machine’s winding mechanism. Just be careful not to overfill it, as that can mess with the tension.
- Regularly check for tangled threads and clean the bobbin area. This simple step prevents jams and keeps your machine working perfectly.
Power Down and Prepare Your Machine
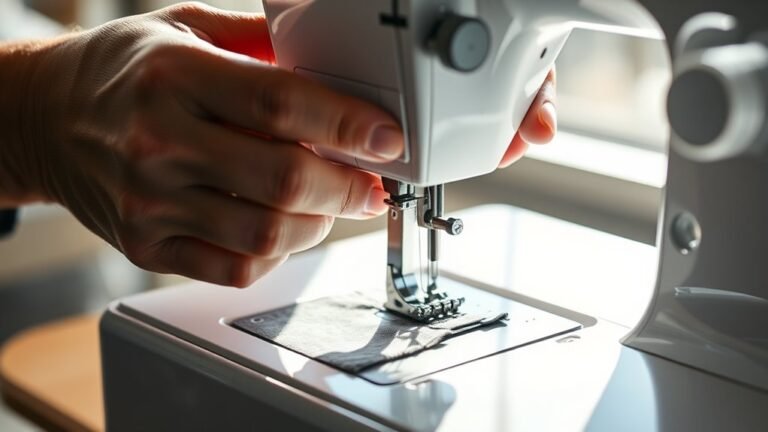
Before you plunge into installing your bobbin, it’s essential to take a few safety steps. First, power down your Brother sewing machine and unplug it to prevent any accidents.
Next, raise the needle to its highest position using the hand wheel. This prevents any accidental movement while you prepare for bobbin installation.
Raise the needle to its highest position with the hand wheel to avoid accidental movement during bobbin installation.
Don’t forget to engage the operation panel lock, if your machine has one, for extra safety. Raise the presser foot lever to reduce threading tension, making it easier to insert the bobbin correctly.
Finally, make sure you have a tidy workspace, free from obstructions, to allow for a smooth installation process. And hey, always refer to your machine’s manual for any specific instructions related to your model.
Wind the Bobbin Correctly for Optimal Tension
To achieve ideal tension when winding your bobbin, start by placing the thread spool on the spool pin. Make sure you use a spool cap to keep it secure.
Next, guide the thread through the first thread guide and around the pre-tension disc. Then, wind the thread around the bobbin manually a few times to anchor it before using the machine for winding.
As you wind, be sure to use genuine Brother bobbins. This helps with compatibility and prevents tension issues that can mess with your stitch quality.
Finally, remember to insert the bobbin into the compartment with the thread unwinding counterclockwise. This step is super important for maintaining optimal tension while sewing. It ensures your stitches come out smooth and even every time.
Insert the Bobbin in the Compartment Properly
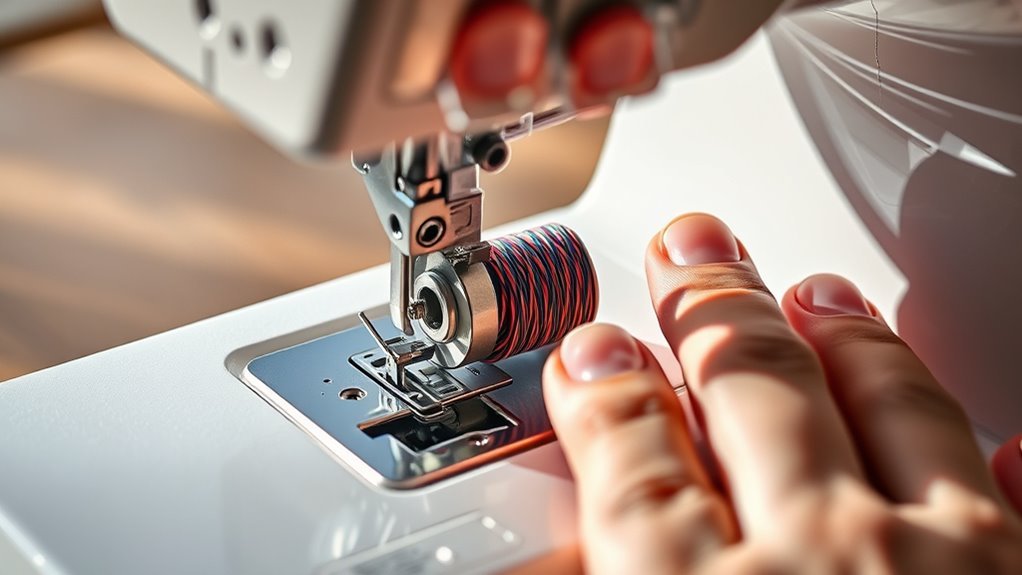
Inserting the bobbin correctly is essential for smooth sewing. Start by verifying you have a Class 15 bobbin and that it’s wound evenly.
Hold the bobbin with the thread unwinding counterclockwise, making certain the thread tail comes off the left side. Now, insert the bobbin into the bobbin compartment, confirming it fits snugly in the bobbin case.
| Step | Action | Tip |
|---|---|---|
| Position the Bobbin | Thread unwinds counterclockwise | Keep the tail left |
| Proper Insertion | Insert into the bobbin compartment | Confirm snug fit |
| Threading | Guide through the tension slot | Check under the guide |
Finally, close the cover securely to prevent any issues while sewing. This little step really helps keep everything running smoothly.
Thread the Bobbin According to Brother Specifications
Threading the bobbin correctly is essential for achieving superior sewing performance with your Brother machine. First, make sure the thread unwinds counterclockwise from the spool.
Insert the thread end into the Brother Bobbin from the inside out to create a secure anchor. Wind the thread evenly around the bobbin using your machine’s winding mechanism, but avoid overfilling, as this can disrupt thread tension.
Always use genuine Brother bobbins for peak performance. After winding, place the bobbin into the bobbin compartment with the thread tail coming off the left side.
This guarantees proper thread direction through the tension mechanism, allowing for a flawless stitch every time. Don’t forget to tighten the Case Screw if needed!
Troubleshooting Common Bobbin Issues
Have you ever encountered frustrating bobbin issues while sewing? These problems can halt your creativity and lead to wasted fabric.
Here are some quick tips to troubleshoot:
- Confirm the bobbin is installed with the thread unwinding counterclockwise. Incorrect placement can cause thread jams and inconsistent tension.
- Check for tangled threads before starting. They can lead to skipped stitches or a jammed machine.
If you notice uneven stitches, verify that the bobbin is wound evenly and not too loose or too tight.
Also, regularly clean the bobbin area to remove lint buildup. That lint can really obstruct the bobbin case.
If issues persist, take a good look at the bobbin case and make sure it’s compatible with your machine model.
These steps should help you get back to sewing smoothly in no time!
Frequently Asked Questions
What Type of Thread Is Best for Brother Sewing Machines?
For Brother sewing machines, polyester thread is best. It’s strong, versatile, and works well on various fabrics.
Cotton thread is great for quilting, but polyester’s durability makes it your go-to choice for most projects.
How Often Should I Change My Bobbin Thread?
Just like a flower needs fresh water, you should change your bobbin thread whenever it runs low or tangles.
Regularly checking keeps your sewing smooth and vibrant, ensuring your creations bloom beautifully every time.
Can I Use a Different Brand of Bobbin?
Yes, you can use a different brand of bobbin, but make sure it fits your Brother machine properly.
Check the dimensions and compatibility to avoid issues with tension and stitching quality during your projects.
It’s always better to double-check before you start sewing, so you don’t run into any unexpected problems.
What if the Bobbin Is Not Winding Evenly?
If your bobbin isn’t winding evenly, check for thread tension issues. Make sure the bobbin is seated correctly.
Also, take a look at the thread path for any obstructions. Adjusting these things can really help you get a smoother winding process. Give it a try!
How Do I Clean the Bobbin Compartment?
Did you know that 70% of sewing machine issues stem from dirt buildup?
To clean the bobbin compartment, first remove the bobbin and case. Then, gently brush away lint and debris using a soft brush or cloth.
It’s a simple step that can save you a lot of trouble down the line!
Conclusion
Now that you’ve mastered the art of bobbin installation, you’re ready to commence your creative journey, much like a modern-day Penelope weaving her tapestry. Remember, each stitch you make tells a story, and a well-prepped bobbin is your trusty companion.
If you run into any hiccups, don’t hesitate to troubleshoot; even the greatest seamstresses faced challenges. With practice, you’ll find your rhythm, turning fabric into masterpieces with ease and confidence.
Installing a bobbin on your Brother sewing machine doesn’t have to be tricky. Once you get the hang of it, your sewing projects will flow smoothly, making every stitch count. Keep your bobbin properly wound and inserted, and you’ll enjoy seamless sewing every time. Happy sewing!