10 Easy Steps to Embroider Using a Sewing Machine
To embroider using a sewing machine, start by gathering your essentials, like the right needles and threads. Having the correct tools is super important for smooth stitching and great results.
Next, set up your machine and choose the appropriate stabilizer for your fabric type.
Make sure to secure your fabric in the hoop tightly to avoid distortion. This helps keep your design looking neat and precise.
Practice basic stitches on scrap material first to get comfortable with the process.
Then, confidently begin your design, ensuring you fix any common issues as they arise. If something feels off, don’t hesitate to pause and adjust.
Once finished, trim the stabilizer carefully to give your embroidery a clean finish.
There’s a lot more to explore for a smooth embroidery experience! Keep experimenting and have fun with your sewing machine embroidery journey.
Key Takeaways
- Gather essential supplies: embroidery needles, vibrant threads, stabilizers, and an appropriate hoop size for your fabric type.
- Set up your sewing machine: disengage feed dogs, install a darning foot, and adjust stitch length and tension.
- Securely hoop your fabric with the stabilizer, ensuring it’s tight and flat under the sewing machine foot.
- Practice on scrap fabric to refine your techniques and ensure stitch consistency before starting your project.
- Carefully remove the finished embroidery, trim excess stabilizer, and address any common issues like thread breakage or skipped stitches.
Understanding Your Embroidery Essentials
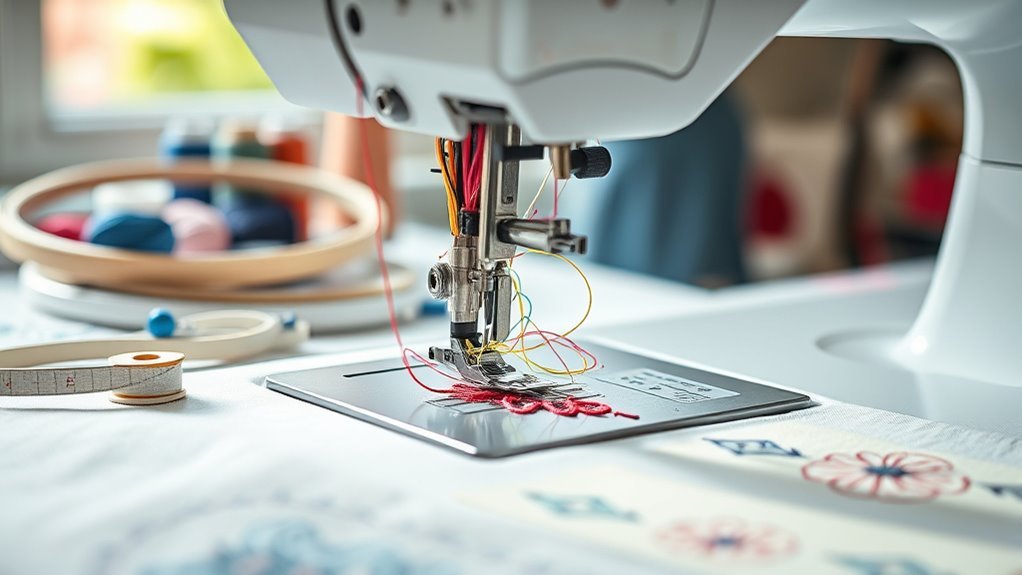
When you immerse yourself in machine embroidery, understanding your essentials is crucial for achieving great results. Start with the right needle and thread; use size 75/11 embroidery needles and 40-weight polyester or rayon threads for medium-weight fabrics.
Remember to select the appropriate stabilizer type based on your fabric—cut-away for stretchy materials and tear-away for stable ones. Choosing the correct embroidery hoops is equally important; standard sizes range from 4×4 inches to 5×7 inches, while magnetic hoops simplify fabric handling.
Don’t forget to use a darning or embroidery presser foot to enhance your control during stitching. Finally, verify proper thread tension for smooth, even results, and use disappearing ink pens for precise design placement without leaving permanent marks.
Set Up Your Sewing Machine for Embroidery
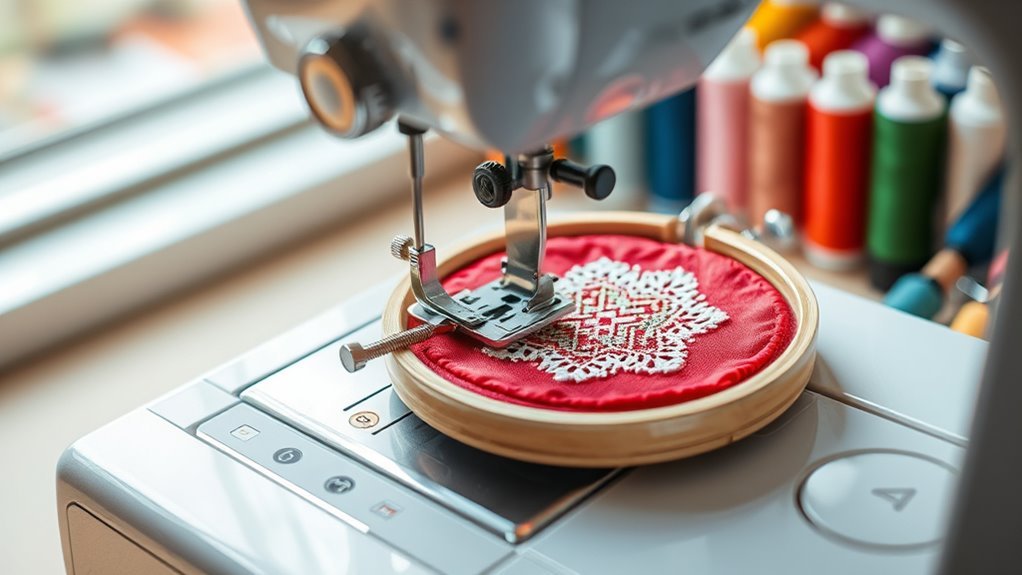
Now that you’ve gathered your embroidery essentials, it’s time to prepare your sewing machine for the task ahead. Follow these steps to set up your machine effectively:
| Step | Action | Purpose |
|---|---|---|
| 1. Disengage feed dogs | Use the switch or cover plate | Allows free motion stitching |
| 2. Install darning foot | Replace standard foot with darning foot | Enhances control while stitching |
| 3. Set your stitch length | Adjust to zero | Enables varied stitch patterns |
| 4. Adjust tension settings | Set top thread tension to 4-5 | Guarantees proper stitching |
| 5. Secure fabric in hoop | Use an embroidery hoop and stabilizer | Provides support during embroidery |
With these adjustments, you’re ready to create beautiful embroidery! Just take your time, and enjoy the process.
Choose the Right Stabilizer for Your Fabric
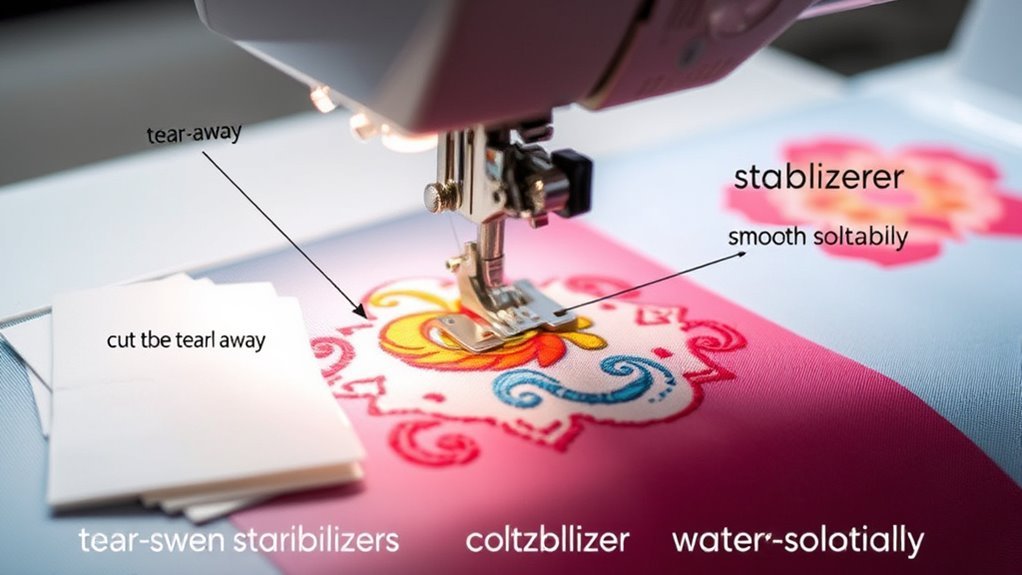
Choosing the right stabilizer is essential for achieving great results in your embroidery projects. You’ll want to match the stabilizer type to your fabric’s properties to avoid issues like puckering or shifting.
Let’s explore the different types of stabilizers available and how each one works best with specific fabrics. This way, you can pick the perfect one and make your embroidery look fantastic every time.
Types of Stabilizers Available
Selecting the right stabilizer can make all the difference in your embroidery projects. Using the correct type guarantees that your designs look sharp and professional.
Here are some popular stabilizers to take into account:
- Cut-Away Stabilizer: Best for stretchy fabrics, it remains in the garment for ongoing support.
- Tear-Away Stabilizer: Perfect for stable fabrics, it easily tears away after stitching.
- Water-Soluble Stabilizer: Ideal for delicate fabrics, it dissolves in water, leaving no trace.
- Mesh Stabilizer: Great for t-shirts, it offers support without being too visible.
Choosing the right stabilizer helps prevent puckering and assures those stunning, professional results you desire. So, make sure to match it carefully to your fabric for the best outcome!
Matching Stabilizer to Fabric
When you’re ready to bring your embroidery project to life, matching the right stabilizer to your fabric is essential for achieving professional results. For stretchy fabrics like knits, use cut-away stabilizer; it stays in the garment, preventing distortion after washing.
If you’re working with stable fabrics like cotton, tear-away stabilizer is your best bet. It tears away easily without leaving residue, which makes your project look clean and neat.
For delicate fabrics or intricate embroidery designs, opt for water-soluble stabilizer. This type dissolves completely in water, so you don’t have to worry about any leftover bits.
Lightweight materials, such as t-shirts, benefit from mesh stabilizer to provide support without adding bulk. It’s a great way to keep your fabric supported without making it stiff or heavy.
Always test your chosen stabilizer on a scrap piece of fabric using different stabilizers. This helps you verify compatibility and achieve the desired stitch quality before starting your main project.
Hoop Your Fabric Securely for Consistent Results
Securely hooping your fabric is essential for achieving consistent embroidery results. Start by tightly stretching your fabric in the wooden hoop, adjusting the side screw to lock it in place. This prevents any movement during stitching, ensuring your design stays sharp.
Securely hooping your fabric is crucial for sharp, consistent embroidery results. Tighten your fabric in the hoop and lock it in place for the best outcome.
Use the right stabilizers, like Tear-Away or Cut-Away, to support your fabric. Before you begin, make sure to position the hoop under the sewing machine foot, keeping everything flat and even. Don’t forget to bring the bobbin thread to the top and secure the threads with a few stitches.
Regularly check the hoop’s tightness throughout your project. It might seem like a small step, but it makes a big difference in the final look.
- Feel the satisfaction of perfect stitches
- Enjoy the thrill of a smooth sewing experience
- Achieve professional-quality results
- Watch your creativity come to life
Choosing the Right Needle and Thread for Your Project
The right needle and thread can make all the difference in your embroidery project. For medium-weight fabrics, use size 75/11 embroidery needles to guarantee smooth stitching without snagging.
If you’re working with knit fabrics, opt for ballpoint needles to protect the fabric’s integrity. Choose 40-weight polyester or rayon embroidery thread for vibrant colors and durability; lighter-weight (60-weight) threads work best for bobbins.
Remember to replace your needle every 8-10 hours of sewing to maintain peak performance and avoid skipped stitches. Always select high-quality threads to prevent breakage and achieve a polished finish.
With the right combination of embroidery needles and thread, you’ll set yourself up for success in every project.
Adjust Your Machine Settings for Free Motion Embroidery
To create stunning free motion embroidery, adjusting your machine settings is essential. Start by disengaging the feed dogs using the lever or cover plate; this allows for unrestricted fabric movement.
Next, set the stitch length to zero, giving you complete control over your stitch creation. Equip your machine with a darning foot for better visibility and control as you maneuver intricate designs.
Don’t forget to adjust the top thread tension to a normal setting (usually 4-5) to prevent breaks or loops.
- Experience the freedom of artistic expression
- Create unique, personalized designs
- Enjoy the satisfaction of mastering machine embroidery
- Watch your ideas come to life with every stitch
Practice Basic Stitches on Scrap Fabric
While practicing basic stitches on scrap fabric, you’ll build the confidence needed for free motion embroidery. Start with a medium-weight fabric and a variety of threads, using a size 75/11 needle for the best results.
Set your embroidery machine to a straight stitch with a length of zero to allow smooth movement. Focus on practicing basic stitches like straight, zigzag, and satin stitches.
Keep a consistent speed as you move the fabric to get even results. Try out different patterns and directions to boost your hand-eye coordination.
Make sure to regularly check your practice pieces to find areas that need improvement, like tension adjustments or stitch consistency. Doing this will really help refine your embroidery skills.
Begin Your Embroidery Design With Assurance
Begin your embroidery design with confidence by carefully selecting your fabric and securing it in the hoop. Choose materials like linen or calico, and don’t forget to adjust the top and bobbin tension for best results.
Get to know your machine well—disengage the feed dogs and use a darning foot for free motion embroidery. It makes a big difference!
Get familiar with your machine—disengaging the feed dogs and using a darning foot elevates your free motion embroidery experience!
Practice on scrap fabric first to build your skills before diving into the final design.
- Feel the thrill of creativity flowing through your fingertips.
- Experience the joy of watching your vision come to life.
- Enjoy the satisfaction of perfecting your stitch consistency.
- Relish the calm of working through each delicate detail.
Now you’re ready to start stitching!
Complete Your Embroidery Project and Trim Stabilizer
Once you’ve finished stitching your design, it’s time to carefully remove the fabric from the hoop to maintain its shape.
Start your next step in this embroidery journey by trimming stabilizer around the embroidered area. For tear-away stabilizers, leave about 1/4 inch and gently pull away from the back, avoiding any tugging that could damage the stitches.
If you’re using cut-away stabilizers, grab your essential tools—sharp scissors—to cut close to the stitching without snipping the threads.
For water-soluble stabilizers, rinse the fabric in lukewarm water to dissolve it, then let it air dry flat.
Completing this step guarantees your designs onto fabric look polished, showcasing all your hard work and the bobbin thread that holds it together.
Fix Common Embroidery Problems
Embroidery can be a rewarding craft, but it’s not without its challenges. You might face issues like thread breakage, skipped stitches, fabric distortion, and puckering.
Here’s how to tackle them:
- Thread Breakage: Rethread your machine and check tension settings.
- Skipped Stitches: Replace dull needles and guarantee you’re using the right presser foot.
- Fabric Distortion: Securely hoop your fabric without slack to maintain its shape.
- Puckering: Match your stabilizer to the fabric type and ensure the fabric is taut.
Regular sewing maintenance, like cleaning lint from the bobbin area, can also make a big difference. By addressing these common problems, you’ll enjoy a smoother embroidery experience and create beautiful projects!
Frequently Asked Questions
Can I Use Any Fabric for Machine Embroidery?
You can use many fabrics for machine embroidery, but lightweight, stable materials work best. Avoid stretchy or slippery fabrics, as they can cause issues.
It’s always a good idea to test your design on a fabric scrap first. That way, you can see if it works well before starting on your main project.
How Do I Clean My Embroidery Machine After Use?
Did you know that 70% of machine embroidery issues stem from poor maintenance?
After use, unplug your machine and remove the thread. Then, grab a soft brush to clean lint from the bobbin area and needle plate.
It’s a simple step, but it makes a big difference in keeping your machine running smoothly!
What Should I Do if the Thread Keeps Breaking?
If the thread keeps breaking, check the tension and re-thread the machine. Make certain you’re using the right needle and thread type.
Also, clean out any lint or debris that might be causing the issue. Sometimes, a quick clean can make all the difference!
Can I Embroider on Stretchy or Knit Fabrics?
Sure, you can embroider on stretchy or knit fabrics, but it’s like dancing on a trampoline—exciting yet tricky! Use stabilizers, adjust your tension, and be ready for a fun challenge.
Happy stitching!
How Do I Store My Embroidery Supplies Properly?
Store your embroidery supplies in a cool, dry place. Use clear containers for threads, so you can see all your colors at a glance.
Keep fabrics folded neatly, and organize tools in a dedicated drawer. It makes finding what you need way easier.
Don’t forget to label everything. That way, when you’re ready to create, you won’t waste time searching around!
Conclusion
Now that you’ve mastered these ten easy steps, you’re ready to turn fabric into art! Just like a painter chooses their colors, you can express your creativity through embroidery.
Don’t be afraid to make mistakes; they’re just stepping stones on your journey to becoming an embroidery pro. With practice and patience, you’ll stitch your way to beautiful creations.
So grab your sewing machine and let your imagination run wild—your next masterpiece is waiting to be born! Embroidering with a sewing machine opens up endless possibilities, allowing you to create unique designs with ease. Keep experimenting and enjoy the process of bringing your ideas to life one stitch at a time.