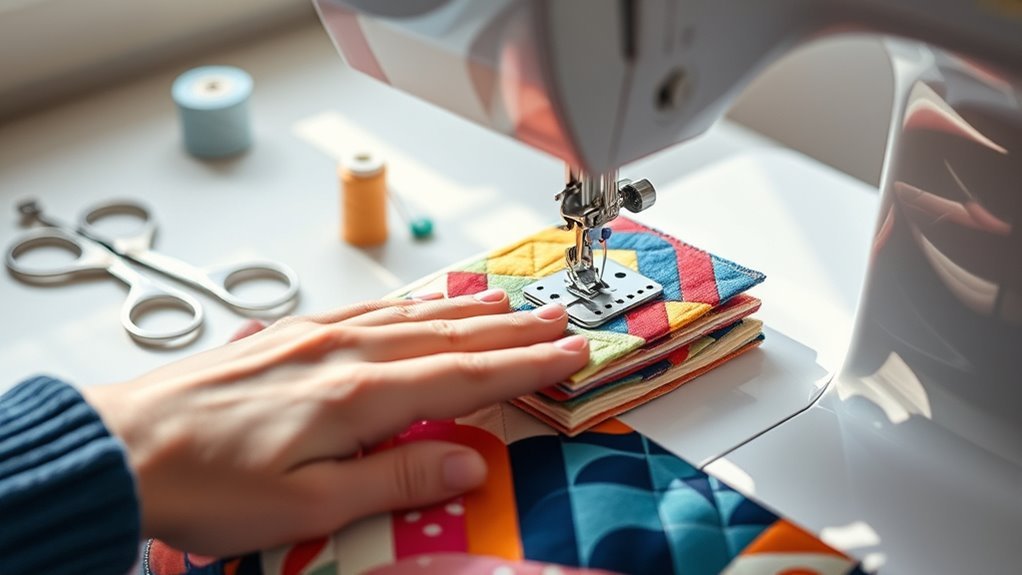
How to Machine Quilt on a Regular Sewing Machine in 10 Easy Steps
You can easily machine quilt on a regular sewing machine in just 10 simple steps. Whether you’re a beginner or looking to improve your quilting skills, this guide will walk you through the process.
Start by gathering essential materials like a free-motion foot and high-quality thread to ensure smooth stitching.
Next, prepare your quilt sandwich by layering and securing the fabrics properly. Setting up your machine for free-motion quilting is key, so take some time to practice locking your stitches before you begin.
Once you’re comfortable, master echoing techniques to create seamless shifts in your quilting design. Fill in any gaps with smaller, intricate patterns to add texture and interest.
If you run into common problems like skipped stitches, don’t worry—there are easy fixes.
Finally, finish your project with precise trimming for a clean look. There’s so much more to explore in your quilting journey, and these steps will help you get started with confidence!
Key Takeaways
- Gather essential materials like a sewing machine, quilting needles, thread, rotary cutter, and a walking foot for efficient quilting.
- Prepare the quilt sandwich by layering the top, batting, and backing smoothly. Secure them with safety pins or basting spray to keep everything in place.
- Set up your sewing machine with the appropriate foot, then drop the feed dogs. Don’t forget to adjust tension settings for the best stitch quality.
- Master quilting techniques by keeping your stitch lengths consistent. Try incorporating various motifs to add visual interest and create a nice flow.
- Troubleshoot common issues like thread nesting and skipped stitches as you go. When you’re done, trim the edges and add a label for that personal touch.
Essential Materials for Machine Quilting: What You Need to Get Started
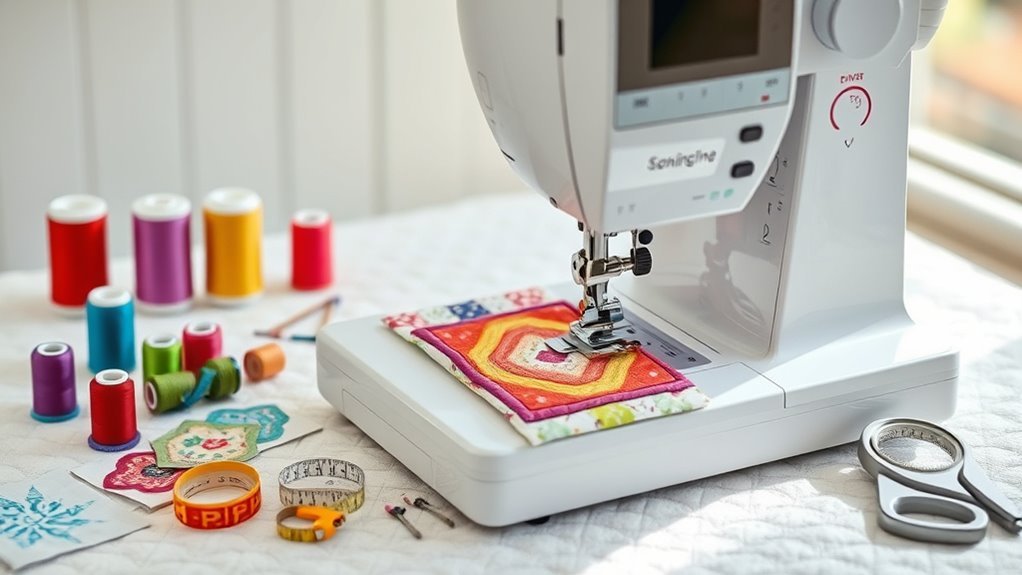
To get started with machine quilting, you’ll need a few essential materials. First, grab a regular sewing machine equipped with a free-motion foot; this setup gives you better control over your designs.
To begin machine quilting, ensure you have a sewing machine with a free-motion foot for enhanced design control.
Next, use high-quality cotton or polyester thread for durability and a smooth finish on your quilted projects. A rotary cutter and cutting mat are vital for accurately trimming fabric pieces, ensuring clean edges before you begin quilting.
Don’t forget to stock up on quilting needles, made specifically for thicker layers to prevent skipped stitches. And if you plan on straight-line quilting, consider a walking foot—it really helps feed multiple layers of fabric evenly throughout the process.
With these materials, you’re all set to start!
Prepare Your Quilt Sandwich Like a Pro
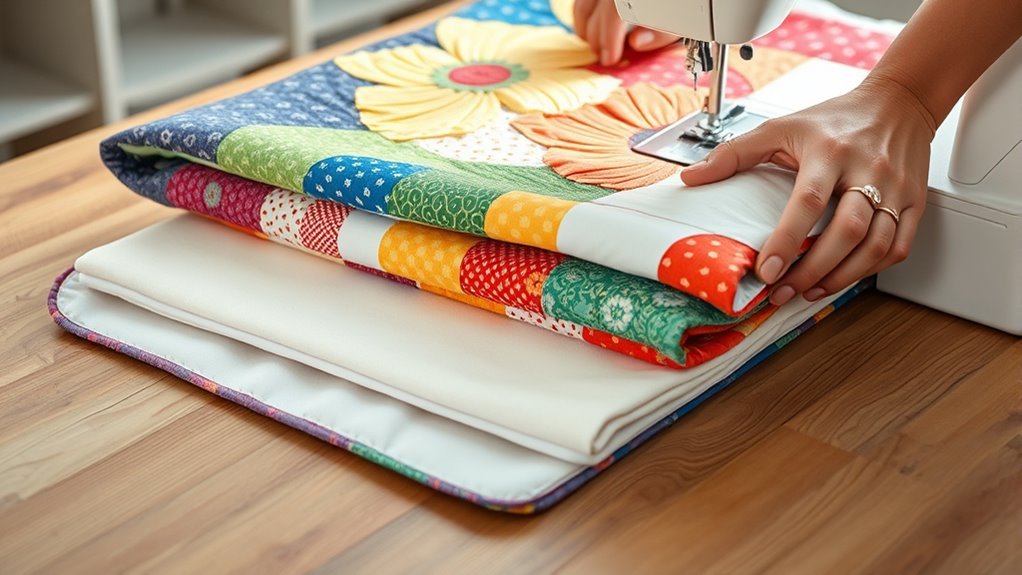
Creating a quilt sandwich is essential for achieving a polished look in your machine quilting projects. Start by layering your quilt top, batting, and backing fabric, making sure everything is smooth and wrinkle-free. This will help avoid any imperfections in your final piece.
Use safety pins or basting spray to secure the layers together. This way, nothing shifts around while you’re quilting.
Trim the batting and backing to be slightly larger than the quilt top. This makes handling easier and keeps those raw edges hidden.
Make sure the backing fabric is at least 4 inches larger on all sides than the quilt top. This gives you enough room to work during the quilting process.
Finally, press your quilt top before assembling. Getting rid of creases now will really improve how your quilt looks in the end.
Set Up Your Sewing Machine for Free-Motion Quilting
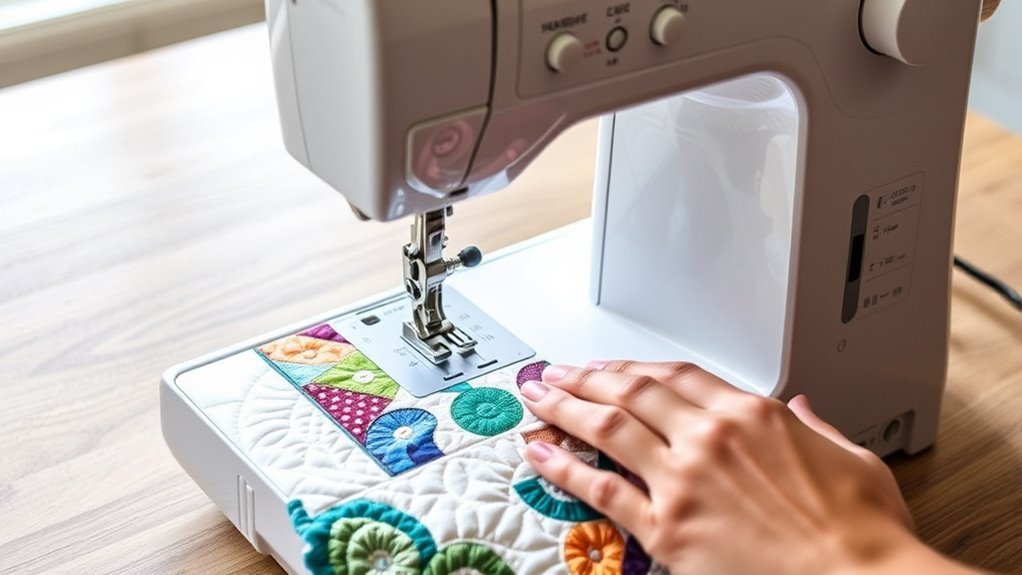
To set up your sewing machine for free-motion quilting, start by preparing it for peak performance. You’ll need to adjust the tension settings and make sure you have the essential quilting tools at hand.
These steps will help you achieve smooth, controlled stitches as you quilt. It’s really about getting everything just right so your quilting can flow easily.
Machine Preparation Steps
Preparing your sewing machine for free-motion quilting is essential for achieving beautiful results. Start by pulling the bobbin thread to the top using the needle up and down button. This prevents thread nesting at the quilt’s bottom.
Lock the thread in place by taking a few stitches before you begin quilting. Next, drop the feed dogs on your machine to enable free motion. Make sure to attach a quilting or darning foot, which helps guide your fabric smoothly.
Finally, adjust your machine settings to a lower stitch length for better control. This little tweak makes a big difference in how smoothly you can quilt.
| Step | Description |
|---|---|
| Pull Bobbin Thread | Use needle up/down button |
| Lock Thread | Take a few initial stitches |
| Drop Feed Dogs | Allow for free-motion quilting |
| Attach Quilting Foot | Guides fabric smoothly |
| Adjust Stitch Length | Set to lower for better control |
Adjusting Tension Settings
Adjusting tension settings is essential for successful free-motion quilting, and it often requires a few tweaks. Start by consulting your sewing machine’s manual for the ideal tension settings, which are usually lower than standard sewing.
Create a test sandwich using fabric and batting to check your adjustments. You want the top and bobbin threads to meet in the middle without loops or puckering.
If the top thread pulls through to the bottom, increase the tension slightly; if the bobbin thread appears on top, decrease it. Always use the same thread type for both top and bobbin to maintain consistent tension.
Regularly check your settings as you quilt, since changes in fabric thickness or batting can impact performance. It’s a bit of trial and error, but you’ll get the hang of it!
Essential Quilting Tools
Setting up your sewing machine for free-motion quilting requires the right tools to guarantee a smooth experience. First, equip your machine with a free-motion quilting foot; this really helps with maneuverability as you stitch.
Next, lower the feed dogs so the fabric can move freely under your control. This stops the machine from feeding the fabric automatically, which is key for free-motion quilting.
A sharp quilting needle is essential too. It can handle multiple layers without skipping stitches, making your quilting look neat.
You’ll also want to choose a strong thread that matches your fabric. It needs to hold up well since free-motion quilting puts a bit of stress on the thread.
Finally, prepare your workspace with a large, flat surface and a quilting mat. This gives you plenty of room to move your quilt sandwich around comfortably.
With these tools in place, you’re all set to create beautiful quilted designs!
Start Quilting: Locking Your Stitches Like a Pro
Lock your stitches like a pro by pulling the bobbin thread to the top of your quilt before you start sewing. Use the needle up and down button on your machine to bring the bobbin thread to the surface.
Once you’ve done this, take a few stitches in place at the starting point to secure your threads. This creates a solid lock and prevents any nesting underneath your quilt.
Always drop the feed dogs to allow for free motion quilting. Finally, press the pedal down gently, maintaining control for even stitching.
| Step | Action | Purpose |
|---|---|---|
| 1 | Pull bobbin thread up | Prevent nesting |
| 2 | Use needle up/down button | Bring thread to surface |
| 3 | Stitch in place | Secure threads |
| 4 | Drop feed dogs | Enable free motion |
| 5 | Press pedal gently | Guarantee even stitching |
Master Machine Quilting Echoing Techniques for Seamless Transitions
As you immerse yourself in machine quilting, mastering echoing techniques can transform your quilt’s design, creating seamless changes that elevate its appearance. Echoing involves stitching around existing quilted designs, effectively filling gaps and enhancing visual appeal.
To execute this, maintain a consistent distance from the original design, allowing for a layered effect that adds depth. Use echoing to connect larger elements, like swirls or leaves, to smaller fillers, such as pebbles, achieving a cohesive look.
Keep your stitches close together to avoid noticeable gaps that distract from your work. Don’t hesitate to experiment with different echoing distances and patterns, finding a style that complements your quilt while ensuring smooth transitions between various elements.
Creative Quilting Designs to Enhance Your Work
Creative quilting designs can truly elevate your projects, making them unique and visually striking. Incorporate echoing techniques to create smooth *shifts* between larger patterns, like leaves and swirls, and smaller fillers such as pebbles for a cohesive look.
Don’t shy away from experimenting with diverse shapes like flowers and hearts; they’ll add visual interest and enhance your quilt’s texture. Focus on a close quilting approach to eliminate any visible gaps, which can detract from your work’s aesthetic.
Wishbone designs are also fantastic for filling spaces while injecting an artistic flair. *Finally*, take time to practice various patterns regularly; this will boost your confidence and creativity in machine quilting, leading to even more stunning results!
Fill Gaps With Smaller Quilting Designs
To achieve a polished look in your quilt, filling gaps with smaller quilting designs is essential. Use designs like pebbles or stippling to effectively bridge spaces between larger patterns, ensuring a cohesive appearance.
Consider incorporating echoing techniques to shift smoothly between the larger and smaller designs. This helps create a unified flow throughout your quilt.
Incorporating echoing techniques can seamlessly connect larger and smaller designs, enhancing the overall flow of your quilt.
Adding various small motifs, such as hearts or wishbones, can really boost visual interest while effectively filling those empty spaces.
Remember to keep your quilting stitches close together to minimize the visibility of gaps. This makes the overall design more appealing.
And don’t forget to regularly check your thread tension and adjust as needed. Maintaining consistent stitch quality is key when filling those gaps with smaller designs.
Keep Your Stitches Close for a Polished Finish
Achieving a polished finish in your quilt often comes down to one key technique: keeping your stitches close together. This practice minimizes gaps between designs, giving your quilt a seamless look.
Aim for a consistent stitch length of about 1/8 to 1/4 inch to maintain uniformity throughout your quilting. Smaller designs, like pebbles, effectively fill larger spaces and enhance texture.
Practicing echoing techniques around your larger quilted motifs helps create a cohesive flow and keeps your stitches tightly packed. Regularly check your thread tension and adjust it as necessary to guarantee your stitches remain close and evenly distributed.
Troubleshooting Common Machine Quilting Problems
While machine quilting can be a rewarding experience, it’s not uncommon to face some challenges along the way. Here are some common problems and quick fixes to help you keep stitching smoothly:
- Thread nesting: Pull the bobbin thread to the top before starting and take a few locking stitches.
- Skipped stitches: Check that your needle is properly installed, in good condition, and suitable for your fabric.
- Uneven stitches: Adjust your machine’s tension settings and drop the feed dogs before quilting.
- Fabric bunching: Use a walking foot and verify layers are adequately basted or pinned together.
- Unusual noises: Your machine might need cleaning or oiling; consult the manual for maintenance tips.
With these solutions, you’ll be back to enjoying your quilting in no time!
Final Touches: Trimming and Securing Your Quilt
Once you’ve tackled those common machine quilting challenges, it’s time to focus on the final touches that will give your quilt a polished look. Start by trimming any excess batting and backing fabric to match the quilt top, ensuring a neat finish. Use a rotary cutter for clean, precise edges.
Next, secure your quilt by stitching around the edges with either a straight stitch or decorative binding to prevent fraying. Before binding, press the seams open or to one side to reduce bulk and create a smooth edge.
Finally, add a label to the back, including your name, date, and any special details about the quilt. These steps will elevate your quilt and make it truly yours.
Frequently Asked Questions
Can I Use Any Sewing Machine for Machine Quilting?
Yes, you can use most sewing machines for machine quilting. Just make sure your machine has a free arm or enough space for maneuvering fabric.
Also, use the right needle and foot for best results. It really helps make the quilting process smoother and your stitches look great.
How Do I Choose the Right Batting for My Quilt?
About 70% of quilters say batting affects quilt durability. Choose batting based on your quilt’s purpose: cotton for warmth, polyester for resilience, or wool for loft.
Always consider thickness and how it affects your design! It really makes a difference in the final look and feel.
What Thread Type Is Best for Machine Quilting?
For machine quilting, use 100% cotton or polyester thread. Cotton offers a natural look, while polyester provides strength and durability.
Choose a weight between 40 and 50 for best results. This helps ensure smooth stitching throughout your quilt.
How Do I Maintain My Sewing Machine During Quilting?
You maintain your sewing machine during quilting by regularly cleaning lint from the bobbin area, oiling moving parts as needed, and ensuring the needle’s sharpness.
It’s also a good idea to regularly check tension settings and keep thread spools unclogged for smooth stitching.
These little steps really help your machine run smoothly and keep your quilting looking great!
Can I Quilt Without a Walking Foot or Free-Motion Foot?
Yes, you can quilt without a walking foot or free-motion foot. Just use your regular foot, but be mindful of fabric movement.
Adjust your stitch length and try to maintain an even pace while sewing. It might take a bit more practice, but you’ll get the hang of it!
Conclusion
Now that you’ve mastered machine quilting, it’s time to release your creativity! Remember, every quilt tells a story—just like Sarah’s first quilt, which transformed her family’s memories into a vibrant tapestry.
As you stitch, think about the moments each design represents. With practice, your quilts will not only look polished but also hold the warmth of your experiences.
So grab your materials and get quilting. Machine quilting on a regular sewing machine is a fun and rewarding way to create beautiful, personalized quilts.
Your next masterpiece awaits—filled with memories and stitched with love. Keep experimenting with different patterns and techniques, and watch your quilting skills grow with every project!