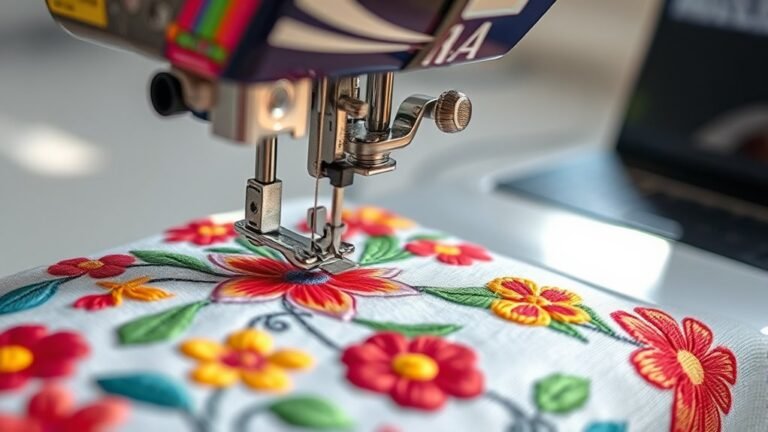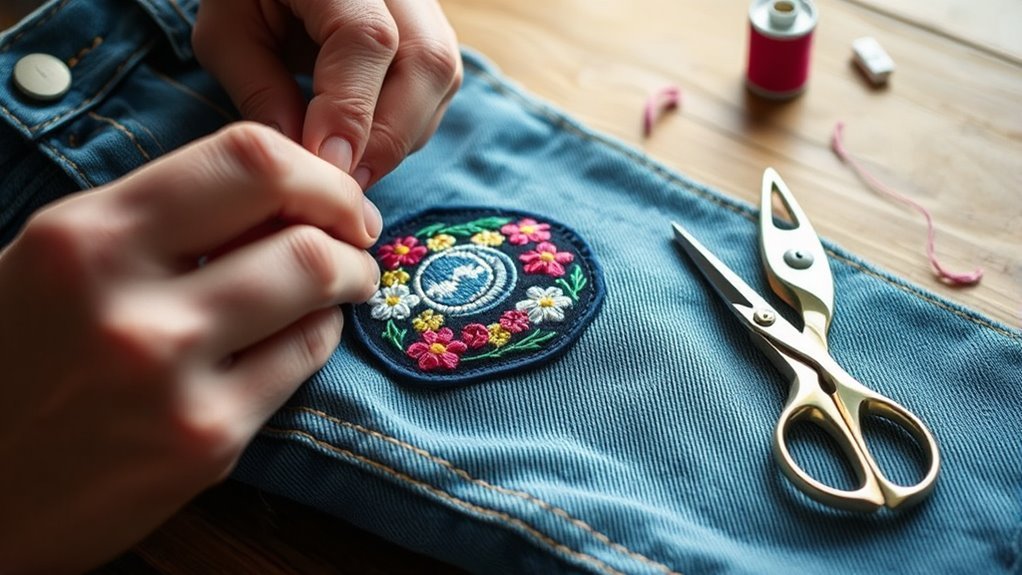
How You Sew an Iron Patch With Step-By-Step Instructions
To sew an iron patch, start by positioning it carefully on your fabric. Secure it using pins or a bit of adhesive to keep it from moving around.
Next, heat your iron to a medium-high setting. Place a cloth over the patch to protect it, and press firmly for about 45 seconds. This helps activate the adhesive on the patch.
Don’t forget to iron from the back side of the fabric for an additional 30 seconds to ensure a strong bond.
Once the patch is set, sewing around the edges adds extra durability. Use small, even stitches and matching thread for a neat finish.
With these basics down, you’re all set to explore more detailed sewing techniques and finishing tips to perfect your patch application.
Key Takeaways
- Preheat the iron to medium-high heat and position the patch securely on the fabric before ironing. Make sure it’s exactly where you want it because once it’s on, it can be tricky to adjust.
- Cover the patch with a thin cloth and press firmly for about 45 seconds to activate the adhesive. This step really helps the patch stick well.
- Flip the garment inside-out and press the back of the patch for 30 seconds to ensure full adhesion. This extra heat from the back makes a big difference.
- Sew around the patch edges with small, even stitches about 1/4 inch apart using matching or contrasting thread. Take your time here; neat stitches look great and add durability.
- Finish by knotting securely, trimming excess threads, and washing the garment inside out after 24 hours. Waiting a day helps the patch set perfectly before it meets the wash.
Choosing the Right Patch and Fabric
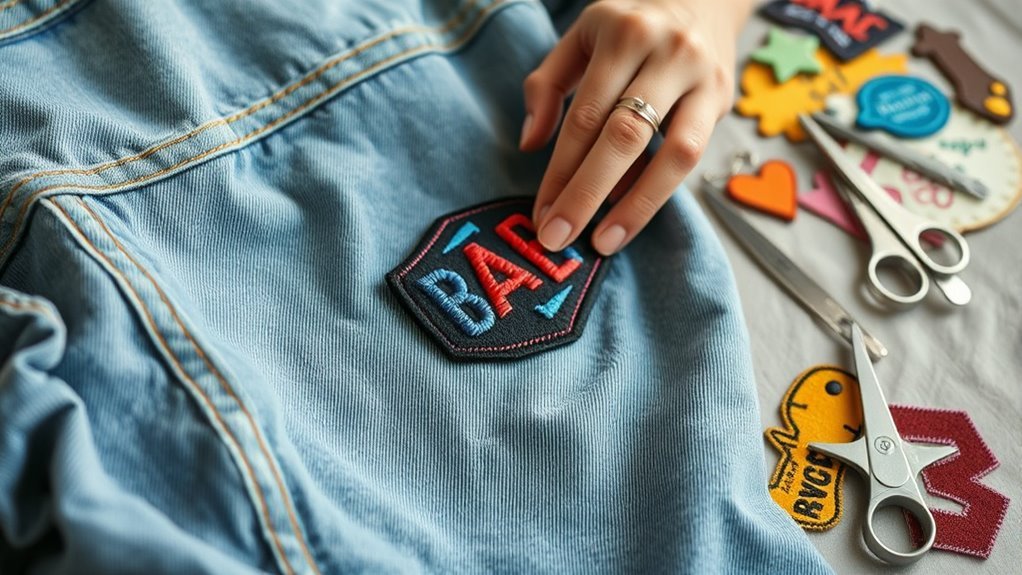
Before you start sewing an iron patch, choose a patch made from durable, heat-resistant materials like polyester or cotton to guarantee it adheres properly. You’ll want a patch with heat-activated adhesive backing designed specifically for fabric application, ensuring a strong bond.
Pick a durable, heat-resistant patch with heat-activated adhesive for a strong, lasting bond on fabric.
Check fabric compatibility carefully—avoid synthetic fabrics that might melt or get damaged when you apply heat. Position the patch where you want it, considering visibility and coverage before ironing.
Also, don’t forget to pre-wash the garment and the patch if recommended. This step removes any residues or finishes that could interfere with the heat-activated adhesive, improving adhesion.
Taking these precautions ensures your patch not only sticks well but lasts through washes and wear. Easy, right? Just a little prep goes a long way!
Preparing Your Tools and Materials
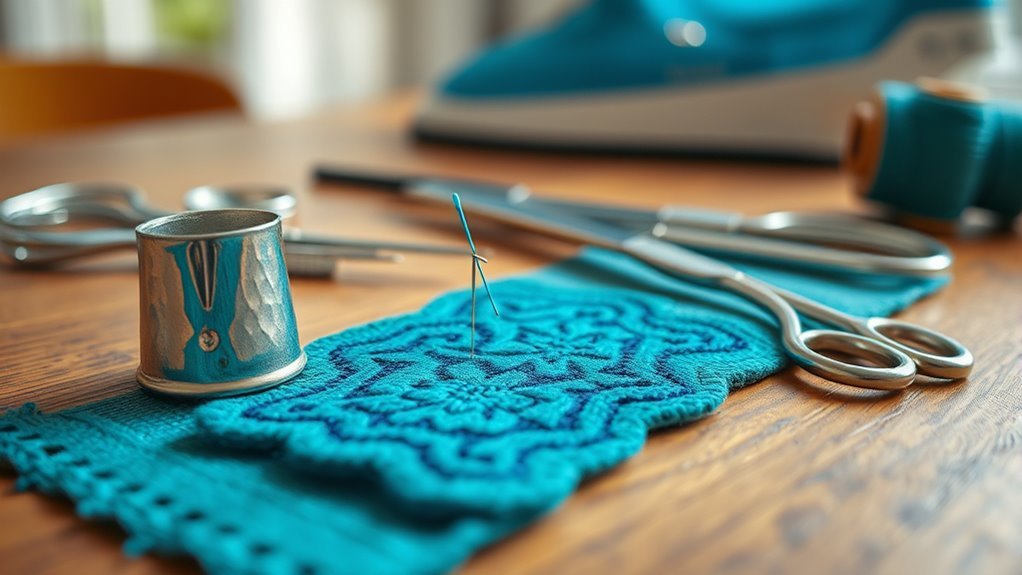
Before you start sewing, gather all your essential tools like needles, scissors, and a thimble. This helps keep your workspace organized.
Choose threads that match both the patch and fabric for a seamless finish. Having the right materials ready will make the sewing process smoother and more effective.
Essential Tools Checklist
To sew an iron patch successfully, you’ll need five essential tools to prepare your workspace and materials efficiently. Having the right sewing tools for your fabric and patch makes stitching easier and more precise.
Here’s a quick checklist to get you started:
- A sharp sewing needle and matching or contrasting thread, suited to your fabric and patch thickness.
- Sharp scissors or embroidery scissors to trim threads and cut your thread to about 18-20 inches for single or 38-40 inches for doubled threads.
- Pins, fabric clips, or a temporary adhesive spray to hold the patch firmly in place while you sew.
Also, keep a thimble handy to push the needle through thick layers. And don’t forget to work on a clean, well-lit surface.
Selecting Suitable Threads
Once you’ve gathered your sewing tools, focus on selecting the right thread to guarantee your patch stays secure and looks great. Choose all-purpose polyester or nylon threads for durability and colorfastness when attaching your iron patch.
Match the thread color to either the patch or the fabric item for a seamless finish, or pick a contrasting thread to add decorative flair. Depending on the thickness of your patch and fabric, decide whether to use a single or doubled needle and thread for strong, secure stitches.
Cut thread lengths between 18-20 inches for single strands or 38-40 inches if doubled, avoiding tangles and weakening. Finally, pair your threads with an appropriate needle size—like a 90/14 for heavy fabrics—and set up your sewing machine accordingly to assure smooth stitching.
Positioning and Securing the Patch
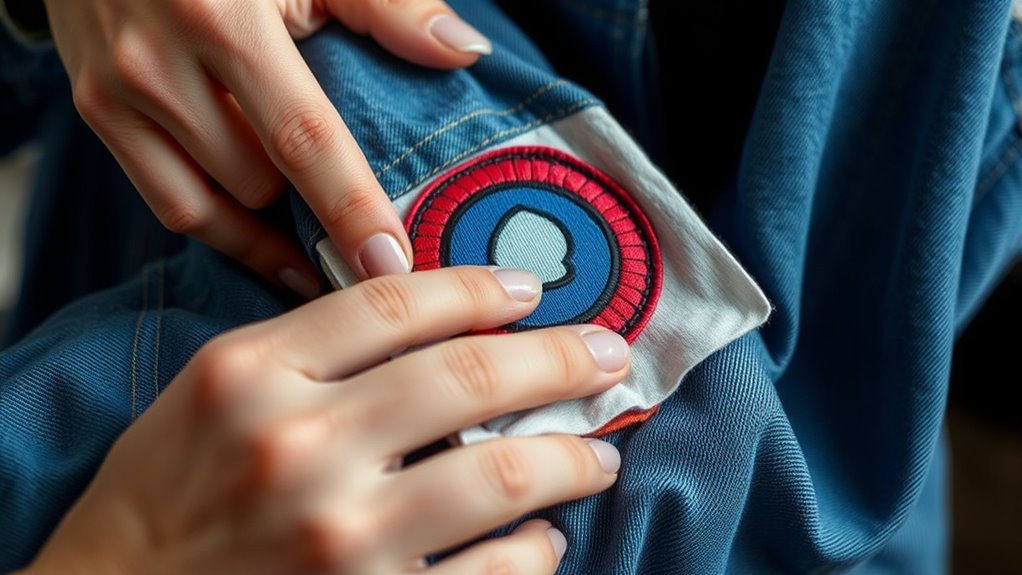
Where exactly should you place your iron patch for the best results? Start by placing the patch face-up on the exact spot you want on your fabric. Align it carefully to ensure it looks just right.
Place your iron patch face-up exactly where you want it, aligning carefully for the best look.
To secure and hold the patch in position while you work, follow these steps:
- Use pins, fabric adhesive, or basting stitches to temporarily hold the patch firmly in place and prevent shifting.
- Mark the patch’s edges with fabric chalk or a marker to guide your stitching and keep the patch evenly positioned.
- Gently press around the edges to confirm the patch won’t move and, if needed, use tape or temporary adhesive spray on the back to keep it flat and secure.
Setting Up Your Iron for Adhesion
Before you start ironing, set your iron to a medium-high heat around 350°F to suit most fabrics. Make sure your fabric and patch are clean, dry, and wrinkle-free for the best adhesion.
Placing your garment on a sturdy, heat-resistant surface will keep everything stable while you work. This way, you’ll get the best results without any slips or burns.
Iron Temperature Settings
Although setting your iron to the right temperature is essential, you need to tailor it to your fabric type, usually between 350°F and 400°F (175°C to 205°C). This heat setting ensures the adhesive on the back of the patch melts properly without damaging the fabric.
Here’s how to get it right:
- Check your fabric’s care label to pick a safe temperature.
- Let your iron fully heat up to the chosen temperature before pressing.
- Avoid steam, as moisture can weaken the adhesive bond.
Always test the iron temperature on a hidden fabric spot first to avoid accidental damage. By carefully adjusting your iron’s temperature, you’ll secure the patch firmly and keep your fabric intact.
Preparing Fabric Surface
Once you’ve set your iron to the right temperature, focus on preparing the fabric surface to make sure the patch adheres properly. First, verify both the fabric and the patch are clean—remove any dust, oil, or wrinkles that might interfere with adhesion.
Lay the fabric flat on a sturdy, heat-resistant surface like an ironing board or thick towel. This smooth base helps the iron apply even pressure.
Preheat your iron for 3-5 minutes without steam if it’s not recommended. Before applying the patch, test the iron on a small, hidden area of the fabric to confirm it won’t cause damage.
Ironing the Patch Onto the Fabric
When you’re ready to attach the patch, set your iron to a medium-high heat suitable for your fabric and make sure it’s clean. Lay the garment flat on a heat-resistant surface and position the patch where you want it.
To iron to apply the patch effectively, follow these steps:
- Cover the patch with a thin cloth to protect the design, then press the hot iron firmly over the patch without moving it. Hold it in place for about 45 seconds to ensure the patch sticks well.
- Flip the garment inside-out and press the back of the patch with the iron for 30 seconds, reinforcing adhesion.
- Check to be sure the patch is fully attached before moving the fabric.
This method ensures a secure bond without damaging your garment or patch. It’s pretty straightforward and works like a charm!
Selecting Thread and Stitch Type for Sewing
Choosing the right thread and stitch type plays a crucial role in securing your patch firmly while maintaining the garment’s appearance. Start by selecting an all-purpose thread or matching the thread color to your patch or fabric for a seamless look.
Selecting the right thread and stitch ensures your patch is secure and blends seamlessly with your garment.
If your patch is thicker or embroidered, opt for a heavy-duty thread like polyester or nylon for added strength. When deciding on stitch type, experiment with running, whip, or zigzag stitches to find what holds best without damaging the fabric.
Keep your thread length around 18-20 inches to avoid fraying or weakening. For extra durability, you can double-thread your needle, but be cautious with tension to prevent puckering.
This careful selection ensures your patch stays secure and looks great.
Hand Sewing Techniques for Attaching the Patch
Although sewing an iron patch by hand might seem intimidating, using the right techniques makes the process straightforward and guarantees a secure attachment. When you sew a patch by hand, focus on consistent, small stitches to hold it firmly in place.
Follow these steps for effective hand sewing:
- Start from the back of the fabric to hide your knot, then sew small, even stitches about 1/4 inch apart, slightly overlapping the patch edge.
- Use running, whip, or slip stitches, keeping stitches perpendicular to the edge to secure the patch evenly.
- Finish with a double knot on the backside and trim excess thread for a clean look.
Using these hand sewing techniques assures your patch stays secure and looks great. Give it a try—you’ll be surprised how easy it is!
Machine Sewing Tips for Patch Application
Since machine sewing handles multiple layers with ease, it offers a quick and durable way to attach your iron patch. Start by fitting a sturdy needle, like a denim or universal size 90/14 or 100/16, into your sewing machine.
Select a straight stitch with a short stitch length—around 1.0 to 2.0 mm—to ensure secure, tight stitching around the patch edge. Adjust your presser foot pressure and sewing machine tension to prevent puckering or slipping when working through thick layers.
Sew roughly 1/8 inch from the patch’s edge, keeping your stitches even for a neat finish. Don’t forget to reinforce corners and start/end points with backstitching to keep your patch firmly in place over time.
Finishing Touches and Care After Sewing
After sewing your patch securely, trim any loose threads and double-check that all stitches are tight to prevent fraying. To guarantee your sewn patch lasts, follow these finishing touches and care tips:
First, turn the garment inside out. Then, gently press it with an iron set to low heat. This helps smooth the stitches and reinforces the patch’s adhesion.
Turn your garment inside out and press gently with a low-heat iron to smooth and secure your patch.
Next, let it cool completely before you handle or wash it. Cooling sets the seams properly, so be patient with this step.
When it’s time to wash, wait at least 24 hours after sewing. Then, use a gentle cycle and keep the garment inside out to protect your patch. Easy, right? Just a few simple steps, and your patch will stay looking great!
Frequently Asked Questions
How Do You Iron-On Patches Step by Step?
You set your iron to medium-high. Then, place the patch on the fabric and cover it with a cloth.
Press firmly for about 45 seconds. After that, flip the garment over and press the back for another 30 seconds.
Finally, let it cool completely before you handle or wash it. This helps the patch stick better and last longer.
How to Sew an Iron Patch?
You position the patch, secure it, then sew small, even stitches around its edges using matching thread.
Start from the fabric’s back, knot securely, and reinforce stitching for durability to keep your iron patch firmly attached.
It’s pretty straightforward once you get the hang of it! Just take your time to make sure the patch stays in place.
How to Sew a Patch for Beginners?
Think of sewing a patch like painting a border—start by threading your needle, then stitch small, even stitches around the patch’s edge.
Keep your thread tight, knot securely, and trim the excess for a neat finish. It’s easier than it sounds once you get the hang of it!
What Is the Best Stitch to Sew on a Patch?
The best stitch to sew on a patch is the whip stitch or zigzag stitch. You’ll want tight, close stitches to guarantee durability.
Reinforcing with backstitch or knots helps keep your patch securely attached over time. It’s all about making sure your patch lasts and stays put!
Conclusion
Now that you know how to sew an iron patch perfectly, you’re ready to upgrade any fabric with ease. Did you know 85% of people find that combining ironing with sewing makes patches last twice as long?
By carefully positioning, ironing, and stitching your patch, you’ll guarantee it stays secure and looks great. Keep practicing these steps, and soon you’ll master patching like a pro.
This method not only strengthens the bond but also gives your clothes a fresh, personalized touch every time. So go ahead, use these patch sewing tips to refresh your wardrobe and add a creative flair with confidence!