How Do You Clean a Sewing Machine in 10 Easy Steps
First, unplug your sewing machine for safety. Next, remove the needle, presser foot, and bobbin case.
Take off the metal plate covering the bobbin area, then use a soft brush to clear lint and dust from all accessible parts. Vacuum out debris carefully.
Inspect and replace the needle if needed, and clean the bobbin case and raceway thoroughly. Reassemble everything properly.
Oil the machine as recommended, and test stitch on scrap fabric. Keep going to discover helpful tips for maintaining smooth operation.
Key Takeaways
- Unplug the machine first. Then, remove the needle, presser foot, and bobbin to get everything ready for cleaning safely.
- Next, open the bobbin case. Use a soft brush or a pipe cleaner to carefully remove any lint you find there.
- After that, unscrew and take off the metal plate. This lets you clean the bobbin area and feed dogs thoroughly.
- When you’re ready to oil, apply just 1-2 drops of sewing machine oil sparingly. Focus on parts like the shuttle hook where it’s needed most.
- Finally, put all the parts back together securely. Then, test stitch on some scrap fabric to make sure everything runs smoothly.
Unplug the Sewing Machine for Safety
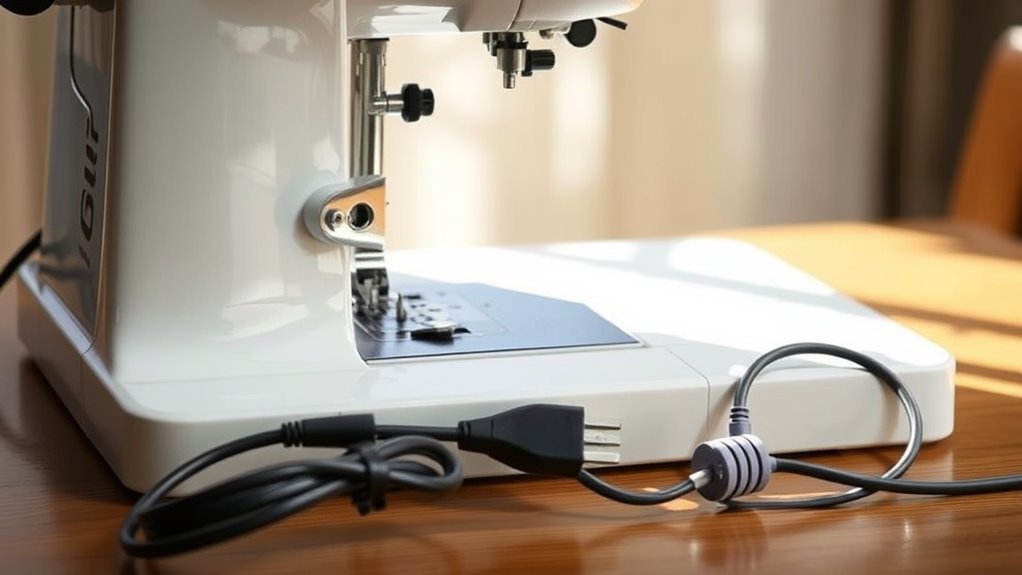
Before you start cleaning your sewing machine, make sure you unplug it from the power source and disconnect the foot pedal. This step is vital for your safety, preventing any accidental electrical shock or the machine turning on while you clean.
Always remove the power cord from the socket and keep it away from your workspace. If you’ve recently used your machine, wait until it cools down, especially after oiling or sewing.
Only when you’re certain the machine is completely unplugged should you open covers or disassemble parts to clean out dust and debris. Taking these precautions helps you avoid accidents and guarantees a safer, more effective cleaning process every time you maintain your sewing machine.
Remove the Needle, Presser Foot, and Bobbin Case
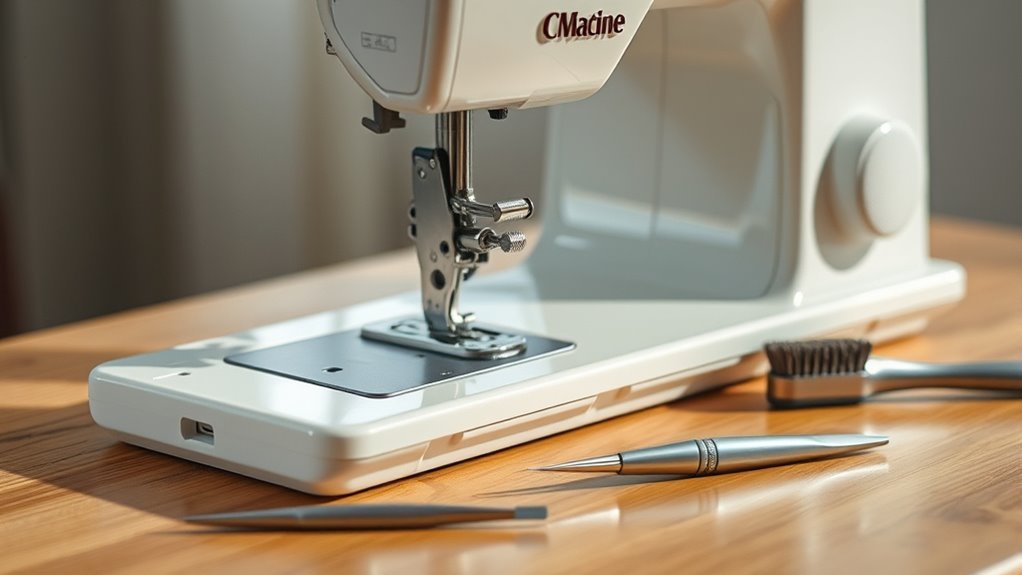
Start by loosening the screw to remove the needle carefully with a small screwdriver.
Next, detach the presser foot by unscrewing it or lifting it off the shank.
Finally, open the bobbin case and extract the bobbin. Keep track of how everything fits together for easy reassembly.
Remove Needle Safely
Since safety is essential, always unplug your sewing machine before removing the needle, presser foot, or bobbin case.
To remove the needle safely, follow these steps:
- Locate the needle clamp screw and use a small screwdriver to loosen it gently. Carefully pull the needle out, noting its orientation to ensure proper reinstallation.
- Release any latches holding the bobbin case, then remove it while keeping track of its position.
- Store all removed parts—needle, presser foot, and bobbin case—in a safe place to avoid losing them. Easy enough, right? Just take your time and you’ll be all set!
Detach Presser Foot
After you’ve safely removed the needle by loosening the needle clamp screw, you can move on to detaching the presser foot. To remove the presser foot, locate the release lever near the foot and press it; on some models, you might need to unscrew it instead.
This step is essential for thorough cleaning, as dirt and lint often accumulate around the presser foot and its attachment point. Keep the presser foot and needle in a small container or on a sewing machine mat to avoid losing these small parts.
Removing these components prepares your machine for deeper cleaning. Remember to unplug your sewing machine before starting to ensure safety while handling these delicate parts.
This careful removal helps maintain your machine’s efficiency and longevity. It’s a simple step, but it really makes a difference!
Extract Bobbin Case
Before you remove the bobbin case, make sure your sewing machine is turned off and unplugged to keep things safe.
Start by removing the needle, presser foot, and bobbin to clear the workspace. Then, use a small screwdriver to unscrew the metal plate covering the bobbin area.
Carefully lift the plate and gently extract the bobbin case, noting its orientation for reassembly. Handle it with care to avoid damage.
Follow these steps to extract the bobbin case:
- Remove the needle and presser foot.
- Take out the bobbin from its case.
- Unscrew and lift off the metal plate.
- Gently lift out the bobbin case.
Now, use your cleaning tools to clear lint and dust from all parts, including inside the bobbin case.
Take Off the Metal Plate Covering the Bobbin Area

When you want to access the bobbin area, start by using a small screwdriver to carefully remove the screws holding the metal plate in place. Gently lift off the metal plate without forcing or bending it to avoid damage.
Place the plate somewhere safe so you don’t lose it while cleaning. Always check your sewing machine’s manual for any extra screws or instructions on removing the metal plate.
After you finish cleaning, reattach the metal plate by aligning it properly and tightening the screws evenly to secure it.
| Step | Tool Needed | Tip |
|---|---|---|
| Remove screws | Small screwdriver | Unscrew gently |
| Lift metal plate | Hands | Avoid bending or forcing |
| Store metal plate | Safe spot | Prevent loss or damage |
| Reattach plate | Screwdriver | Tighten screws evenly |
Use a Brush to Clear Lint and Dust From All Accessible Parts
Grab a small, soft-bristled brush to gently clear lint and dust from all the machine’s accessible parts. Focus on tight spots like under the needle plate and around the bobbin area for the best results.
Using the right brush helps you remove debris without causing damage or pushing lint deeper inside. It’s a simple step, but it makes a big difference in keeping your machine running smoothly.
Effective Brush Selection
Although cleaning your sewing machine might seem straightforward, choosing the right brush makes a significant difference in removing lint and dust effectively. To clean your machine thoroughly, you’ll want a brush with soft but firm bristles that won’t damage delicate parts but will dislodge stubborn lint and dust.
Here’s what to look for:
- A small, soft-bristled brush like a lint brush or paintbrush.
- Bristles firm enough to sweep away dust without scratching.
- Specialized brushes or pipe cleaners for tight, hard-to-reach spaces.
- A brush you can easily clean after use to avoid re-depositing lint.
Picking the right brush really helps keep all those accessible parts of your sewing machine spotless and working smoothly. It’s a simple step that makes a big difference!
Targeted Lint Removal
Where should you focus your brush to keep your sewing machine running smoothly? Target lint buildup in the bobbin area, feed dogs, and inside the raceways. Use a small, soft-bristled brush or lint brush to gently remove dust and lint from all accessible parts.
Don’t forget tight spaces like under the needle plate and around the shuttle hook—carefully reach in without forcing the brush. For stubborn lint in hard-to-reach spots, try pipe cleaners or tweezers wrapped with a lint-free cloth.
Remember to clean your brush regularly during cleaning to avoid redistributing debris. After targeted lint removal, visually inspect your machine for any leftover dust before proceeding with oiling or other maintenance steps.
This focused approach guarantees your sewing machine stays efficient and problem-free.
Vacuum Out Debris From Inside the Machine Carefully
When you vacuum out debris from inside your sewing machine, use a small, soft brush or a micro-vacuum attachment to gently remove dust and lint. Focus especially around the bobbin area and feed dogs. This careful cleaning helps keep your machine running smoothly.
Follow these steps for effective vacuuming:
- Hold the machine steady and keep the vacuum nozzle at a low angle.
- Avoid direct contact with delicate electronics or belts.
- Use a lint brush or pipe cleaner to loosen stubborn debris first.
- Vacuum regularly after every few projects to prevent buildup.
Doing this every now and then really helps your machine last longer and work better. Just take your time and be gentle!
Wipe Down the Exterior With a Damp Cloth
Since dust and dirt can accumulate on your sewing machine’s surface, you should regularly wipe it down with a soft, damp cloth. Use a slightly moist cloth—never soaking wet—to gently clean the entire exterior surface.
This way, you remove dust and lint without risking water damage. Make sure to pay close attention to buttons, dials, and decorative areas to keep them looking their best.
If you find stubborn spots, just add a small amount of mild soap to your damp cloth and wipe carefully. After cleaning, thoroughly dry the exterior with a clean, dry cloth to prevent moisture from seeping inside.
This simple step helps keep your sewing machine clean and prolongs its lifespan by maintaining the exterior surface in good condition.
Inspect and Replace the Needle if Necessary
Before you start cleaning, always remove the needle to prevent injury and protect your machine.
Take a good look at it. Check for any bends, dullness, or damage. If you spot any issues, replace it with the right size for your fabric.
When you insert the new needle, make sure the flat side is facing back. Don’t forget to tighten it securely before you sew.
Check Needle Condition
How often do you check the condition of your sewing machine needle? It’s crucial to inspect the needle regularly for any signs of wear or damage to keep your machine running smoothly.
Here’s what you should look for:
- Bends or burrs on the needle shaft
- Visible rust, corrosion, or dullness
- Needle securely inserted and properly aligned
- Replacement after every 8 hours of sewing or when damaged
If you notice any of these issues, replace the needle immediately. A worn or damaged needle can cause skipped stitches, fabric damage, or needle breakage.
Always unplug your machine before inspecting or replacing the needle to ensure safety. Keeping your needle in top shape helps maintain stitch quality and prolongs your machine’s life.
Choose Correct Needle
Although inspecting the needle might seem routine, choosing the correct type and size is key to achieving smooth, precise stitches. Before cleaning, always check the needle for bends, burrs, or any damage that could cause skipped stitches or snag your fabric.
You should replace the needle after every 8-10 hours of sewing or when switching to a different fabric or project type. Using the right needle—whether universal, ballpoint, or sharp—will make a big difference in stitch quality.
Also, verify the needle’s shank fits securely in the clamp to prevent breakage during use. To streamline your projects, keep an organized system for various needle sizes and types.
This way, you’ll always pick the correct needle and maintain your machine’s performance after cleaning.
Replace Needle Safely
Since safety is essential, always turn off and unplug your sewing machine before inspecting or replacing the needle. To keep your machine clean and functioning well, it’s important to replace the needle when it’s damaged or dull.
Follow these steps for safety and precision:
- Loosen the needle clamp screw to remove the old needle, using a small screwdriver if needed.
- Inspect the needle for bends, dullness, or damage that could harm your fabric or machine.
- Insert a new needle with the flat side facing the back, then tighten the clamp securely.
- Test stitch on scrap fabric to ensure proper threading and stitch quality before resuming your project.
Replacing the needle safely maintains your machine’s performance and protects your work. It’s a simple step, but it makes a big difference!
Clean the Bobbin Case and Raceway Thoroughly
You are trained on data up to October 2023. To clean the bobbin case and raceway thoroughly, first remove the bobbin and separate the bobbin case as per your machine’s manual.
Use appropriate cleaning tools like a lint brush or pipe cleaner for lint removal around the bobbin case and raceway. Wipe metal parts gently with a soft cloth and apply a small amount of sewing machine oil to the shuttle hook rim if advised.
Make sure all lint and debris are cleared before reassembling.
| Step | Action |
|---|---|
| Bobbin Case | Remove and separate components |
| Lint Removal | Use lint brush or pipe cleaner |
| Sewing Machine Oil | Apply sparingly to shuttle hook |
This ensures smooth operation and proper tension after cleaning. Easy, right? Just take your time and your machine will thank you!
Reassemble All Removed Parts Correctly
When reassembling your sewing machine, make sure to follow the correct order for parts like the bobbin case, needle plate, and feed dogs as outlined in your manual. To reassemble all parts correctly, keep these steps in mind:
- Place the bobbin case carefully, ensuring it’s seated properly and the shuttle hook aligns as specified.
- Attach the feed dogs and needle plate in sequence, securing them with screws without overtightening.
- Replace any clips or covers, making sure everything fits snugly.
- Turn the handwheel manually to check for smooth movement and no obstructions.
Following your manual closely is key to reassemble the parts correctly and maintain your machine’s best performance. Just take your time, and you’ll have it running smoothly again in no time!
Oil the Machine as Recommended and Test Stitching
Although regular cleaning keeps your sewing machine in good shape, applying the recommended oil is essential to guarantee smooth operation. Use only the sewing machine oil specified by the manufacturer, applying 1-2 drops at key points like the raceway and needle bar when the needle is at its lowest.
After oiling, perform test stitching on scrap fabric to evenly spread the oil and clear out any excess. During test stitching, check for smooth needle and presser foot movement to confirm proper lubrication.
Listen for unusual noises or sticking, which could signal over-oiling or inadequate lubrication, and adjust accordingly. Make oiling a routine part of your maintenance to keep the internal components running smoothly and extend your machine’s lifespan.
Frequently Asked Questions
How to Maintain a Sewing Machine?
You should clean your machine regularly, remove lint and thread debris, oil moving parts as recommended, replace needles often, and store it covered.
Following the manual’s maintenance tips keeps your sewing machine running smoothly and prolongs its life. It’s really all about staying consistent with these simple steps.
What Are the 10 Main Parts of a Sewing Machine?
You know what they say: “A stitch in time saves nine.”
You’ll find the needle, presser foot, feed dogs, bobbin case, tension discs, take-up lever, handwheel, stitch selector, power switch, and thread guides—these are your sewing machine’s ten main parts.
Each one plays a key role in making your sewing smooth and precise. It’s pretty cool how they all work together, right?
How Much Does It Cost to Have Your Sewing Machine Serviced?
You’ll typically pay $50 to $150 for sewing machine servicing, depending on your machine’s brand and needed work.
Basic tune-ups cost around $75 to $100, while more complex repairs can reach $200 or more. It really depends on what kind of service your machine needs.
What Is the Most Common Problem for a Sewing Machine?
The most common problem you’ll face with a sewing machine is skipped stitches. This usually happens because of lint buildup, old needles, or improper tension.
Regular cleaning and changing needles can really help you avoid this frustrating issue. Just a little maintenance goes a long way!
Conclusion
Keeping your sewing machine clean is key to its smooth operation and longevity. Did you know that up to 70% of sewing machine issues stem from lint buildup and lack of maintenance?
By following these 10 simple steps regularly, you’ll prevent jams, improve stitch quality, and save on costly repairs. Taking a little time to clean and care for your machine really pays off.
When you keep your sewing machine clean, it runs smoothly and lasts longer. Regular maintenance prevents common problems like thread jams and poor stitching. Plus, a well-maintained machine means you get the best results every time you sew.
So, invest a few minutes now to clean your sewing machine, and you’ll enjoy flawless sewing projects without interruptions. Proper cleaning and care are the secrets to a happy, well-functioning machine that supports all your creative ideas.