How Do You Adjust Sewing Machine Tension in 5 Easy Steps
First, make sure you thread your sewing machine correctly. Follow the manual’s steps carefully and double-check the bobbin placement.
Next, set the tension dial to around four or the recommended starting point. This gives you a good baseline to work from.
Sew some test stitches on scrap fabric. Then, adjust the tension dial in small increments based on how your stitches look. Tighten it if you see loops on top, and loosen it if the fabric puckers.
Finally, aim for balanced, even stitches on both sides. Keep practicing and adjusting until you get that perfect tension every time.
Key Takeaways
- Verify the machine is properly threaded, including the upper thread and bobbin, to ensure correct tension setup.
- Set the tension dial to the recommended starting point, typically around number four, based on your machine’s manual.
- Sew test stitches on scrap fabric matching your project to evaluate stitch quality before making adjustments.
- Adjust tension dial in small increments, increasing if top stitches loop or decreasing if bobbin thread pulls or fabric puckers.
- Confirm balanced, even stitches on both fabric sides, ensuring no puckering or loose loops for a professional finish.
Verify Proper Threading of the Machine
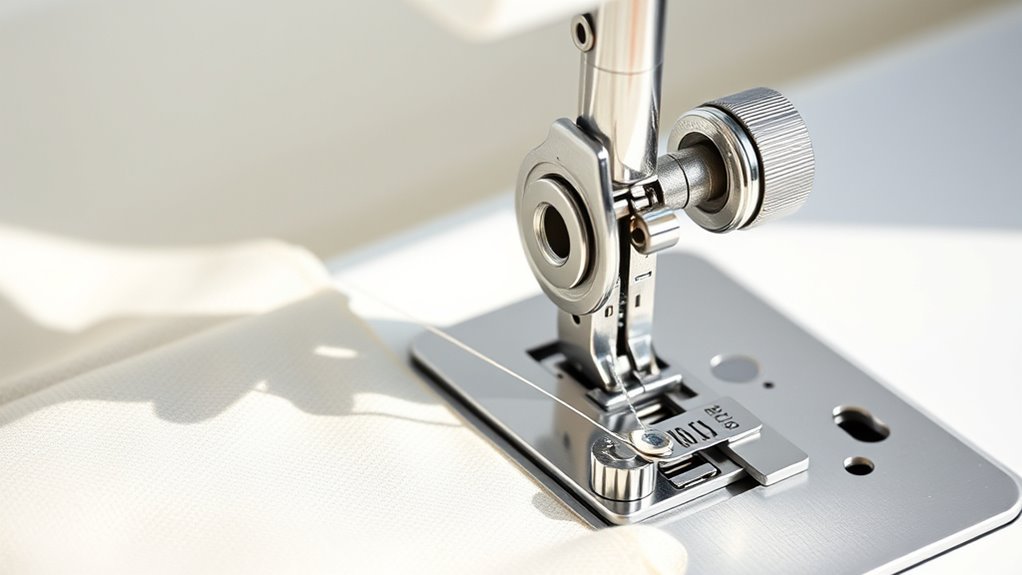
Before adjusting your sewing machine tension, make sure you’ve properly threaded both the upper thread and bobbin. Start by following the correct threading order specified in your manual, guiding the thread from the spool, through the tension discs, and down to the needle.
Confirm the thread sits snugly in the tension discs without slack or misalignment to maintain consistent tension. Check your bobbin insertion carefully; the bobbin should unwind in the correct direction, and the bobbin case must be securely in place.
Don’t forget to remove any lint and dust from the threading path, as these can block smooth thread movement and cause tension issues. Re-threading both upper thread and bobbin ensures you’ve achieved correct threading before making any tension adjustments.
Set the Tension Dial to the Recommended Starting Point

Once you’ve confirmed your machine is threaded correctly, adjust the tension dial to the recommended starting point, usually around number four on most machines. Check your sewing machine’s manual for the specific recommended setting based on the fabric and thread tension you need.
Turn the tension dial slowly to reach this setting before you begin stitching. Keep in mind, the correct thread tension prevents puckering or loose stitches, ensuring your fabric lays flat and your seams look professional.
Whenever you switch fabric or thread types, reset the tension dial to the recommended setting to maintain consistent stitch quality. This simple adjustment on your sewing machine sets you up for smooth sewing and better results right from the start.
Test Stitch Quality on Scrap Fabric
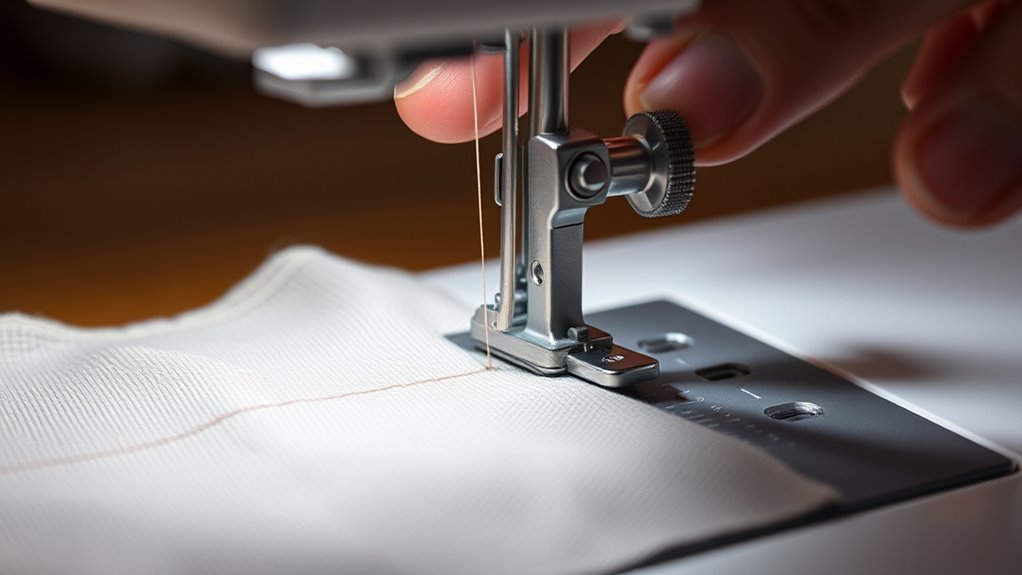
Because tension settings can vary with different fabrics and threads, you’ll want to sew a few test stitches on scrap fabric that matches your project material. Start by stitching a test seam and carefully examine both sides to evaluate stitch quality.
Look for even stitches with no loose loops or puckering, which indicates balanced tension. If you notice issues, make a small tension adjustment—around 0.5 or 1 on the dial—and sew another test stitch on the scrap fabric.
Check for even stitches without loops or puckering; adjust tension slightly and retest on scrap fabric for best results.
Repeat this process, observing the test seam each time until the stitches appear smooth and consistent. Keep notes of the tension settings and results to quickly find the right balance for your project.
Testing on scrap fabric helps guarantee your final work has professional-quality stitches without damaging your actual fabric. It’s a simple step that saves a lot of hassle down the line!
Adjust Tension Based on Stitch Appearance
After testing your stitches on scrap fabric, pay close attention to how the threads appear on both the top and bottom sides. Balanced tension shows consistent, interlocked stitches without loops or puckering.
If you notice loose top stitches or loops on the underside, increase the tension dial slightly—about 0.5 to 1 number—and sew another test stitch. Conversely, if the bobbin thread pulls through to the top or the fabric puckers, reduce the tension in small increments.
These small adjustments help you achieve the ideal stitch appearance. Keep fine-tuning and sewing test stitches until both sides show even, neat thread interlocking.
This method guarantees your tension is balanced, so your project will sew smoothly without thread issues or fabric distortion.
Confirm Balanced and Even Stitches
How can you tell if your stitches are truly balanced and even? Check the underside of your fabric—balanced stitches will show small, evenly spaced loops of the top thread intertwined with the bobbin thread, meeting precisely within the fabric layers.
Use the tension dial to make slight adjustments and test on scrap fabric until you see blue dots from both threads appearing evenly on each side of the seam. When tension is right, neither the top thread nor the bobbin thread pulls excessively to the surface, preventing puckering or loose loops.
Consistently confirming stitch quality during sewing helps you maintain balanced stitches, ensuring your project looks professional and holds together well. Keep an eye on these details for perfect results every time.
Frequently Asked Questions
How to Adjust Thread Tension in Sewing Machine?
You adjust thread tension by turning the tension dial slightly clockwise to tighten or counterclockwise to loosen.
Test stitches on scrap fabric after each change until the stitches look balanced and even on both sides.
It’s a bit of trial and error, but you’ll get the hang of it quickly! Just keep tweaking until it looks right.
Why Is My Thread Looping Underneath My Sewing Machine?
Your thread loops underneath because your upper thread tension’s too loose, or you’ve threaded the machine incorrectly.
Check the needle’s condition and use quality thread. Fix these to stop those annoying loops.
My Singer Sewing Machine Has Loose Stitches on the Bottom. What Could Be Causing This and How Can I Fix It?
Imagine you’re sewing a quilt, and loose stitches appear underneath. You’ve probably got low upper thread tension or a misthreaded machine.
Double-check threading, clean the bobbin area, and gradually tighten the tension dial until stitches firm up. It’s usually a quick fix once you spot the issue. Just take it step by step, and you’ll have your machine stitching perfectly again in no time!
What Number Should Bobbin Tension Be?
Your bobbin tension should be around 1.0 for balanced stitches on most machines. If stitches are loose, increase tension slightly; if too tight, decrease it.
Always test on scrap fabric and check your manual for specifics. That way, you’ll get the best results without any surprises.
Conclusion
Adjusting your sewing machine tension might seem tricky, but with these five simple steps, you’ll master it quickly. Did you know that over 70% of stitch problems stem from incorrect tension?
By verifying your threading, setting the dial properly, and testing on scrap fabric, you’ll see how small tweaks make a big difference.
Soon, your stitches will be perfectly balanced and even, giving your projects a professional finish every time. Keep practicing, and you’ll sew like a pro!
Remember, mastering how to adjust sewing machine tension is key to flawless stitches. With consistent practice, adjusting the tension will become second nature, helping you avoid common stitching issues and achieve professional-quality results on every project. So take your time, trust the process, and enjoy sewing with confidence!