How to Clean a Sewing Machine in 7 Easy Steps
To clean your sewing machine in 7 easy steps, start by gathering a plastic bristle brush, screwdriver, sewing machine oil, and some cloths. These basic tools will help you keep your machine running smoothly and extend its lifespan.
Cleaning your sewing machine regularly is essential to prevent lint buildup and ensure it operates without a hitch.
Begin by removing the bobbin case and organizing the parts carefully. This makes the cleaning process easier and helps you avoid losing any small pieces.
Next, clean both the lower and upper components thoroughly, paying special attention to the tension mechanism since it can affect stitch quality.
Once everything is clean, lubricate the moving parts with sewing machine oil. This step keeps the machine running smoothly and prevents wear and tear.
Finally, perform a test stitch to check if everything is working properly. If you run into common issues afterward, don’t worry—there are straightforward fixes you can try to keep your machine in top shape.
Key Takeaways
– Gather essential cleaning supplies including a plastic bristle brush, screwdriver, sewing machine oil, and cloths for effective cleaning.
Having the right tools makes the whole process way easier and smoother.
– Safely remove the bobbin case and document the arrangement of parts for easy reassembly.
Taking a quick photo or making a note can save you a headache later!
– Clean both lower and upper machine components using the brush, focusing on the tension mechanism and feed dogs.
These spots tend to collect the most lint and dust, so give them some extra attention.
– Perform a test stitch with light-colored thread to check for skipped stitches and thread tension consistency.
It’s a simple way to make sure everything’s running just right before you dive into your next project.
– Address common issues such as unusual noises and thread breaks by ensuring proper lubrication and checking for lint buildup.
A little oil and a quick clean can fix most of these problems without any fuss.
Grab Your Cleaning Supplies and Get Started
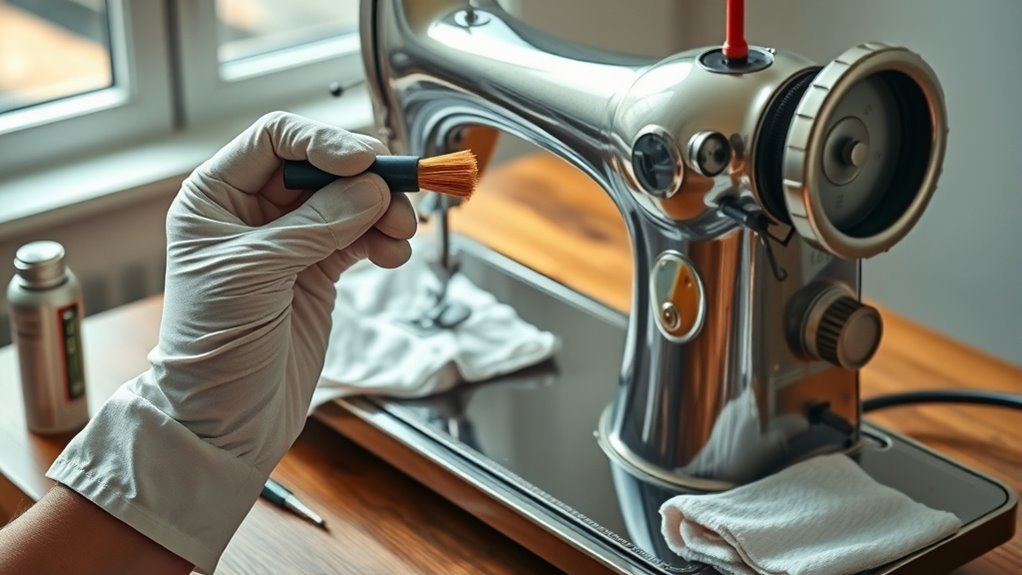
Before you plunge into cleaning your sewing machine, make sure you’ve got all your supplies at hand. You’ll need a plastic bristle brush, a screwdriver, sewing machine oil, some paper for organizing parts, and clean cloths or paper towels.
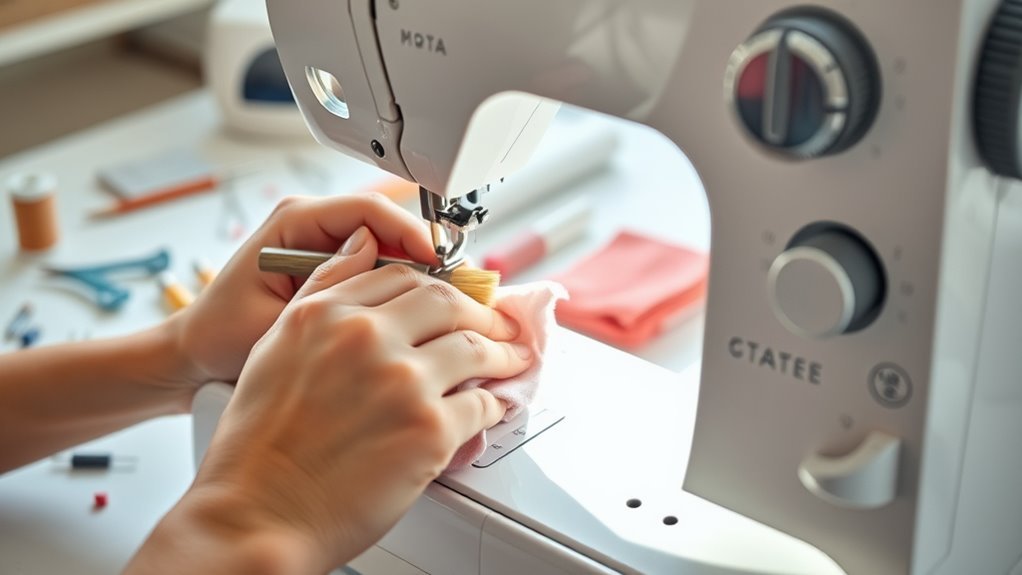
Start by using the brush to sweep away dust and lint from both the upper and lower parts of the machine. This step is essential for preventing performance issues.
Start by brushing away dust and lint from all parts of your machine to prevent performance issues.
As you disassemble any parts, place screws and components in a small container or on paper to keep everything organized.
Finally, don’t forget to apply that specific sewing machine oil to lubricate gears and moving parts. This helps ensure your machine runs smoothly and lasts longer.
Regular cleaning leads to better sewing results!
Remove the Bobbin Case and Organize Parts
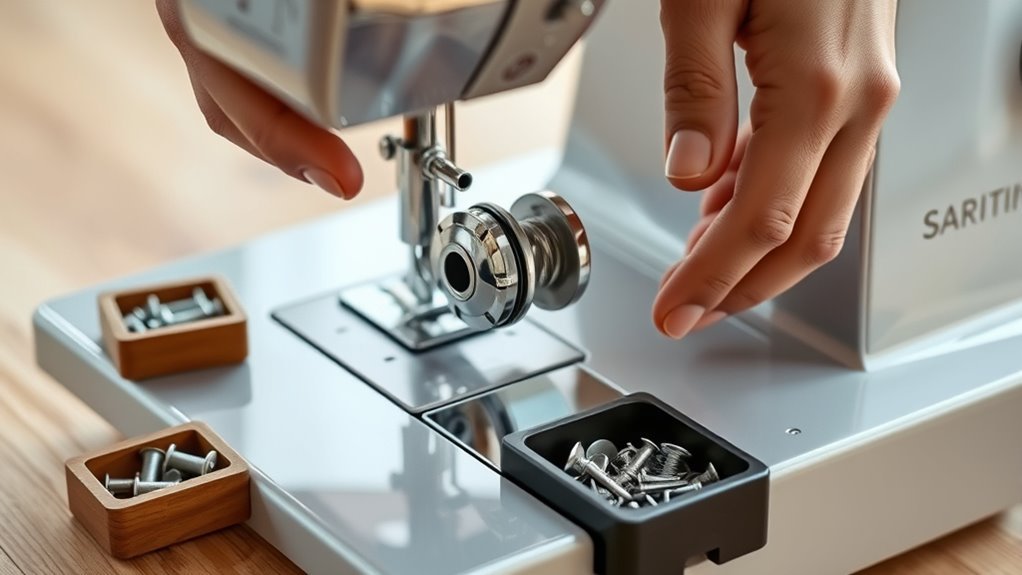
Start by turning off your sewing machine and unplugging it for safety. Carefully locate the bobbin case release mechanism and remove it.
Place the parts on a clean piece of paper to keep them organized. This way, you can easily track all components and guarantee a smooth reassembly later on.
Identify Bobbin Case Components
Removing the bobbin case from your sewing machine is essential for effective cleaning and maintenance. Start by carefully detaching it to access the lower components.
Once it’s out, place the bobbin case and any related parts on a clean piece of paper. This helps you keep everything organized and prevents confusion during reassembly.
Take note of any specific features or the orientation of the bobbin case. Doing this will guarantee you can reinsert it correctly later.
Inspect the bobbin case for lint and dust buildup—common culprits for machine issues. Use a soft brush to gently clean the case and the surrounding areas.
This prepares them for lubrication and reassembly. Keeping everything tidy now saves time later!
Organize Parts Systematically
To efficiently organize parts during the cleaning process, first, carefully detach the bobbin case from your sewing machine. Handle it gently to avoid damage, and then follow these steps to keep everything in order:
Use a container. Place screws and small parts in a labeled container to prevent loss.
Next, document the arrangement. Take a photo or sketch a diagram of the parts and their orientation as you disassemble them.
Also, note the order. Keep track of the sequence in which you remove parts; this makes reassembly simpler.
Finally, label everything. If necessary, label screws and components to streamline the reassembly process and minimize errors. It really helps keep things clear and easy!
Access and Clean the Lower Machine Components
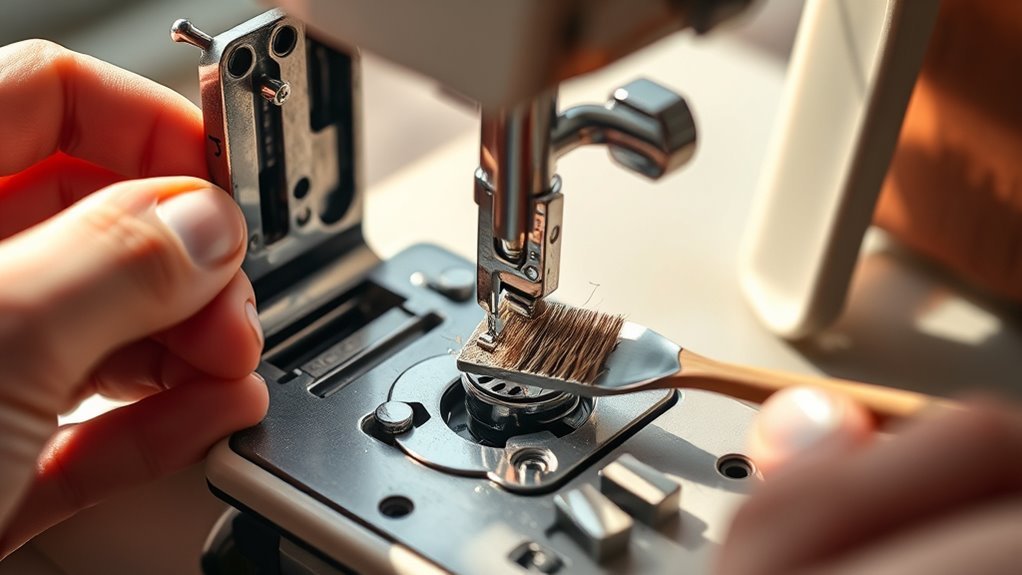
Accessing and cleaning the lower machine components is essential for maintaining your sewing machine’s performance. Start by carefully removing the bobbin case and any other components. It helps to organize them on a piece of paper for easy reassembly.
Next, open the plastic tabs that give you access to the metal components. Be sure not to force anything to avoid damage.
Use a plastic bristle brush to clean all removed pieces, focusing on areas where dust and lint accumulate. After that, apply a small amount of sewing machine oil to the gears and moving parts. This will guarantee smooth operation and reduce friction.
Finally, reassemble the components systematically. Double-check that each part is correctly placed for peak machine functionality.
Clean the Upper Machine Areas Thoroughly
Now that you’ve tackled the lower components, it’s time to focus on the upper areas of your sewing machine.
Grab a plastic bristle brush and some sewing machine oil to get started.
With the right tools and techniques, you’ll guarantee everything runs smoothly and efficiently.
Essential Cleaning Tools Needed
When it comes to cleaning the upper areas of your sewing machine, having the right tools makes all the difference. With these essential items, you’ll guarantee your machine runs smoothly and efficiently:
- Plastic bristle brush – Perfect for removing dust and lint without damaging sensitive parts. It’s gentle but effective, so you don’t have to worry about scratching anything.
- Clean cloth or paper towels – Use these to wipe down surfaces and catch any remaining debris after brushing. They’re great for a quick clean-up and help keep everything tidy.
- Sewing machine oil – Crucial for lubricating moving parts, preventing wear, and guaranteeing smooth operation. A little goes a long way here, so use it sparingly.
- Screwdriver – Necessary for disassembling certain components, giving you access to hard-to-reach areas for deeper cleaning. Just be sure to keep track of all the screws!
Having these tools on hand will help maintain a clean upper machine area, preventing thread breaks and unusual noises. It’s a simple way to keep your sewing projects running without a hitch.
Techniques for Effective Cleaning
Cleaning the upper areas of your sewing machine is essential for maintaining its performance and longevity. Start by using a plastic bristle brush to gently remove dust and debris from all accessible parts.
Pay special attention to the tension mechanism and feed dogs, as these spots often trap lint. After cleaning, apply a small amount of sewing machine oil to moving components, focusing on gears and joints to guarantee smooth operation.
Regularly inspect and clean these areas to prevent thread breaks and unusual noises caused by dust buildup. Always take care when cleaning to avoid damaging delicate components.
This way, your machine stays efficient and lasts longer. A meticulous approach goes a long way in keeping your sewing machine in top shape.
Lubricate Moving Parts for Optimal Performance
To keep your sewing machine running smoothly, lubricating its moving parts is essential. A few drops of sewing machine oil can greatly reduce friction and wear, enhancing overall performance.
Focus on these key components:
- Gears – Apply oil to guarantee they move freely without sticking.
- Hinges – Oiling these helps maintain smooth operation and prevents squeaking.
- Bobbin Case – Lubricate this area to avoid thread breaks and improve stitch quality.
- Needle Bar – A small amount of oil here can enhance needle movement.
Always use only a small amount of oil to prevent attracting dust and lint. For best results, refer to your sewing machine’s manual for specific lubrication points and recommended oil types.
Regular lubrication extends your machine’s lifespan. So, don’t skip this simple but important step!
Perform a Test Stitch for Smooth Operation
After reassembling your sewing machine, it’s time to perform a test stitch to confirm everything operates smoothly. Start by preparing a light-colored thread and fabric; this makes it easier to spot any issues.
After reassembling your sewing machine, use light-colored thread and fabric for a test stitch to ensure smooth operation.
Set your machine to a slow speed and sew a few test stitches. Watch closely for any skipped stitches or unusual noises, as these could indicate problems.
Pay attention to the thread tension; it should be even and consistent, with no puckering on the fabric. If you notice any irregularities, double-check the threading and verify all components are correctly reassembled.
Regular test stitching after cleaning helps maintain peak performance and catch potential issues early. This way, your sewing projects stay enjoyable and hassle-free.
Common Issues After Cleaning and How to Fix Them
While enjoying your freshly cleaned sewing machine, you might encounter some common issues that can affect its performance. Don’t worry; these are usually easy to fix!
- Unusual Noises: This may indicate insufficient lubrication. Reapply oil to moving parts as needed.
- Frequent Thread Breaks: Check for lint buildup in the tension discs or around the needle area, which can disrupt thread flow.
- Inconsistent Stitching: Improper reassembly might be the culprit. Confirm all parts are correctly placed and tightened.
- Needle Skipping Stitches: Verify that the needle is inserted correctly and isn’t damaged, as a misaligned needle can hinder performance.
Address these issues promptly to keep your sewing machine running smoothly!
Frequently Asked Questions
How to Clean Fuzz Out of a Sewing Machine?
To clean fuzz out of your sewing machine, start by removing the bobbin case. Use a plastic bristle brush to gently sweep away any lint you see.
Once you’ve cleared out the fuzz, it’s a good idea to oil the moving parts. This keeps everything running smoothly.
After that, go ahead and test stitch to make sure your machine is working just right. It’s a quick step that can save you trouble later.
What Are 10 Important Safety Rules for Sewing?
Always keep fingers away from the needle. Disconnect power before maintenance. Use the right needle for your fabric.
Store sharp tools safely to avoid accidents. Make sure you have good lighting so you can see clearly.
And keep your workspace clutter-free. This way, you stay safe and sewing stays effective and fun!
What Else Can I Use to Oil My Sewing Machine?
When you’re in a pinch, you can use lightweight machine oil like 3-in-1 or even mineral oil for your sewing machine. Just steer clear of cooking oils; they’ll only gum up the works!
Seriously, cooking oils are a big no-no. They get sticky and can cause more harm than good. So, stick with oils made specifically for machines or similar lightweight options.
How to Work a Sewing Machine for Beginners?
To work a sewing machine, start by getting to know its parts. Thread it properly, and then practice sewing straight lines.
Try out different stitches as you get more comfortable. Also, keep your workspace tidy — it really helps with better performance and accuracy.
Most importantly, have fun while you sew! Enjoy the process!
Conclusion
Now that your sewing machine’s sparkling clean, you’re ready to tackle any project with a fresh start! A well-maintained sewing machine stitches like a dream, turning fabric into magic.
If you run into any hiccups post-cleaning, don’t sweat it—just follow the tips provided and you’ll be back to sewing in no time. Regular cleaning and maintenance keep your machine running smoothly and extend its life.
So go ahead, release your creativity and let that sewing machine purr like a content cat! Happy stitching, and enjoy every moment with your freshly cleaned sewing machine!