How You Use Embroidery Thread in a Sewing Machine
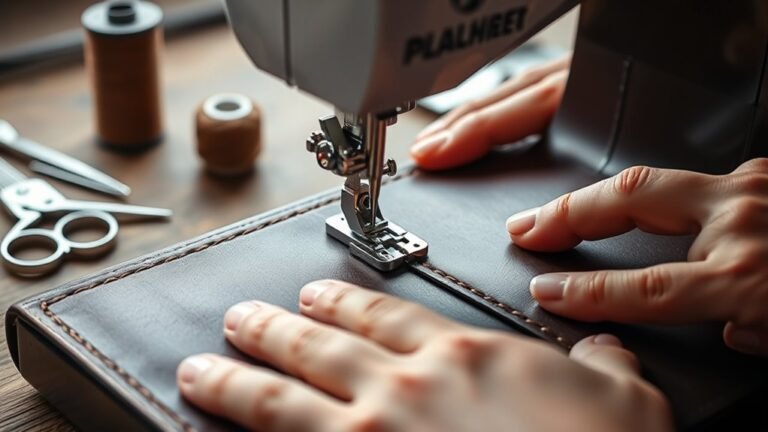
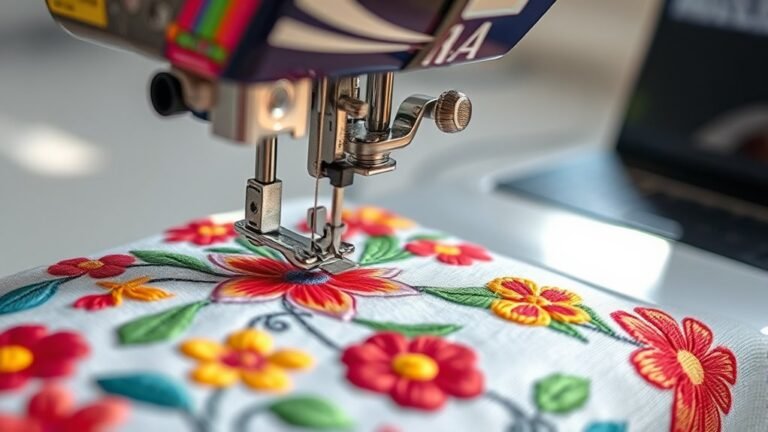
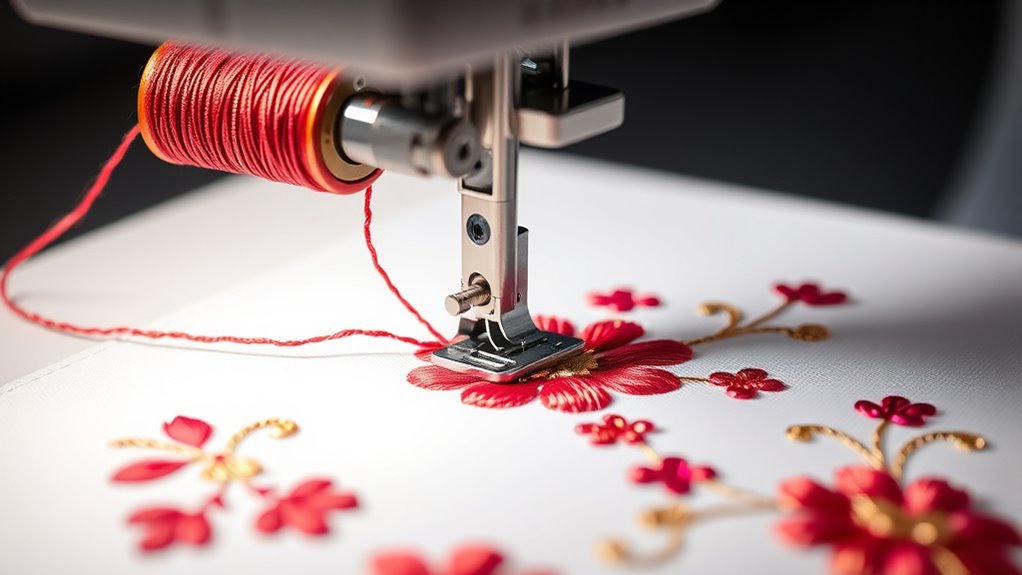
To use embroidery thread in your sewing machine, start by threading it carefully through all the guides. This helps avoid tangles and breakage, which can be frustrating.
Choosing the right needle is important too—go for a smaller size like 75/11 embroidery or microtex needles.
Lower your machine’s tension to suit the delicate, shiny thread. This adjustment helps keep stitches smooth and prevents the thread from snapping.
Sewing at a slower speed also makes a big difference in achieving flawless decorative stitching.
Before you get started on your project, test your settings on scrap fabric. It’s a simple step that saves time and ensures your embroidery turns out perfect.
Don’t forget to pick the right bobbin thread as well; it supports the top thread and reduces snapping.
Keep these tips in mind, and you’ll be all set for vibrant, beautiful embroidery every time!
Key Takeaways
- Use embroidery or microtex needles (size 75/11) to accommodate the delicate embroidery thread and prevent breakage.
- Lower machine tension and reduce sewing speed to smoothly handle finer embroidery thread without tangling or snapping.
- Thread the machine carefully through all guides and tension discs to avoid thread breakage and maintain consistent stitching.
- Test embroidery thread settings on scrap fabric to adjust tension, stitch length, and speed for optimal decorative results.
- Use a lighter bobbin thread and high-quality materials to balance tension and ensure professional, vibrant embroidery finishes.
Understanding Machine Embroidery Thread
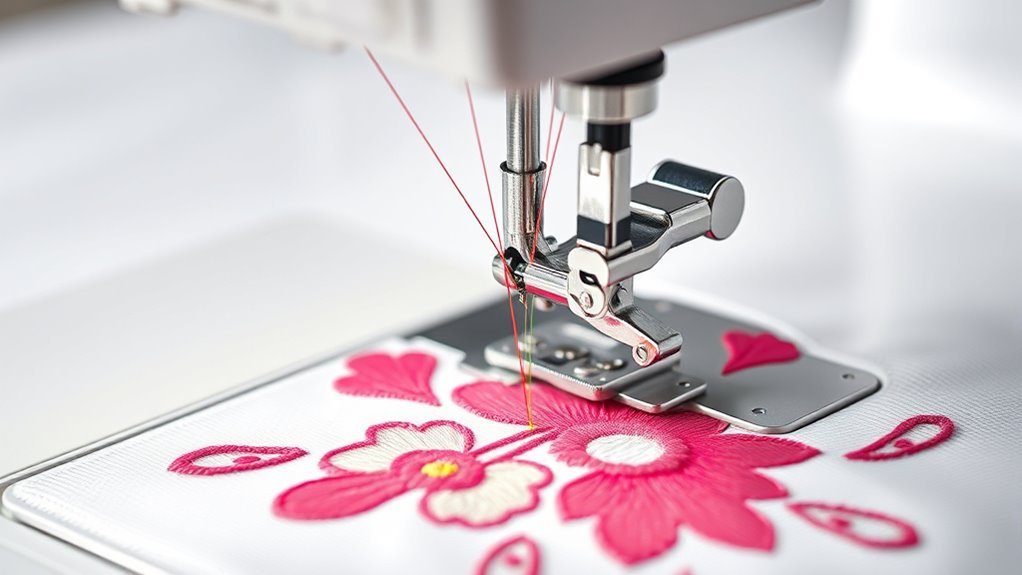
Although you might be familiar with standard sewing thread, machine embroidery thread is specially designed to handle the demands of high-speed embroidery machines. Made primarily from rayon or polyester, embroidery thread boasts a smooth texture and high sheen, giving your designs a vibrant, eye-catching finish.
You’ll notice it comes in a wide range of colors, perfect for detailed, decorative stitching that stands out on fabric projects. Keep in mind, embroidery thread is more delicate than regular sewing thread and isn’t meant for structural seams, so it’s important to use it correctly.
To get the best results, make sure your sewing machine settings match the thread type, and use compatible needles designed specifically for embroidery thread. This way, your projects will look professional and last longer.
Differences Between Embroidery and Regular Sewing Thread
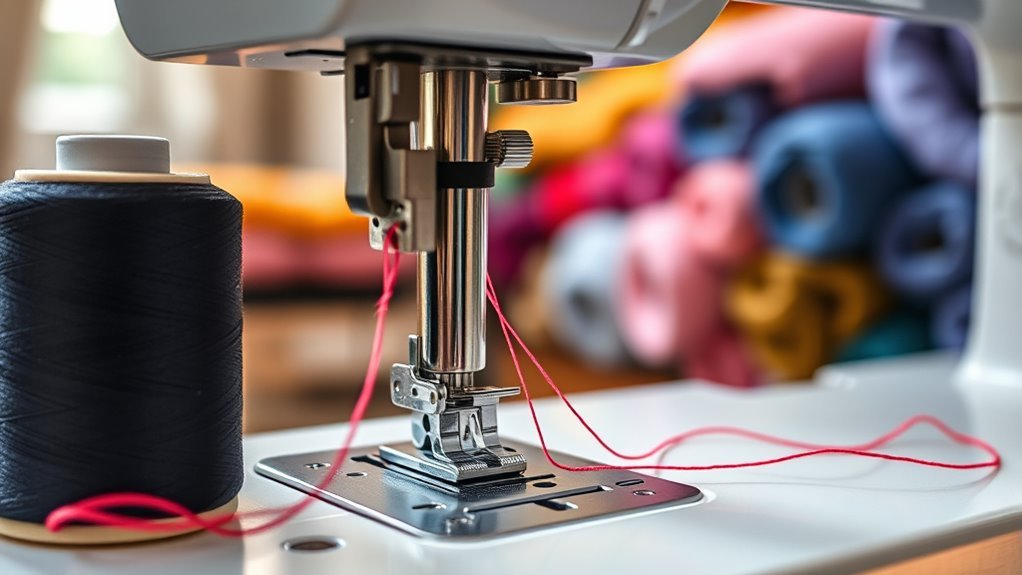
When you choose between embroidery and regular sewing thread, understanding their distinct purposes is key. Embroidery thread is designed for decorative effects, offering a high sheen and smooth texture, usually made from rayon or polyester.
Regular sewing thread focuses on strength, durability, and securing seams, often made from cotton or polyester blends. Here are three main differences to note:
- Material: Embroidery thread uses rayon or polyester for shine; regular thread uses cotton or blends for strength.
- Purpose: Embroidery thread decorates; regular thread joins fabric layers securely.
- Texture and durability: Embroidery thread is finer and delicate, not ideal for stress-prone seams, unlike regular thread.
Knowing these differences helps you pick the right thread for your project’s needs. It’s all about matching the thread to what you want to achieve!
Preparing Embroidery Thread for Use in Sewing Machines
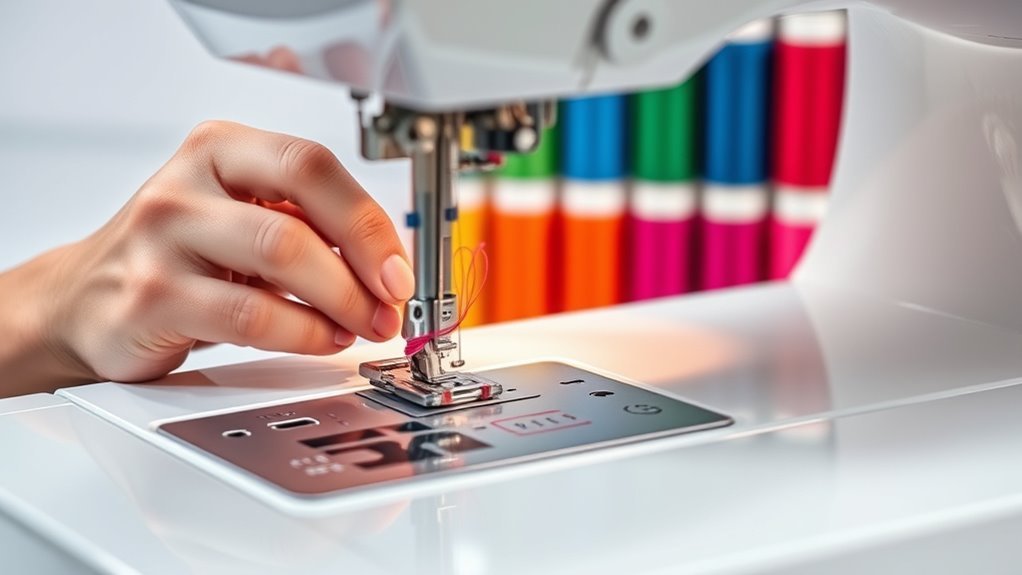
Understanding the differences between embroidery and regular sewing thread sets you up for success, but preparing embroidery thread for your sewing machine takes a few extra steps.
First, make sure your machine can handle decorative threads and their unique weight. Thread the embroidery thread carefully through the proper guides to avoid tangling or breakage.
Next, adjust your machine’s tension settings lower than usual since embroidery thread is finer and more delicate. This helps prevent puckering and thread snapping.
Before sewing your project, test the embroidery thread on scrap fabric to fine-tune tension, stitch length, and speed. These steps ensure smooth stitching and protect your machine.
Proper preparation is key to achieving beautiful embroidery results every time. It might seem like extra work, but trust me, it’s worth it!
Needle Selection for Embroidery Thread
You’ll want to use a size 75/11 embroidery or microtex needle with a larger eye to handle embroidery thread smoothly. Matching the needle type and size to your fabric and thread helps maintain proper tension and stitch quality.
Don’t forget to replace needles regularly to avoid thread breakage and skipped stitches. It really makes a difference in how your embroidery turns out!
Needle Types Recommended
Although embroidery thread adds beautiful detail to your projects, selecting the right needle is essential to avoid fraying and breakage. Using a needle designed for embroidery or topstitching ensures your thread glides smoothly without damage.
Here are three key needle types to consider:
- Embroidery needles (size 75/11) – These have a larger eye to accommodate thicker embroidery thread, reducing breakage.
- Topstitch needles – Designed for heavy threads, they provide extra strength and prevent skipped stitches.
- Sharp, undamaged needles – Always use a sharp needle and replace it regularly to maintain smooth stitching and avoid thread damage.
Choosing the right needle type helps you achieve flawless embroidery with minimal thread wear. So, don’t overlook this small but important detail!
Needle Size Importance
When working with embroidery thread, choosing the right needle size plays a crucial role in preventing thread fraying and breakage. Unlike regular sewing thread, embroidery thread is often thicker and requires a needle with a larger eye—typically size 75/11 or 90/14 embroidery or quilting needles.
Using the correct needle size helps prevent damage and ensures smooth stitching on your machine. If you’ve tried using a smaller needle, you may notice thread breakage or snagging.
Keep in mind that different types of thread demand different needle sizes to match their thickness. Using a needle designed for embroidery thread offers a wide range of benefits, helping you create beautiful designs.
For best results, use scrap fabric to test tension and needle compatibility before starting your project. It’s a simple step that can save you a lot of frustration later on!
Needle Maintenance Tips
Selecting the right needle size is just the start; maintaining your needle properly guarantees consistent stitch quality and protects your embroidery thread from unnecessary wear.
Here are three essential needle maintenance tips to keep your embroidery projects flawless:
- Use a sharp, high-quality needle like a size 75/11 embroidery or topstitching needle. Its larger eye lets embroidery thread pass smoothly without stress or breakage.
- Replace your needle regularly—ideally every 8-10 hours of sewing or sooner if you notice skipped stitches or fraying thread.
- Always ensure the needle is properly inserted and securely tightened before sewing to avoid skipped stitches and machine damage.
Following these tips helps you maintain your needle in top condition. This way, you’ll ensure smooth stitching and protect your embroidery thread from unnecessary wear.
Adjusting Machine Tension for Embroidery Thread
You’ll want to lower your machine’s tension settings when using embroidery thread to avoid puckering and thread breakage. Start by adjusting the tension gradually and test on scrap fabric to find the sweet spot for smooth, even stitches.
Keep an eye on stitch quality and fine-tune as needed to make certain your project turns out flawless. It might take a few tries, but finding that perfect tension is totally worth it!
Proper Tension Settings
Since embroidery thread has delicate fibers and a higher sheen than regular sewing thread, you should decrease your machine’s tension by about 1-2 points to avoid puckering or thread breakage.
Proper tension settings ensure smooth, even stitches and protect your embroidery thread from damage. It’s a small adjustment that makes a big difference!
To get the best results:
- Lower your machine’s tension 1-2 points below the standard setting for embroidery thread.
- Monitor tension throughout your project, as different thread colors or types may require slight adjustments.
- Always consult your sewing machine’s manual for specific tension recommendations when using specialty embroidery threads. That way, you’ll keep your stitches looking perfect every time.
Testing on Scrap Fabric
Adjusting your machine’s tension is key when working with embroidery thread, but you won’t know the perfect setting until you test it. Start by stitching on a scrap piece of fabric similar to your project.
Use embroidery floss and sew slowly to watch how the thread feeds and to avoid breakage. Gradually lower your machine’s tension since embroidery floss is thinner and more delicate than regular thread.
Watch for skipped stitches, puckering, or thread breakage during your test. Adjust tension and stitch length as needed until the stitches look even and smooth.
Once you find the right tension, record this setting to replicate consistent results on your actual project. Testing on scrap fabric ensures your embroidery floss performs perfectly, saving you from frustration later.
Preventing Thread Breakage
When you sew with embroidery thread, lowering your machine’s tension helps prevent thread breakage caused by excessive tightness. Adjusting the tension on your sewing machine is essential for a smooth stitch and to protect the delicate Machine Embroidery Thread.
Here’s how you can prevent breakage:
- Use a smaller needle size, like a 75/11 embroidery or microtex needle, to reduce stress on the thread.
- Test different tension settings on scrap fabric to find the perfect balance that keeps the thread intact.
- Slow down your sewing speed to give the embroidery thread better control and less chance of snapping.
Regularly check and tweak your machine’s tension as you sew to keep your embroidery flawless and thread breakage-free. It really makes a difference!
Techniques for Sewing With Embroidery Thread
Although embroidery thread offers beautiful, vibrant results, it requires special handling to sew smoothly in your machine. You’ll want to use a smaller needle, like a 75/11 denim needle, and lower your machine tension to avoid thread breakage.
Sewing slower helps maintain control and reduces stress on the delicate thread. Always test on scrap fabric first to dial in your settings.
| Technique | Purpose | Tip |
|---|---|---|
| Smaller Needle | Prevent breakage | Use 75/11 denim needle |
| Lower Tension | Accommodate delicate thread | Adjust tension downward |
| Slow Stitch Speed | Reduce tangling and snapping | Sew at a controlled, slower pace |
Managing Thread Handling and Organization
To keep your embroidery thread manageable and prevent tangling, organize your spools on a wire rack or spool stand. This setup keeps threads separated and easy to access.
Also, make sure your embroidery floss is neatly wound and sorted by color to speed up selection and avoid knots. When threading your machine, guide each strand carefully through the tension discs and thread guides to prevent snags or breakage.
Here are three key tips for managing your threads efficiently:
- Use a thread rack or stand to keep spools orderly and untangled.
- Check the thread path regularly during sewing to catch tension problems early.
- Stitch slowly to maintain control and reduce thread fraying or snapping.
Following these steps will keep your embroidery smooth and frustration-free.
Using Embroidery Thread on Lightweight and Delicate Fabrics
Keeping your embroidery thread well-organized helps when working with lightweight and delicate fabrics, where extra care is needed. Since embroidery thread is more delicate than standard thread, you want to prevent puckering or tearing by lowering your machine’s tension and reducing stitch speed.
Use a sharp, fine needle like a microtex or embroidery needle to minimize fabric damage. Before starting, test your thread and settings on a scrap piece of similar fabric to ensure smooth stitching.
Be gentle—avoid pulling or applying too much tension on the thread to keep the fabric’s integrity intact and stitches even. By following these steps, you’ll achieve beautiful, delicate embroidery without compromising your lightweight fabrics.
Bobbin Thread Recommendations for Embroidery Projects
When you select your bobbin thread for embroidery projects, choosing one that’s lighter in weight than your top thread helps prevent bulkiness and guarantees smooth stitching. For example, if your top thread is 40-weight, go with a 60-weight bobbin thread.
Also, pick a high-quality polyester or cotton thread to maintain smooth tension and reduce breakage.
Keep these tips in mind:
- Match the bobbin thread type to your fabric and project needs—durability or softness.
- Wind the bobbin evenly and check for tangles before use.
- Consult your sewing machine manual for bobbin thread recommendations and tension settings.
Following these steps helps you achieve professional-looking embroidery without stitching issues.
Tips for Preventing Thread Breakage and Tangling
Although embroidery thread adds beautiful detail to your projects, it can be delicate and prone to breaking or tangling if not handled properly. To prevent this, use a smaller needle size like a 75/11 embroidery or denim needle to reduce stress on the thread.
Also, adjust your machine’s tension downward to suit the thread’s delicacy. Sew at a slower speed, allowing the thread to move smoothly without snapping or knotting.
Always test on scrap fabric first to spot any issues before starting your project. Keep the thread taut and avoid pulling or tugging during sewing, as this can cause tangling and breakage.
Frequently Asked Questions
Can I Use Embroidery Thread in a Regular Sewing Machine?
Yes, you can use embroidery thread in a regular sewing machine. Just use a smaller needle and lower the tension.
Sew slowly, and make sure to test on scrap fabric first. This helps avoid breakage and gives you the best decorative results.
Can I Use Embroidery Thread for Sewing?
Yes, you can use embroidery thread for sewing, but it’s delicate. You’ll want to lower your machine’s tension, use a smaller needle, and test on scrap fabric first.
This helps avoid breakage and guarantees smooth, decorative stitches. Just take it slow, and you’ll be fine!
Can I Use Embroidery Floss in My Sewing Machine?
Yes, you can use embroidery floss in your sewing machine, but you’ll need to separate strands, lower tension, and select the right needle.
It’s a good idea to test on scrap fabric first to avoid breakage and guarantee smooth stitching.
This way, you’ll get a feel for how the floss behaves in your machine before working on your actual project.
How to Properly Use Embroidery Thread?
Think of embroidery thread as a delicate dancer—use a sharp, small needle and loosen your machine’s tension.
Feed the thread smoothly, slow your stitching pace, and test on scraps to keep your masterpiece flawless.
Conclusion
So, you’ve mastered threading your machine with embroidery thread, adjusted tension, and picked the perfect needle—only to realize your biggest enemy might actually be that sneaky bobbin or a stubborn knot.
Who knew such tiny threads could cause such big headaches? But don’t worry, with a little patience and these tips, you’ll turn those tangles into beautiful stitches.
After all, sewing with embroidery thread is as much about persistence as it is about precision! Remember, using embroidery thread in a sewing machine requires attention to detail—from proper threading to tension adjustments and choosing the right needle.
Keep practicing, and soon enough, your embroidery projects will look flawless and professional.