How to Sew a Buttonhole in 3 Easy Steps
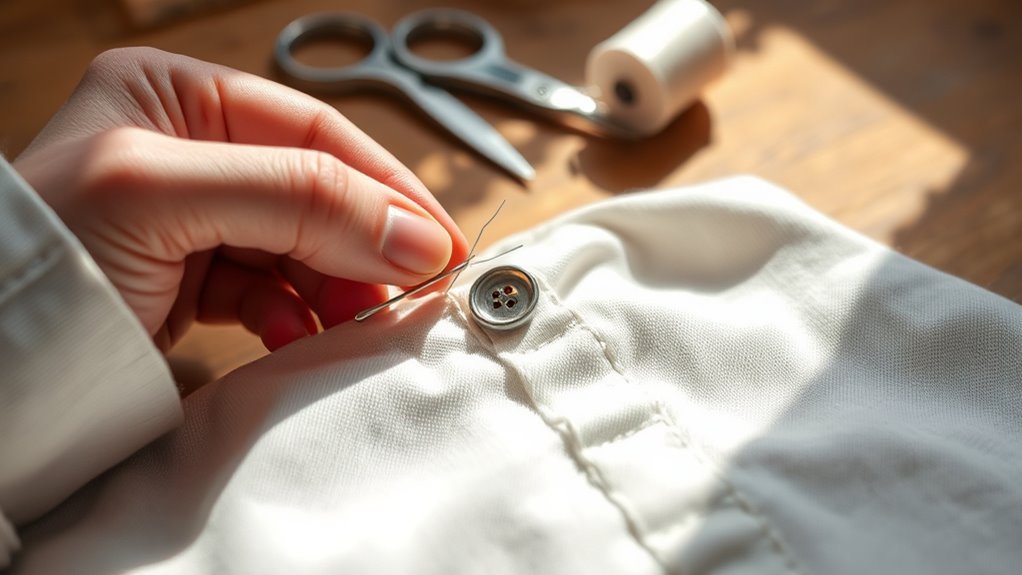
To sew a buttonhole in three easy steps, start by marking the buttonhole position on pre-washed fabric and reinforcing it with interfacing. This helps the fabric stay sturdy and prevents fraying.
Next, set your sewing machine to the buttonhole stitch and attach the buttonhole foot. Sew carefully along the marked lines to get an even stitch that looks neat and professional.
Finally, open the buttonhole using a seam ripper, taking care not to cut the stitches.
Finish by reinforcing the edges for extra durability.
Keep going to discover tips on making your buttonholes extra strong and looking just like the ones on store-bought clothes!
Key Takeaways
- Pre-wash your fabric first. Then, mark where you want the buttonhole to go. Don’t forget to reinforce that area with interfacing to stop it from stretching.
- Next, attach the buttonhole foot to your sewing machine. Set your machine to the buttonhole stitch mode.
- Sew the buttonhole evenly. Make sure to reinforce the ends with reverse stitches to keep it strong.
- Now, carefully open the buttonhole using a seam ripper. Protect the stitches by placing a pin at the edges.
- Finally, apply some seam sealant. This helps prevent fraying and makes the buttonhole last longer.
Preparing Your Fabric and Machine
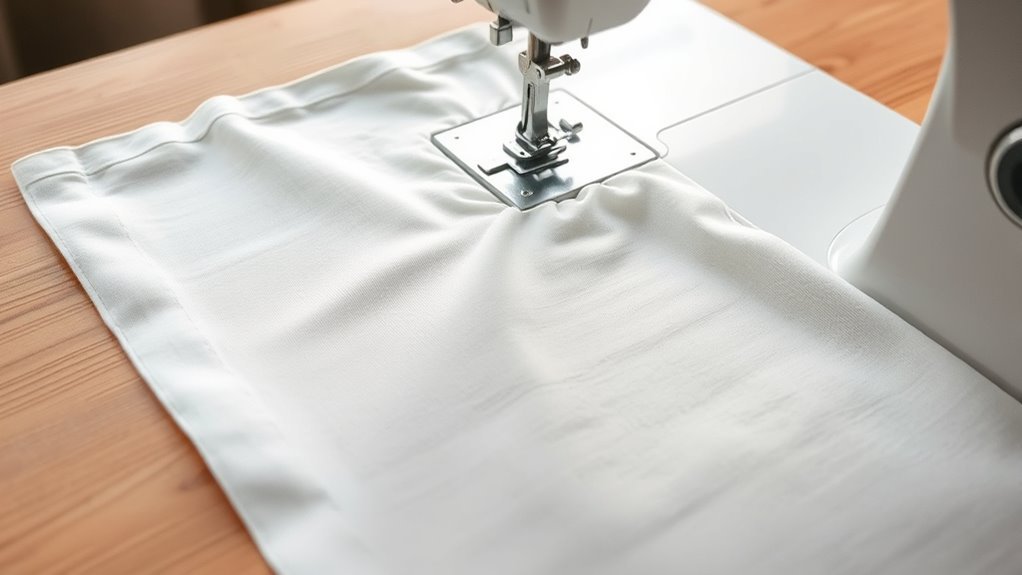
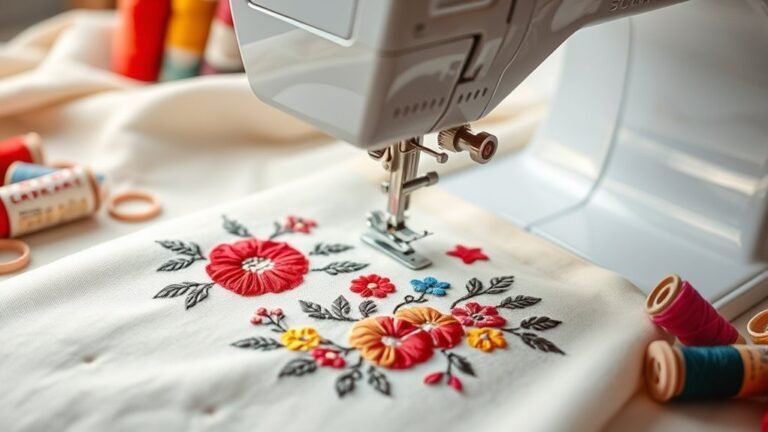
Before you start sewing, make sure you’ve pre-washed and pressed your fabric to remove wrinkles and avoid shrinkage later. This step guarantees your fabric is smooth and ready for precise work.
Pre-wash and press fabric to ensure smoothness and prevent shrinkage before sewing.
Next, mark the exact position and length of your buttonhole using tailor’s chalk or a fabric marker. Measure your button and add about 2mm to determine the right length.
To prevent stretching or puckering, reinforce the marked area with fusible interfacing.
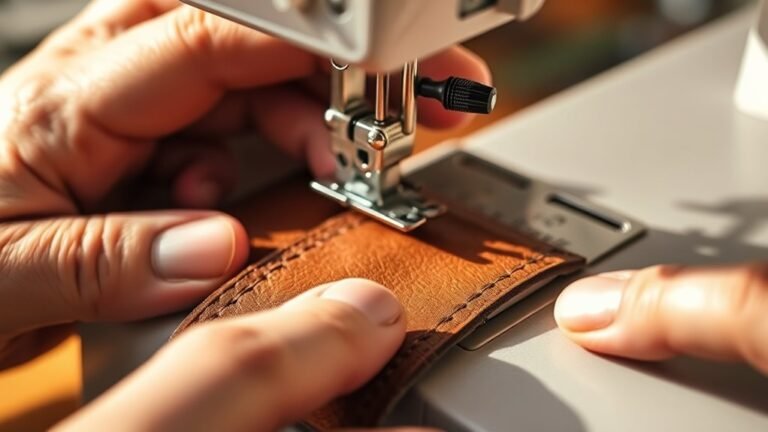
Now, prepare your sewing machine by attaching the correct buttonhole foot securely. This specialized foot helps you stitch evenly and accurately.
With your fabric marked and reinforced, and your sewing machine set up, you’re perfectly prepped to sew a neat, professional-looking buttonhole.
Sewing the Buttonhole
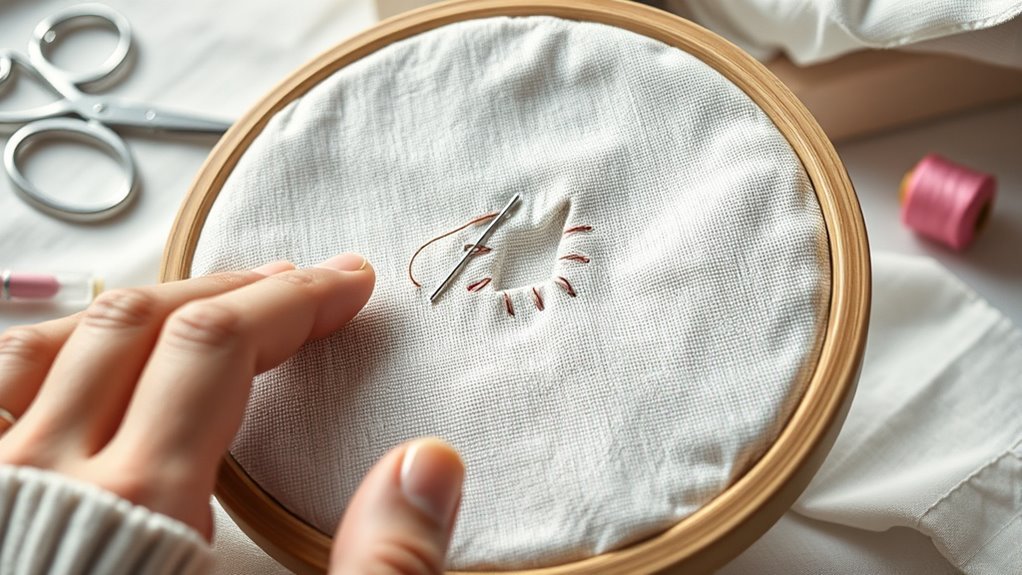
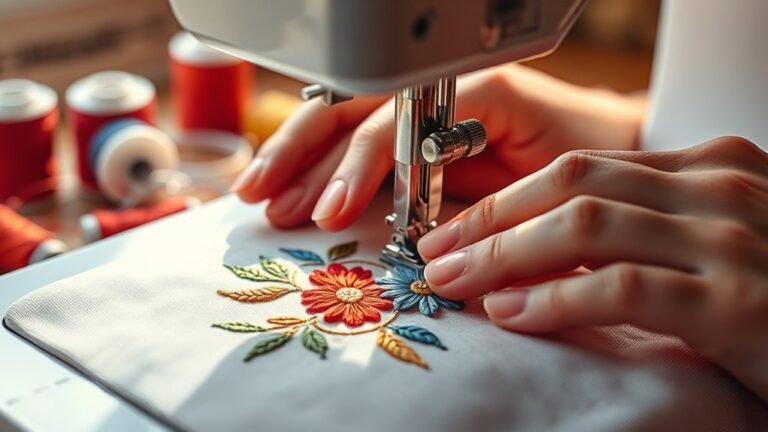
How do you sew a buttonhole that looks professional and holds up well? Start by setting your sewing machine to the buttonhole stitch and carefully guiding the fabric through the presser foot. Maintain an even stitch length as you sew along the marked lines, beginning at the bottom of the buttonhole.
Reinforce the buttonhole by sewing a few reverse stitches at the bottom. Use your machine’s automatic buttonhole feature or lever to stitch the sides and top of the buttonhole precisely. Focus on keeping consistent stitching at the top and sides of the buttonhole for durability.
Once you finish sewing, remove the fabric and use a seam ripper to open the slit carefully. This method ensures neat, strong buttonholes when making buttonholes with sewing machines. It really helps give your project a polished, professional look.
Finishing and Opening the Buttonhole
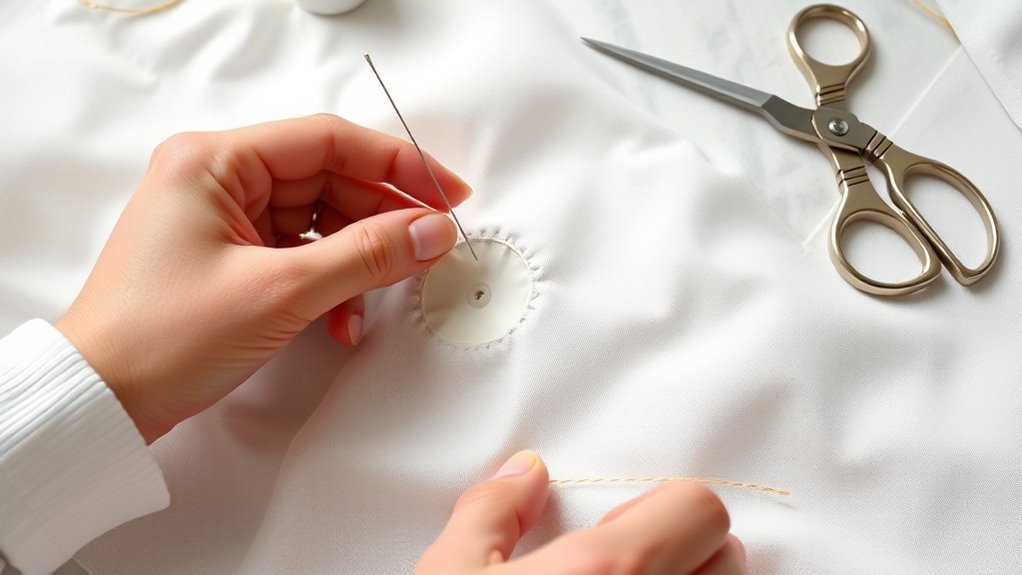
Once you’ve sewn the buttonhole, let any seam sealant or Fray Check dry completely. This helps keep the fabric from fraying when you open the slit.
To start the opening, carefully insert a seam ripper at one end of the stitched buttonhole. Place a pin or needle as a buffer to protect the stitches.
Work slowly, gently ripping along the opening toward the middle with light pressure. This way, you avoid tearing the fabric.
If needed, use a pin or needle to enlarge the slit slightly. Make sure the button will fit through smoothly without stretching or snagging.
Finally, reinforce the cut edges with a second row of stitches or a zigzag stitch. This is especially important if the fabric tends to fray easily after opening.
Taking these steps guarantees a clean, durable buttonhole every time.
Frequently Asked Questions
How to Make a Simple Buttonhole?
You mark the buttonhole’s length, sew a zigzag stitch around it, then carefully cut open the center.
Reinforce edges if needed, and test with the button to guarantee it fits snugly before finishing your project. Easy, right? Just take your time and it’ll look great!
How Do You Stitch a Buttonhole Stitch Step-By-Step?
You start by bringing the needle up at the edge, looping the thread behind it. Then stitch closely around the buttonhole, curving corners smoothly.
It’s important to keep your stitches neat and even. That way, your buttonhole will look tidy and hold up well over time.
Finally, secure with small stitches or a knot, and trim the thread. You’re all set!
How to Sew a Buttonhole Manually?
You start by marking the buttonhole length, then sew reinforced stitches around it.
Next, hand stitch closely spaced vertical stitches along the edges.
Finally, carefully cut the center and secure the ends with bar tacks.
It’s a bit tricky at first, but with practice, you’ll get the hang of it!
What Is a French Buttonhole?
Think of a French buttonhole as the tailored suit of buttonholes—it’s a hand-stitched, reinforced slit with neat, overcast edges and rounded ends.
This gives your garment a polished, durable finish that screams craftsmanship and elegance.
Conclusion
Now that you’ve mastered sewing a buttonhole in just three easy steps, you’re ready to add a polished touch to any garment. Isn’t it satisfying to see your fabric transform with a neat, sturdy buttonhole?
With your fabric prepped, stitching done, and buttonhole opened perfectly, you’ve gained a valuable skill that makes your sewing projects look professional. Keep practicing, and soon, sewing buttonholes will be your favorite finishing detail!
Remember, mastering how to sew a buttonhole not only enhances the look of your clothes but also boosts your confidence in sewing. So keep at it, and enjoy the satisfying results every time you finish a project with a perfectly sewn buttonhole.