How Do You Thread a Singer Sewing Machine in 7 Easy Steps
To thread your Singer sewing machine, first turn it off and prep your workspace. This helps keep everything safe and organized before you start. Place your thread spool on the pin and secure it so it doesn’t slip while you sew.
Next, wind the bobbin and insert it properly. This step is crucial because the bobbin thread works together with the upper thread to create stitches.
Guide the upper thread through the machine’s threading path carefully, making sure it catches all the guides.
Then, thread the needle from front to back. This ensures your thread flows smoothly while sewing.
Pull up the bobbin thread through the needle plate so both threads are ready to work together.
Finally, test your stitching on a scrap fabric and adjust the tension if needed. Keep practicing each step to master threading your Singer sewing machine perfectly every time!
Key Takeaways
- Turn off the machine, raise the presser foot, and make sure the needle is all the way up before you start threading.
- Place the spool on the pin so the thread unwinds smoothly. Don’t forget to secure it with a spool cap.
- Next, follow the threading path through the guides, tension discs, and the take-up lever. Then, thread the needle eye.
- Wind and insert the bobbin properly. After that, bring up the bobbin thread by turning the handwheel.
- Finally, test stitch on some scrap fabric. Adjust the tension if needed, and check that both threads sit correctly behind the presser foot.
Turn Off the Sewing Machine and Prepare the Workspace
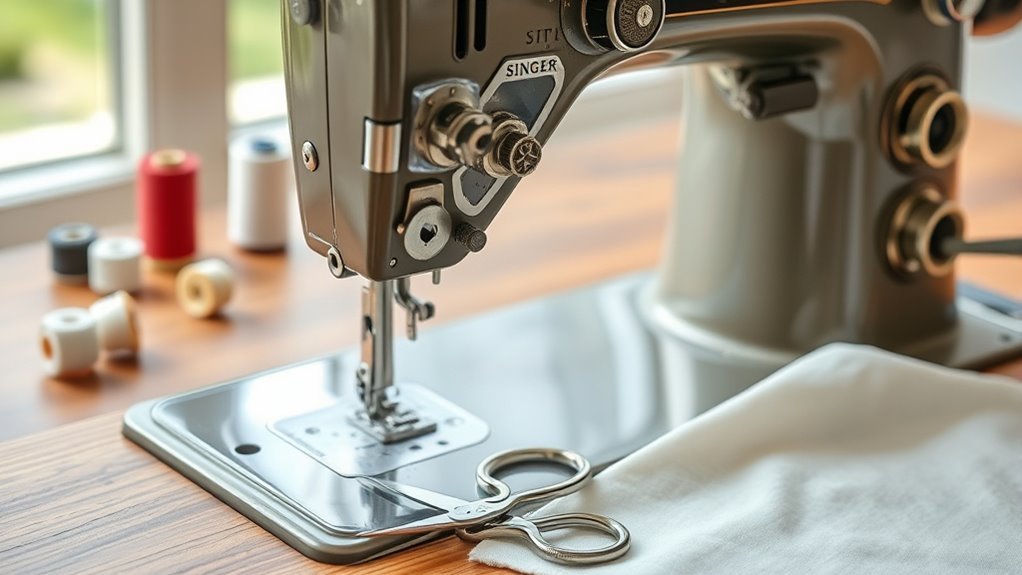
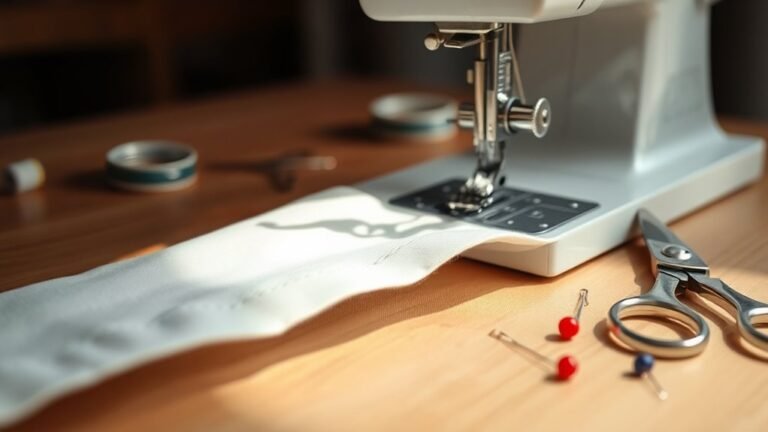
Before you begin threading your Singer sewing machine, make sure to turn it off and unplug it to prevent any accidental injury or electrical hazards. Always verify the machine’s power is off before starting—this is an essential safety precaution.
Next, raise the presser foot and lift the needle to their highest positions; this opens the threading path and makes it easier to thread. Clear your workspace of any fabric, pins, or accessories to maintain workspace clearance and avoid tangles or obstructions.
Keeping this area tidy helps you work efficiently and safely. Taking these steps not only protects you from harm but also prevents damage to your machine, making your threading process smooth and hassle-free.
Place the Thread Spool and Secure It Properly
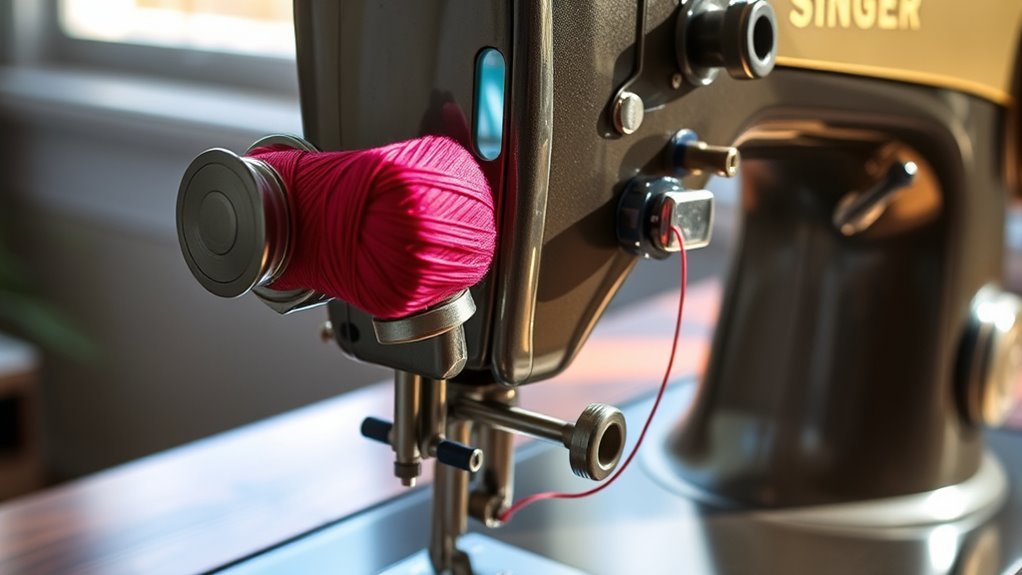
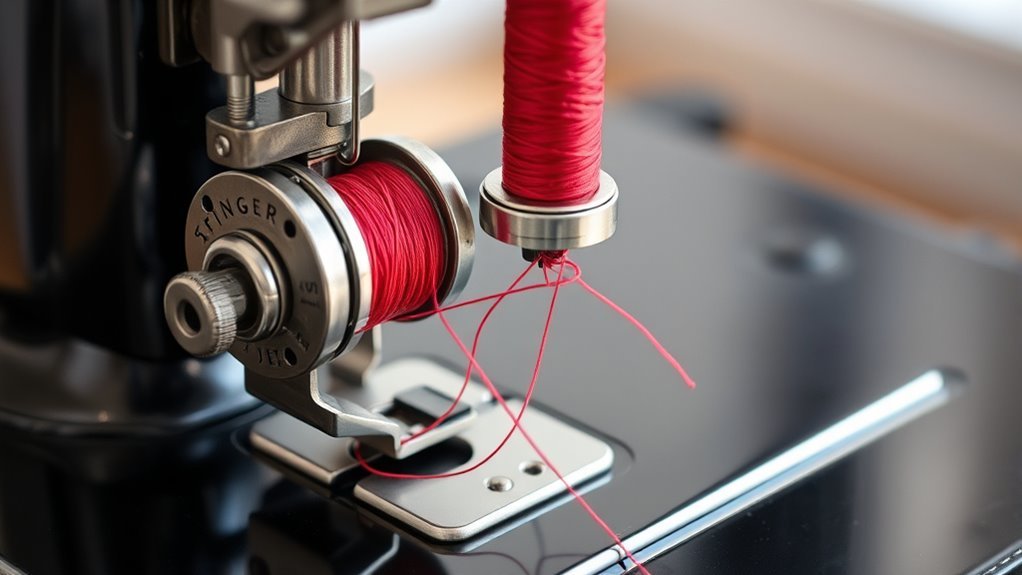
Start by choosing a spool that fits your project and place it on the spool pin so it spins smoothly.
Make sure the thread unwinds in the right direction, usually towards the front. Then, secure the spool with a properly sized spool cap to keep it stable while you sew.
Choosing the Right Spool
When selecting a spool of thread for your Singer sewing machine, choose one that matches your fabric and project to guarantee smooth operation. The right spool guarantees your machine runs without snags or breaks.
Place the thread spool carefully, making sure it’s compatible and fits well. It really makes a difference in how smoothly your sewing goes.
- Choose a spool compatible with your fabric type and sewing project.
- Secure the spool on the horizontal spool pin so it rotates freely.
- Use a spool cap that fits snugly to prevent slipping or unraveling.
- Position the spool for smooth thread unwinding without twisting or tangling.
Taking these simple steps helps avoid frustration and keeps your machine happy!
Positioning on Spool Pin
How you position the thread spool on your Singer sewing machine’s spool pin directly affects your sewing experience. Start by placing the full thread spool onto the spool pin so the thread unwinds smoothly from the back, preventing tangles.
If you’re using a horizontal spool, center it carefully to ensure even thread unwinding and consistent tension. For a vertical spool pin, position the spool so the thread feeds straight into the threading path without twisting or catching.
Secure the spool with an appropriately sized spool cap to keep it from slipping or wobbling during sewing. Adjust the spool cap to fit your spool’s diameter, allowing smooth rotation without putting too much pressure on the spool.
Proper positioning guarantees smooth, uninterrupted sewing every time. So take a moment to set it up right—it really makes a difference!
Using a Spool Cap
After positioning your thread spool securely on the spool pin, the next step is to use a spool cap to keep it steady. The spool cap guarantees secure placement, preventing slipping while allowing smooth thread unwinding.
Here’s how to use it effectively: choose a spool cap that fits your spool’s diameter snugly to avoid wobbling. Then, slide the spool cap firmly onto the spool pin, pressing it against the spool for stability.
Make sure the cap is tight enough to hold the spool in place but loose enough to let it spin freely. Also, check that the thread unwinds smoothly without catching or twisting around the spool cap or spool pin.
Using a spool cap correctly keeps your thread consistent and your sewing machine running smoothly. It’s a simple step, but it makes a big difference!
Wind and Insert the Bobbin Correctly
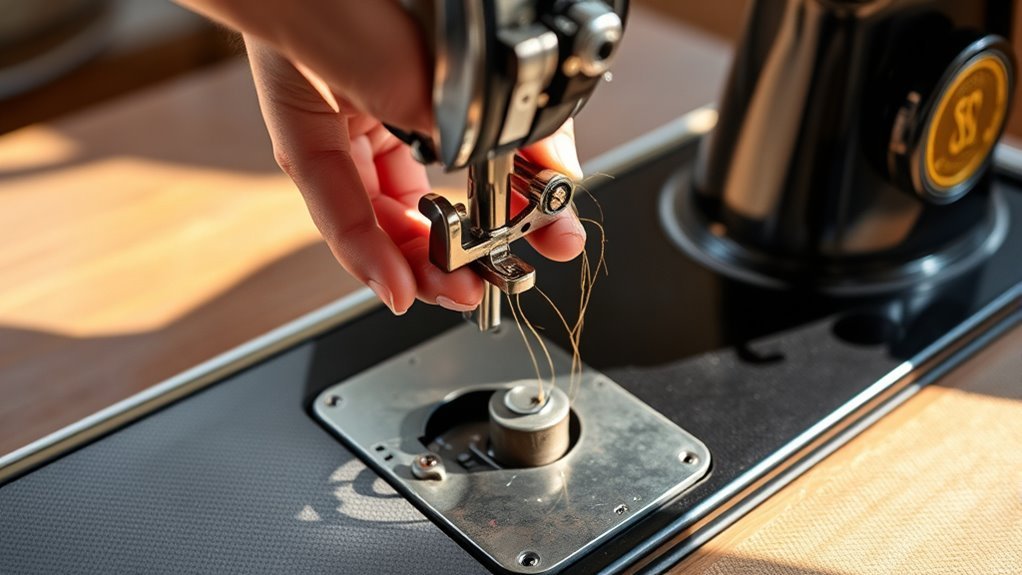
Before you start sewing, you’ll need to wind the bobbin correctly. Place an empty bobbin on the spool pin, guide the thread through the winding tension disc, and press the bobbin winder to begin.
Stop when the bobbin is nearly full.
Next, insert the bobbin into the bobbin case with the thread coming off in the right direction—usually counterclockwise. Pull about 6 inches of thread through the slot, then close the bobbin case securely.
Place the bobbin case into the machine’s compartment, making sure it clicks into place. Also, check that the thread tail extends toward the needle.
| Step | Action | Tip |
|---|---|---|
| 1 | Wind the bobbin | Check winding direction in manual |
| 2 | Remove bobbin | Stop when nearly full |
| 3 | Insert bobbin into bobbin case | Thread should come off counterclockwise |
| 4 | Pull thread through slot | About 6 inches |
| 5 | Place bobbin case in machine | Ensure it clicks into place |
Guide the Thread Through the Upper Thread Path
Once your bobbin is securely in place, you’ll focus on threading the upper part of your Singer sewing machine. Start by following the threading diagram to trace the correct path for the upper thread.
Next, guide the thread carefully through each essential component to ensure smooth sewing.
- Tuck the upper thread into the top thread guide, making sure it rests firmly behind the guide’s groove.
- Pass the thread down through the threading canal, positioning it beneath the tension discs to maintain proper tension.
Wrap the thread around the take-up lever from right to left, creating a secure thread loop.
Finally, lead the thread into the bottom thread guide near the needle, preparing it for the next threading step.
Following these steps keeps your upper thread aligned and tensioned perfectly.
Thread the Needle From Front to Back
Now it’s time to thread the needle from front to back, which is key for smooth sewing. You’ll want to guide the thread carefully through the needle eye, making sure it passes in the right direction.
This technique helps prevent thread slipping and guarantees your stitches stay consistent. It might take a little practice, but once you get it, sewing becomes a lot easier!
Needle Threading Technique
Although threading a needle might seem tricky at first, you can make it easier by holding about six inches of thread and guiding it through the front eye of the needle from front to back.
Before you thread the needle, make sure the needle is at its highest position to prevent snagging. Use the thread guide to direct the top thread smoothly.
If your machine has an automatic needle threader, use it to save time and effort.
Remember these tips for a successful needle threading technique:
- Hold the thread steadily about six inches long.
- Insert the thread from the front of the needle eye, pulling it toward the back.
- Confirm the thread passes cleanly through the needle for smooth stitching.
- Use a properly aligned needle designed for front-to-back threading.
Thread Direction Importance
Why should you thread your needle from front to back? When threading a Singer sewing machine, this thread direction is essential for proper tension and smooth stitching.
The needle’s eye is designed at the front, so passing the thread from front to back aligns it perfectly through the thread guides and tension discs. This alignment ensures consistent tension, preventing skipped stitches and thread slippage.
If you thread the needle in the wrong direction, the thread may knot, break, or cause jams during sewing. Maintaining front-to-back threading helps the needle penetrate fabric properly and forms smooth, even stitches.
Following this simple step guarantees your Singer sewing machine runs efficiently and your projects come out flawless every time.
Draw Up the Bobbin Thread Through the Needle Plate
When you turn the handwheel toward you, the needle lowers and catches the bobbin thread with its eye. To draw up the bobbin thread through the needle plate, gently pull the upper thread. This action will bring the bobbin thread up through the needle plate opening.
Turning the handwheel draws the bobbin thread up through the needle plate by gently pulling the upper thread.
If the bobbin thread doesn’t appear, re-thread the upper thread and try again. Once the bobbin thread emerges, make sure to pull both the upper thread and bobbin thread about 6 inches.
Next, position the threads behind the presser foot. Be careful not to pull too hard to prevent thread breakage. Also, confirm smooth threading to ensure proper stitch formation.
Following these steps helps you sew smoothly and get your Singer sewing machine threaded correctly.
Test the Threading and Adjust Tension if Needed
After threading your Singer sewing machine, turn the handwheel slowly toward you to check if the needle catches the bobbin thread properly. This indicates correct tension.
Next, sew on scrap fabric to evaluate stitch quality. Look for even thread tension without puckering or loose stitches.
If stitches look uneven or looped, adjust the tension dial slightly clockwise to tighten or counterclockwise to loosen the upper thread tension. Proper threading ensures balanced upper and bobbin threads for clean stitches.
If problems persist, re-thread the machine fully.
| Issue | Adjustment |
|---|---|
| Loose stitches | Turn tension dial clockwise |
| Puckered fabric | Turn tension dial counterclockwise |
| Persistent problems | Re-thread machine properly |
Frequently Asked Questions
How to Thread a Singer Sewing Machine Step by Step?
You’ll raise the presser foot and needle, place the spool on the pin, then guide the thread through the top guide, tension discs, take-up lever, and down to the needle.
Thread front to back, pull both threads back. It’s pretty straightforward once you get the hang of it!
How Do You Thread a Simple Singer Sewing Machine?
You start by placing the spool on the pin, then guide the thread through the tension discs and take-up lever.
Thread the needle front to back, pull the bobbin thread up, and you’re ready to sew.
It’s pretty straightforward once you get the hang of it! Just take your time threading each part carefully.
Can You Explain How to Thread a Sewing Machine for Beginners?
You’ll start by raising the needle and presser foot, then place your thread on the spool pin.
Follow the guides through tension discs, thread the needle front to back, and pull both threads back to sew smoothly.
It might seem tricky at first, but once you get the hang of it, threading your machine becomes second nature! Just take it step by step.
What Is the Simplest Sewing Machine to Thread?
You’d find the simplest sewing machine to thread is a modern beginner model, like the Brother CS6000i. It’s got color-coded guides, almost like a futuristic map, making threading easier than sending a telegram in 1920!
Seriously, it breaks down the whole threading process into simple steps. So, even if you’re new to sewing, you won’t feel lost or frustrated.
Conclusion
Now that you’ve threaded your Singer sewing machine in just seven easy steps, you’re ready to bring your creative projects to life. Doesn’t the smooth glide of the thread through the needle feel like setting your ideas free?
Remember, practice makes perfect—so don’t hesitate to adjust the tension and test your stitching until it’s just right. With a little patience, you’ll be sewing like a pro in no time!
Threading your Singer sewing machine correctly is key to smooth, even stitches every time. Once you get the hang of it, your sewing projects will flow effortlessly. Keep practicing, and soon you’ll be confidently creating everything from simple repairs to beautiful handmade garments. Happy sewing!