How Do You Sew a Pillow in 7 Easy Steps
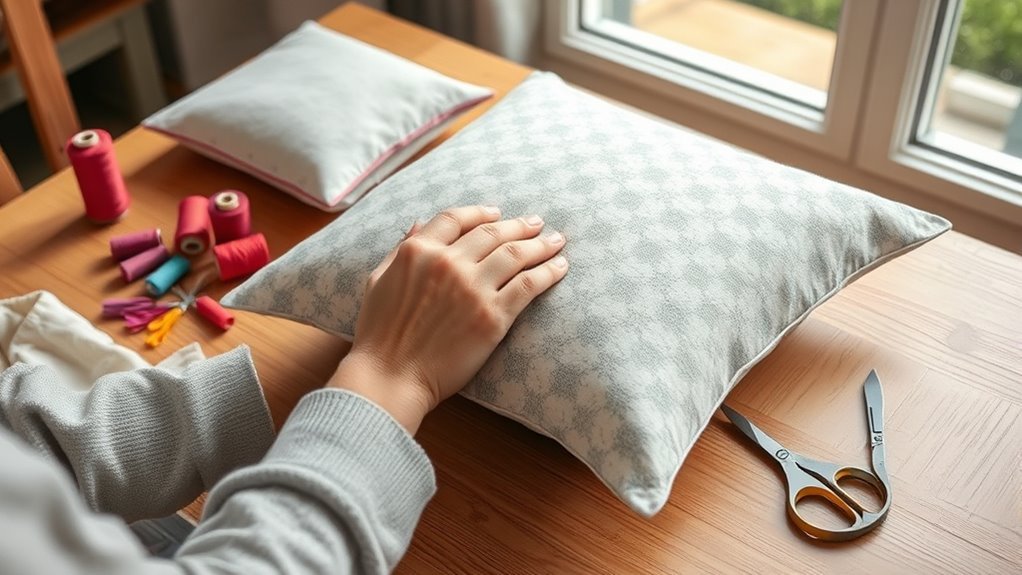
To sew a pillow in 7 easy steps, first gather all your materials like fabric, thread, and sewing tools.
Measuring your pillow size accurately is key, so cut two fabric pieces with seam allowances to match.
Next, fold and sew the edges to prevent fraying.
Pin the pieces right sides together, then sew around, leaving a small opening.
Clip the corners carefully to create sharp edges, then turn your pillow right side out.
Insert your pillow form gently inside.
Finally, close the opening with a neat seam to finish your project.
Keep going to discover helpful tips that will make your pillow look professionally finished and extra cozy!
Key Takeaways
– Gather fabric, thread, sewing tools, and optional zippers or trims before starting your pillow project.
It’s good to have everything ready so you don’t have to stop midway.
– Measure pillow size and cut two matching fabric pieces, adding seam allowances for sewing.
Make sure your measurements are accurate to get the perfect fit.
– Fold and hem fabric edges by folding raw edges twice, pinning, pressing, and sewing to secure.
This keeps the edges neat and prevents fraying.
– Pin fabric pieces right sides together, sew around edges leaving an opening, and clip corners for turning.
Leaving an opening makes it easier to turn the pillow right side out later.
– Turn pillow cover right side out, insert pillow form, then sew the opening closed with a neat seam.
And just like that, your pillow is ready to use!
Gather Your Supplies
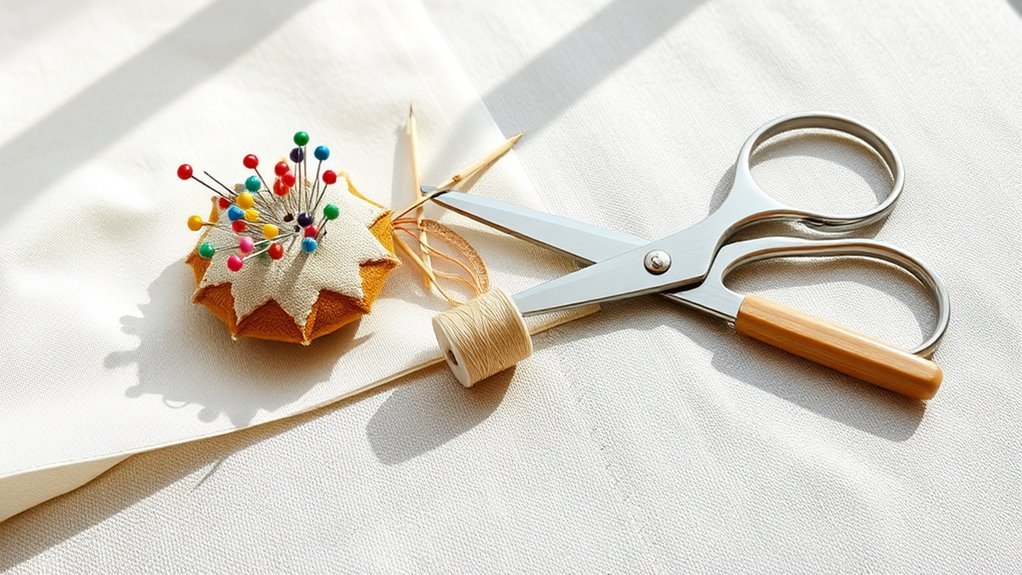
To get started on sewing your pillow, gather all the necessary supplies. You’ll need fabric in your chosen design, making sure it’s easy to sew and not too stretchy or slippery.
Have your sewing machine ready, but you can also sew by hand if needed. Collect coordinating thread that matches your fabric to keep your stitches neat.
Use pins or fabric clips to secure edges while you work, which helps maintain accuracy. Prepare scissors or a rotary cutter for precise cuts.
Don’t forget a measuring tool to check your fabric pieces against your pillow form’s measurements, allowing for seam allowances.
Optional extras like zippers or decorative trims can add a personalized touch, but focus first on these basics to ensure smooth sewing.
Measure and Cut the Fabric
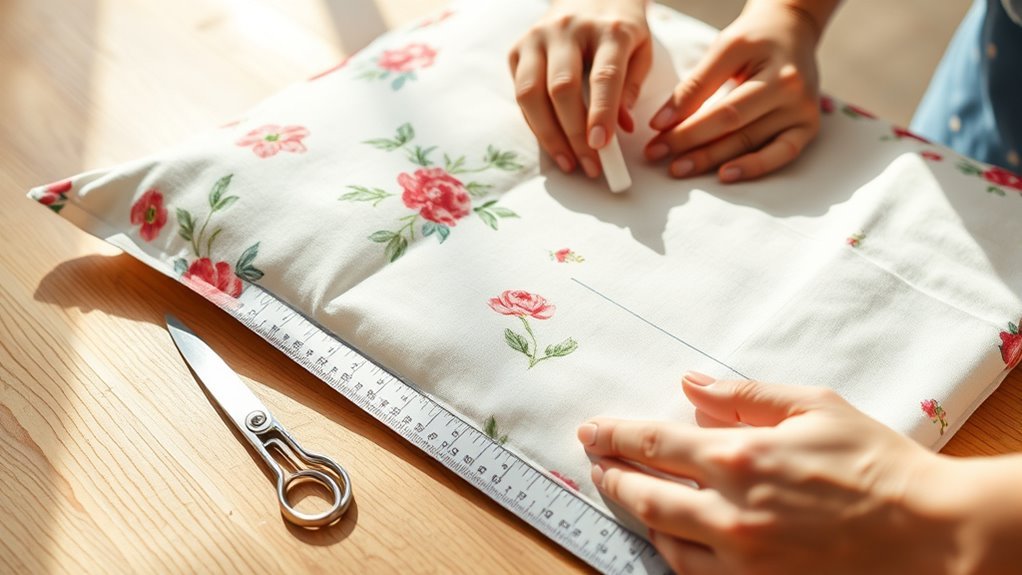
Before cutting your fabric, make sure you measure your pillow dimensions accurately, including the height and width, plus seam allowances. Add 1 to 2 inches to each measurement to account for seams and finishing details.
Measure pillow dimensions carefully, adding 1 to 2 inches for seams and finishing before cutting fabric.
Once you have these adjusted numbers, you’ll cut two fabric pieces, making sure they’re symmetrical and straight. Use sharp scissors or a rotary cutter for clean, precise cuts that’ll make sewing easier later.
Double-check your measurements before you cut to avoid mistakes and ensure the fabric fits your pillow form perfectly. Taking the time to measure and cut carefully sets the foundation for a well-constructed pillow, so don’t rush this step.
Accurate fabric pieces make sewing seams smooth and the final pillow look great. It’s really worth being patient here!
Prepare the Fabric Edges
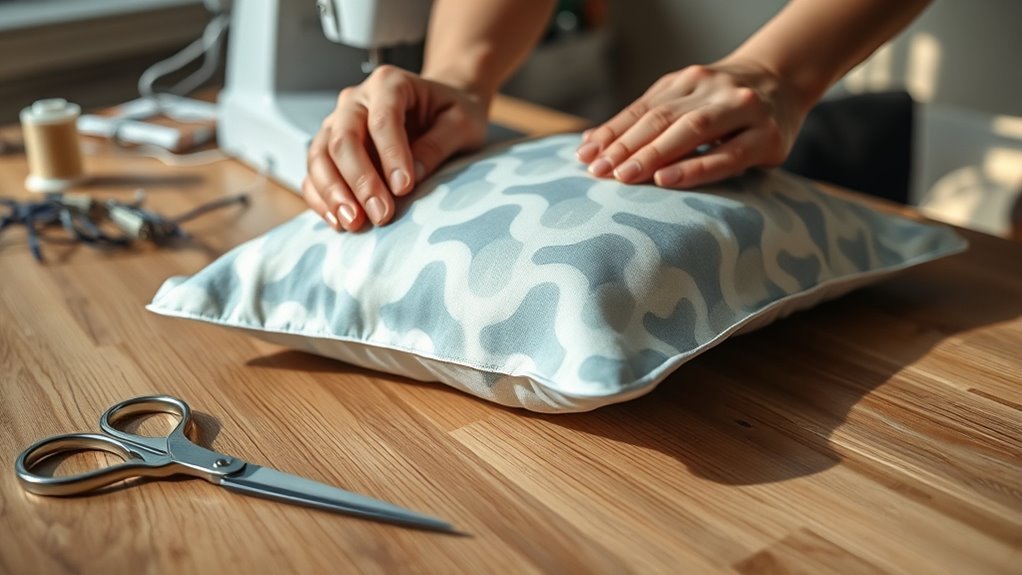
When you fold the raw edges of your fabric inward twice, you create a clean hem that prevents fraying and gives your pillow a polished look. To prepare your fabric edges, follow these steps:
- Fold the raw edges inward by ⅝ inch twice to form a neat hem.
- Use pins or clips to secure the fold in place before sewing.
- Press the hem with an iron to set the fold and keep edges crisp.
- Sew close to the inner fold, about ½ inch from the raw edge, to reinforce the hem.
If you want a larger hem for decorative purposes, just adjust the fold width to about an inch. You can also use a straight or decorative stitch to strengthen the hem, especially on delicate fabrics.
Pin and Sew the Fabric Pieces
Although sewing the fabric pieces together may seem straightforward, pinning them correctly is essential to guarantee your pillow turns out neat and even. Start by placing the fabric pieces with right sides facing inward, aligning the edges carefully.
Pin the edges together, beginning at one corner, and use double pins there to keep the fabric from shifting as you sew. Sew along the pinned edges about ½ inch from the raw edge, leaving a small gap unsewn for turning the pillow right side out later.
Don’t forget to backstitch at the corners to reinforce the seams and prevent unraveling. Taking these steps ensures your pillow will have clean, secure edges and a professional finish.
Clip Corners and Turn Right Side Out
To achieve sharp, clean corners on your pillow, carefully clip the fabric diagonally at each corner without cutting through the seam stitches. This reduces bulk and helps your pillow look professionally finished.
Next, turn your pillow cover right side out through the opening. Use a tool like a chopstick or point turner to gently push out the corners so they’re fully shaped and neat.
Turn your pillow cover right side out and use a chopstick to gently push out crisp, neat corners.
Remember to clip corners close to the seam allowance for a cleaner edge, but avoid cutting the seam stitches to keep the pillow intact.
Turn it right side out slowly to prevent stress on the seams. And if you want, press the corners to keep them crisp and pointed.
Following these steps will make sure your pillow has sharp corners and a polished look. Easy, right?
Insert the Pillow Form
Folding the pillow cover opening inward conceals the raw edges and creates a neat finish before you insert the pillow form. Next, gently slide the pillow form through the opening, making sure it fits snugly without bunching.
Use your hands to evenly distribute the pillow form for a smooth, even look. Confirm the pillow form is fully inserted and positioned correctly before proceeding.
| Step | Action | Tip |
|---|---|---|
| Fold Opening | Fold inward to hide edges | Creates a neat finish |
| Slide Pillow Form | Insert through opening | Avoid bunching for smoothness |
| Adjust Inside | Distribute evenly by hand | Ensures a uniform appearance |
Close the Opening and Finish
Now that the pillow form is inside, it’s time to stitch the final seam to close the opening. Make sure you fold the edges neatly and secure them before sewing to keep everything tidy.
Finishing the edges properly will give your pillow a polished, professional look. It’s the little details like this that really make your project stand out!
Stitching the Final Seam
Although the pillow is nearly complete, you still need to close the final seam carefully. This step guarantees your pillow looks polished and holds together well.
Start by folding the raw edges of the seam allowance inward and pinning or clipping them securely. When sewing, keep a consistent seam allowance—usually ½ inch—to maintain a neat finish.
Remember to sew slowly and steadily for accuracy. And don’t forget to pivot at the corners with the needle down for sharp turns.
Use a backstitch at both ends to lock the stitches. You might also consider a double or triple stitch to reinforce the seam.
Following these tips will help you create a strong, clean seam that lasts and gives your pillow a professional look. You’ll be proud of your handiwork!
Securing and Finishing Edges
Once you finish stitching the final seam, you’ll need to close the opening where you inserted the pillow form. Start by pinning or clipping the fabric layers together, aligning the raw edges carefully to keep the pillow fully inside.
For a durable finish, sew the closing seam as close to the edge as possible, maintaining a consistent seam allowance. Use a double stitch or reinforced topstitch along this opening to strengthen it.
If you prefer, hand-stitch the gap using a slip or ladder stitch for an invisible closure. After sewing, press the edges flat and trim any excess threads.
These steps ensure your finishing edges are neat and secure, giving your pillow a polished, professional look while reinforcing the seam during sewing.
Frequently Asked Questions
How Do I Hand Sew a Pillow Cover?
You cut two fabric pieces larger than your pillow, pin them right sides together, then sew around leaving a small opening.
Turn it inside out, stuff the pillow, and hand-stitch the opening closed neatly.
It’s pretty simple once you get the hang of it! Just take your time with the stitching to make sure it looks nice and tidy.
What Is the 2 2 1 Rule for Pillows?
Wondering what the 2-2-1 rule for pillows is? It means you cut fabric 2 inches bigger on each side than your pillow size to allow seams and hems.
This way, you ensure a perfect, well-fitted pillow cover every time. It’s a simple trick, but it makes all the difference!
Are Pillows Hard to Sew?
Pillows aren’t hard to sew if you stick to simple designs and use a sewing machine. You’ll find it easier with clear instructions.
But, intricate details can challenge you and require patience and skill. So, take it step by step and don’t rush.
How Do You Chop a Pillow?
You might think chopping a pillow is easy, but it’s tricky. To do it, carefully measure, cut the fabric and filling, then sew it back neatly.
Conclusion
Just like sewing a pillow, life’s little projects need patience and care. Remember when I first tried making a pillow and accidentally sewed it inside out? It taught me that mistakes are just part of the process.
Each stitch, like each step you took here, brings you closer to a cozy, finished product. So, keep going—your perfect pillow, and your confidence, are just a few stitches away!
Sewing a pillow in 7 easy steps might seem daunting at first, but with patience, anyone can do it. From cutting the fabric to the final stitch, every part of the process helps you build your skills and create something beautiful. So embrace those small errors—they’re just part of learning how to sew a pillow perfectly. Keep practicing, and soon you’ll have a cozy, handmade pillow that you can be proud of!