
How to Adjust Sewing Machine Tension in 7 Easy Steps
Start by verifying your sewing machine is properly threaded with the presser foot raised to seat the thread correctly. Make sure the spool is placed so the thread unwinds counterclockwise and secure it with a cap.
Also, check that your bobbin is evenly wound and inserted correctly. Setting the tension dial to its default, usually around 4, is a good starting point.
Sew some test stitches on scrap fabric to see how your machine is doing. Then, adjust the top thread tension gradually, little by little, until your stitches look balanced.
If needed, you can fine-tune the bobbin tension to achieve smooth, even stitches. Keep practicing this process to master precise tension control and improve your sewing results every time!
Key Takeaways
- Ensure the machine is properly threaded and the bobbin is correctly inserted with even winding before adjusting tension.
- Set the tension dial to the factory default (usually around 4) as a baseline for adjustments.
This helps you start from a known point.
- Sew test stitches on fabric similar to your project and observe stitch balance on both fabric sides.
- Adjust the top thread tension dial in small increments, then fine-tune bobbin tension using the tension screw if needed.
Take it slow and make small changes. That way, you avoid over-adjusting.
– Make incremental adjustments, testing after each change, until stitches are balanced without puckering or loose loops.
Keep testing until your stitches look just right—neither too tight nor too loose.
Verify Proper Threading of Your Machine
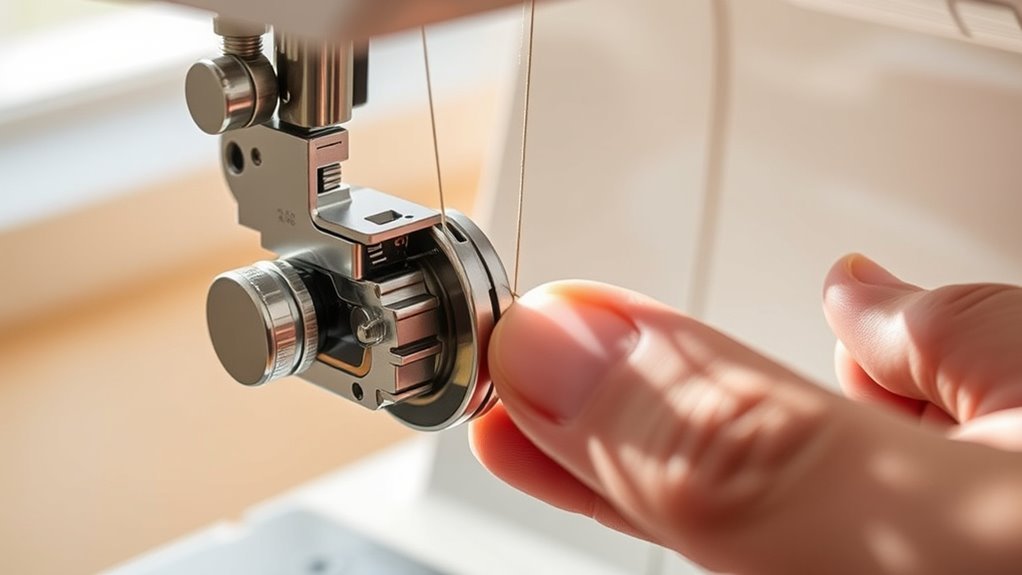
Before adjusting your sewing machine’s tension, make sure you’ve properly threaded the machine. Start by raising the presser foot to open the tension discs, allowing the thread to seat correctly.
Follow your machine’s threading diagram closely, ensuring the thread passes smoothly through all thread guides, tension discs, and the tension regulator without twists or slack. Check that the bobbin is wound evenly and placed correctly, with the thread unwinding in the right direction.
Don’t forget lint removal—clean any lint, dust, or thread ends from the tension discs and guides to avoid uneven tension. Proper threading guarantees your machine grips the thread correctly, preventing stitch issues and making tension adjustments more effective and precise from the start.
Check Spool Placement and Thread Direction
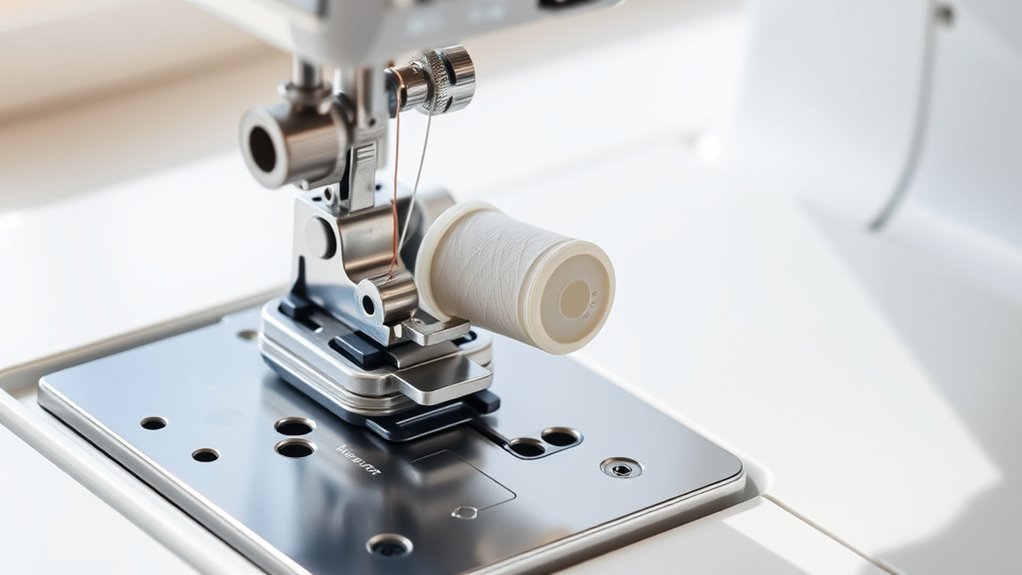
How you place your spool and the direction the thread unwinds can considerably affect your machine’s tension. Start by placing the spool on the spool pin so the thread unwinds smoothly, usually counterclockwise.
Make sure the spool sits securely without tilting, ideally within a thread cap to ensure consistent thread flow. Incorrect spool placement or thread direction can cause uneven tension and disrupt smooth threading.
| Aspect | Tip |
|---|---|
| Spool Placement | Secure on spool pin, no tilt or looseness |
| Thread Direction | Thread unwinds counterclockwise |
| Thread Cap | Use to maintain smooth thread unwinding |
Following these steps helps maintain correct tension and prevents thread jams, so your sewing runs effortlessly. Give it a try and see how much smoother your stitching gets!
Inspect Bobbin Insertion and Winding
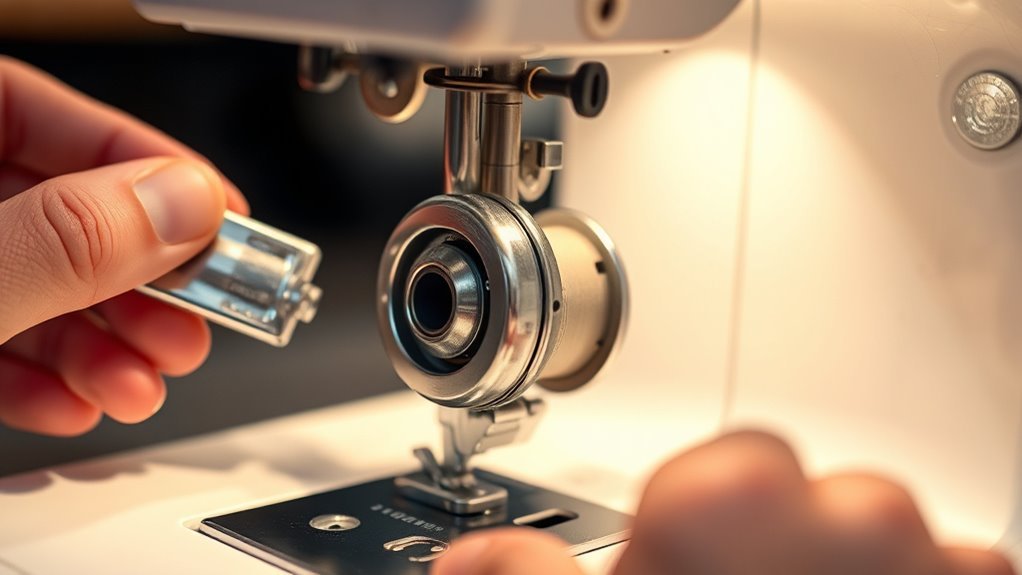
While proper thread tension starts with correct spool placement, inspecting your bobbin insertion and winding is equally vital to guarantee smooth stitching.
Begin by ensuring the bobbin is inserted into the bobbin case with the thread unwinding in the correct direction, following your machine’s guidelines for proper placement. Check for uneven winding on the bobbin; uneven winding can cause tension issues, leading to poor stitch quality.
Ensure the bobbin unwinds correctly and is evenly wound to maintain proper thread tension and stitch quality.
Make sure the bobbin winding is done at the right speed and tension, avoiding overly tight or loose winding. Confirm the bobbin seats firmly in the case without wobbling or misalignment.
Proper bobbin insertion and bobbin winding are essential steps to prevent thread tension inconsistencies and ensure your sewing projects run smoothly without thread jams or skipped stitches.
Set Initial Tension Dial to Default Setting
Before you start adjusting, set your tension dial to the default position, usually around 4. This gives you a reliable starting point to evaluate your stitch quality.
Always check your machine’s manual to confirm the exact default setting for your model. It’s a quick step that can save you a lot of guesswork later on.
Default Dial Position
Since most sewing machines come preset with a tension dial around 4, you should start there to establish a baseline for your stitches. This default tension, often the factory setting, provides balanced stitches suitable for general sewing.
Before making any adjustments, consult your sewing machine manual to confirm the recommended initial tension dial position. Set the tension dial to this default and sew a few test stitches.
Evaluating these stitches gives you a tension baseline to guide further tweaks. Make initial adjustments gradually, tweaking the tension dial in small increments while testing each change.
This method ensures you achieve ideal stitch quality without overcompensating. It makes your sewing process smoother and more precise from the outset.
Importance of Starting Point
Because the default tension dial setting is calibrated for typical threads and fabrics, you’ll get a reliable starting point that helps you avoid common stitch problems like puckering or looping.
Setting your machine’s tension dial to the factory setting, usually around 4, ensures balanced stitches right from the initial calibration. This default tension acts as your baseline, making thread tension adjustments more precise and less guesswork.
Before you sew your project, always test fabric to confirm proper stitch quality. Keep these tips in mind:
- Use the default tension as your starting point
- Make small, controlled adjustments from this baseline
- Avoid drastic changes that cause stitch issues
- Always test on scrap fabric before final sewing
Starting here simplifies tension tweaking and guarantees consistent results.
Sew Test Stitches and Observe Stitch Quality
When you sew test stitches on scrap fabric similar to your project, you can clearly evaluate the stitch quality and spot any tension issues. Start by stitching on fabric layers that match your project’s thickness.
Use contrasting thread colors on the test fabric to better observe thread tension. Examine both sides for even stitches—look for loose loops or puckering that indicate tension imbalance.
Check if the top thread shows on the underside or if the bobbin thread appears on the top; this helps you assess the stitch appearance precisely. Each time you make a tension adjustment, sew another test seam to note changes.
This process guarantees your tension settings produce balanced, even stitches, preventing problems before you work on your actual project.
Adjust Top Thread Tension Gradually
After sewing test stitches and seeing how they turn out, you’ll get a better feel for how your tension settings impact the stitch balance. When you adjust the top thread tension, it’s best to turn the tension dial in small steps. This way, you avoid over-adjusting and messing up your stitch.
Try to make gradual changes and always test each adjustment with a test seam on some scrap fabric. This is especially important if you’re working with different layers of fabric.
Here are some tips to keep in mind:
- Write down your starting tension dial setting before you make any changes.
- Turn the dial in increments of 0.5 or 1 for better control.
- Use contrasting threads so you can clearly see how the top thread tension affects balanced stitches.
- After each tweak, sew a test seam to check the stitch quality.
Following this approach will help you get even, balanced stitches without harming your project or breaking the thread.
Fine-Tune Bobbin Case Tension if Needed
To fine-tune your bobbin case tension, first locate the small screw on its side.
Make small adjustments by turning the screw clockwise to tighten or counterclockwise to loosen.
Always test your changes on scrap fabric before sewing your project.
This way, you can make sure everything is just right without risking your actual work.
Locate Bobbin Tension Screw
Although the bobbin tension screw is small and unlabelled, you can usually find it on the side or inside the bobbin case. This small screw controls the spring pressure that affects the bobbin thread tension.
Before adjusting tension, locate this screw carefully to ensure precise control.
To find and prepare for adjusting the bobbin tension screw:
- Look closely at the bobbin case’s side or inside for a tiny, unmarked screw.
- Take a photo of the screw’s current position for easy restoration.
- Understand that turning clockwise tightens thread tension by increasing spring pressure.
- Plan to test on fabric after each adjustment to verify tension changes.
Knowing where the bobbin tension screw is lets you fine-tune your machine’s thread tension effectively.
Make Small Adjustments
Once you’ve located and noted the bobbin tension screw, you can make small adjustments to fine-tune the tension. Turn the screw clockwise in 90-degree increments to tighten bobbin tension or counterclockwise to loosen it.
Always take a photo or note the original position so you can revert if needed. After each small adjustment, sew test stitches on scrap fabric to check stitch balance and thread tension.
Tighten gradually to avoid damaging the bobbin case or causing puckered stitches. If stitches appear too tight, loosen the tension dial slightly and test again.
These careful tweaks on your sewing machine ensure your fabric feeds smoothly and your stitches stay balanced, giving you professional results every time.
Frequently Asked Questions
How Do I Correct the Tension on My Sewing Machine?
You correct your sewing machine tension by turning the tension dial slowly—clockwise to tighten, counterclockwise to loosen.
Test stitches on scrap fabric, adjust until stitches look balanced without loops or puckering. Then start sewing confidently.
How Do You Know if Your Tension Is Too High or Low?
Wondering if your tension’s too high or low?
If you see the top thread on the fabric’s underside, it’s too high.
Loops or puckering on top? That means the tension’s too low—time to adjust!
How to Tell if Tension Is Correct on a Sewing Machine?
You’ll know your tension is correct when stitches look balanced—no loops or puckering on either fabric side.
The top thread disappears into the fabric while the bobbin thread stays hidden underneath.
Test and adjust gradually. It’s all about finding that sweet spot so your stitching stays neat and secure.
What Number Should Bobbin Tension Be?
Imagine a gentle breeze pulling your thread just right—your bobbin tension should sit around 1.5 to 2.0. This balance lets your stitches flow smoothly, avoiding tight loops or loose, puckered fabric.
Adjust carefully! You want it just right so your sewing looks neat and professional. Don’t be afraid to tweak it a bit until you find that perfect feel.
Conclusion
Now that you’ve mastered these tension tweaks, your sewing machine will purr like a contented cat—and your stitches will look so perfect, people might think you’ve got a magic needle!
With just a few simple adjustments, you’ll banish puckering and loops forever, making every project a breeze.
So go ahead, adjust that tension like a pro and watch your sewing transform from a tangled mess into a flawless masterpiece.
By fine-tuning your sewing machine tension, you ensure smooth, even stitches every time. This not only improves the quality of your work but also saves you time and frustration. Whether you’re a beginner or an experienced sewer, understanding how to adjust sewing machine tension is key to achieving professional results. Remember, perfect tension means no more puckering, no loops, and beautifully balanced seams that will make your projects stand out. So keep practicing these easy steps and enjoy sewing with confidence and precision!