How to Applique With a Sewing Machine in 10 Easy Steps
To applique with a sewing machine, start by gathering your supplies and prepping your fabrics, ensuring they’re clean and pressed.
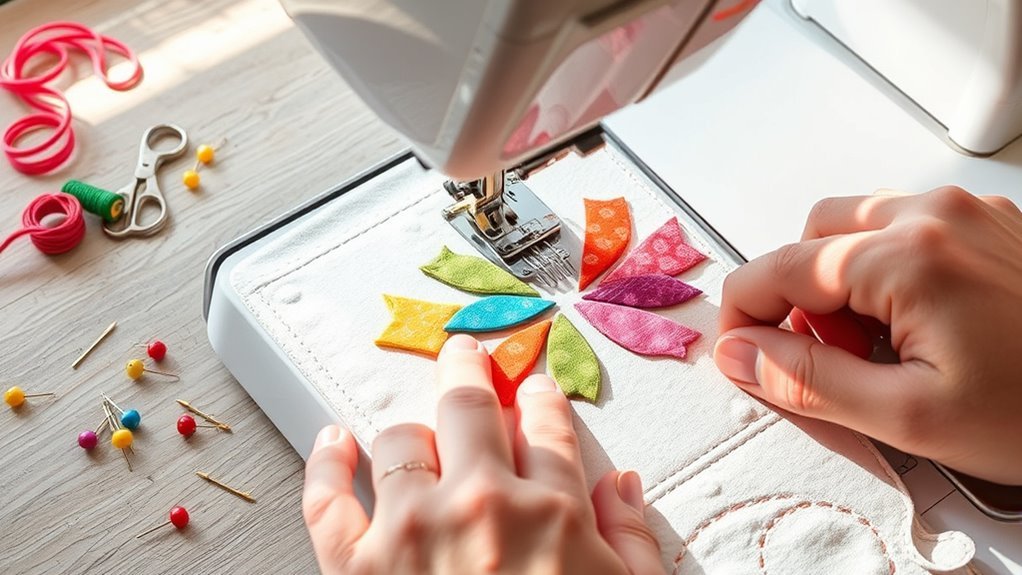
Tracing and cutting your shapes from fusible web and fabric comes next. Then, fuse these shapes onto your base fabric.
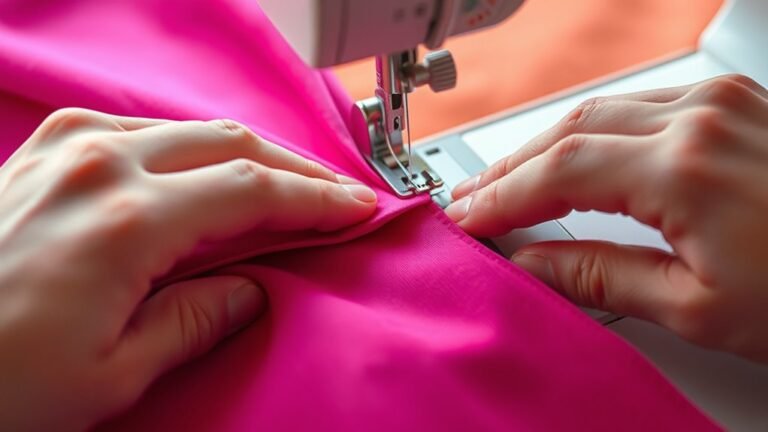
Choose a narrow zigzag or satin stitch and adjust your machine settings for tight, even stitches. Carefully stitch around the edges of your shapes.
After stitching, trim any excess fabric and press the finished applique.
Keep going to discover how to perfect each step for professional results. This simple applique technique will help you add beautiful designs to your projects with ease!
Key Takeaways
– Prepare fabrics, fusible web, templates, and sewing supplies before starting your applique project for efficient workflow.
This way, everything is ready to go, and you won’t have to stop halfway through to find something.
– Trace shapes onto fusible web, fuse to fabric, and cut precisely with sharp scissors for clean applique pieces.
Taking your time here really pays off because neat pieces make for a neater final product.
– Position applique on the base fabric using pins or temporary adhesive, ensuring proper alignment and flatness.
Getting the placement right now saves you from fixing mistakes later.
– Set sewing machine to narrow zigzag or satin stitch with appropriate tension and stitch length for secure edges.
These settings help keep your applique firmly attached and looking tidy.
– Stitch carefully around applique edges, trim excess fabric, press gently, and allow to cool for a professional finish.
Pressing at the end really makes a difference in how crisp and polished your applique looks.
Gather Your Applique Supplies
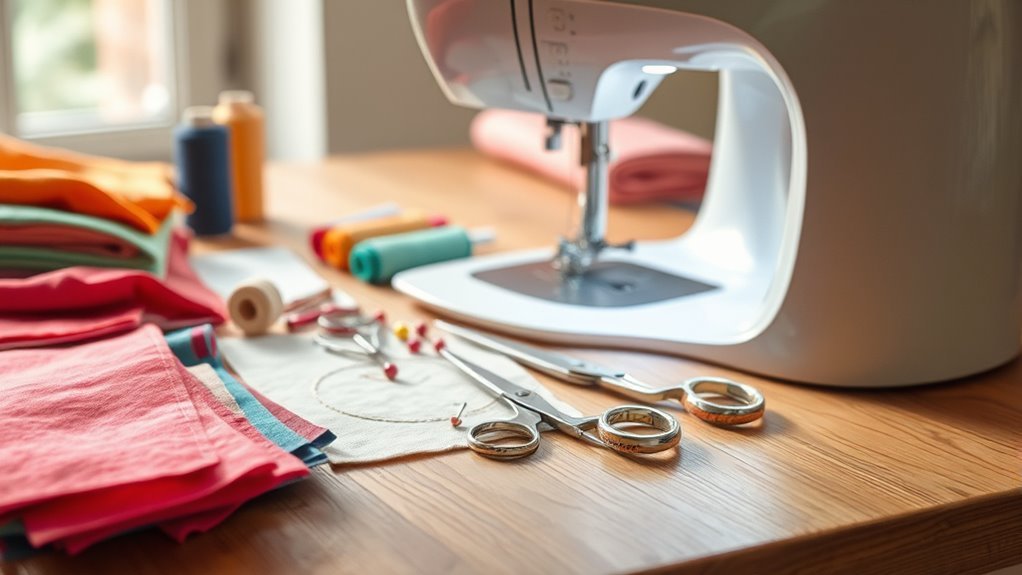
Before you begin your applique project, gather all the necessary supplies to guarantee a smooth process. Start with your fabric and applique templates or patterns, making sure your fabric is clean and pressed for easy cutting.
Gather all your applique supplies first to ensure a smooth and enjoyable crafting experience.
Next, collect fusible web like Wonder Under or Heat N Bond, which will help adhere your applique pieces to the base fabric. Have sharp scissors or rotary cutters ready to cut precise shapes without fraying edges.
Prepare coordinating threads—polyester or silk for decorative stitching and cotton for machine sewing. Don’t forget essential tools such as an iron and pressing surface, pencils or fabric markers for tracing, and applique pins or temporary adhesive to hold pieces in place.
With everything organized, you’ll set yourself up for success in your applique project. It really makes the whole process smoother and more enjoyable!
Choose and Prepare Your Fabrics
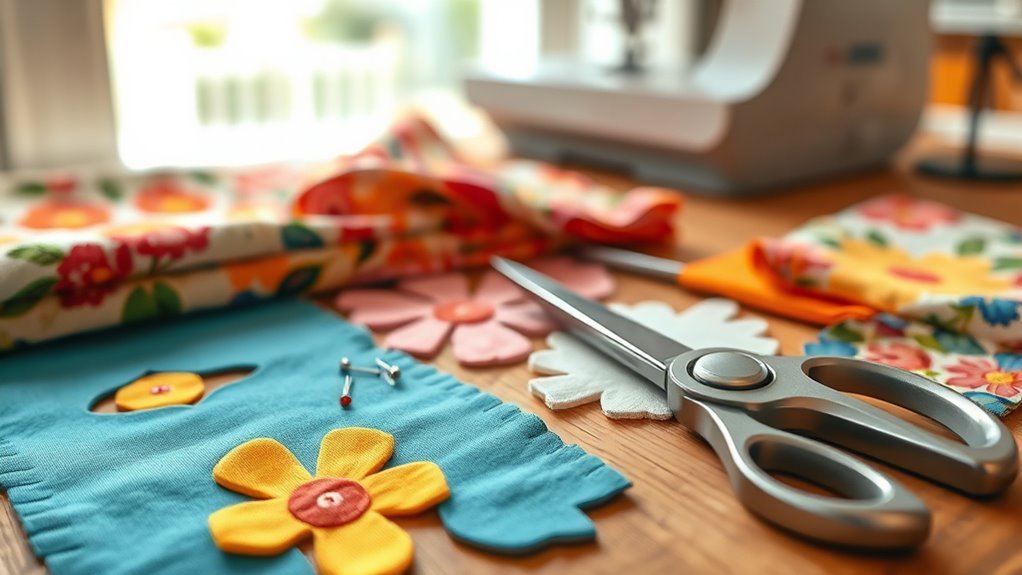
Choose fabrics that either complement or contrast with your base fabric, like cotton or felt, based on your project’s needs.
Make sure to pre-wash your fabrics to avoid any shrinkage after stitching.
Using fusible web will help you bond your applique pieces securely and make sewing easier.
Fabric Selection Tips
How do you guarantee your applique looks crisp and professional? Start by choosing the right fabric. Lightweight, stable fabrics like cotton or felt work best because they’re easy to handle and create smooth applique edges.
Always pre-wash your applique fabric to avoid shrinkage later, ensuring your project stays consistent. When selecting fabric, pick contrasting colors to make your shapes pop or matching tones for a subtle effect.
Make sure the applique fabric and background have similar thickness and texture to prevent puckering and keep stitching even. Also, cut your applique fabric slightly larger than your pattern to allow room for seam allowances and fusible web.
Following these fabric selection tips sets a strong foundation for beautiful, durable appliques. It really makes a difference in how your final piece looks and holds up over time.
Preparing Fabric Pieces
Once you’ve selected the right fabrics, get them clean and pressed to guarantee smooth cutting and stitching. Proper preparation guarantees your applique shapes turn out crisp and fit perfectly.
Use templates or patterns to trace your designs onto paper or fusible web for accuracy. Cut fabric pieces slightly larger than your traced shapes to allow for seam allowances or fusible web application.
If you’re using fusible web, fuse it to the fabric’s wrong side by following the manufacturer’s instructions, usually pressing for about 10 seconds. Finally, carefully cut out your shapes with small, sharp scissors to maintain clean, precise edges.
- Choose suitable fabrics like cotton, felt, or lightweight wool
- Trace shapes using templates or fusible web
- Cut fabric pieces slightly larger than traced shapes
- Fuse fusible web to fabric’s wrong side if needed
- Use sharp scissors for precise cutting
Trace and Cut Applique Shapes
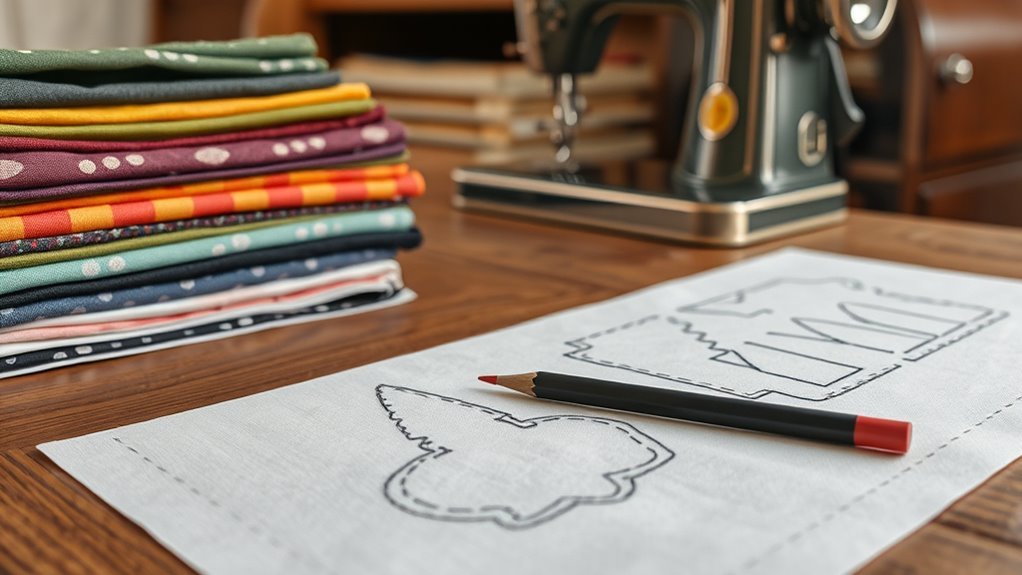
Start by selecting your applique templates and fabrics carefully to match your project. Trace your chosen shapes onto the paper side of fusible web using a pencil or fabric marker for accuracy.
Then, cut out the shapes with precision scissors, leaving a small seam allowance for easy handling. This makes it simpler to work with the pieces later on.
Selecting Templates and Fabrics
Before you cut any fabric, choose or print templates of your desired shapes and trace them onto paper-backed fusible web using a pencil or fabric marker. Selecting the right fabrics is key to making your applique stand out. Consider fabric weight and texture to guarantee your pieces lie flat and sew smoothly.
Use contrasting or complementary colors to enhance your design.
- Pick templates that match your project’s style
- Trace shapes accurately on the paper side of fusible web
- Leave about 1/8 inch seam allowance around traced lines
- Choose fabrics with suitable weight and texture
- Fuse web shapes to fabric’s wrong side before cutting
These steps make your applique techniques easier and your final design crisp and professional. It’s really about setting yourself up for success right from the start.
Tracing on Fusible Web
After selecting your templates and fabrics, you’ll want to transfer your design onto the fusible web accurately. Start by tracing your applique templates onto the paper side of the fusible web using a pencil or marker, making sure the design is oriented correctly.
For complex shapes, you can print directly onto the fusible web to skip tracing. Cut out your shapes carefully, leaving a small seam allowance. Double-check orientation before fusing.
When ready, place the fusible web with fabric under your iron and press firmly to activate the adhesive.
| Step | Tip |
|---|---|
| Trace on paper side | Use pencil or marker |
| For complex designs | Print directly on fusible web |
| Cut shapes | Leave 1/8 inch seam allowance |
| Check orientation | Especially for directional designs |
| Fuse with iron | Press 10 sec per side firmly |
Cutting With Precision Scissors
When cutting your applique shapes, use small, sharp scissors like appliqué or embroidery scissors to guarantee clean, precise edges. Precise cutting ensures your design looks professional and fits perfectly on your fabric.
Here’s how to get the best results:
- Cut carefully along traced lines, leaving about 1/8 inch seam allowance. Hold scissors at a slight angle to smoothly follow curves.
- Use the pointed tip for intricate corners to avoid distorting shapes. Regularly sharpen scissors or replace dull blades to maintain clean cuts.
- Avoid rushing to prevent jagged or frayed edges during cutting. Take your time, and your applique will look fantastic!
Fuse Applique Pieces to Base Fabric
Though it might seem tricky at first, fusing applique pieces to your base fabric is straightforward once you know the steps. Start by cutting fusible web slightly larger than your applique shape and press it onto the wrong side of your fabric with a hot iron for about 10 seconds.
Then, trace or cut out the applique shape from the fusible web and carefully peel off the paper backing to expose the sticky side. Position the adhesive side of the applique onto your base fabric, smoothing out any wrinkles or bubbles.
Cover the applique with a pressing cloth and press again for 10 seconds to securely fuse it to the base fabric. Let it cool before sewing to keep the applique firmly in place during stitching.
Select the Right Stitch and Machine Settings
Once you’ve fused your applique pieces securely to the base fabric, it’s time to choose the right stitch and machine settings to keep everything in place. Picking the appropriate stitch and adjusting your sewing machine ensures a neat, durable finish that highlights your applique design.
Focus on these key settings:
- Use a narrow zigzag stitch (0.7 to 1.0 width) or satin stitch for raw-edge applique.
- Set a shorter stitch length (1.2 to 2.0) for tight, even stitches around curves.
- Adjust tension according to thread and fabric; test on scraps.
- Choose the right presser foot, like an embroidery or walking foot, for better control.
- Utilize needle-down or hover functions to pivot smoothly around shapes.
These steps help you sew precise, secure applique every time.
Secure Applique Pieces Before Stitching
Before stitching, you’ll want to secure your applique pieces to keep them from shifting. Use temporary adhesives or fabric glue for a firm hold, and pin intricate shapes carefully to maintain their position.
It’s a good idea to check the placement from all angles. This way, you make sure your design stays flat and perfectly positioned as you sew.
Positioning Methods
When you position applique pieces on your background fabric, securing them firmly is key to preventing any shifting during stitching. Proper positioning guarantees your design stays exactly where you want it and looks professional.
Try these methods to keep your applique in place: Press the applique lightly with an iron to set the placement. You can also use applique pins or clips to hold edges, especially with complex shapes.
Baste with a few hand stitches to secure pieces before machine sewing. Make sure the applique pieces lie flat and smooth by pressing out wrinkles.
Also, avoid puckering by checking the fabric’s alignment before stitching. These positioning techniques help you maintain control, making your sewing smoother and your finished project look flawless.
Temporary Adhesives
How can you keep your applique pieces perfectly in place without pins or basting? Temporary adhesives like Appli-Glue or washable fabric glue sticks are your answer. They hold applique pieces steady before stitching, preventing any shifting.
Apply a thin, even layer of adhesive to the back of each applique piece—avoid using too much to prevent seepage during sewing. For small or intricate pieces, use the adhesive sparingly to keep edges flexible and easy to turn if needed.
After applying, allow the adhesive to set for a few seconds so your pieces stay firmly positioned. Make sure to pick a temporary adhesive that’s compatible with your fabric and sewing machine.
Once finished, wash or remove any leftover adhesive to keep your project clean and professional. Easy, right? It’s a simple trick that really helps your applique look neat and stay put.
Pinning Techniques
Although temporary adhesives can hold your applique pieces steady, pinning remains one of the most dependable ways to secure them before stitching. Using proper pinning techniques ensures your shapes stay perfectly in place, giving you clean, precise results.
Always use straight pins or applique pins, placing them perpendicular to the edges to avoid sewing over them. For small or intricate pieces, pin multiple points along the edges, and consider double pins at corners to keep sharp angles aligned.
Remember to remove pins as you sew to prevent needle damage and fabric shifting. It might seem like a small step, but it really makes a big difference in your final work.
- Use straight pins placed perpendicular to edges
- Pin multiple points on small or detailed shapes
- Double pin corners for sharp angles
- Remove pins gradually while sewing
- Opt for temporary adhesives if fabric is delicate
Stitch Around Applique Edges Carefully
Since precise stitching secures your applique, you’ll want to use a shorter stitch length—around 1.4 to 1.5—to sew close to the edges. Select a straight stitch and verify your top thread is properly threaded to avoid tension issues.
Sew slowly and steadily, keeping the needle aligned with the applique’s edge for a neat finish. When you reach curves or sharp corners, adjust your fabric position and use the hand-wheel to control stitches manually; this helps maintain accuracy without puckering.
Consistent stitch spacing and even tension are vital to prevent gaps or bunching. Taking your time around tricky spots guarantees a professional look and guarantees your applique stays securely in place for the long haul.
Adjust Tension and Stitch Length for Best Results
When you adjust your machine’s tension and stitch length correctly, your applique will have clean, secure edges that hold up well over time. Start by testing tension on scrap fabric to make sure your top thread isn’t too loose or tight.
Opt for a shorter stitch length—between 1.4 and 1.8 mm—to get precise, strong edges. Keep these tips in mind:
- Balance tension between upper and bobbin threads for a flat seam
- Adjust tension and stitch length for monofilament or specialty threads
- Fine-tune settings based on fabric weight and thread type
- Use straight or zigzag stitches with shorter stitch length
- Regularly test and tweak tension to avoid puckering or breakage
With just a bit of tweaking, you’ll get perfect results every time!
Trim Excess Fabric and Stabilizer
After fine-tuning your machine’s tension and stitch length, the next step is to trim the excess fabric and stabilizer around your applique. Start by carefully trimming the fabric, leaving about a 1/8 inch seam allowance to keep a clean edge. Use small, sharp scissors to navigate tight curves and points, ensuring a smooth, professional finish.
Next, trim any overlapping stabilizer flush with the fabric edge to avoid bulkiness and puckering during stitching. Remove all loose or frayed bits to prevent sewing through unnecessary material. Taking the time to precisely trim both fabric and stabilizer will help your applique lay flat and stitch evenly, giving your project a polished, neat appearance ready for the final steps.
Add Final Touches and Press Your Project
Although your applique is already securely stitched, you’ll want to press your project gently with a warm iron to set the stitches and smooth out any puckers. Proper pressing enhances the overall look and guarantees your applique lays flat and crisp.
To add those final touches, keep these tips in mind:
- Use a pressing cloth to protect delicate fabrics and avoid shiny marks.
- Press from the back of the project to maintain the applique’s texture and shape.
- Apply even, firm pressure without sliding the iron to keep edges sharp.
- Avoid overheating to prevent fabric distortion.
- Let the fabric cool completely before handling to avoid shifting or puckering.
Following these steps will give your applique a polished, professional finish. Easy, right? Just a little care goes a long way!
Frequently Asked Questions
How to Appliqué on a Sewing Machine for Beginners?
You’ll trace and fuse your fabric shapes onto the base, then sew slowly with a narrow zigzag stitch about 1/8 inch from edges.
Trim excess fabric carefully, press gently, and enjoy your neat, secure appliqué finish!
What Is the Best Stitch to Use for Machine Appliqué?
For flawless fabric fastening, you’ll want to choose a narrow zigzag stitch or satin stitch, usually between 1.0 and 1.5 width.
It secures edges superbly, ensuring your appliqué stays stylish and sturdy throughout.
This way, your work not only looks neat but also holds up well over time.
Can I Sew an Appliqué With a Regular Sewing Machine?
Yes, you can sew an appliqué with a regular sewing machine. Just use a straight or zigzag stitch, add stabilizers or fusible web, and practice on scraps to get your tension and stitch length perfect before starting your project.
It’s really all about taking your time and making sure everything is set up right. Once you get the hang of it, your appliqué will look great!
What Are Common Appliqué Mistakes to Avoid?
Why risk ruining your applique? Don’t use large stitches—they puck up fabric. Always secure raw edges and use stabilizers.
Test tension and stitch length first. Plus, cut shapes evenly to avoid gaps or jagged edges. It really makes a difference!
Conclusion
Now that you’ve mastered these 10 simple steps, your sewing machine transforms from a tool into a creative partner. While precision guides your needle, your imagination breathes life into fabric pieces.
The contrast between careful technique and artistic freedom makes applique so rewarding. So, don’t just follow the steps—embrace the balance of control and creativity.
Watch your applique projects evolve from mere stitches to stunning works of art. With your sewing machine, applique becomes an exciting way to add unique designs and textures to any fabric. Keep practicing, and soon you’ll be creating beautiful, personalized pieces that showcase your skills and style.