How to Hand Sew a Pillow in 10 Easy Steps
To hand sew a pillow, start by choosing and washing your fabric to make sure it’s clean and soft.
Then, iron it for a smooth finish that will make sewing easier and neater. Picking the right fabric is key for a cozy and durable pillow.
Next, measure and cut your fabric pieces, making sure to add seam allowance so everything fits perfectly.
Pin the pieces together to keep them secure before you start sewing.
When you’re ready, use a strong backstitch to sew the edges. This stitch will hold your pillow together firmly.
After sewing, flip the pillow right side out and fill it with your favorite stuffing.
Finally, sew the opening closed with a slip stitch for a polished, professional look.
If you want more detailed steps and tips, keep going!
Key Takeaways
- Choose pre-washed and ironed fabric, measuring and cutting it to size with a half-inch seam allowance for a clean finish.
- Secure fabric pieces with pins, ensuring accurate alignment before sewing to avoid misalignment during the process.
- Use a backstitch for strong seams, maintaining a consistent seam allowance and finishing raw edges to prevent fraying.
- Flip the pillow right side out carefully, ensuring corners are sharp and stuffing is evenly distributed for a polished look.
- Close the pillow using a slip or ladder stitch, taking small, even stitches for an invisible finish and a professional appearance.
What You Need to Get Started on Your Pillow
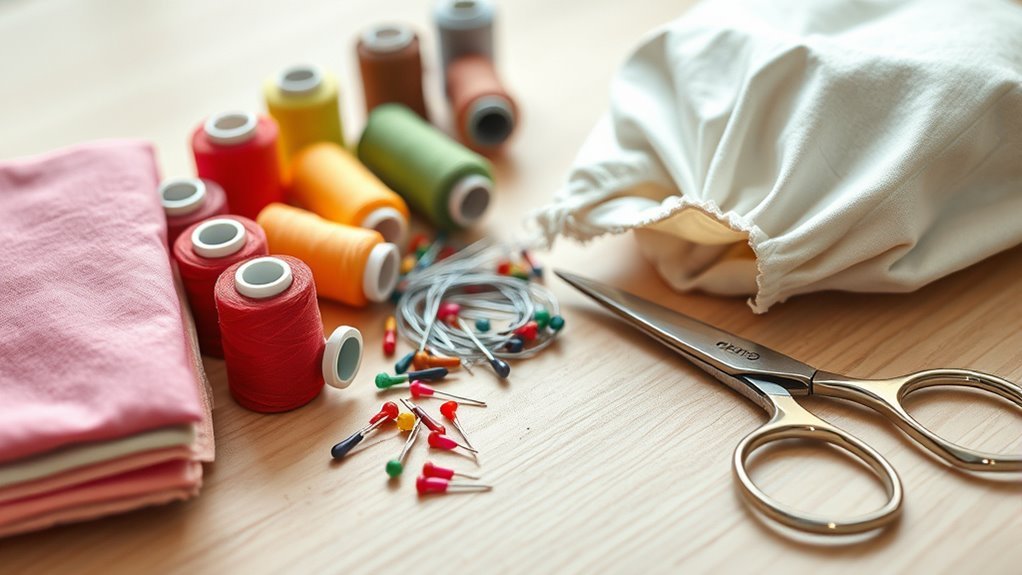
To create a cozy pillow, you’ll need a few essential items. Start with your chosen fabric, like muslin, making sure it’s washed and ironed for a clean finish.
To make a cozy pillow, begin with washed and ironed fabric, like muslin, for a neat finish.
Gather supplies including scissors, a measuring tape, pins, and quality thread, such as Gutermann. For stuffing, polyester fiberfill works great.
Next, measure and cut your fabric pieces to your desired pillow size. Don’t forget to add a half-inch seam allowance to make sewing easier and more accurate.
Pin the fabric pieces together, spacing the pins about 1.5 to 2 inches apart. This will help keep everything aligned while you sew.
Once you’ve sewn the edges, leave a gap for stuffing. Then, turn your pillow right side out, fill it up, and sew the gap closed securely.
And that’s it! You’re well on your way to making a comfy pillow you’ll love.
Why Washing Your Fabric Is Essential?
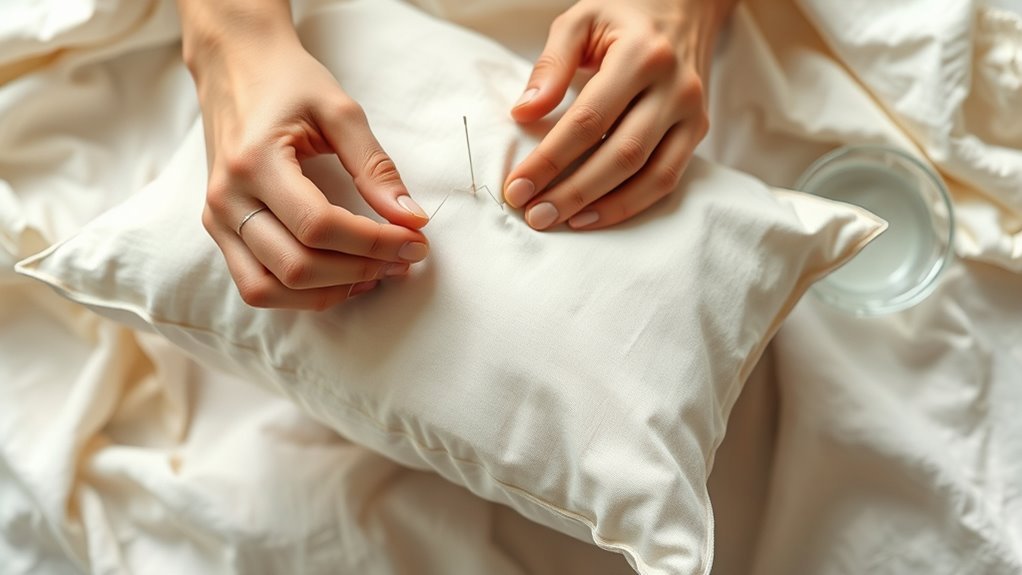
Washing your fabric before sewing is essential for a clean start. It not only prevents shrinkage but also helps your pillow maintain its shape over time.
Plus, you’ll eliminate dirt and chemicals, ensuring a safe and comfortable finish. It’s a simple step that makes a big difference!
Importance of Clean Fabric
Clean fabric is the foundation of a quality pillow, and pre-washing it is an essential step you shouldn’t skip. Make sure you wash your fabric before sewing to remove dirt, chemicals, and residues that can interfere with your project.
This simple step not only helps maintain the vibrancy of colors but also prevents dye transfer to other fabrics during washing. Plus, clean fabric can soften, making it easier to work with and more comfortable against your skin.
Prevent Shrinking Issues
While you might be enthusiastic to start sewing, skipping the pre-wash can lead to disappointing surprises later. Pre-washing your fabric is crucial to prevent shrinking issues that can ruin the fit of your finished pillow.
Many fabrics shrink considerably after their first wash, so taking this step guarantees you won’t be left with a misshapen project. Plus, washing helps remove any chemicals or residues from manufacturing, which not only improves fabric quality but also reduces the risk of skin irritation.
You’ll also soften the fabric, making it easier to work with. And it’s a great chance to spot any color bleeding, so you can stop it from affecting other materials.
Just be sure to always follow the manufacturer’s care instructions to keep your fabric in the best shape possible.
Enhance Project Longevity
To guarantee your pillow lasts, it’s essential to wash your fabric before you start sewing. Pre-washing removes dirt, oil, and chemicals that can compromise fabric performance and project longevity.
This step helps prevent future shrinkage, ensuring your finished pillow retains its intended size after the first wash. Fabrics like cotton can shrink up to 5%, making this process vital for accurate measurements.
Plus, washing eliminates excess dyes that could bleed onto other materials, preserving your pillow’s appearance. Properly cleaned fabric also enhances its softness and texture, contributing to a more comfortable finished product.
Why Ironing Fabric Matters?
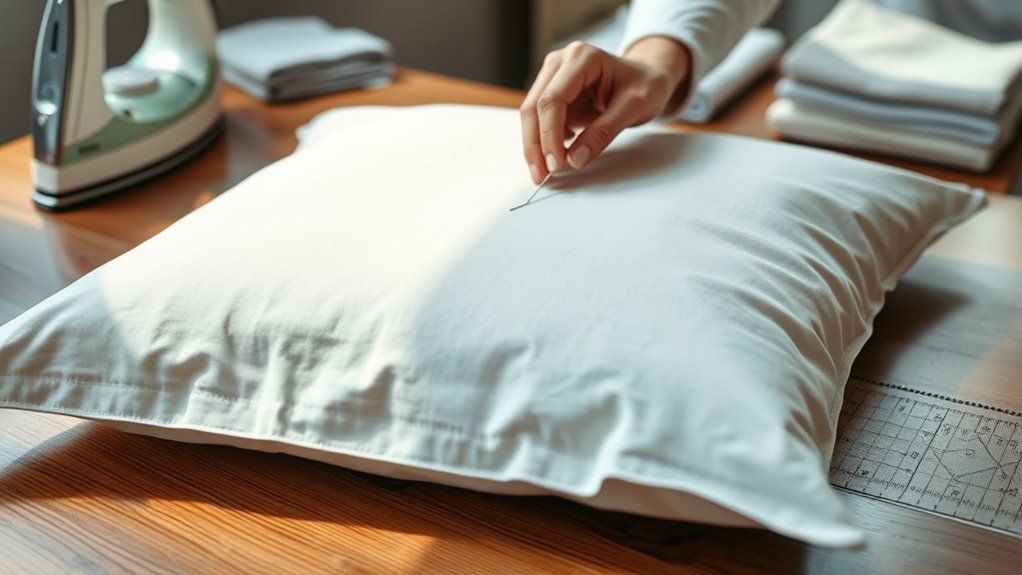
Ironing fabric before you start sewing isn’t just a step; it’s essential for achieving a polished look. When you take the time to iron, you eliminate wrinkles, allowing the fabric to lay flat.
This makes for accurate cutting, which is vital for the precision of your sewing project. Smooth fabric reduces the risk of misalignment, helping you sew straighter seams.
Plus, ironing relaxes the fibers, making it easier to manipulate and shape the fabric as you work. Pre-washing and ironing can also prevent future shrinkage, ensuring your finished pillow retains its intended size and shape.
Ultimately, using a functional iron enhances the overall appearance, giving you that crisp, professional finish you’re aiming for.
How to Measure and Cut Fabric for Hand Sewing a Pillow
Once you’ve prepped your fabric, it’s time to measure and cut for your pillow. Start by figuring out the size you want your pillow to be.
For example, if you want a 16×16 inch pillow, cut two 17×17 inch squares. This gives you a half-inch seam allowance on each side, which is super important.
Use a measuring tape to be accurate and a grid ruler to keep your edges straight. Mark your fabric with tailor’s chalk or a fabric marker so you know exactly where to cut.
For precise cutting, utilize a measuring tape and grid ruler, marking your fabric with tailor’s chalk or a fabric marker.
Lay the fabric on a cutting mat to protect your surfaces. Then, cut carefully using scissors or a rotary cutter, whichever you prefer.
After cutting, check your pieces for any frays or imperfections. Trim them up if needed to keep everything neat.
Finally, pin the fabric pieces together. Make sure they line up perfectly so nothing shifts when you start sewing.
How to Securely Pin Fabric for Sewing
To secure your fabric layers, start by choosing the right pins for your material. Space them about 1.5 to 2 inches apart for easy alignment. Make sure they’re inserted perpendicularly to the edges.
This will keep everything in place as you sew. Plus, it helps ensure a neat finish. Easy, right?
Choosing Pin Types
Choosing the right pins can make a significant difference in your sewing experience, especially when working with various fabric types.
Here’s a quick guide to help you select the best pin types for your project:
| Pin Type | Best For | Key Features |
|---|---|---|
| Straight Pins | Basic fabric layers | Secure hold without damage |
| Quilt Clips | Thicker fabrics or multiple layers | Grips more fabric without slipping |
| Glass-Headed Pins | Heat resistance | Won’t melt when ironing |
| Safety Pins | Slippery materials | Firm grip without distortion |
Using straight pins for most tasks is great. But when dealing with slippery fabrics, safety pins can really help.
Also, keep your pins organized in a pin cushion or magnetic holder for easy access!
Spacing Pins Properly
Properly spacing your pins is key to ensuring your fabric stays aligned and secure during sewing. Space your pins approximately 1.5 to 2 inches apart along the fabric edges to maintain alignment and prevent shifting.
If you’re working with thicker fabrics, use a combination of straight pins and safety pins for secure holding without damaging the material. Insert pins perpendicular to the fabric edge, which allows for easy removal as you sew and minimizes interference with the sewing machine foot.
For curves or corners, add extra pins for support to maintain the desired shape. Always pin from the outside in, starting at the edges and moving toward the center to evenly distribute fabric tension. It really helps keep everything neat and in place!
Ensuring Fabric Alignment
Making sure your fabric is aligned is essential for a polished finish when sewing a pillow. Start by using pins to secure the fabric layers together, spacing them about 1.5-2 inches apart. This prevents shifting and helps maintain alignment during the sewing process.
Before pinning, check the edges with a fabric ruler to make certain of a straight sewing line. Begin pinning from the center and work outward; this evenly distributes tension and avoids puckering.
If you’re working with thicker fabrics, consider using a combination of straight pins and safety pins for added hold and stability. Remember to remove the pins as you sew, which protects your sewing machine needle and helps the fabric move smoothly.
Sewing Edges: Techniques for a Neat Finish
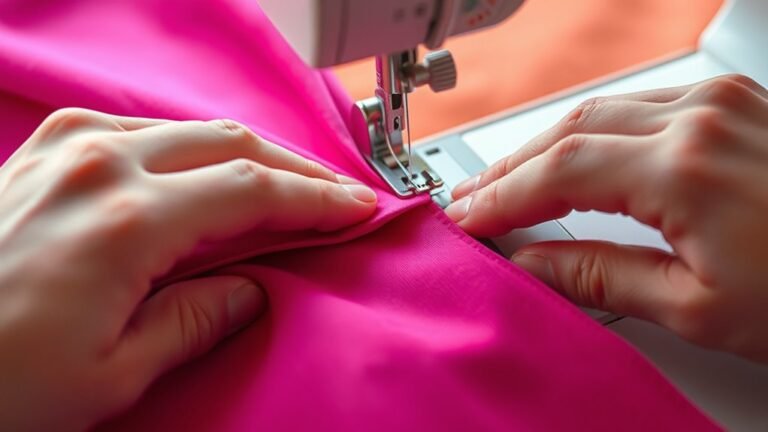
Sewing edges neatly is essential for achieving a professional-looking pillow, and using the right techniques can make all the difference. Start by using a backstitch for sewing edges; it creates a strong seam that’s less likely to unravel than a simple running stitch.
Maintain a consistent seam allowance of about ½ inch to guarantee your edges are even. After sewing, press the seams open to reduce bulk and enhance the pillow’s appearance.
For extra durability, finish raw edges with a zigzag stitch or pinking shears to prevent fraying. When you reach the corners, pivot your fabric at the seam to create sharp, clean corners that elevate your pillow’s shape.
How to Flip Your Pillow Right Side Out
After you’ve neatly finished the edges of your pillow, it’s time to flip it right side out. Start by gently grasping the corners and pulling them outward. This helps you turn the pillowcase without damaging the seams.
To guarantee the fabric is fully flipped, use a blunt tool like a chopstick or knitting needle to push out the corners for a neat finish. Take your time; you need to make certain you avoid stretching the fabric or tearing the seams, especially at those stress-prone corners.
Once flipped, give the pillow a light shake to help the stuffing settle evenly. Finally, inspect the edges and corners for any missed seams or fabric that might need to be adjusted for a polished look.
Choosing the Right Stuffing for Your Pillow
Choosing the right stuffing for your pillow can greatly impact your comfort and support. You’ve got several options to evaluate: polyester fiberfill, down feathers, and memory foam.
Polyester fiberfill is hypoallergenic and affordable, offering a soft feel and easy maintenance since it’s machine washable. If you prefer something luxurious, down feathers provide exceptional softness but need special care to stay fluffy.
Polyester fiberfill offers a soft, hypoallergenic option, while down feathers provide luxurious softness with special care requirements.
Memory foam conforms to your shape, giving excellent support, but it can get warm, so a cover might be necessary for comfort. If you’re eco-conscious, explore sustainable options like organic cotton or recycled materials.
For a better understanding, check out a video tutorial that highlights these choices—you can’t see the difference until you try them!
How to Sew Up the Opening Neatly
To achieve a polished finish on your pillow, mastering the slip stitch or ladder stitch is essential. Start by folding the raw edges of the opening inwards to create a hem. Pin it in place to keep everything aligned as you sew.
Choose a thread that closely matches your fabric color; this helps make your stitches nearly invisible. As you sew, take small, even stitches on both sides of the opening. Keep the fabric taut but avoid puckering for a smooth edge.
Once you finish sewing, gently pull the thread to tighten the stitches and secure the opening. Finally, tie a knot and cut any excess thread to complete the neat finish of your handmade pillow. Easy, right?
How to Care for Your Handmade Pillow
Now that your pillow is beautifully finished, it’s important to keep it looking great. Here are some simple care tips:
- Wash the pillowcase: Regularly wash it in cold water to keep both the pillow and case clean. This helps extend their lifespan too.
- Air it out: Every few weeks, air out your handmade pillow. This prevents moisture buildup and gets rid of any odors.
- Spot clean: For any stains, use a damp cloth with mild detergent to spot clean the pillow insert. Just be gentle so you don’t damage the stuffing.
- Store properly: When not in use, keep your pillow in a breathable cotton bag or pillowcase. This protects it from dust and pests nicely.
Frequently Asked Questions
What Type of Thread Is Best for Hand Sewing a Pillow?
For hand sewing a pillow, use a strong, durable thread like polyester or cotton. These threads resist fraying and offer flexibility.
You’ll want to avoid specialty threads because they might not hold up well during washing. It’s all about making sure your pillow stays intact and looking great over time.
Can I Use Different Fabrics for Pillow Front and Back?
Absolutely, you can use different fabrics for your pillow front and back! Mixing textures and patterns adds personality.
Just make sure they’re compatible regarding weight and care instructions for the best results. That way, your pillow will look great and last longer.
How Much Stuffing Do I Need for a Firm Pillow?
You’ll need about 1 to 2 pounds of stuffing for a firm pillow, depending on its size.
Start with less, then add more until you reach your desired firmness and comfort level. It’s all about finding what feels right to you.
Is It Necessary to Pre-Wash Cotton Fabric Before Sewing?
Pre-washing your cotton fabric’s like watering a seed before planting; it helps prevent shrinkage and sets the color.
How Do I Fix Mistakes While Sewing My Pillow?
To fix mistakes while sewing your pillow, carefully unpick stitches with a seam ripper. Then, adjust the fabric alignment or re-stitch as needed.
Don’t worry; mistakes happen to everyone. You’ll get better with each project you tackle!
Conclusion
Now that you’ve stitched your pillow, imagine sinking into its cozy embrace. The soft fabric welcomes you like a warm hug.
Each handmade detail reflects your creativity, adding a personal touch to your space. It’s these little touches that make your pillow truly unique.
As you care for it by washing and fluffing, you’ll breathe life into your creation. You’ll watch it become a cherished part of your home.
So go ahead, display your beautiful handiwork proudly. Let your hand-sewn pillow bring comfort and charm to your everyday moments, making your space feel even more special.