How to Hand Sew Buttonholes in 7 Easy Steps
To hand sew buttonholes in 7 easy steps, start by gathering your materials like silk thread and a sharp needle. Having the right tools is key to making neat and durable buttonholes.
Next, mark the buttonhole’s position and size carefully so everything lines up perfectly when you sew.
Then, carefully cut the buttonhole open, taking your time to avoid mistakes. Begin stitching with a backstitch for strength, which helps the buttonhole hold up over time.
Don’t forget to reinforce the edges to prevent fraying—this step really makes a difference in durability. You can also add decorative stitches to give your buttonholes a polished look that stands out.
Practice makes perfect, so don’t be discouraged if your first few attempts aren’t flawless. Keep sewing, and you’ll discover more techniques to refine your skills as you continue your sewing journey!
Key Takeaways
– Gather essential materials: silk buttonhole twist, gimp, needles, beeswax, and marking tools for smooth and durable stitching.
You want to make sure you have everything ready before you start. It makes the process way easier and more enjoyable.
– Measure and mark the buttonhole length using twill tape, ensuring clear markings for accurate cutting and stitching.
Taking your time here will help you avoid mistakes later on. A clear mark is key to a neat buttonhole.
– Cut the buttonhole with a cutting tool or sharp scissors, maintaining control to preserve fabric integrity and avoid damage.
Be careful while cutting! You don’t want to accidentally ruin your fabric.
– Start stitching with a backstitch, securing each stitch and overlapping for strength, and tie off knots on the underside.
This step is all about making your buttonhole sturdy. Overlapping stitches really help with that.
– Reinforce edges with gimp or upholstery thread, applying Fray Check to prevent unraveling and adding decorative stitches for a polished finish.
This final touch not only keeps your buttonhole intact but also adds a nice, finished look.
Gather Your Buttonhole Materials
Before diving into sewing your buttonholes, it’s essential to gather the right materials. Start by selecting a silk buttonhole twist for smooth stitching and durability. If you want something with superior pliability, vintage options are a great choice.
Next, grab some buttonhole gimp, preferably an upholstery thread. This helps reinforce the edges of your buttonholes for added strength. Don’t forget to have beeswax on hand—it’s perfect for coating your thread to reduce friction and tangling while you stitch.
You’ll also want to pick the right needle. An #11 sharp needle works well for fine threads, while a #7 embroidery needle is better suited for thicker threads like spaghetti thread. Finally, make sure to have a buttonhole cutting tool. It guarantees clean cuts in your fabric and makes the whole process easier.
Mark Your Buttonhole Position and Size
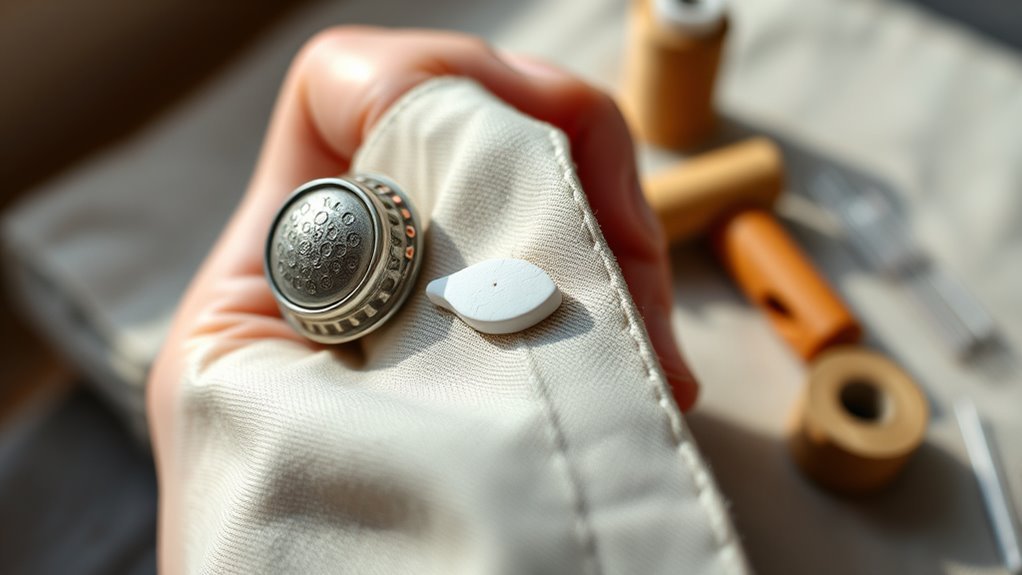
Marking your buttonhole position and size is essential for achieving neat and functional results. Here’s how to do it effectively:
First, use a spacing tool. This helps you mark buttonhole positions evenly on your fabric for consistent placement.
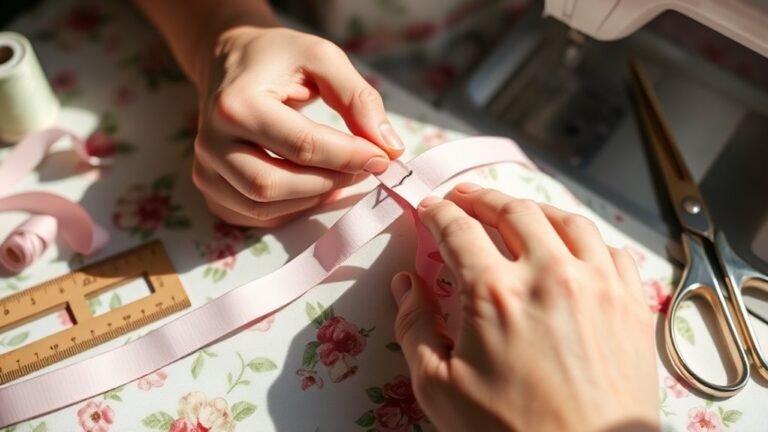
Next, measure the button’s diameter. You can wrap twill tape around the button to figure out the right length for your buttonhole.
Then, pin the ends of the twill tape. This secures your measurement, so you can transfer that length onto the fabric by marking a straight line.
After that, draw the buttonhole line. Make sure it’s a bit longer than the button’s width to allow easy insertion and movement.
Finally, double-check that your markings are clear and visible. They’ll guide you when cutting and stitching, helping you get accurate results.
Cut Open Your Buttonhole Carefully
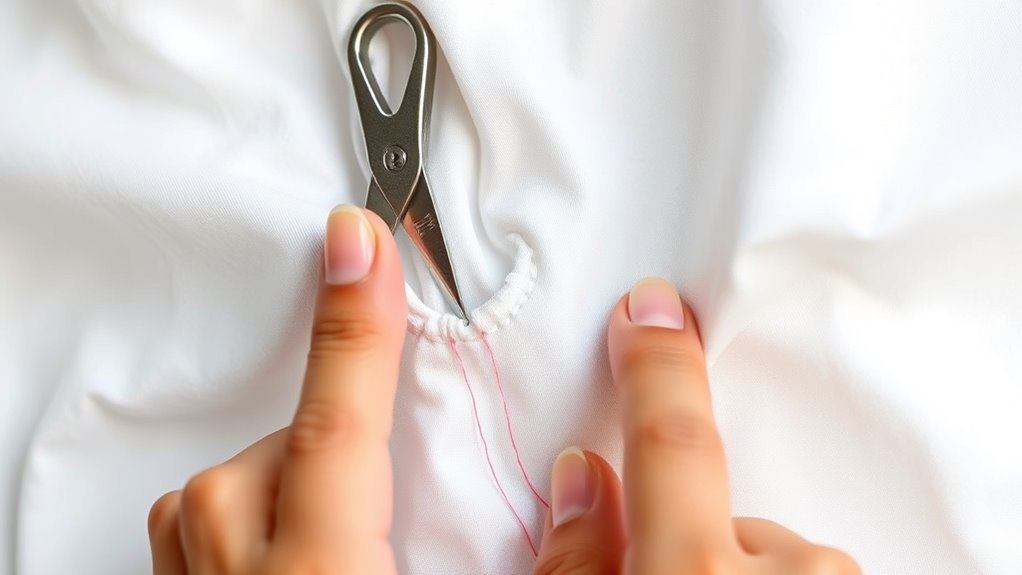
Now that you’ve marked your buttonhole, it’s time to cut it open carefully. Use a buttonhole cutting tool or sharp scissors, making sure you’re precise with your cuts.
You don’t want to damage the surrounding fabric, so take your time. Just cut deep enough to create a clean opening.
Keep control over your technique, and you’ll preserve the buttonhole’s integrity perfectly.
Tools For Cutting Buttonholes
Cutting buttonholes requires precision and the right tools for a clean result. Using the correct tools not only guarantees you achieve the desired look but also makes the process smoother.
Here’s what you’ll need:
- Dedicated cutting tool: Consider a Clover tool for precise cuts along the marked line of your buttonhole.
- Sharp embroidery scissors: These give you better control, helping you achieve a neat opening without jagged edges.
- Marked line: Always have a clear guideline to follow for accuracy.
- Scrap fabric: Place this under your work to protect your surface while cutting.
Be careful to avoid severing any running stitches as you cut. With these tools, you’ll make clean, precise cuts every time.
Techniques For Precision Cutting
When you’re ready to cut open your buttonhole, precision is key to achieving a professional finish. Use a sharp pair of embroidery scissors for clean, precise cuts that won’t fray the edges of the buttonhole.
Start by marking the buttonhole length with a fabric marker to guide your cut accurately. If you’re using a buttonhole cutting tool, confirm it’s positioned correctly for symmetry. Cut slowly and steadily, beginning from the center and moving outward to avoid snags.
Always check your running stitches are intact before cutting to maintain the buttonhole’s structure. It might seem like a small step, but it really helps keep everything neat and secure.
| Step | Tool Used | Action |
|---|---|---|
| Marking | Fabric Marker | Clearly mark buttonhole |
| Cutting | Embroidery Scissors | Make precise cuts |
| Checking Stitches | N/A | Verify running stitches |
| Final Touch | N/A | Confirm neat edges |
Start Stitching Your Buttonhole With Backstitch
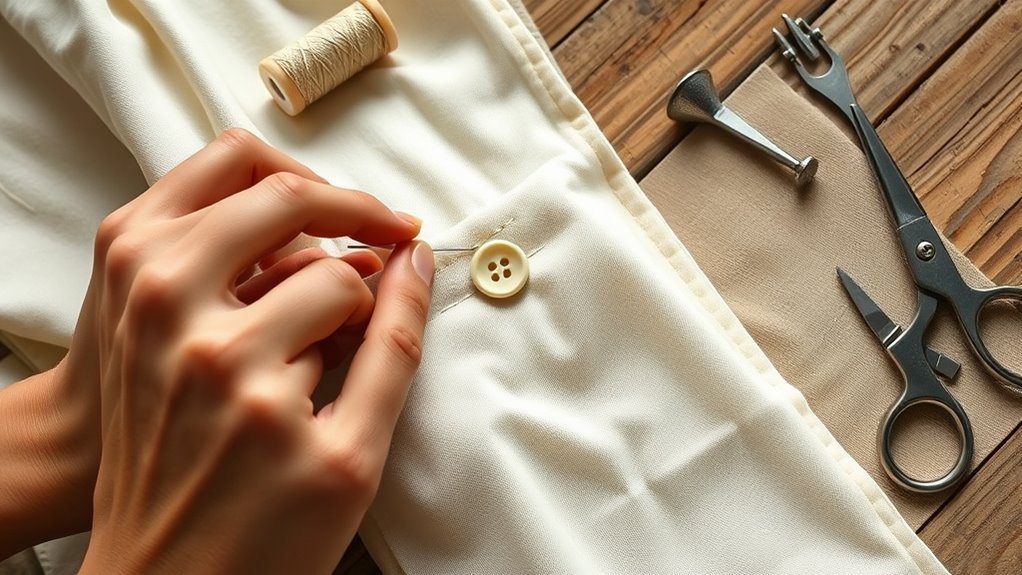
To start stitching your buttonhole with backstitch, bring your needle up through the fabric at one end of the marked area. Make sure you have a secure knot at the back before you begin.
Here’s how to proceed:
- Insert the needle back into the fabric at your starting point.
- Bring it up about 1/8 inch away to create your first backstitch.
Keep going like this, making sure the stitches are evenly spaced for a neat finish. It helps to let each backstitch overlap a little with the previous one. This adds extra strength and reinforces the buttonhole edges.
Once you reach the opposite end, tie a knot on the underside of the fabric to secure your last stitch. This will stop it from unraveling.
Happy stitching!
Reinforce Edges to Prevent Fraying
While you’re stitching your buttonhole, reinforcing the edges is essential for durability and preventing fraying. Start by using buttonhole gimp or upholstery thread to provide extra strength. Anchor the gimp with large stitches across the buttonhole edges to secure it in place.
Before cutting, verify your buttonhole is properly interfaced with fusible weft interfacing to add stability and reduce the risk of fraying. After cutting, apply a layer of Fray Check along the edges to prevent unraveling over time.
Be careful not to sever any reinforcing stitches during the cut, as they help maintain the integrity of your buttonhole edges. Following these steps will guarantee your hand sewing project stands the test of time.
Add Decorative Stitches to Enhance Buttonhole Aesthetics
After reinforcing the edges of your buttonhole, adding decorative stitches can really elevate its aesthetic appeal. These stitches not only enhance beauty but also provide extra durability.
Adding decorative stitches to your buttonhole not only enhances its beauty but also boosts durability, making your work truly stand out.
Here’s how to make your buttonhole stand out:
- Choose Decorative Stitches: Try a blanket stitch or running stitch around the edges.
- Use Contrasting Thread Colors: This creates a striking effect that draws attention.
- Incorporate Embroidery Floss: Thicker threads add texture and increase durability.
- Experiment with Patterns: Scallops or zigzags can add a unique touch, reflecting your personal style.
Just make sure your decorative stitches are evenly spaced and consistent in size. That way, you’ll get a polished and professional look.
Trust me, this attention to detail makes all the difference!
Practice and Troubleshoot Buttonholes
When you start practicing hand-sewn buttonholes, use scrap fabric to build your skills and confidence. It’s a low-pressure way to get the hang of things before working on your actual project.
Pay attention to common challenges like frayed edges or thread pulling. When these issues pop up, troubleshoot them with the right materials—it makes a big difference.
Regular practice really helps, and getting feedback from fellow sewists can speed up your progress. Keep at it, and you’ll refine your technique to achieve professional results.
Common Buttonhole Challenges
Hand-sewing buttonholes can be tricky, especially if you’re facing challenges like uneven spacing or frayed edges.
Here are some common issues and tips to tackle them:
- Even Spacing: Use guiding lines and marking tools to guarantee your buttonholes are consistently spaced.
- Inconsistent Stitch Size: Practice on scrap fabric to develop a uniform stitch size. This really helps improve the buttonhole’s appearance.
- Frayed Edges: Reinforce the area with interfacing or gimp thread to prevent fabric from fraying. It makes a big difference.
- Thread Issues: Opt for a thicker, durable buttonhole twist thread that matches your fabric. This helps avoid tangling or shredding.
Effective Practice Techniques
Practicing buttonholes on scrap fabric is essential for building your confidence and mastering the technique. Start by marking consistent placements with a spacing tool and tailor’s chalk to guarantee even distances—this gives your buttonholes a professional finish.
Try experimenting with different thread types, like buttonhole twist or embroidery floss. This helps you find the right thickness and strength that works best for your fabric.
Also, incorporate reinforcement techniques, such as small running stitches around the buttonhole area. This prevents fraying and makes your buttonholes more durable.
Don’t forget to document your progress. And it’s always a good idea to seek feedback from sewing communities or online forums.
This way, you can troubleshoot any challenges you come across during practice. With each attempt, your hand-sewn buttonholes will get better and better.
Frequently Asked Questions
How to Make a Buttonhole by Hand Sewing?
To make a buttonhole by hand sewing, start by marking your fabric clearly. Then, carefully cut the opening where the button will go.
Next, whipstitch the edges to prevent fraying. You’ll want to add a gimp for extra strength—it really helps keep everything sturdy.
Finally, finish with a pearl edge for a neat look. Make sure to secure all your stitches neatly before trimming any excess thread. Easy, right?
How to Sew Buttons by Hand for Beginners?
To sew buttons by hand, pick a strong thread and needle. Mark your fabric, insert the needle through the buttonholes, and tighten your stitches.
Secure with a knot, and you’re good to go!
It’s pretty simple once you get the hang of it. Just take your time, and you’ll have those buttons looking great in no time!
How to Make an Easy Buttonhole?
To make an easy buttonhole, mark your fabric, cut a small opening, and whipstitch around the edges.
Add a gimp for reinforcement, then apply Fray Check for durability. Finish with a trim for neatness.
It’s pretty straightforward once you get the hang of it! Just take it step by step, and you’ll have a neat buttonhole in no time.
How Do You Stitch a Buttonhole Stitch Step-By-Step?
To create buttonhole stitches, you’ll glide your needle through the fabric, tracing a secure path. Whipstitch along the edge, making sure the spacing is even.
Then, finish with a pearl edge for a polished, professional look. Don’t forget to secure the threads neatly at the end.
It’s easier than it sounds once you get the hang of it! Just take your time and keep your stitches consistent.
Conclusion
Now that you know how to hand sew buttonholes, you’re ready to tackle any project with confidence. Did you know that a well-made buttonhole can last up to 10 times longer than a machine-made one?
Just imagine the durability and charm you bring to your garments! With a little practice, you’ll create buttonholes that not only hold strong but also add a unique touch to your sewing.
So grab your materials and start stitching! Hand sewing buttonholes is a skill that combines patience and precision, making your projects stand out. Whether you’re fixing a favorite shirt or designing a custom piece, mastering hand sewn buttonholes adds both strength and style to your work. Keep practicing, and soon you’ll be creating professional-quality buttonholes by hand every time.