10 Easy Steps to Hem Pants Without a Sewing Machine
To hem pants without a sewing machine, start by gathering your supplies: fabric scissors, all-metal pins, and double-sided hemming tape. These easy steps make hemming pants quick and simple, even if you’re new to sewing.
Try on your pants with the shoes you’ll wear to get the perfect length.
Fold and pin your desired hem length, marking it with tailor’s chalk. This helps you see exactly where to cut.
Cut off any excess fabric carefully, making sure to prevent raveling.
Use the double-sided tape for a no-sew finish, or if you prefer, secure your hem with hand stitches.
Finally, give your hem a quick press with an iron for a polished look. There’s more to perfecting your hem!
Key Takeaways
- Measure and mark the desired length of pants with tailor’s chalk while wearing them for an accurate fit.
- Fold the hem to the marked length, pinning it securely to maintain evenness.
- Use double-sided hemming tape to secure the folded hem without sewing.
- Press the hem with an iron set to the appropriate temperature for your fabric to ensure a crisp finish.
- Trim any excess fabric if necessary, and check the fit in a full-length mirror for adjustments.
Gather Your Hemming Materials
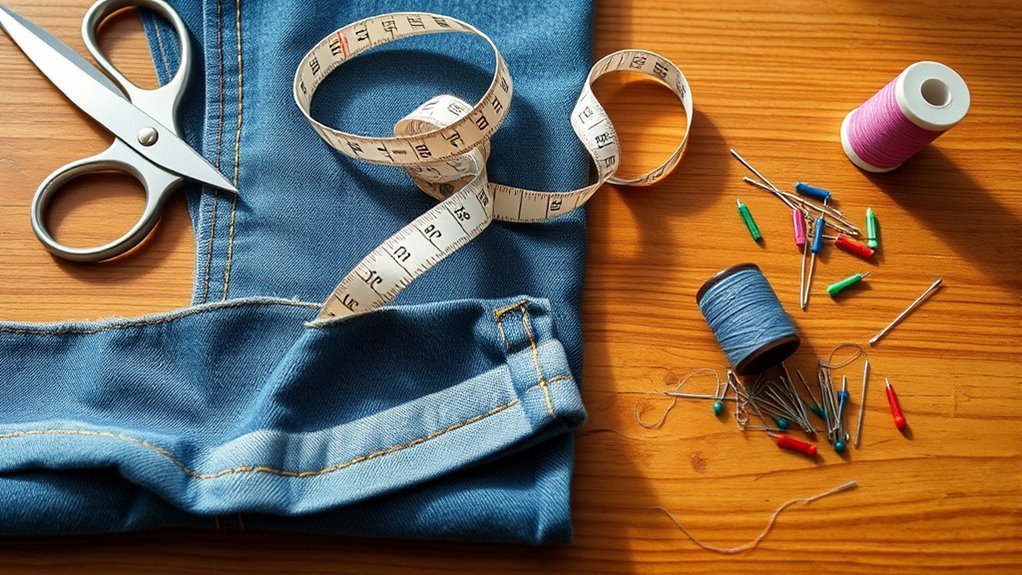
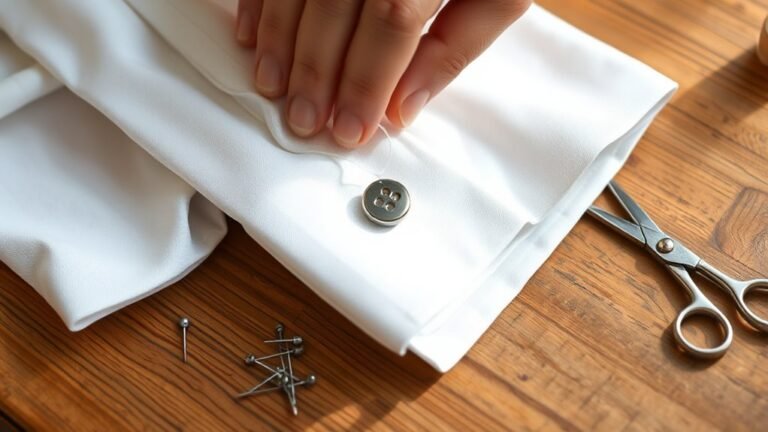
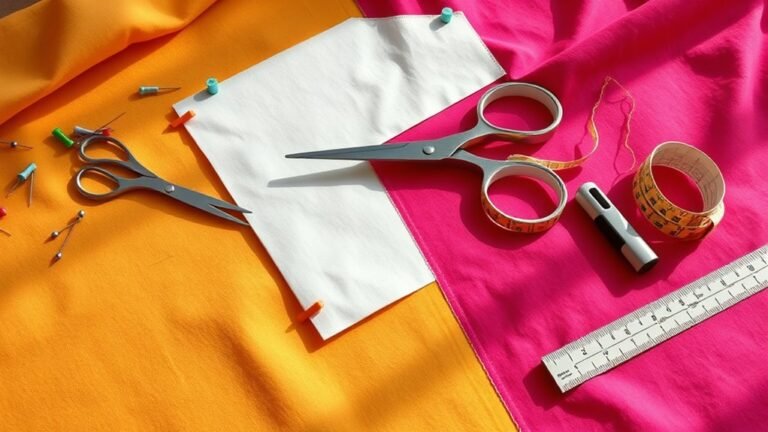
To hem your pants without a sewing machine, you’ll need to gather a few essential items. Start with a pair of pants, fabric scissors, and all-metal pins for accuracy.
Gather your essentials: pants, fabric scissors, and all-metal pins for a precise hem without a sewing machine.
Grab a measuring tape to determine the correct length and some tailor’s chalk to mark it clearly on the fabric. If you want a quick, no-sew option, keep double-sided hemming tape handy.
An iron and ironing board are vital for pressing the hem, giving it that polished look. If you’re working with synthetic fabrics, consider using a presser cloth to protect the material from damage.
With these materials in hand, you’re well-prepared to tackle your hemming project with confidence and ease.
Try on Your Pants With Shoes for Accurate Length
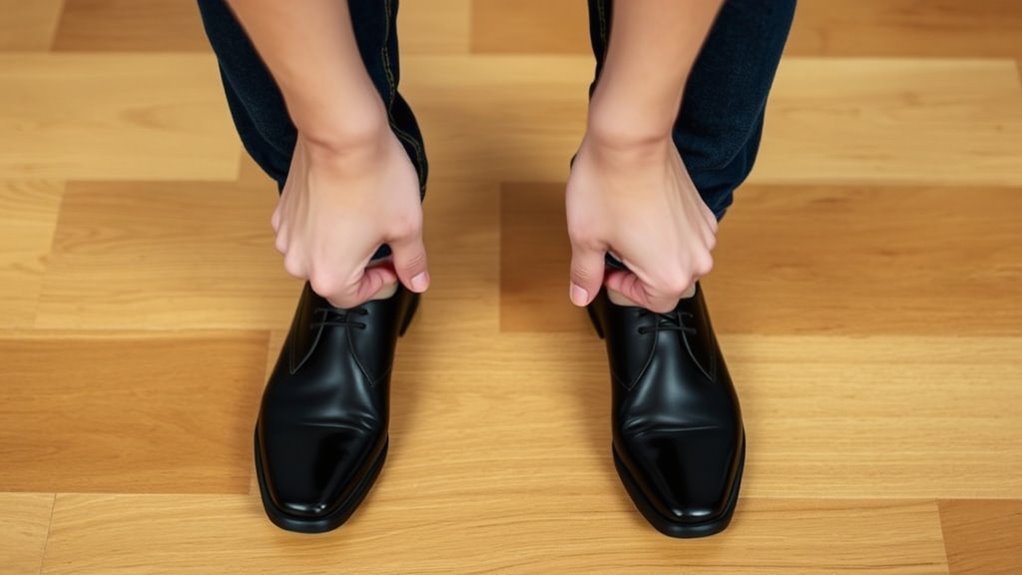
Wearing your pants with the shoes you’ll actually use is essential for getting the right length. Stand in front of a full-length mirror to see how the pants fall over your pair of shoes. You want to make sure they don’t drag on the ground or sit too high.
Think about the style of your pants—are they straight-leg or bootcut? This affects how they should break over your shoes for the look you want.
Use tailor’s chalk to mark the desired length while still wearing the pants. This way, it’s easier to picture how they’ll look once finished.
If you plan to switch shoes with different heel heights, keep that in mind. Notice how changing shoes affects the length, so you get the perfect fit every time.
Fold and Pin the Desired Hem Length
After trying on your pants with the right shoes, it’s time to get the hem just right. Start by folding the hem to your desired hem length, making certain it’s even across both pant legs.
If you need precision, grab a ruler to help measure. Once you’ve got the fold in place, pin it down with sewing pins, beginning at the side seams and working your way toward the center. This technique helps maintain an even fold.
After pinning, double-check that both legs are pinned evenly. It’s essential to verify everything looks perfect before moving on to the next step. This careful attention will set you up for a successful hem!
Mark the New Hem Line With Tailor’s Chalk
Marking the new hem line is an essential step in ensuring your pants fit perfectly. First, try on the pants with the shoes you plan to wear. This way, the hem sits just above the shoe for a flattering look.
Next, use tailor’s chalk to mark a line where you want the new hem. Make sure to draw it slightly above your desired finished length to allow for folding. Pin the fabric at this length to hold it in place.
Check that both legs are even by measuring from the waistband to the floor. After taking off the pants, use a ruler to create a straight line along your marked hem for a clean finish before cutting.
And don’t forget—mark on the inside of the fabric! It helps keep things neat and less visible on the outside.
Cut Excess Fabric and Prevent Raveling
Once you’ve marked your new hem line, it’s time to cut away the excess fabric while preventing any raveling. Start by ensuring you leave a hem allowance of about ¾ inch to secure the hem properly.
Use pinking shears for a quick solution, or make clean, straight cuts if you’re cutting without a serger. This keeps the edges neat and avoids bulkiness.
If you have a sewing machine, consider using a zig-zag stitch along the raw edge. For added protection against fraying, apply a fabric fray check solution to the cut edges.
Finally, if you’re opting for a no-sew method, use double-sided hemming tape to secure the raw edge and press it flat for a tidy finish. Easy, right?
Finish Raw Edges to Avoid Fraying
Securing the raw edges of your pants is key to preventing fraying and ensuring a polished finish. You can use several methods to finish raw edges effectively.
If you have a sewing machine, consider a zig-zag stitch or a serger. For a no-sew option, double-sided hemming tape works wonders when applied along the raw edge.
Here’s a quick comparison of your options:
| Method | Description | Durability |
|---|---|---|
| Zig-Zag Stitch | Sew a zig-zag pattern on raw edges | High |
| Pinking Shears | Cut edges with zigzag-patterned scissors | Medium |
| Hemming Tape | Apply tape to secure the edges | Low to Medium |
Don’t forget to press the raw edges with an iron for a neat appearance! It really makes a difference.
Select Between Hand Stitching and No-Sew Options
When deciding between hand stitching and no-sew options, you’ll want to evaluate both the fabric type and the level of durability you need. Hand sewing offers control and precision, making it perfect for delicate fabrics or when you want a permanent hem.
Evaluate fabric type and durability needs when choosing between hand stitching for precision or no-sew options for quick solutions.
Techniques like the slip stitch or running stitch help achieve a clean finish. On the other hand, no-sew options, such as hemming tape, are quick and easy.
All you need is an iron and a pressing cloth to bond the fabric layers together. If you’re looking for temporary solutions, fabric adhesive or safety pins can hold things in place while you decide on a more permanent hem method.
Choose wisely based on your project’s needs!
Secure Your Stitches for a Strong Hold
To secure your stitches for a strong hold, start by choosing the right thread and using essential stitching techniques. You’ll want to make tight knots at both ends and keep your stitches consistent for added durability.
It’s also a good idea to regularly check your thread tension. This will guarantee a strong, even seam that lasts.
Essential Stitch Techniques
Master essential stitch techniques to guarantee your hems hold up against wear and tear. Start with the backstitch, one of the strongest hand-sewing methods. It involves moving two stitch lengths forward and looping back, creating a reinforced seam perfect for durable hems.
Next, try the whip stitch. This technique secures hems and prevents fraying by sewing through the hem fold and catching the main fabric. It gives a secure yet discreet finish.
Finally, use the slip stitch for a nearly invisible hem. This method requires careful placement to catch only a few threads of the main fabric, ensuring a clean look.
Remember to secure your threads with a strong knot and maintain consistent stitch lengths for a professional finish. It really makes all the difference!
Choosing the Right Thread
Choosing the right thread is essential for securing your stitches and guaranteeing a strong hold on your hems. Use a color that closely matches your fabric for a seamless look.
Opt for strong polyester thread, as it offers durability and flexibility. This makes it perfect for various materials.
If you’re working with thicker fabrics like denim, consider a heavier weight thread for added strength. Always test your thread on a scrap piece of fabric to check compatibility before you start.
Confirm that your thread is properly wound and free of tangles to avoid snags.
| Thread Type | Best Use | Notes |
|---|---|---|
| Polyester Thread | General hemming | Durable and flexible |
| Heavy Weight Thread | Thicker materials | Withstands more stress |
| Matching Thread | Seamless appearance | Blends with fabric color |
Securing Your Thread Ends
Securing your thread ends is essential for guaranteeing your hems hold up over time. After each stitch, make a small knot to prevent unraveling.
Using a backstitch technique creates strong seams, as each stitch overlaps the previous one for added durability. Once you’ve finished sewing, trim any excess thread, leaving a small tail of about 1/4 inch to keep your knot secure.
For extra assurance, consider applying a drop of clear fabric glue to the knot to prevent it from coming undone. Always hide your knots within the fabric layers to maintain a neat appearance and avoid visible threads on the outside.
Following these steps will help guarantee your hems stay intact and look great!
Give Your Hem a Quick Press for a Neat Finish
Once you’ve secured your hem, it’s time to give it a quick press for that polished look. Start by using a steam iron with a pressing cloth to protect delicate fabrics.
Pressing in sections helps keep everything even and crisp. This way, your hem looks great and stays neat.
Proper Ironing Technique
To achieve a polished look for your hem, it’s essential to use proper ironing techniques. Start by ensuring you’ve neatly folded the hem and pinned it in place. This helps create sharp creases for a professional finish.
Always use a pressing cloth to protect delicate fabrics from direct heat, preventing any shine or burn marks. Set your iron to the right temperature: lower for synthetics, higher for cotton and linen.
Use short, firm strokes with the iron, pressing down for a few seconds on each section of the hem. Try to avoid moving the iron around too much.
Finally, let the hem cool in place. This helps keep the shape and stops it from unfolding.
Using a Pressing Cloth
A pressing cloth is a game-changer when it comes to achieving a neat hem finish. It protects your fabric, especially synthetic ones, from heat damage while you work.
Simply place the pressing cloth between the iron and the fabric to prevent shine and scorching. Before applying hemming tape or finishing stitches, use the pressing cloth to press the fold of the hem for a crisp edge.
For ideal results, make sure the pressing cloth is slightly damp; this enhances steam penetration and helps set the hem more effectively.
Finally, always check the fabric care label to confirm the appropriate ironing temperature. This way, you get a professional-looking finish without risking any damage to your fabric.
Try On Your Newly Hemmed Pants!
Slip into your newly hemmed pants and grab your favorite pair of shoes to see how they truly look. Stand in front of a full-length mirror to assess your work. You want that hem to sit perfectly above the shoe, creating a flattering break.
Check for these key points: Is the hem even? Does it align with the perfect length? Can you move comfortably without restriction?
Does it match your style goals? Are any adjustments needed for a flawless fit?
Walking around will help you gauge comfort and flexibility. If something feels off, don’t hesitate to make those final tweaks. Your pants should not only look good but feel great too!
Frequently Asked Questions
How to Hem Pants Without Stitching?
To hem pants without stitching, cut them to the desired length. Then, apply double-sided hemming tape.
Next, use an iron to secure the hem. Make sure to press it flat for a professional finish.
It’s pretty simple and quick! Just take your time to line everything up right, and you’re good to go.
Should I Wash Pants Before Hemming?
Yes, you should wash your pants before hemming. This removes any chemicals and guarantees the fabric’s drape is correct.
Once they’re dry, you’ll get a more accurate measurement for your hem. It just makes the whole process smoother and the fit better.
How Do You Use Hemming Tape?
To use hemming tape, cut it to the desired length. Then, place it between fabric layers at the fold.
Next, press with a hot iron for 10-15 seconds. Make sure to let it cool before handling. It’s pretty simple once you get the hang of it!
How to Fix Pants That Are Too Long?
Imagine a tree that grows too tall, overshadowing its surroundings. To fix pants that are too long, try them on and fold to your desired length.
Next, pin them in place and mark the fold. You can then secure the hem with tape or stitches for a lasting style.
Conclusion
Now that you’ve skillfully transformed those pants, you’ve not just shortened fabric—you’ve crafted a personal touch that’s uniquely yours. With each step, you’ve woven a little magic, turning a simple task into a rewarding experience.
So slip on your newly hemmed pants, strut your stuff, and enjoy the compliments that come your way. Hemming pants without a sewing machine might sound tricky, but you’ve proven it’s totally doable.
Remember, every stitch tells a story, and you’ve just penned a fabulous chapter in your wardrobe journey! By following these easy steps to hem pants without a sewing machine, you’ve saved time, money, and added a custom fit that feels just right. Now go ahead, wear those pants with confidence and pride—you’ve earned it!