How to Hem Trousers With a Sewing Machine in 10 Easy Steps
To hem trousers with a sewing machine, start by gathering your essential supplies like matching thread, fabric scissors, and pins.
Measuring the desired length while wearing your shoes is key to getting the perfect fit. Mark the length with fabric chalk so you have a clear guide to follow.
Next, fold the fabric up to the marked line, press it with an iron to create a crisp edge, and pin the hem in place for accuracy.
Setting up your sewing machine properly will make the process smoother and your stitches neat.
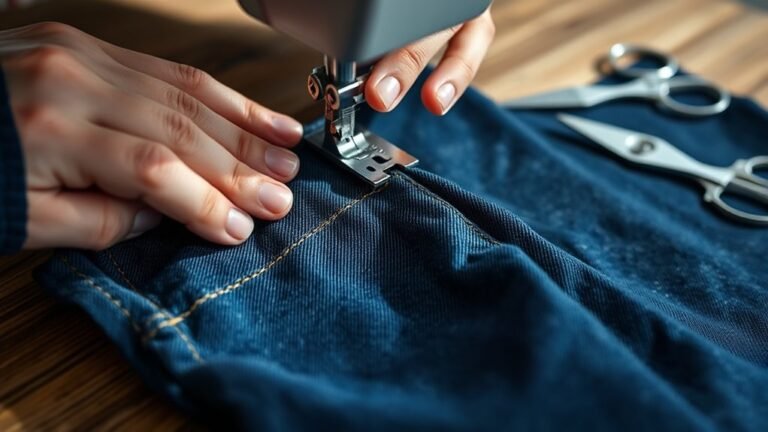
Now, sew along the folded edge, making sure to backstitch at both ends to secure the thread.
Once you’ve finished sewing, give the hem a final press with your iron for a polished, professional look.
Keep reading for more tips and tricks to master hemming trousers like a pro!
Key Takeaways
- Gather essential supplies like a sewing machine, matching thread, fabric scissors, and pins for accurate measurements and clean cuts.
- Measure and mark the desired length while wearing shoes for accurate fitting, using tailor’s chalk for clear markings.
- Fold the fabric, press for a sharp crease, and pin the hem securely before cutting to ensure evenness.
- Set up your sewing machine with the correct presser foot and stitch length, testing tension on scrap fabric.
- Sew the hem with a straight stitch, backstitching at both ends, and finish with a final press for a polished appearance.
Essential Sewing Supplies for Hemming Trousers
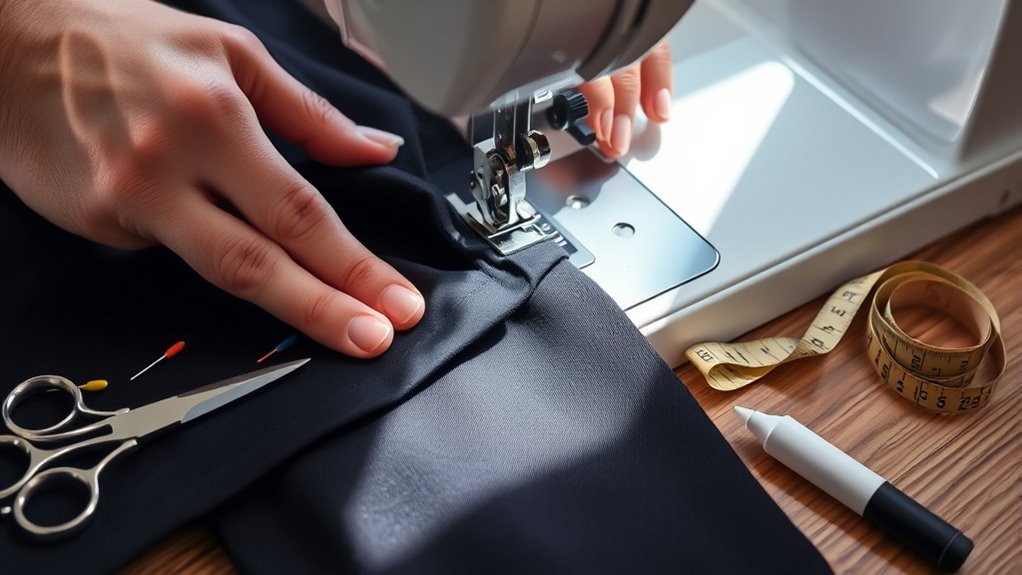
Hemming trousers requires a few essential sewing supplies to guarantee a smooth and professional result. First, you’ll need a sewing machine to make quick, even stitches. Don’t forget matching thread to make sure your hem blends seamlessly with the fabric.
Sharp fabric scissors are vital for clean cuts, preventing fraying and guaranteeing a tidy finish. A seam ripper is invaluable for removing the original hem without damaging the fabric, allowing you to start fresh.
You’ll also want pins or clips to hold the fabric in place as you work, ensuring accuracy in your measurements. Finally, having a hot iron on hand will help you press the fabric before and after sewing, creating crisp folds that lie flat. It really makes a difference!
Measure the Desired Length for Your Pants
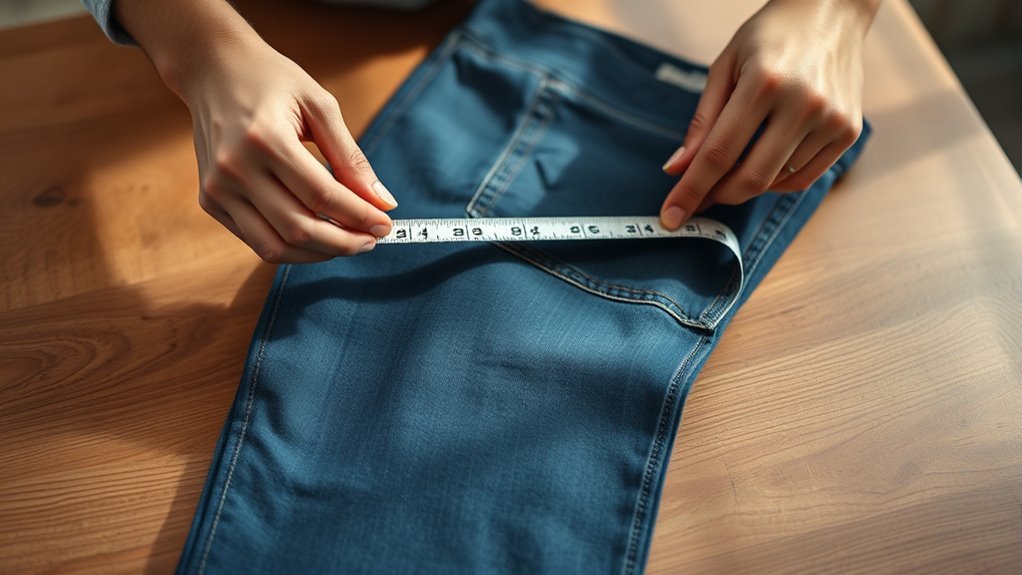
How can you guarantee your trousers hit the perfect length? Start by wearing the shoes you plan to pair with them. Stand straight and pin the fabric at the back where you want your new hemline.
For dress pants, aim for a back hem about 1/2 inch above the floor, while jeans typically need the same allowance. Use a fabric marker or tailor’s chalk to mark the cutting line, measuring 1 inch above your pinned fold for a 1-inch hem.
Always double-check your measurements to avoid mistakes.
| Type of Pants | Ideal Hem Length | Marking Method |
|---|---|---|
| Dress Pants | 1/2 inch above floor | Fabric Marker |
| Jeans | 1/2 inch above floor | Tailor’s Chalk |
| Casual Pants | Varies | Fabric Marker |
| Shorts | Above knee | Tailor’s Chalk |
| Trousers | Ankle length | Fabric Marker |
Mark the New Hemline With Fabric Chalk
Now that you’ve measured the desired length for your trousers, it’s time to mark the new hemline. Grab some temporary fabric chalk and make sure you’re wearing the shoes you plan to use.
This will help you get the right length. With your measurement tools ready, you can clearly outline your new hemline for a precise finish.
Choosing Measurement Tools
Choosing the right measurement tools is essential for achieving a clean, professional hem on your trousers. Start with temporary fabric chalk or a marker that won’t damage your fabric.
Make sure it’s suitable for your material; a fine tip may work best for delicate fabrics, while thicker lines enhance visibility on heavier textiles.
To accurately mark the new hemline, wear the trousers and appropriate shoes, so you get the exact length you want.
Remember to measure twice to confirm your desired length before marking. This helps avoid mistakes that could lead to extra adjustments.
A ruler or hem gauge can provide precision, making it easier to measure the distance from the original hem to your new mark.
Marking Techniques Explained
Once you’ve gathered your measurement tools, it’s time to mark the new hemline on your trousers. Start by measuring and pinning the desired length while wearing the shoes you’ll be using. This guarantees the perfect fit.
For a standard 1-inch hem, mark 2 inches above the pinned fold line to accommodate the double fold. Use a fabric marking pencil or tailor’s chalk to clearly indicate the cutting line on the inside of the trousers.
Make certain to mark while the fabric is turned inside out to keep the marks hidden. Remember to apply light pressure to avoid damaging the fibers. This way, the marks can be easily removed or pressed out later.
These marking techniques will help you achieve a neat and professional finish. You’ll be glad you took the time to do it right!
Fold and Press the Hem for Precision
Once you’ve marked your new hemline, it’s time to fold the raw edge toward the wrong side at the desired width.
Pressing it well creates a sharp crease, which is essential for accuracy.
Accurate Hem Measurement
Accurate hem measurement is essential for achieving a polished look in your trousers. Start by trying on the trousers with the shoes you plan to wear, marking the desired length with pins while standing straight.
Fold the raw edge of the fabric towards the wrong side by your chosen hem width—typically 1 inch for dress pants or ½ inch for jeans—and press it to create a crisp crease. For a double-fold hem, fold the pressed edge over again and press it once more.
Use a ruler or hem gauge to measure and confirm that both sides are even before pinning the hem in place. After pinning, give the hem a final press to guarantee it holds its shape and is ready for stitching.
Proper Pressing Techniques
After you’ve pinned the hem in place, it’s time to focus on pressing techniques for a polished finish. Proper pressing guarantees your trousers look professional and neat. Follow these steps:
- Measure and Mark: While wearing the trousers, measure the desired length and mark it with tailor’s chalk for precision.
- Fold and Press: Fold the raw edge towards the wrong side by your chosen hem width (typically ½ inch for jeans or 1 inch for dress pants) and press flat with an iron.
- Create a Double-Fold: Fold the fabric over again to encase the raw edge, ensuring the folded edge is even. Use steam while pressing to achieve a crisp finish without puckering.
Remember to regularly check alignment to keep everything accurate before you start sewing.
Cut Off Excess Fabric for a Clean Edge
Start by measuring the desired length of your trousers while wearing the shoes you’ll pair them with. Once you have this measurement, mark the cutting line using a temporary fabric marker or tailor’s chalk.
Remember to leave about an inch for dress pants and half an inch for jeans as a hem allowance. Next, use sharp fabric scissors to cut off the excess fabric, ensuring you leave about half an inch beyond the marked line to prevent fraying.
After cutting, it’s essential to finish the raw edges with a zigzag stitch or a serger. This step will avoid unraveling and help you achieve a clean edge.
Finally, press the hem flat with an iron for easier sewing. This little trick makes the sewing part a breeze!
Pin the Hem in Place for Even Sizing
When it’s time to pin the hem, make certain you’ve marked the desired length accurately for a perfect fit. Use quality pins to secure the fabric, checking for evenness as you go.
This attention to detail will help guarantee your trousers look great once you’re done. Just take your time, and you’ll see the difference it makes!
Mark Desired Length Accurately
To achieve a polished hem, it’s essential to accurately mark the desired length while standing straight in the trousers and the shoes you’ll wear. Follow these steps to guarantee precision:
First, pin the hem at your desired length, making sure it’s even on both legs. Then, use a measuring tape or hem gauge to confirm the length. Adjust as necessary for consistency.
Next, mark the cutting line with tailor’s chalk or a fabric marker 1 to 2 inches above the pinned fold. The exact distance depends on your hem width.
Before cutting, double-check the pinned hem and measurements. This careful marking helps you avoid mistakes and guarantees a clean, polished final look for your trousers.
Use Quality Pins
With the length marked and ready, it’s time to secure the hem using quality pins. Choose high-quality, sharp pins to hold the fabric firmly without causing damage.
For the best fit, pin the hem while wearing the trousers; this helps guarantee even length on both legs. Space the pins approximately every 2-3 inches to maintain alignment and prevent any shifting during sewing.
If you’re working with lightweight or delicate fabrics, consider using extra-fine pins to minimize visible pinholes once removed. Always remember to remove the pins just before they reach the presser foot to avoid sewing over them, which can damage both your pins and sewing machine.
This careful pinning will set you up for a successful hem!
Check for Evenness
Making sure evenness in your hem is essential for a polished look. To achieve this, follow these steps to check for evenness and pin the hem correctly:
- Have the wearer stand in the shoes they’ll be wearing, so you can accurately hem a pair of trousers for the right length.
- Use a measuring tape to confirm both pant legs are pinned to the same length, making certain of uniformity.
- Pin the hem at intervals of 4 to 6 inches, maintaining a consistent fold as you sew.
After pinning, take a moment to visually inspect the hemline from multiple angles. This helps you avoid any discrepancies.
Finally, re-measure both legs to double-check accuracy before you start sewing. This careful approach guarantees a well-finished hem.
Set Up Your Sewing Machine for Hemming
Setting up your sewing machine for hemming requires a few essential steps to achieve a polished finish. First, verify your machine has the appropriate presser foot, like a straight stitch or blind hem foot, for smooth hemming.
Next, adjust the stitch length to a medium setting, typically around 2.5mm, to suit your fabric and prevent puckering. Don’t forget to test the machine’s tension on a scrap piece of fabric; this helps verify even stitching and avoids thread bunching.
Use a thread that matches your fabric color for a seamless look. Finally, keep your sewing machine clean and well-maintained, checking for any lint or debris that could interfere with stitching quality.
Sew the Hem Along the Folded Edge
After you’ve set up your sewing machine, it’s time to sew the hem along the folded edge. Follow these steps for a clean finish:
First, position the fabric under the needle. Make sure the folded edge lines up with the presser foot so your stitch stays straight.
Next, set your machine to a straight stitch with a medium stitch length—somewhere around 2.5 to 3mm is perfect. Start sewing about 1/8 inch from the top of the folded edge. Oh, and remember to take out the pins as you go.
Don’t forget to backstitch at both ends of the hem. This helps secure the stitches and keeps everything from unraveling.
Once you’re done, you’ll have a sturdy hem that looks great!
Give Your Hem a Final Press for a Polished Look
Once you’ve finished sewing your hem, giving it a final press is essential for achieving a polished look. Start by setting your steam iron to the appropriate fabric setting.
Press from the wrong side of the finished hem to prevent any damage to the right side. To protect delicate fabrics, use a pressing cloth over the hem while ironing. Gently press along the hemline to create a sharp fold, enhancing its overall appearance.
This step guarantees your hem lays flat and looks professional. After pressing, let the hem cool completely before wearing or moving the fabric. This helps set the shape in place and gives you a crisp, clean finish that rivals the original hem.
Final Fit Check and Adjustments
With the hem pressed and looking sharp, it’s time to check the fit of your trousers. Start with a final fit check to confirm everything aligns perfectly.
Here’s what to do:
- Try on the trousers: Put them on with the shoes you plan to wear. This way, you can confirm the hem falls correctly over them.
- Use a full-length mirror: Check both the front and back. Make sure the length looks flattering and functional.
- Make adjustments if necessary: If the hem feels off, carefully unpick the stitches with a seam ripper. Then, re-sew as needed.
Once you’re satisfied with the fit, press the hem again to set the stitches. This gives you a polished finish. Enjoy your perfectly tailored trousers!
Frequently Asked Questions
What Type of Fabric Chalk Should I Use for Marking?
You should use tailor’s chalk or fabric markers for marking. They’re easy to see on most fabrics and wash out easily.
Avoid regular chalk, as it can leave residue and be hard to remove.
It’s best to pick tools designed specifically for fabric. That way, your markings come off cleanly without any hassle.
How Do I Choose the Right Needle for My Fabric?
Choose a needle that matches your fabric type: use a universal needle for woven fabrics, a ballpoint for knits, and a sharp needle for delicate materials.
Always check your fabric’s weight and fiber content for best results.
It really helps to match the needle to what you’re working with, so your sewing goes smoothly!
Can I Use a Serger for Hemming Trousers?
Sure, you can use a serger for hemming trousers—if you enjoy living on the edge!
Just remember, it’ll give you a clean finish but may not be as precise as a regular sewing machine.
What if I Don’t Have a Sewing Machine?
If you don’t have a sewing machine, you can hand-sew the hem using a needle and thread. It’s a bit more time-consuming, but totally doable.
You can also use fabric glue or iron-on hem tape for a quick and easy solution. These options work great if you want to skip sewing altogether.
How Do I Fix Mistakes While Hemming?
Mistakes can be a stitch in time! If you mess up, unpick the wrong stitches carefully, then re-align the fabric.
Don’t worry; even the best sewers make errors, and fixing them gets easier with practice. Just take your time and keep going!
Conclusion
As you finish hemming your trousers, think of each stitch as a step on your journey. Just like a tailor crafts a perfect fit, you shape your own path with care and precision.
Embrace the satisfaction of transforming fabric into something that feels just right. With every fold and press, you’ve not only tailored your pants but also stitched together moments of creativity and self-expression.
Wear them proudly, for they’re more than just trousers; they’re a reflection of your handiwork. Hemming trousers with a sewing machine isn’t just about altering fabric—it’s about making something truly your own. When you follow the steps to hem trousers with a sewing machine, you gain confidence in DIY tailoring and add a personal touch to your wardrobe. So go ahead, enjoy the process, and wear your perfectly hemmed trousers with pride!