How Do You Sew Bias Tape in 7 Easy Steps
To sew bias tape in 7 easy steps, start by preparing your bias tape. Cut it on the bias and fold the edges carefully to get a neat finish.
Next, align and pin the tape along your fabric’s raw edge. Make sure it’s secured smoothly, especially around curves, to avoid puckering.
Sew close to the fold line, then fold the tape over the fabric’s edge. Topstitch it in place for a clean, professional finish.
Finally, press the seam sharply to set it.
Keep going to discover tips for perfect seams and professional results that will make your sewing projects stand out!
Key Takeaways
- Cut fabric strips on the 45-degree bias and press flat before folding to prepare flexible bias tape. This helps the tape to stretch and curve nicely around edges.
- Align and pin the raw edge of bias tape with the fabric edge. Pin perpendicular to the edge, especially on curves, so the tape stays smooth and in place.
- Open double fold bias tape and sew close to the pressed fold line with a straight stitch. This secures the tape neatly to your fabric.
- Fold bias tape over the fabric’s raw edge, press sharply, and set with a hot iron and steam. This gives you crisp, clean edges that look professional.
- Secure bias tape by topstitching close to the fold. This final step keeps everything in place and adds a polished finish to your project.
Preparing the Bias Tape
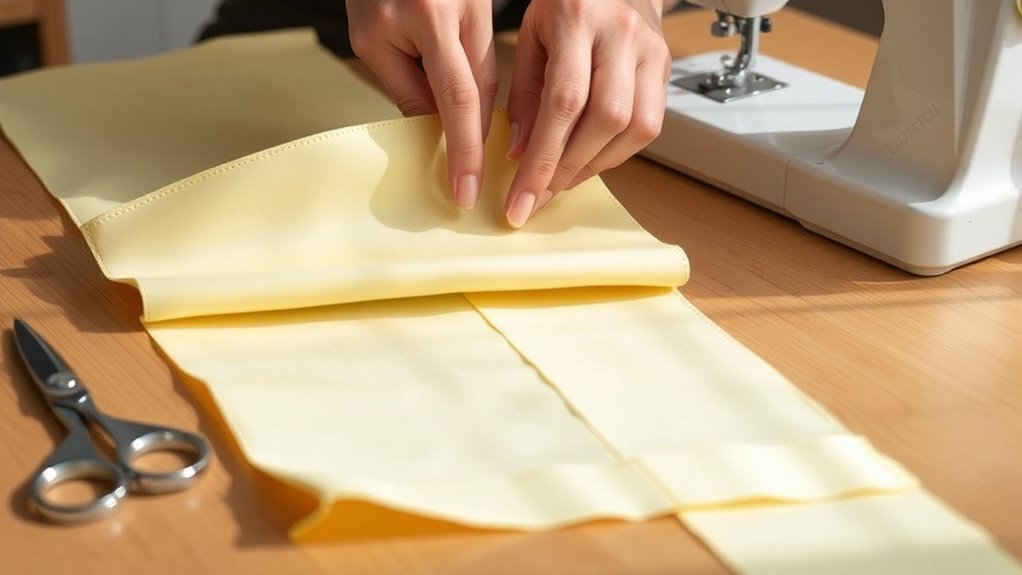
Preparing bias tape starts with cutting fabric strips on the 45-degree bias grain, which gives the tape its essential stretch and flexibility. To prepare bias tape, you’ll cut fabric strips to your desired width, usually with a rotary cutter and ruler for accuracy.
Once cut, press the fabric flat to prevent puckering. Next, fold the raw edges inward along the fold line, either by hand or using a bias tape maker, creating clean edges.
For double fold bias tape, fold the strip in half lengthwise and press again to set the center fold line firmly. This double fold helps enclose all raw edges, making the tape neater and more durable.
Properly preparing and pressing your bias tape guarantees it stretches and lays flat when sewn. It really makes a difference in the final look and feel of your project.
Aligning Bias Tape With Fabric Edge
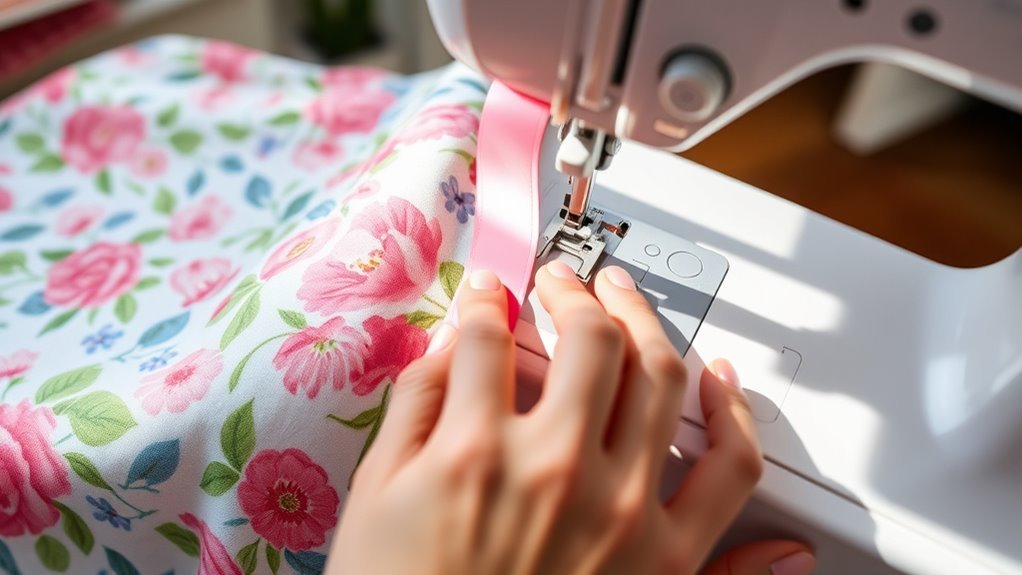
After pressing your bias tape, the next step is to align it carefully with the fabric edge. Start by matching the raw edge of the bias tape with the raw edge of your fabric.
If you’re using double fold bias tape, open it up and place the wider edge along the fabric’s edge, with the folded side facing away from the fabric. Make sure the fold line of the bias tape aligns with the seam allowance or your intended sewing line.
Leave a small seam allowance—usually about ¼ inch—beyond the raw edge for proper finishing. You’ll sew along the pressed fold line of the bias tape, keeping your stitch close to this fold line.
This way, the bias tape attaches neatly and securely to your fabric edge. It really helps give your project a clean, professional look!
Pinning the Bias Tape in Place
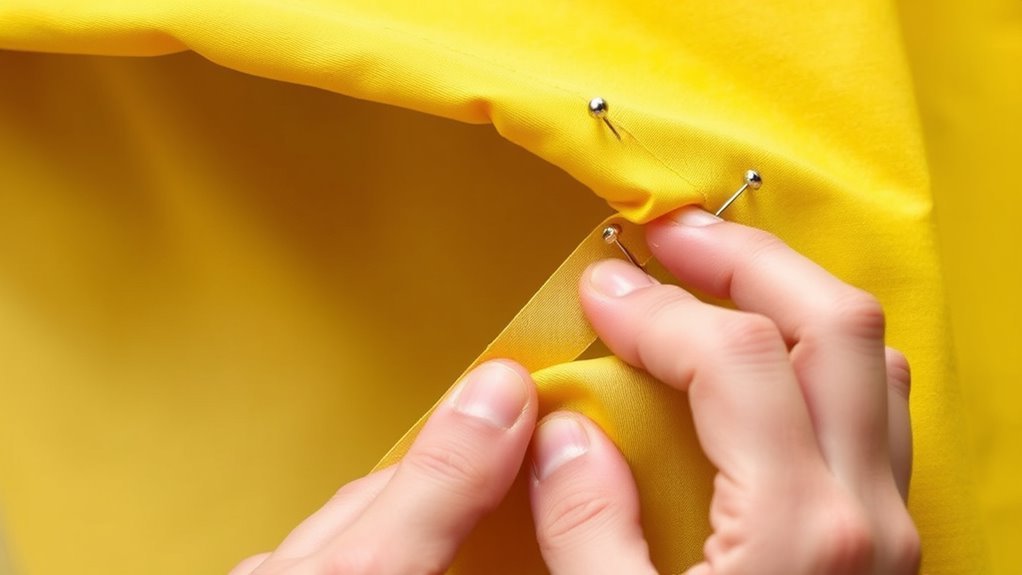
How do you keep bias tape from shifting while you sew? Pinning is key to holding the bias tape securely in place and preventing any movement.
Start by aligning the bias tape with the fabric edge, then pin perpendicular to the edge. This placement helps you maintain a straight line and keeps everything perfectly aligned.
When working with curves, use plenty of pins to ease the bias tape smoothly onto the fabric, avoiding puckers. Begin pinning at the center of the edge and work outward to ensure even tension.
As you sew, remove the pins gradually, making sure the bias tape stays flat and correctly positioned. Proper pinning guarantees a neat finish and smooth seam every time.
Sewing Along the Bias Tape Fold
When you sew along the pressed fold of the bias tape, keeping your stitches close to the fold guarantees a clean, professional look. Use a straight stitch with a stitch length of 2.0 to 2.5 mm, aligning your seam allowance about ¼ inch from the raw edge.
Stop with the needle down at corners to pivot smoothly. For curved sewing, slow down and remove pins just before stitching to avoid puckering. Follow the pressing line as your guide for consistent sewing along the fold.
| Step | Tip | Purpose |
|---|---|---|
| Sew along fold | Keep stitches close | Clean, neat finish |
| Use straight stitch | Set stitch length 2.0–2.5 mm | Secure attachment |
| Corner pivot | Needle down, turn fabric | Smooth direction change |
| Pin removal | Remove pins gradually | Prevents puckering |
Folding Bias Tape Over the Raw Edge
When folding bias tape over the raw edge, make sure the tape edges align perfectly with the fabric’s raw edge. Press the folds sharply to create a smooth, professional finish that hugs curves and straight lines alike.
Using a hot iron and steam will help set these folds firmly before you pin and sew. This way, everything stays in place and looks neat. Plus, it makes sewing a lot easier!
Aligning Bias Tape Edges
Although folding bias tape over the raw edge may seem straightforward, placing the wider raw edge of the tape on the back side of the fabric makes wrapping much easier. Start by aligning the raw edges of the tape and fabric carefully.
To keep everything in place, follow these steps:
- Pin or clip the bias tape along the raw edge to prevent shifting while sewing.
- Sew precisely along the fold line to secure the tape to the fabric’s raw edge.
- Press the sewn tape flat, then fold it over to the right side and topstitch close to the fold to secure it neatly.
This method ensures your bias tape covers raw edges smoothly and stays firmly attached for a clean finish. Easy, right? It really helps your project look polished and professional.
Pressing for Smooth Finish
After securing the bias tape along the raw edge, pressing it properly guarantees a smooth, crisp finish that makes your project look polished. Start by folding the bias tape over the raw edge, aligning the edges precisely.
If you’re using double fold bias tape, fold it in half first, then fold each raw edge toward the center fold. Press firmly along the folds using a hot iron set to your fabric’s temperature.
Apply steam to help shape the folds and create sharp creases. Always press from the wrong side first to set the folds, then flip to the right side to check smoothness.
Use a pressing cloth if needed to avoid shine or damage. This careful pressing assures your bias tape lies flat and looks professional.
Securing the Bias Tape With Edge Stitching
How do you secure bias tape neatly to your fabric? Edge stitching is the key. This technique involves sewing a straight stitch close to the folded edge of the bias tape, ensuring a clean, professional finish.
Follow these steps:
- Pin the bias tape flat and smooth along the fabric edge to prevent shifting or puckering.
- Sew a straight stitch about 1/8 to 1/4 inch from the fold, using a shorter stitch length (around 2.0 mm) for durability.
- Optionally, add a second parallel topstitch line along the inner edge of the bias tape for extra security and a polished look.
Pressing the Finished Seam for a Professional Look
When you finish sewing the bias tape, press the seam allowance open right away to achieve a crisp, flat edge. Use a hot iron set to the correct fabric temperature to press open the seam without dragging, which could distort the seam allowance.
For delicate fabrics, always place a pressing cloth over the seam to avoid shine or scorching. Employ a consistent pressing technique, pressing firmly along the entire seam length to ensure a flat finish.
Make sure the seam lies smooth and the edges are perfectly aligned. Once pressed, allow the seam to cool completely before handling to set the pressed position.
Ensure seams are smooth and aligned, then let them cool fully to set the press for a flawless finish.
This careful press seam process guarantees a professional appearance and a crisp seam that enhances your project’s overall quality. It really makes all the difference!
Frequently Asked Questions
How Do You Sew Bias Tape?
You align bias tape’s raw edge with your fabric, pin it securely, especially on curves, then sew along the fold.
Fold the tape over, press flat, and topstitch close to the edge for a neat finish. It’s easier than it sounds once you get the hang of it!
Is There a Difference Between Bias Binding and Bias Tape?
Like knowing the difference between a sword and a scabbard, bias binding is folded, ready to finish edges, while bias tape can be raw strips.
You’ll find bias binding more polished for edge sewing than general bias tape.
What Side of Bias Tape Goes on First?
You start by placing the bias tape’s right side against the fabric’s wrong side, aligning raw edges.
Sew the narrower folded edge first along the seam line. Then fold the wider edge over to finish.
What Stitch Should I Use for Bias Binding?
You should use a straight stitch with a 1/4 or 3/8 inch seam allowance for bias binding.
For curves or stretch, try a narrow zigzag stitch to keep flexibility and prevent puckering.
It’s always a good idea to test on scraps first. That way, you can make sure the stitch works well before sewing on your actual project.
Conclusion
Now that you’ve sewn bias tape in just seven easy steps, remember that practice makes perfect. Don’t rush—take your time aligning, pinning, and stitching carefully.
Each step helps you create a clean, professional finish that’ll make your projects stand out. With patience and a little practice, you’ll sew bias tape like a pro in no time.
Keep at it, and soon you’ll find this sewing bias tape technique becomes second nature. Mastering how to sew bias tape not only enhances your sewing skills but also adds a polished touch to your garments and crafts.
So, stick with it, practice regularly, and enjoy the satisfaction of beautifully finished edges every time!