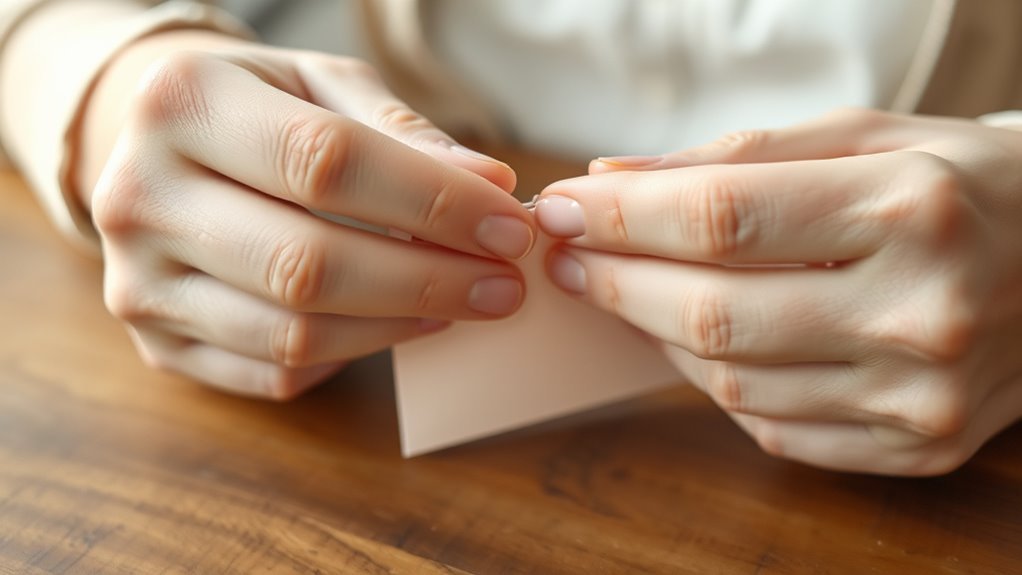
How You Can Sew Paper Step by Step
You can sew paper step by step by first choosing a sharp, thin needle (size 60/8 or 70/10) and setting your stitch length to about 3-4mm to avoid tearing. This is key when you want neat, durable stitching on paper.
Secure your paper with light adhesive or a stabilizer, then guide it slowly through the machine, keeping stitches even. Make sure to take it slow so the paper doesn’t shift or bunch up.
When you finish, tie knots or use a dab of glue to secure the thread. There are simple techniques like these that make all the difference if you want to master sewing paper. It’s easier than you might think!
Key Takeaways
- Use a sharp, thin needle (size 60/8 or 70/10) and set stitch length to 3-4mm to avoid tearing the paper.
- Secure paper layers with light adhesive or temporary pins before sewing to prevent shifting.
- Guide the paper along a ruler or masking tape for accurate, straight stitching lines.
- Sew slowly and steadily, flattening punched holes or edges with a bone folder to protect the paper.
- Finish by tying knots at thread ends and securing with glue to prevent unraveling and ensure durability.
Choosing the Right Sewing Machine and Needle
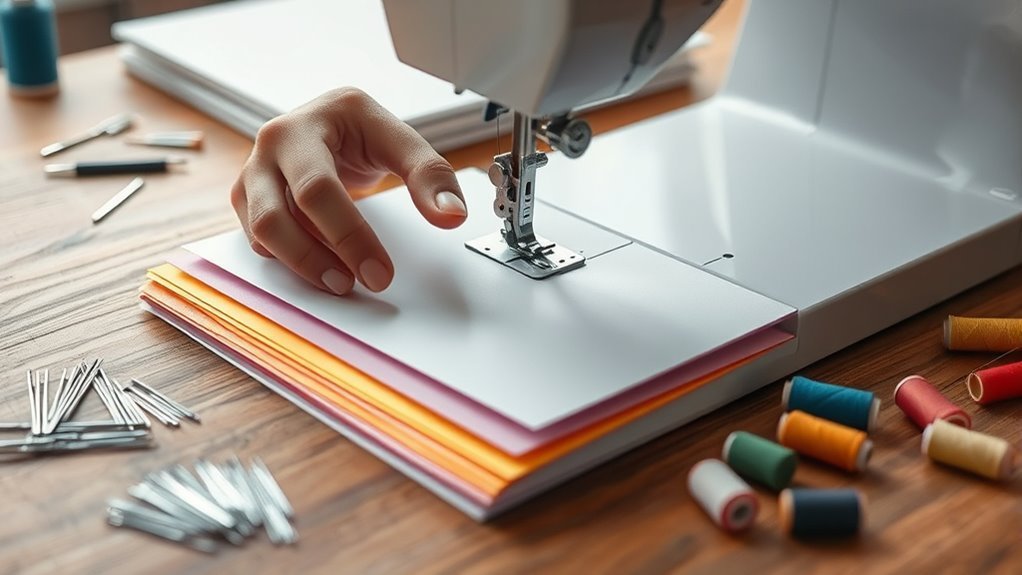
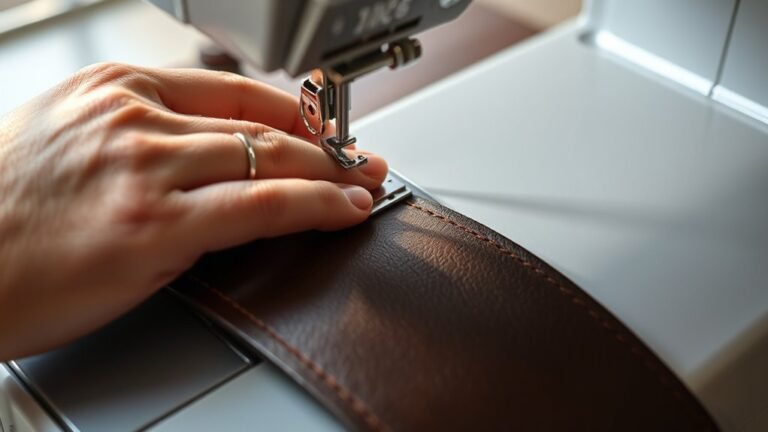
When sewing paper, you’ll want a dedicated sewing machine that offers a variety of stitches and an easy reverse function to handle the delicate material without damage. Choosing a reliable sewing machine from reputable brands like Janome ensures durability and smooth operation, which is vital for paper projects.
You’ll need to adjust the stitch length to about 3-4mm to avoid tearing or perforating your paper. Equally important is selecting the right needle—a sharp, thin size 60/8 or 70/10 needle works best to prevent ripping.
Make sure to replace or mark your needles used for paper frequently, so they stay sharp and deliver clean, consistent stitches. Using the right sewing machine and needle setup sets you up for success in sewing paper.
Preparing Paper and Fabric for Sewing
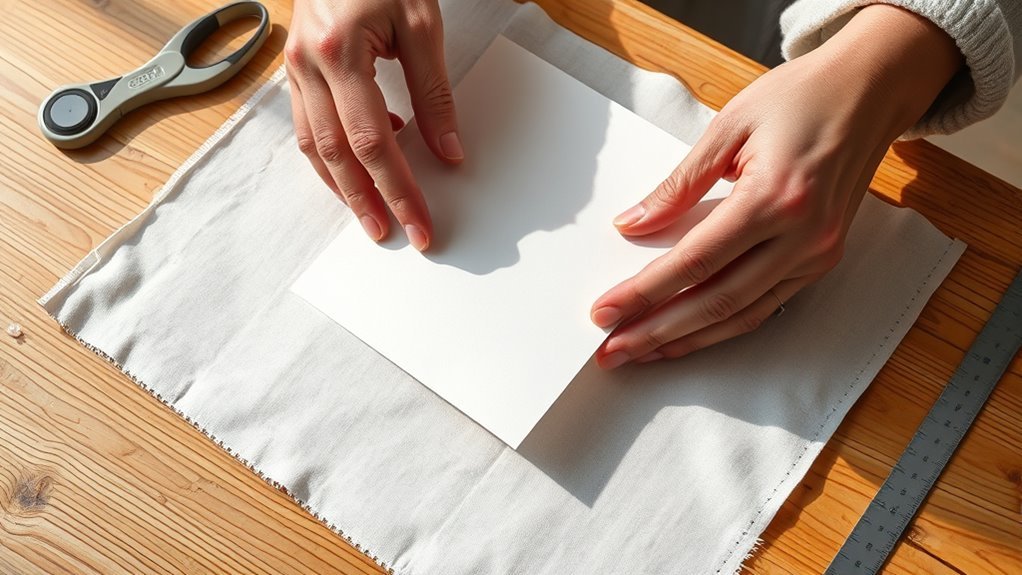
Selecting the right machine and needle sets the stage, but preparing your paper and fabric properly guarantees smooth sewing without damage. Great tips include choosing sturdy, flat paper like handmade or thick craft paper to prevent tearing.
Choosing sturdy, flat paper and the right needle ensures smooth sewing without tears or damage.
Before sewing, use a light adhesive such as a glue stick or temporary pins to secure fabric or paper together. This helps make sure everything stays aligned.
If you need extra stability, consider applying fusible interfacing or Misty Fuse. Trim excess fabric or paper carefully to create clean, straight lines and reduce bulk.
Whether you use the sewing machine or hand sewing, make sure to select a dedicated needle. Also, maintain a stitch length of about 3-4mm to avoid damaging your materials and ensure precise results every time.
Step-by-Step Sewing Techniques for Paper
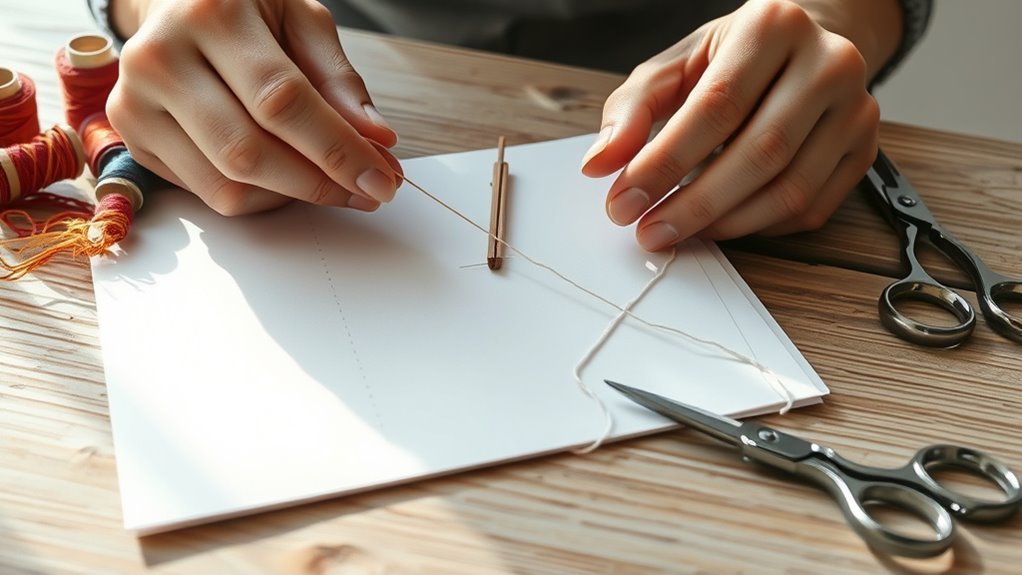
Although sewing paper requires care, mastering a few key techniques will help you achieve clean, professional results. First, use a dedicated sewing machine needle marked with a colored nail polish to prevent dulling.
Set your stitch length to 3-4mm to avoid perforating or tearing delicate paper surfaces. To sew straight lines accurately, guide the paper along a ruler or masking tape for control and precision.
Before stitching, flatten punched holes or rough edges with a bone folder to create a cleaner, more secure stitch. Finally, secure thread ends by tying knots at the top or applying a small amount of glue on the underside to prevent unraveling.
Following these steps ensures your paper projects look neat and hold together well. It might take a bit of practice, but you’ll get the hang of it in no time!
Essential Tips to Prevent Tearing and Damage
Since paper is delicate, taking steps to prevent tearing and damage is essential for successful sewing projects. Use a longer stitch length (3-4mm) to avoid perforations that weaken the paper.
Always pick a sharp needle designed for paper sewing to keep the surface smooth. Sew slowly and steadily to maintain control and reduce ripping risks.
Stabilize your paper with adhesive or a stabilizer to prevent shifting. Flatten punched holes and rough edges with a bone folder before stitching to protect the paper.
| Tip | Why It Helps | How to Do It |
|---|---|---|
| Longer stitch length | Prevents perforations | Set machine to 3-4mm stitch |
| Sharp paper needle | Avoids surface damage | Use needles labeled for paper |
| Slow, steady sewing | Reduces risk of tears | Sew at a controlled pace |
| Use stabilizer/adhesive | Minimizes paper shifting | Apply before stitching |
Finishing Touches and Securing Stitches
When you finish sewing your paper project, securing the stitches properly is key to keeping your work intact and looking polished. Start by pulling the thread to the top, then tie a knot and trim the excess for a neat finish.
You can also pull the thread to the underside and add a small dab of glue to prevent unraveling. If you want a decorative touch, leave the thread ends visible and tie knots or bows on the surface.
Just make sure the knots are tight enough to stop stitches from loosening, especially on delicate paper. Finally, trim any extra thread close to the knot or glue point to keep your project tidy and professional-looking.
Frequently Asked Questions
How to Make Fabric Into Paper?
You tear fabric into small pieces, soak it in water with glue, then blend it into pulp.
Spread the pulp on a screen, press out water, and let it dry until it becomes firm like paper.
It’s pretty simple once you get the hang of it! Just make sure the fabric is well-soaked so it blends smoothly.
What Is Fagoting in Sewing?
Fagoting in sewing is when you join two fabric pieces using decorative, evenly spaced stitches, creating a lacy, openwork effect.
You can do it by hand or machine to add delicate, ornamental detail to your projects. It’s a great way to make your sewing look extra special.
How to Make Crafts With Paper Step by Step?
You gather supplies, sketch designs, cut shapes, and fold edges. You glue pieces, add details, and let everything dry.
Then, you decorate boldly, arrange creatively, and finish confidently—transforming simple paper into beautiful, personalized crafts step by step. It’s fun and really rewarding!
What Are 100 Things I Can Do With Paper?
You can fold origami, make greeting cards, craft paper flowers, create collages, design custom stationery, build 3D models, sew paper decorations, print labels, scrapbook, and more—unlock endless creativity with paper in your hands!
Seriously, the possibilities are huge. Whether you want to decorate your space or make personalized gifts, paper’s your best friend. Give it a try and see where your imagination takes you!
Conclusion
So, who knew sewing paper could be this easy and fun? With the right machine, needle, and a bit of care, you’ll be stitching like a pro—without turning your paper into confetti.
Just remember, while paper isn’t exactly your typical fabric, a little patience goes a long way. Don’t expect miracles, but don’t be surprised when your next paper project looks more like art and less like a mess.
Happy sewing! Sewing paper step by step opens up creative possibilities you might not have imagined. By choosing the right tools and techniques, you can transform ordinary paper into beautiful, stitched masterpieces. Whether you’re making cards, journals, or unique decorations, sewing paper lets your creativity shine. So grab your sewing machine and needle, and start exploring the fun and easy world of paper sewing today!