How to Do and Sew a Blind Hem in 7 Simple Steps
To sew a blind hem, start by measuring and pressing your fabric’s hem allowance. Then, trim and finish the raw edge to keep it neat. This preparation is key for a clean, professional finish.
Next, set your sewing machine to the blind hem stitch and attach the special foot designed for this technique. Position the folded fabric under the needle, making sure the fold is aligned just right for catching small stitches.
Sew slowly, carefully catching tiny bites of the fold so the stitches remain almost invisible on the outside. When you’re done, secure the thread tails and trim any excess threads.
Finally, press the hem flat to give it a crisp, polished look. Keep practicing and exploring the details to perfect your blind hem sewing skills—it really makes a difference in your finished garment!
Key Takeaways
- Measure, trim, and press the hem allowance. Secure the raw edges to prepare the fabric for a clean fold.
- Select the blind hem stitch and attach the blind hem foot. Adjust the stitch width and length so the stitching stays subtle.
- Position the folded fabric under the presser foot. Make sure the zigzag barely catches the hem fold to keep the stitches invisible.
- Sew slowly, locking the stitches at the start and end. Don’t forget to trim any excess threads for a neat, secure finish.
- Press the hem flat using a pressing cloth. Let it cool completely, then check for an even, professional look.
What Is a Blind Hem Suitable for
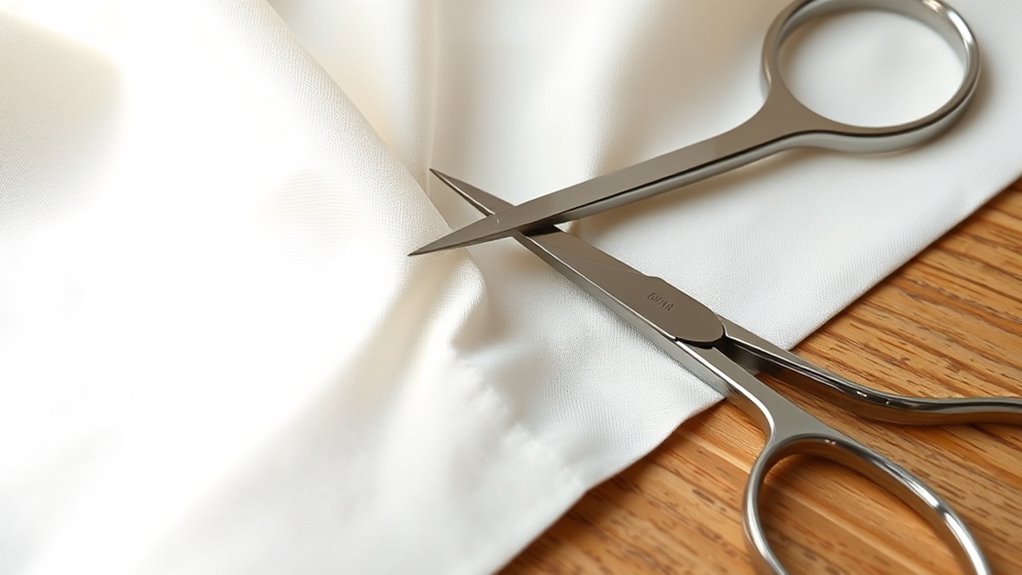
Where should you use a blind hem? You’ll want to choose this technique when you need a nearly invisible finish on garments like suits, dresses, or tailored skirts.
The blind hem stitch is perfect for heavy fabric such as denim or canvas, where visible stitching would spoil a professional look. It’s also great for curtains and draperies, helping the fabric hang naturally without noticeable stitches.
If you’re working on high-quality trousers or formal wear that must hang freely, this method will securely secure the hem while staying discreet. However, avoid using a blind hem on lightweight or sheer fabric, or on items exposed to heavy friction, as the stitch can become visible or wear out quickly.
Preparing the Fabric and Hem Allowance
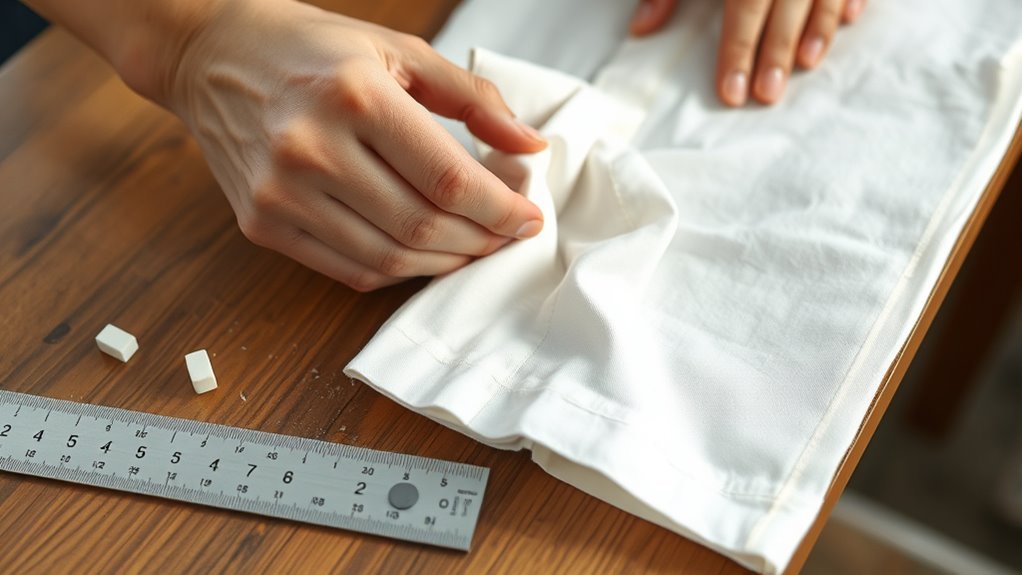
Start by measuring and marking the hem length, including the allowance, with fabric chalk or a marker. Next, trim the raw edges to prevent fraying, especially if your fabric tends to unravel.
It’s a good idea to secure those edges by overcasting or serging before folding the hem for a clean finish. This way, your fabric stays neat and lasts longer.
Measure and Trim Allowance
Before sewing your blind hem, measure the desired hem length by folding the fabric up and pinning it securely in place.
Next, fold the hem carefully and use a ruler or measuring tape to measure the hem allowance. Trim the excess fabric to a depth between 1/4 inch and 1 inch, depending on your fabric and project needs.
Press the folded hem flat with an iron to set the crease for a neat finish.
| Step | Details |
|---|---|
| Fold the hem | Fold fabric at desired length |
| Measure allowance | Use ruler for consistent depth |
| Trim allowance | Cut excess between 1/4″ to 1″ |
| Press the hem | Iron fold for a crisp edge |
Secure Raw Edges
Although trimming the raw edges might seem minor, it’s essential to prevent fraying and guarantee your blind hem looks clean. Start by trimming the raw edge neatly, then secure it with an overlock stitch if your fabric tends to fray. This step adds durability and keeps the fabric intact during hemming.
Next, fold the hem allowance to your desired depth and press it flat to create a smooth, even line. Pin or clip the fold in place to prevent shifting while you sew.
If you’re working with heavy or textured fabrics, clip or baste the raw edges before folding to keep everything aligned. Taking these steps ensures your blind hem will look professional and last longer.
Setting Up the Sewing Machine for a Blind Hem
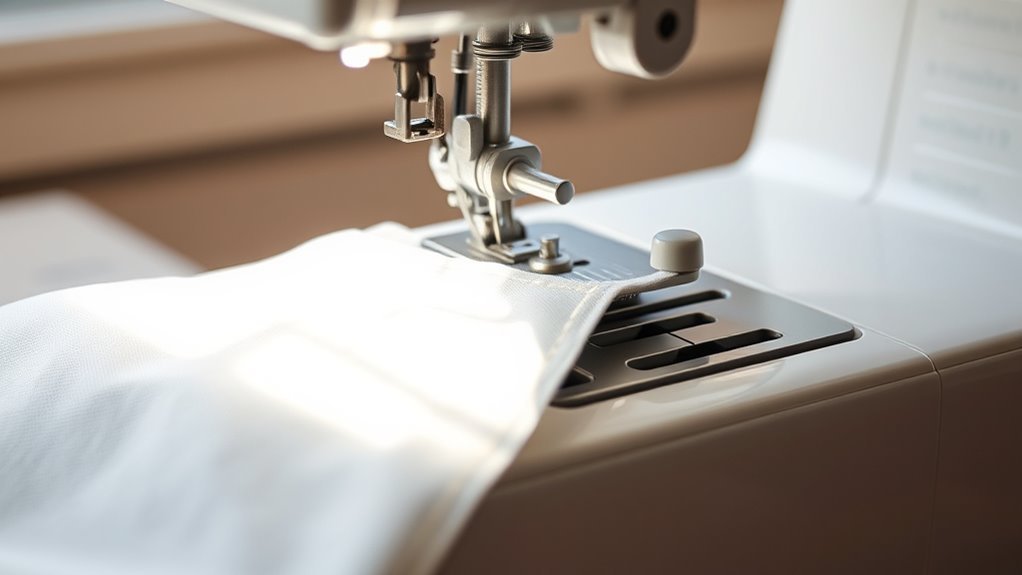
Before you start sewing, make sure your machine has a blind hem stitch option. Attach the blind hem foot designed for this stitch—it really helps!
Next, select the blind hem stitch on your machine’s settings. This will give you the right pattern for an invisible finish.
Doing this setup is key to getting a clean, professional-looking hem. It makes all the difference!
Selecting Blind Hem Stitch
When setting up your sewing machine for a blind hem, you’ll want to select the dedicated Blind Hem stitch, often labeled as Stitch #9 or a similar number. This stitch is designed to create nearly invisible hems, using a precise zigzag that just catches the fabric fold.
Here’s how to set it up:
- Confirm your machine has the Blind Hem stitch option.
- Attach the Blind Hem Foot for accurate fabric positioning.
- Set stitch length between 2.0 and 3.0 mm for small, neat stitches.
- Adjust stitch width so the zigzag tip lightly touches the hem fold without showing on the outside.
Always test on scrap fabric to check stitch placement and tension before hemming your project. It really helps avoid surprises once you start sewing on your actual fabric.
Attaching Blindstitch Foot
How exactly do you attach the Blindstitch Foot to your sewing machine? Start by snapping the Blindstitch Foot #5 securely onto your machine, ensuring it clicks in place.
Next, select the Blind Hem Stitch (#9) and adjust the stitch width and length based on your fabric type.
Raise the presser foot, align your fabric’s raw edge with the foot’s guide, then lower the foot. Test on scrap fabric, tweaking stitch width and tension until the hem is nearly invisible.
Don’t forget to use backstitch or tie-off functions to secure your blind hem.
| Step | Action | Tip |
|---|---|---|
| Attach Foot | Snap Blindstitch Foot #5 | Make sure it clicks securely |
| Select Stitch | Choose Blind Hem Stitch (#9) | Adjust stitch width |
| Position Fabric | Align raw edge with guide | Raise presser foot first |
| Test Stitch | Sew on scrap fabric | Adjust tension/stitch width |
| Secure Hem | Use backstitch or tie-off | Locks stitches in place |
Positioning the Fabric for Sewing
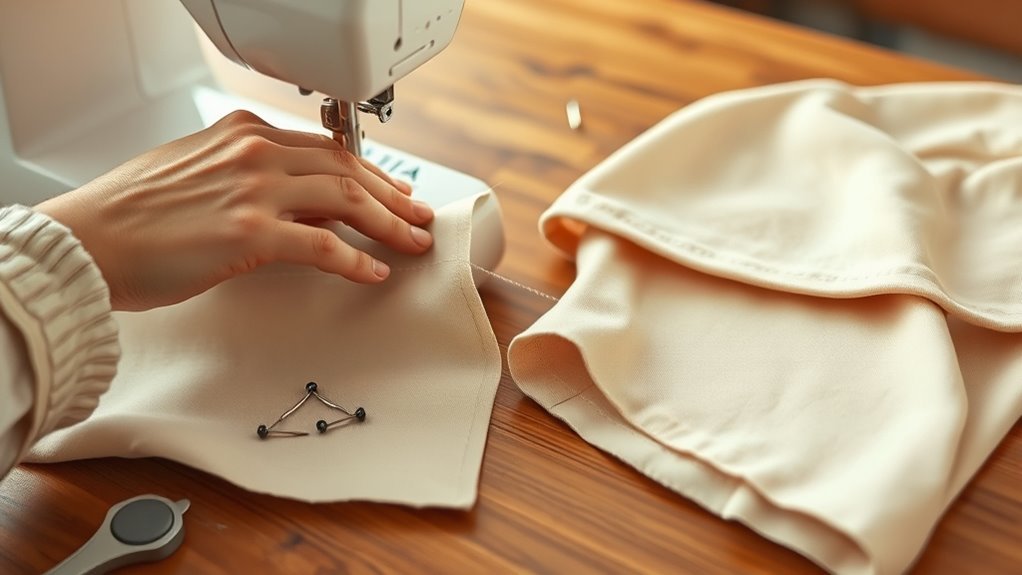
Although sewing a blind hem requires careful attention, positioning your fabric correctly guarantees the foundation for a clean stitch. Start by folding the hem allowance to your desired length and pressing it flat to create a crisp fold.
Next, align the raw edge of the fabric with the guiding mark or hemline to ensure evenness throughout. To keep everything in place, secure the folded fabric with pins or clips, preventing any shifting as you sew.
Finally, position the fabric under the sewing machine foot so the raw edge sits just inside the guide for accurate stitching. Before you start sewing, double-check that the folded edge and raw edge are properly aligned to achieve a perfect blind hem.
- Fold and press the hem allowance
- Align raw edge with hemline
- Secure with pins or clips
- Position fabric under presser foot
Sewing the Blind Hem Stitch
Before you begin sewing the blind hem stitch, make sure your fabric is aligned under the machine’s guide or foot. This helps keep your stitches consistent and nearly invisible.
As you sew, use a blind hem foot or guide to position the folded edge precisely in the hem area. The stitch pattern combines straight stitches on the fabric’s right side with tiny zigzag stitches that catch just the fold beneath, securing the hem discreetly.
Sew slowly to maintain accuracy. Make sure the zigzag stitch only touches the fold without piercing the main fabric.
It’s a good idea to test your stitch placement on scrap fabric first. This way, you can confirm the blind hem is catching the fold properly while staying invisible from the outside.
This careful technique creates a professional, clean finish on your blind hem. You’ll be happy with how neat it looks!
Securing and Finishing the Hem
Once you’ve sewn the blind hem stitch carefully, it’s important to secure the hem properly to keep your work durable. To finish strong, follow these steps:
Sew 4-5 small straight stitches (around 0.5 mm length) at both the start and end of the hem to lock the seam in place. Use a locking stitch or backstitch at these points to reinforce the hem against wear and unraveling.
Trim any excess threads close to the seam to maintain a neat, professional finish. Don’t skip these steps—they really help your hem stay secure through regular use.
Pressing the Hem for a Professional Look
When you press the hem flat with a hot iron set to the right temperature, you give your garment a polished, professional finish. After folding the hem to the desired length, press firmly along the fold line to create a crisp, sharp crease.
Use steam for best results. But if your fabric is delicate or dark, place a pressing cloth between the iron and the hem to prevent shine or scorching.
Lightly press the hem from the wrong side to set the fold without distorting the fabric or causing unwanted creases. Finally, allow the pressed hem to cool completely before handling or sewing.
Proper pressing ensures your blind hem looks neat, sharp, and professionally done every time.
Frequently Asked Questions
How to Sew a Blind Hem Stitch?
You sew a blind hem stitch by folding your fabric and setting your machine to the blind hem stitch. Then, sew slowly so the zigzag catches just the fold.
Make sure to adjust the stitch width to keep the stitches invisible. Once you’re done, press the hem to finish it off nicely.
How to Sew a Hem by Hand for Beginners?
You start by folding the fabric edge and pinning it in place. Then, sew tiny stitches through the fold and fabric, catching only a few threads.
Keep your stitches small and even. Make sure to knot securely when you finish.
Trim any excess thread, and press the hem for a neat, polished finish. It’s easier than it sounds once you get the hang of it!
What Stitch Length for Blind Hem?
Think of stitch length like the tempo of a song—set it around 2.5 mm to keep your blind hem smooth and invisible.
Adjust slightly for fabric weight, but don’t go too short or too long, or it’ll show.
Can You Do a Blind Hem on a Regular Sewing Machine?
Yes, you can do a blind hem on a regular sewing machine. Use the blind hem stitch setting or a narrow zigzag stitch.
Adjust the stitch length and width, and make sure to practice on scrap fabric first. This helps you get neat, nearly invisible hems every time.
Conclusion
Now that you’ve mastered each step, imagine the polished look your garment will have with that nearly invisible hem. But here’s the secret: the real magic happens when you press it just right, giving your project that professional finish everyone will admire.
Ready to impress yourself and others? Grab your iron, take a deep breath, and get ready to reveal a flawless blind hem that looks like it was sewn by a pro—because you’ve earned it! Sewing a blind hem might seem tricky, but with these simple steps, you’ve unlocked a valuable skill that elevates any sewing project.
So go ahead, practice these blind hem sewing techniques, and watch your garments transform. The confidence you gain will shine through every stitch, making your creations look polished, neat, and truly professional. Happy sewing!