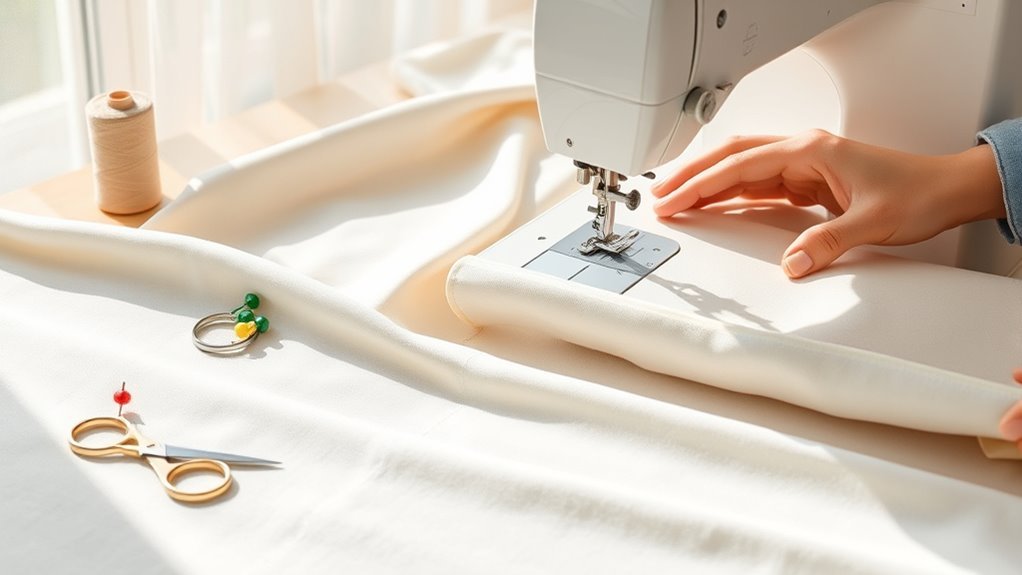
How to Do Sew Curtains in 3 Simple Steps
First, measure your window carefully and cut your fabric, making sure to add extra for hems and fullness. This step is key to getting the right size for your curtains and ensuring they hang beautifully.
Next, fold and press hems on all sides. Sew them securely to create a neat and polished finish. Taking your time here really pays off with a professional look.
Finally, create the rod pocket by folding the top edge twice, pressing it, and stitching to fit your curtain rod perfectly.
Slide the rod through the pocket, adjust your curtain’s length, and hang it up with pride.
If you want tips on achieving a polished look, keep exploring these simple steps. Sewing curtains can be fun and rewarding when you break it down like this!
Key Takeaways
- Pre-wash, iron, and measure fabric length and width with added allowances for hems and fullness.
- Cut fabric straight, adding seam and hem allowances for a professional finish.
- Fold and press hems twice by ½ inch, pin, and sew with straight stitches for neat edges.
- Create a rod pocket by folding the top edge twice by 2 inches, then sew securely.
- Slide curtain rod through the pocket, adjust length, and reinforce ends to prevent tearing.
Measuring and Cutting Your Fabric
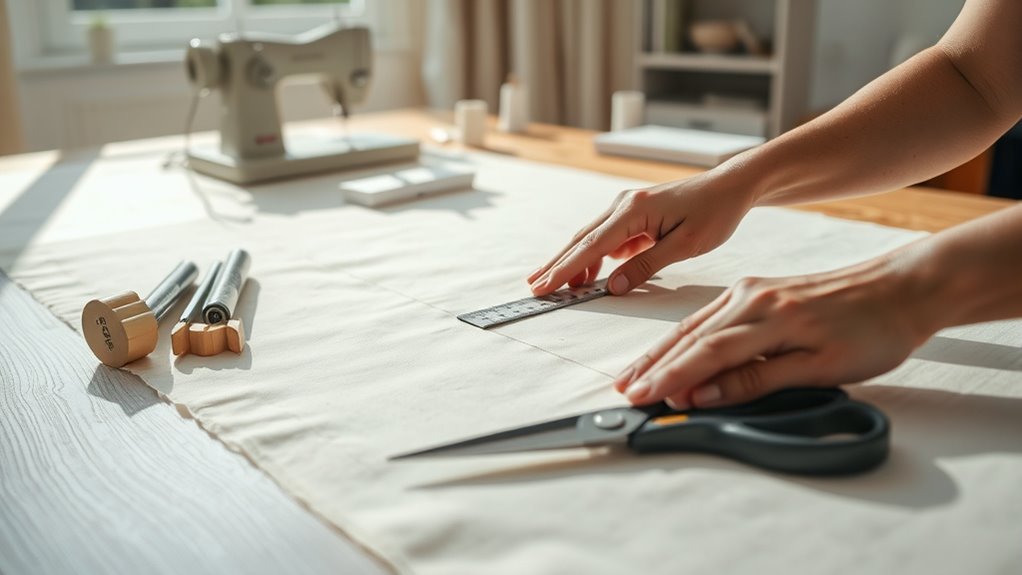
Before you start cutting, make sure to pre-wash and iron your fabric. This helps prevent shrinkage and ensures you get accurate measurements.
Begin by measuring your fabric carefully. Measure the height from the curtain rod to your desired length, and don’t forget to add 8 to 10 inches for hems and seam allowances.
Next, figure out the fabric width by measuring your window or wall. Then multiply that number by 1.5 to 3 times, depending on how full you want your curtains to be.
Also, remember to add extra inches based on your hem fold, which is usually between ½ to 2 inches.
When it’s time to cut, use sharp fabric scissors or a rotary cutter along a straight edge. This will help you get clean and even edges every time.
Taking accurate curtain measurements and including seam allowances is super important. It helps you avoid mistakes and makes your curtains look professional.
Trust me, taking your time here will make the whole sewing process go a lot smoother later on.
Hemming and Sewing the Curtain Panels
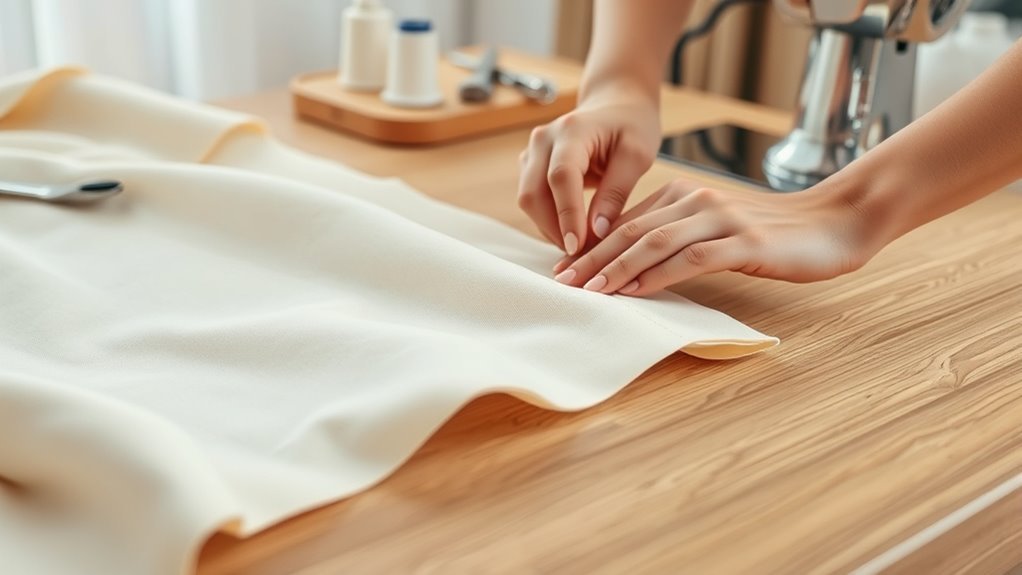
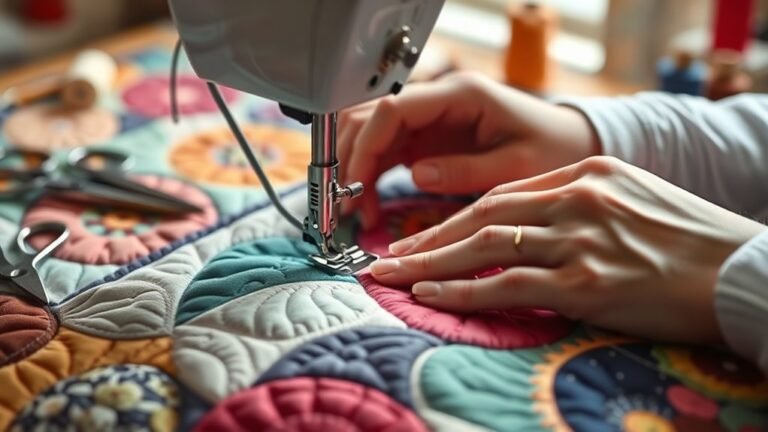
Once you’ve cut your fabric panels, fold the raw edges twice by 1/2 inch each time and press them firmly with an iron to create a neat double-fold hem. Pin the hemmed edge to prevent shifting, then sew along the inner fold using a straight stitch with your sewing machine.
For a polished look, add topstitching about 1/8 to 1/4 inch from the edge on the curtain panel’s right side. Repeat this process on all sides and the bottom.
| Step | Action | Tool/Tip |
|---|---|---|
| Folding | Double 1/2″ folds | Pressing with iron |
| Securing | Pin hemmed edge | Pinning carefully |
| Sewing | Straight stitch + topstitch | Sewing machine |
Creating the Rod Pocket and Final Assembly
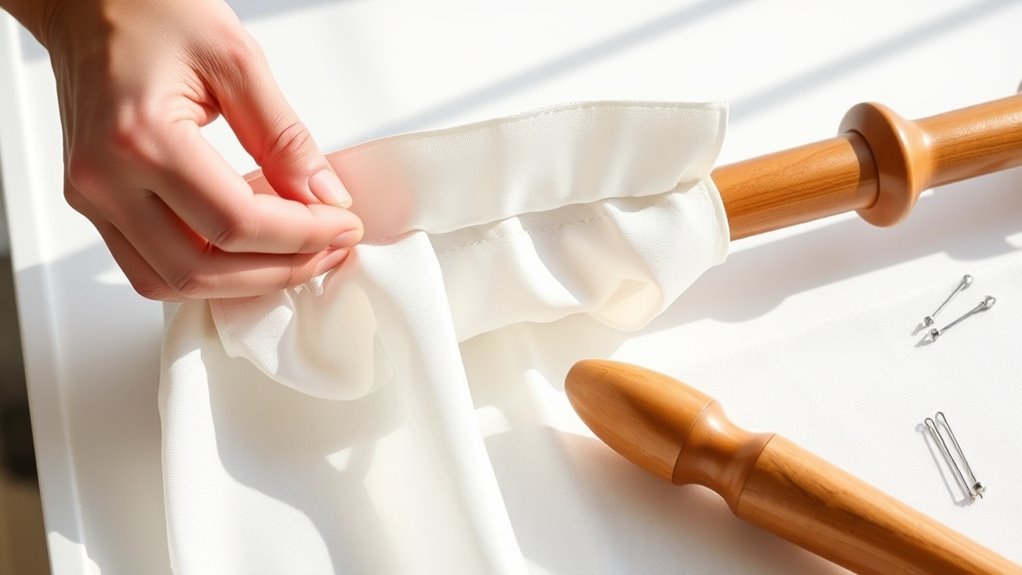
After hemming your curtain panels, you’ll create the rod pocket by folding the top edge of the fabric twice, each fold measuring 2 inches, and pressing it flat with an iron. First, fold the fabric over 2 inches and iron it to set the crease.
Then fold it again by 2 inches to form the rod pocket, pressing firmly with the iron. Next, sew along the bottom edge of the folded fabric, making sure to leave small gaps at each end for the curtain rod to slide through.
Don’t forget to reinforce these gaps with extra stitching to prevent tearing. Finally, slide your curtain rod through the pocket, adjust the curtain length as needed, and enjoy your finished curtains.
This final assembly step completes your project perfectly.
Frequently Asked Questions
What Are Some Simple Patterns for Making Curtains?
You can choose simple curtain patterns like rod pocket, pencil pleat, grommet, tab top, or ring top styles. These designs are easy to sew and hang, letting you customize curtains without much hassle or complexity.
They’re perfect if you want something quick and straightforward. Plus, you don’t need advanced sewing skills to get great results.
What Is the Correct Way to Put Curtains?
Imagine your curtains as a gentle waterfall; you’ll hang them on a rod extending beyond the window, at floor-touching height, using sturdy hardware.
Then, you’ll smooth and adjust for elegance and effortless flow.
Is It Cheaper to Make Your Own Curtains or Buy Them?
It’s usually cheaper to make your own curtains. You’ll save money on fabric and avoid retail markups. Plus, you can choose high-quality materials that suit your style perfectly.
DIY projects often cut costs by 50% or more compared to store-bought options. So, if you’re up for a little crafting, making your own curtains can be a smart way to save some cash.
How to Hang Curtains When You Have Three Windows?
You’ll want to decide between one continuous rod or separate rods for each window. Measure the total width first, so you know exactly what you need.
Hang the rods slightly above the windows — this adds height and makes the space feel larger. Then, choose curtain panels that are wide enough to create fullness and a nice, gathered look.
Doing this helps create a balanced, elegant vibe. It’s a simple trick that really pulls the whole room together.
Conclusion
Now that you’ve sewn your curtains, you’ve woven more than fabric—you’ve crafted a frame for light and shadow, a dance of day and night in your space. Each stitch is a promise, each fold a whisper of comfort.
As you hang them, you’re not just dressing windows; you’re unfolding stories and inviting warmth. Let your curtains be the gentle heartbeat of your room, a soft rhythm of home and heart.
Sewing curtains is a simple, rewarding project that transforms your space instantly. With just a few steps, you can create beautiful, custom window treatments that reflect your style and bring cozy charm to any room. So grab your fabric, thread, and sewing machine, and start making curtains that brighten your home with every stitch.