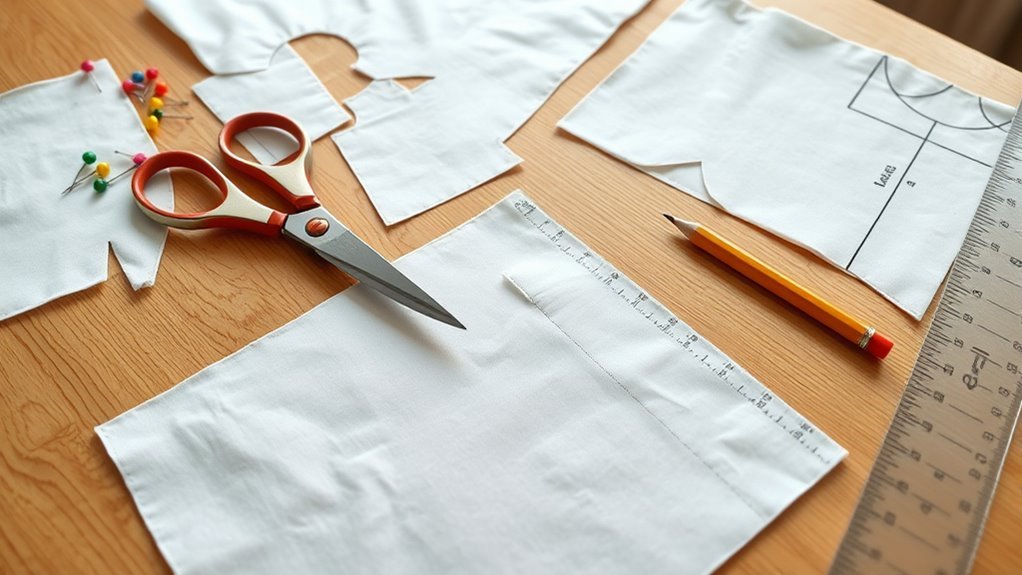
How Do You Cut Out a Sewing Pattern in 5 Easy Steps
First, you wash and lay your fabric flat, aligning it correctly. This step is crucial because it helps prevent any shrinking or distortion later on. Getting your fabric ready ensures your sewing project starts off on the right foot.
Then, you secure the pattern with pins or weights, making sure it doesn’t shift. This keeps everything in place so your cuts are precise and accurate.
Next, use sharp scissors to carefully cut along the pattern lines. Take your time here—rushing can lead to mistakes that are hard to fix.
After cutting, gently remove the pattern pieces and double-check them against your layout. It’s a good idea to make sure everything matches up before moving on.
Finally, transfer all sewing markings like darts and notches onto the fabric for accuracy. These details will guide you during sewing and help your project come together perfectly.
Follow these steps, and you’ll smoothly move closer to sewing your project perfectly. Cutting out a sewing pattern doesn’t have to be stressful when you know the simple steps!
Key Takeaways
- Wash and dry fabric before laying it flat, aligning selvages and following the pattern’s grainline arrow for accurate placement.
- Secure the pattern to fabric with pins or weights, ensuring the grainline is parallel to the fabric’s selvage and fabric is wrinkle-free.
Make sure the fabric is nice and smooth so your pieces come out just right.
– Cut carefully along the pattern lines using sharp scissors, keeping them perpendicular to fabric for clean edges and controlled cuts on curves.
Take your time here—it’s better to cut slowly and neatly than to rush and make mistakes.
– Remove the pattern pieces gently, check completeness, label each piece, and transfer all notches, darts, and markings onto the fabric.
This helps keep everything organized and ready for sewing without confusion.
– Use tailor’s chalk or a tracing wheel with transfer paper to mark darts, seam lines, and notches clearly for accurate sewing alignment.
Clear markings make sewing so much easier and your finished project will look professional!
Preparing Your Fabric and Pattern

Before you begin cutting, wash and dry your fabric according to its fiber content to avoid any shrinking later on. Once your fabric is ready, lay it flat on a stable, clean surface in your workspace.
Always wash and dry your fabric first to prevent shrinking before laying it flat for cutting.
Align the selvages carefully, folding the fabric if your pattern requires it. This guarantees your pattern pieces will be accurate and consistent.
When you place your pattern pieces on the fabric, follow the grainline arrow to keep them parallel to the selvage. This step is vital for the garment’s fit and drape.
Cutting your fabric precisely not only saves material but also makes sewing easier. The sewing community often emphasizes these preparation steps because they set the foundation for a successful project.
Taking time here will pay off when you sew.
Securing the Pattern to the Fabric
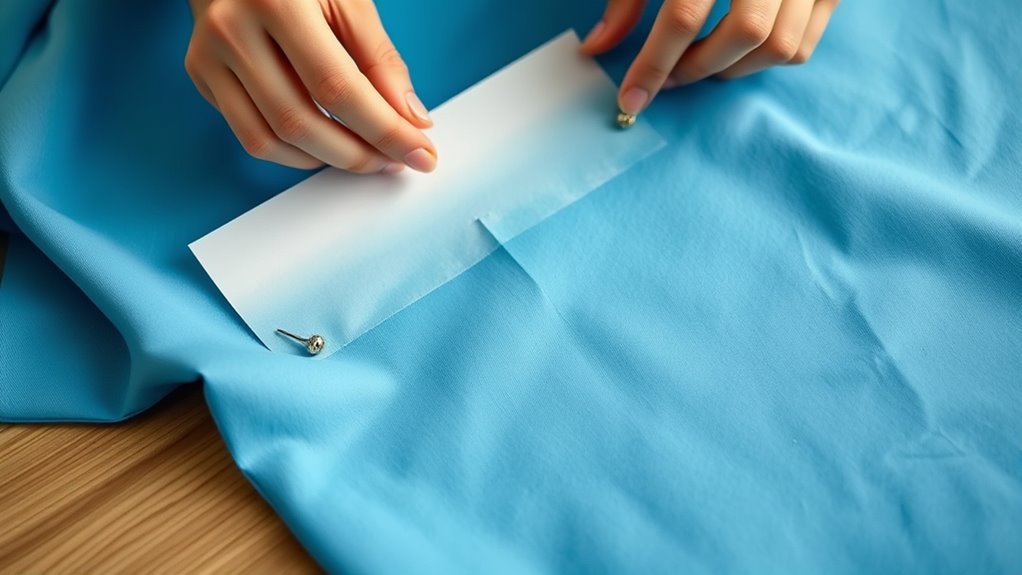
Once you’ve aligned your pattern on the fabric, secure it firmly using pins or pattern weights to prevent any shifting while you cut. Make sure the grainline arrow on your pattern runs parallel to the fabric’s selvage for accurate placement.
Before pinning or weighing down, smooth out any wrinkles in the fabric to avoid distortion. Use pins or pattern weights at multiple points along the pattern edges, focusing especially on notches and corners, to keep everything in place.
Double-check that your pattern is aligned correctly and securely attached before moving on. Taking these steps ensures your pattern won’t move, giving you clean, precise cuts and helping your finished project fit perfectly.
Cutting Around the Pattern Accurately
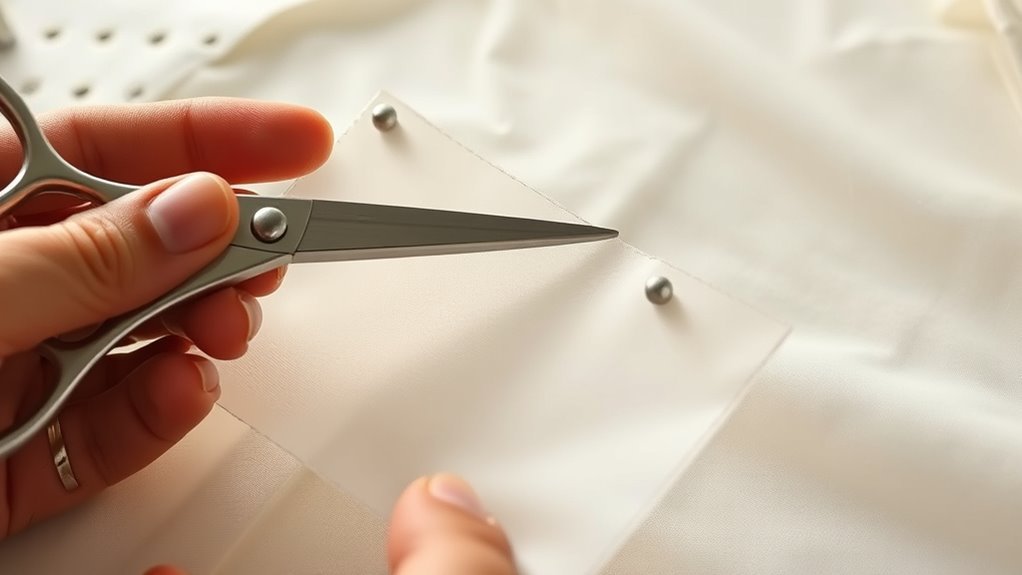
With your pattern securely pinned or weighted, you can cut around it carefully to preserve its shape. Use sharp scissors and follow the outer edge of the sewing pattern lines precisely.
Keep your scissors perpendicular to the fabric to avoid jagged cuts and maintain clean edges. Instead of large snips, make small, controlled cuts, especially around curves or intricate sections of the pattern.
Hold scissors perpendicular for smooth edges; use small, precise cuts around curves to ensure accuracy.
This approach helps you follow the lines accurately and prevents mistakes. Be sure not to cut outside the marked seam allowance, as this can alter the garment’s fit.
Also, stabilize the pattern as you cut to avoid shifting, which ensures each piece retains its intended shape. Taking your time with careful cuts guarantees accurate pattern pieces for a successful sewing project.
Removing the Pattern and Checking Pieces
After cutting, gently lift the pattern pieces off the fabric, keeping them flat to avoid any distortion. When removing pattern pieces, handle them carefully to maintain their shape.
Next, start checking pattern pieces against your layout diagram to ensure none are missing. Confirm each piece is labeled with its name and number to prevent confusion later.
While checking pattern pieces, look for visible notches, darts, and other markings that should be correctly transferred onto the fabric. Smooth out any wrinkles or creases on the pieces before moving forward.
This careful process helps you keep everything organized and ensures your fabric pieces are ready for accurate assembly. Proper removing pattern and checking pattern steps save time and avoid mistakes in your sewing project.
Transferring Markings for Sewing Precision
Now that you’ve carefully removed and checked your pattern pieces, it’s time to transfer the necessary markings onto your fabric. Use tailor’s chalk or washable markers to trace darts, seam lines, and notches directly.
For cleaner lines, you can use transfer paper and a tracing wheel. Don’t forget to transfer notches by snipping small triangles into the seam allowance; this helps ensure perfect alignment during sewing.
Mark dart points clearly with tailor’s tacks or chalk to shape your garment precisely. Always double-check your markings before stitching to guarantee accuracy.
| Marking Type | Tool Used | Purpose |
|---|---|---|
| Darts | Tailor’s chalk | Shape garment curves |
| Notches | Snips or chalk | Align pattern pieces |
| Seam lines | Transfer paper | Guide stitching lines |
Frequently Asked Questions
How Do You Cut a Sewing Pattern Out?
You secure the pattern on fabric with weights or pins, then cut carefully along the lines using sharp scissors or rotary cutters. Trace with chalk beforehand, cut inside seam allowances if needed, and clip notches for accurate shaping.
It really helps to take your time with this step so everything lines up perfectly. Plus, those little notches? They’re super handy for matching pieces later on.
What Are the Different Techniques Used in Pattern Making?
You use flat pattern drafting to draft on paper, draping to shape fabric on a dress form, alter commercial patterns for fit or style, and digitize patterns with software for precision and easy adjustments.
Flat pattern drafting is great when you want to start from scratch. Draping involves working directly with fabric on a dress form, which can be really hands-on and creative.
Altering commercial patterns lets you tweak existing designs to better fit your style or body shape. And digitizing patterns with software makes it super precise and easy to make changes whenever you need.
How to Cut and Sew It?
Imagine slicing through silk as you carefully cut along your traced lines.
Afterward, you’ll stitch pieces together like weaving a tapestry. Match notches and seams carefully, and you’ll see your fabric transform into a flawless garment with each precise seam you sew.
How to Cut Straight When Sewing?
You cut straight when sewing by keeping your fabric flat and steady. Using a ruler or cutting guide helps with alignment, too.
Make smooth, continuous cuts with sharp scissors or a rotary cutter. Don’t rush; stay focused.
Taking your time really makes a difference. It helps keep everything neat and precise.
Conclusion
Now that you know how to cut out a sewing pattern in just five easy steps, you’re set to create beautiful projects with confidence.
Did you know that nearly 70% of sewing mistakes happen during cutting? Taking your time to prepare, secure, and cut accurately can save you hours of frustration later.
Keep practicing these steps, and you’ll see your sewing skills—and finished garments—improve dramatically.
Remember, mastering how to cut out a sewing pattern is key to successful sewing projects. With patience and attention to detail during cutting, your sewing patterns will come to life perfectly every time.
Happy sewing, and enjoy creating your next masterpiece!