How Do You Sew Pants in 10 Easy Steps
To sew your own pants, start by selecting medium-weight fabric that’s comfortable and durable. Take accurate waist, hip, crotch, and length measurements to ensure a perfect fit. These measurements are key to making pants that look great and feel good.
Next, prepare and cut fabric pieces using a sewing pattern. It’s important to follow the pattern carefully to avoid mistakes. Sew the front and back panels together, then move on to constructing and attaching pockets. Pockets add both style and function, so take your time with this step.
After that, add the waistband to give your pants structure. Install the fly and zipper carefully—it can be tricky, but patience pays off.
Finally, hem the pant legs to your desired length and sew on buttons for closure. Keep going, and you’ll uncover the detailed steps to make your pants look professionally finished.
Key Takeaways
- Prewash your fabric first to avoid any shrinking later on. Then, cut out your pattern pieces, making sure to include seam allowances using a well-fitting pants template.
- Next, sew the front and back panels together at the side and crotch seams. Don’t forget to finish the raw edges so they won’t fray over time.
- Now, let’s work on the pockets. Attach the facings and pocket bags carefully. Once done, topstitch them for reinforcement and a neat finish.
- Moving on to the waistband, sew it into a loop. Pin it to the top edge of your pants and sew it on, making sure everything lines up perfectly.
- Finally, install the zipper and fly shield with care. Hem the pant legs to your desired length, and add buttons or snaps to complete your project.
Selecting Fabric and Tools
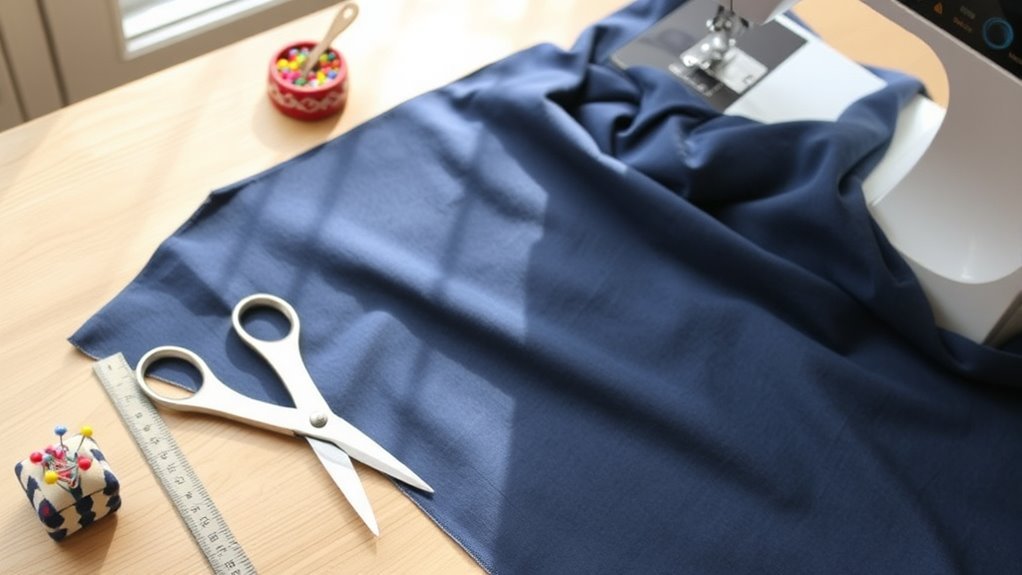
How do you pick the right fabric and tools for sewing pants? Start by choosing medium-weight fabric like pinstripe wool or denim, which offers durability and good structure. Before cutting, prewash your fabric to prevent shrinkage that could mess up your sizing.
Choose medium-weight fabrics like wool or denim and prewash to avoid shrinkage before cutting.
Next, gather essential tools: a reliable sewing machine, sharp scissors, pins, matching thread, and an iron. These will make your sewing process smoother and more precise.
Use a pants pattern or trace a pair that fits well, making sure to add seam allowance and hems for a perfect finish. Keep your measuring tape handy as you work, ensuring your cuts and seams align with your intended fit.
With the right fabric and tools, you’re set to sew pants that look and fit great. It’s all about picking what works best for you and taking your time with each step.
Taking Accurate Measurements
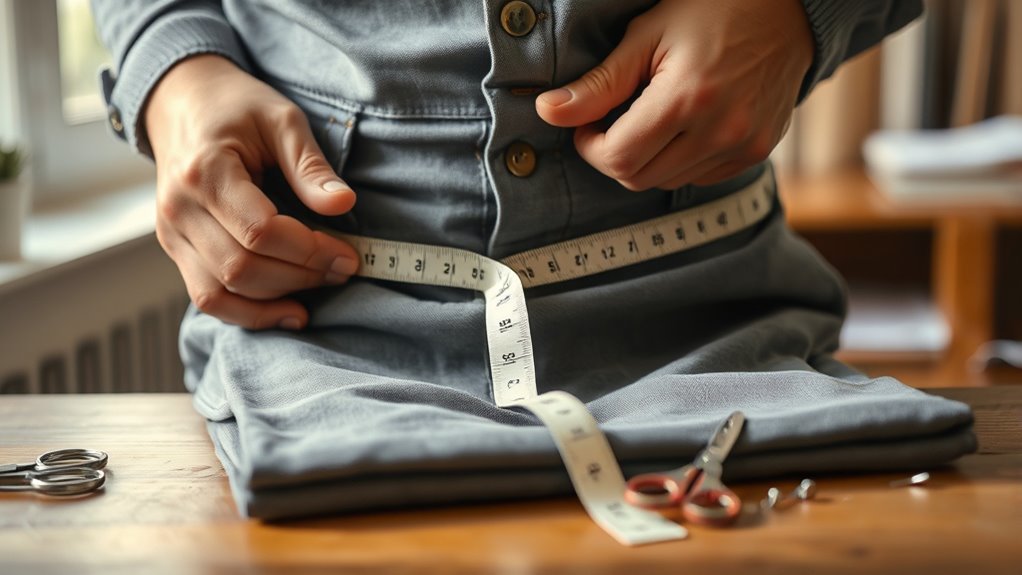
Once you’ve chosen your fabric and gathered your tools, the next step is to take accurate measurements to make certain your pants fit perfectly. Start by measuring your waist measurement at the narrowest point.
Next, measure the hip measurement at the fullest part of your hips, keeping the tape level. Then, measure the crotch length from the waistline down the inner leg seam to your desired hem.
Finally, take the pant length from your waist to where you want the pants to end, usually the ankle.
| Measurement | How to Measure |
|---|---|
| Waist Measurement | Around the narrowest point of your waist |
| Hip Measurement | Around the fullest part of hips and buttocks |
| Crotch Length | From waistline down inner leg to desired hem |
| Pant Length | From waist to ankle or desired hemline |
Preparing and Cutting Fabric Pieces
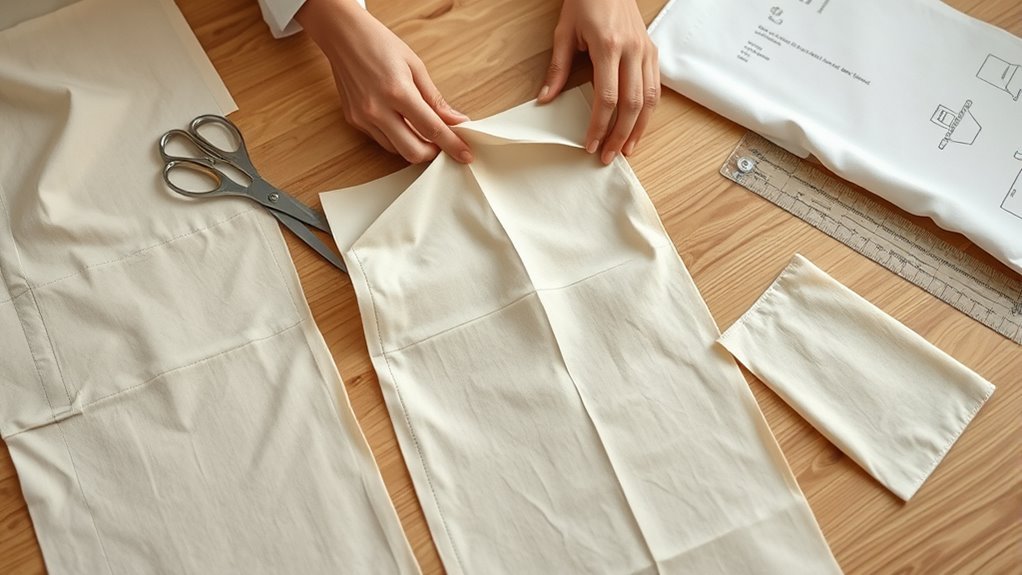
Before cutting your fabric, make sure to prewash it to prevent any shrinkage after sewing. Proper preparation ensures your pants fit perfectly once finished.
Follow these steps to prepare and cut your fabric pieces accurately:
- Use a well-fitting pair of pants as your pattern, tracing around them and adding seam allowance—typically 1/2 inch on sides, 1 inch at the bottom, and 1.5 inches at the top.
- Fold your fabric carefully and cut all pieces in a single layer. This keeps stripes or patterns aligned and ensures matching sides.
- Label each cut piece and pay attention to the grainline. For pockets and waistbands, cut additional lining or interfacing pieces as your design requires.
This careful cutting process sets you up for sewing success.
Sewing the Front and Back Panels
Start by aligning the front and back panels with their right sides facing and matching the edges carefully. You’ll sew the side seams using a 1/2-inch seam allowance to guarantee a strong connection.
Make sure to keep the seams even and secure as you work on both pant legs. This will help everything fit together nicely and last longer.
Aligning Panel Edges
How do you guarantee the front and back panels of your pants align perfectly? It starts with carefully matching the edges before sewing any seams.
Here’s how to align panel edges effectively:
- Align the front and back panels with right sides facing each other, matching the side seam edges precisely.
- Pin or clip the edges along the seam allowances, beginning at the waistband and moving down to the hem. This keeps the fabric stable and prevents shifting.
- Double-check that all edges line up evenly before you sew to ensure a smooth, professional seam.
Just take your time with these steps, and you’ll get a neat, clean finish every time. It’s all about patience and a little attention to detail!
Stitching Seam Allowances
When you sew the front and back panels together, use a seam allowance between 1/4 and 1/2 inch based on your pattern’s instructions. Stitch along the side seams carefully, ensuring the panels stay aligned.
After sewing, finish raw edges with a zig-zag stitch, serger, or pinking shears to prevent fraying. Next, press seam allowances toward the back or center to create smooth, flat seams. This step is vital for a polished look and easier handling in later stages.
For added durability and a professional touch, topstitch about 1/8 to 1/4 inch from the seam line on the right side. Repeat this process for all side seams, making sure to press seam allowances consistently in the same direction for a clean, uniform finish.
Constructing and Attaching Pockets
Now that your front and back panels are ready, it’s time to prepare the pocket pieces for assembly. You’ll start by sewing the pocket facings to the side panels, then attach the pocket bags carefully to guarantee a smooth fit.
Following these steps will give your pockets a clean, professional finish. It’s easier than it sounds, and soon you’ll have perfectly constructed pockets that look great and function well.
Pocket Pieces Preparation
Before attaching pockets to your pants, you’ll need to prepare the pocket pieces carefully. Start by cutting pocket facings and side panels that match in size and shape.
Then, follow these steps:
- Sew the curved edges of the pocket facings to the side panels using a 3/8-inch seam allowance. Clip the seam to help the pieces lie flat.
- Press the pocket facings away from the side panels and topstitch ¼ inch from the seam to reinforce the seam.
- Attach the pocket bag pieces to the pocket facings along the lower curved edge with a 3/8-inch seam. Baste the sides, then sew the pocket onto the front pant pieces by pinning and topstitching the side panels securely.
This prep makes sure your pocket sewing process goes smoothly and precisely. You’ll find it’s a lot easier when everything’s set up right!
Sewing Pocket Facings
How do you achieve a crisp, professional finish on your pocket facings? Start by sewing the pocket facings to the pocket side panels along the curved edge with a 3/8-inch seam allowance. Clip the seam allowance carefully to help the fabric turn smoothly without bulk.
Next, press the pocket facing away from the side panel to set the seam flat. Then, topstitch ¼ inch from the seam to secure the facing neatly in place.
Fold the pocket facing to the wrong side of the pocket opening and press it flat for a clean, sharp edge. This pressing step ensures your pocket facings lay perfectly, giving your pants a polished look.
These precise steps prepare your pockets for the next stage of construction. Following them really makes a difference!
Attaching Pocket Bags
With your pocket facings neatly secured and pressed, you’re ready to attach the pocket bags. Follow these steps to guarantee a clean, professional finish:
First, sew the pocket facing to the pocket side panel along the curved edge using a 3/8 inch seam allowance. Clip the seam allowance to help it lie flat.
Next, turn the facing to the inside, press it flat, and topstitch ¼ inch from the seam to secure it firmly.
Then, attach the pocket bag by sewing along the bottom curved edge with a 3/8 inch seam allowance. Press the seam open, baste the side edges with a long stitch, then pin and sew the pocket securely to the front panel’s top edge.
This method guarantees your pocket sits perfectly and functions smoothly. Easy, right?
Assembling the Pant Legs
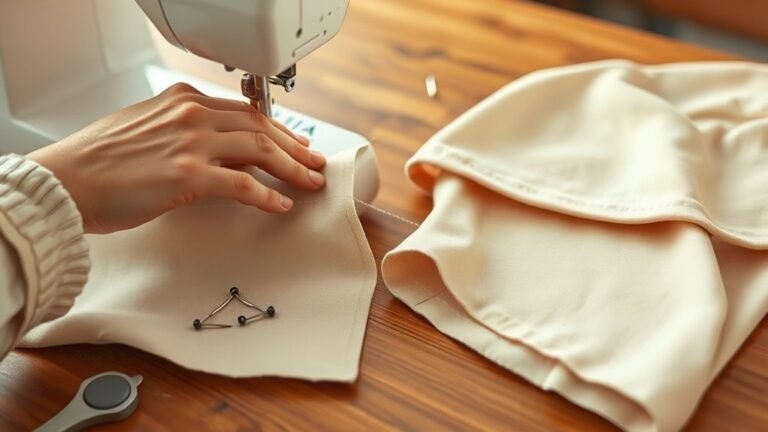
Once you’ve cut your fabric, start assembling the pant legs by sewing the back panel to the side and front panels along the side seams using a ½ inch seam allowance. Then, finish the edges with zigzag or serger stitches to prevent fraying.
Begin by sewing back, side, and front panels together with a ½ inch seam allowance and finish edges to prevent fraying.
Make sure to sew the side seams with the right sides together for a clean join. Press the seam allowances toward the back panel, then stitch the seam with a topstitch parallel to the seam line for reinforcement.
Next, join the front crotch curves using the same ½ inch seam allowance, finishing edges similarly. Press the allowances toward the left side, and topstitch ¼ inch from the seam.
Repeat this process for the back crotch curve to complete the pant legs assembly. It’s pretty straightforward once you get the hang of it!
Adding the Waistband
Where do you start when adding a waistband to your pants? Begin by preparing the waistband fabric according to your pattern. Here’s how:
First, fold the waistband fabric in half lengthwise, right sides together, and sew along the short edges to create a loop. Then, press the seam allowance open.
Next, fold the waistband in half lengthwise again, this time wrong sides together, aligning the raw edges. Don’t forget to mark the center front and back.
Now, pin the waistband to the top edge of the pants, matching side seams and center marks. Sew the waistband in place, leaving an opening if you need to insert elastic.
Finally, fold the raw edge inward and topstitch or hand-stitch to secure a clean edge. This method guarantees a neat, professional finish when sewing your waistband.
Installing the Fly and Zipper
Now that the waistband is in place, it’s time to prepare the fly components for your pants. You’ll want to attach the zipper securely, making sure everything lines up neatly.
Finally, finish the fly edges for a clean, professional look that holds up well. It’s all about those details that make your pants look polished and last longer.
Preparing Fly Components
How do you properly install a fly zipper on your pants? Start by preparing the fly components carefully to guarantee a neat finish. Here’s what you need to do:
First, shorten the fly zipper by removing the metal stopper or pulling off teeth at the top. Then, reattach the stopper if needed.
Next, cut a shield piece about 3cm wide using interfacing. This will reinforce the zipper area and prevent fabric from catching during use.
Now, pin the shield piece and zipper in place on the right side of the pants. Make sure to align the zipper teeth with the fly opening’s edge.
Sew carefully with a zipper foot, keeping the seam allowance. After that, secure everything by topstitching along the fly edge for smooth operation.
These steps prepare your fly components perfectly before attaching the zipper securely.
Attaching Zipper Securely
Although attaching the zipper securely requires patience, you’ll achieve a clean, functional fly by carefully aligning the zipper with the fly front and sewing it in place using a zipper foot.
First, shorten the zipper if needed by removing the metal stopper or pulling off teeth to fit your desired length.
Next, position the zipper along the edge of the fly front, making sure it’s straight.
Attach a fabric shield with interfacing, overlapping about 3cm to prevent the zipper from catching on fabric.
Sew the zipper and shield together, catching the shield in the seam.
Once sewn, press the seam flat for a crisp finish.
Finally, topstitch along the zipper edge to secure everything firmly in place.
Finishing Fly Edges
When you finish attaching the zipper, you’ll want to secure the fly edges neatly by installing the interfaced shield and topstitching along the zipper. This step is essential for finishing your pants professionally.
Here’s how to complete sewing the fly:
- Attach an interfaced shield piece behind the zipper with about a 3cm overlap, pinning it securely to cover the zipper edges.
- Topstitch along the zipper edge to hold the shield in place and create a clean, polished look.
- Finish by sewing the waistband and adding a button or snap to secure the fly closure.
Hemming the Pant Legs
Why does hemming the pant legs matter so much? A well-finished hem gives your pants a polished, professional look and guarantees they fit perfectly.
Start by folding each pant leg up to your desired hem length, usually between 1/4 and 1/2 inch. Then press the fold with an iron to create a crisp edge.
Begin by folding each pant leg to your preferred hem length and pressing with an iron for a sharp edge.
Next, fold the hem again by the same amount and press firmly to secure a clean double fold. Pin or clip the hem in place around the entire leg opening to keep it from shifting as you sew.
Sew evenly along the hem edge using a straight stitch, whether by machine or hand. Finally, remove pins and press the hem once more to set the crease for a neat finish.
Adding Buttons and Final Touches
Since buttons secure your pants and add style, placing and attaching them carefully is essential. Start by marking button placement evenly along the waistband to guarantee balance.
Next, sew the buttonholes on the right side using a buttonhole stitch, making them slightly shorter than the buttons for a snug fit. Finally, attach the buttons on the left side, aligning perfectly with the buttonholes.
- Mark button placement evenly on the waistband before sewing buttonholes.
- Sew buttonholes with a zigzag stitch, ensuring they fit the buttons snugly.
- Reinforce the button area with extra stitches or bar tacks for durability.
Adding final touches like topstitching or sewing a shank for bulky buttons improves both comfort and appearance. It really makes a difference in how your pants look and feel.
Frequently Asked Questions
How to Make a Sewing Pattern From a Pair of Pants?
You fold the pants in half and trace around them, making sure to add seam allowances. It’s important to extend the pattern at the waistband and hem for a good fit.
Next, you mark the crotch curve carefully. Then, cut out the pattern pieces and label them clearly.
This way, you create your sewing pattern accurately and ready to use for your project. Easy, right?
How to Alter Pants Without a Sewing Machine?
Altering pants without a sewing machine is as easy as pie! You can hand sew using a needle and thread, use fabric glue, or apply fusible webbing to adjust seams, hems, or fix small tears quickly and neatly.
It’s super handy when you don’t have a machine around. Plus, these methods are great for quick fixes or if you’re just starting out with alterations. Give it a try!
How to Sew Step by Step for Beginners?
You start by choosing fabric and cutting pieces. Pin and sew seams carefully, pressing each as you go.
Make sure to finish edges to prevent fraying. Then, add hems and waistbands.
After that, try them on and adjust the fit as needed. It’s all about taking your time and making sure everything lines up just right!
What’s the Hardest Thing to Sew?
The hardest thing to sew isn’t always the biggest piece; it’s the tiny, tricky details like a smooth crotch seam or a concealed zipper.
You’ll need patience and precision to get those perfect, professional finishes. It can be frustrating at times, but the results are totally worth it!
Conclusion
Now that you’ve mastered these ten steps, you’re like a modern-day Daedalus, crafting your own wearable labyrinth with skill and precision. Just as he fashioned wings to soar, you’ve fashioned pants that fit and flatter.
Remember, every stitch you make is a step toward creating something uniquely yours. So keep sewing, experimenting, and perfecting. Your journey through fabric is only just beginning, and the possibilities are as limitless as Icarus’ flight.
Sewing pants might seem tricky at first, but with these easy steps, you’re well on your way to creating comfortable, stylish, and personalized garments. Keep practicing your sewing skills, and soon, sewing your own pants will feel as natural as putting them on.