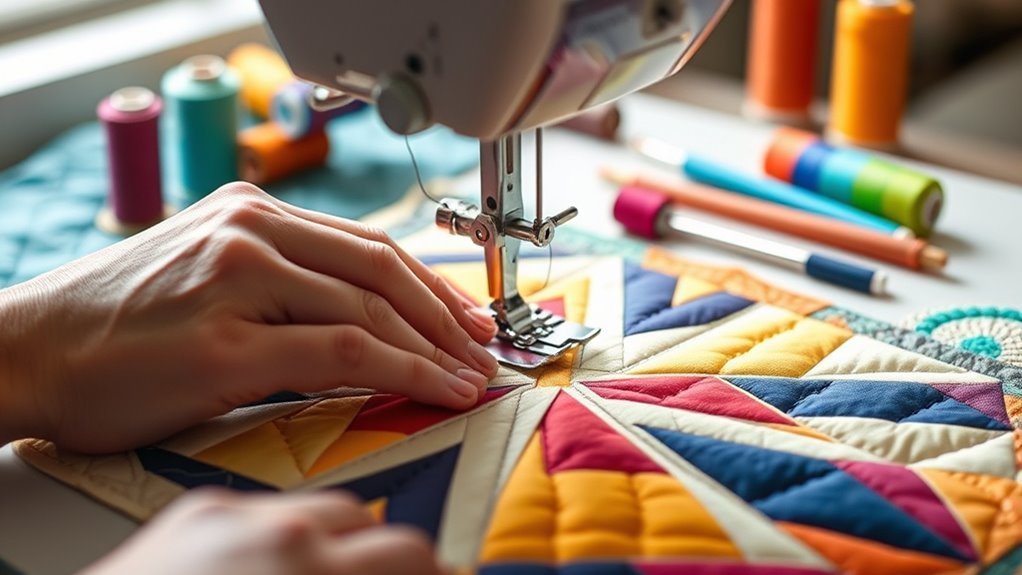
How Do You Quilt With a Sewing Machine in 7 Simple Steps
To quilt with a sewing machine in seven easy steps, start by preparing your quilt layers. Smooth out your backing, batting, and top fabric, then pin them securely to keep everything in place. Choosing the right sharp needles and thread that matches your fabric is key for a neat finish.
Next, baste your quilt sandwich from the center outward. This helps keep all the layers from shifting as you sew. Once basted, set up your machine with the proper tension and stitch length, so your quilting stitches look even and professional.
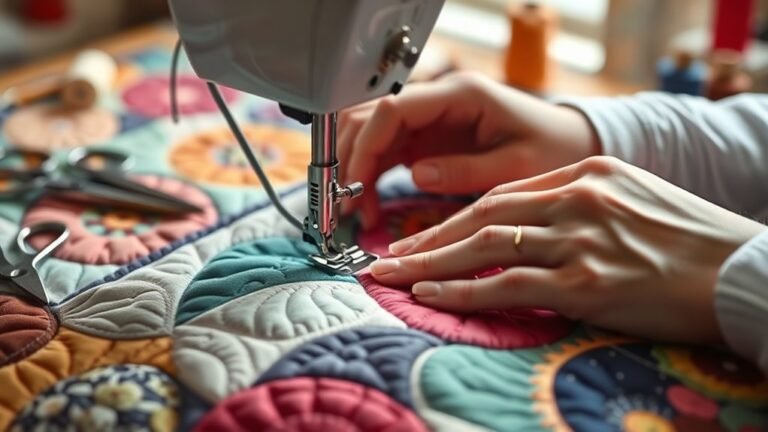
Begin quilting at the center of your quilt, moving outward while maintaining an even speed and consistent stitch length. This helps avoid puckering or bunching.
When you’re done quilting, finish by pressing the seams flat for a polished, finished look.
Keep practicing, and you’ll discover tips and tricks to make your quilting smoother and more precise each time. Happy quilting!
Key Takeaways
- Prepare quilt layers by aligning backing, batting, and quilt top. Then secure with pins or spray basting starting from the center outward.
- Choose a sharp quilting needle (size 80/12 or 90/14) and thread weight that suits your design and fabric layers.
- Baste the quilt layers evenly, checking for wrinkles and adjusting as needed. This helps keep the fabric smooth and secure.
- Quilt steadily using a walking foot, and maintain a consistent stitch length (3.0–4.0 mm). Make sure to follow your quilting design carefully.
- Press the quilt gently from the center outward. Then trim edges evenly and fold binding neatly for a polished finish.
Prepare Your Quilt Layers
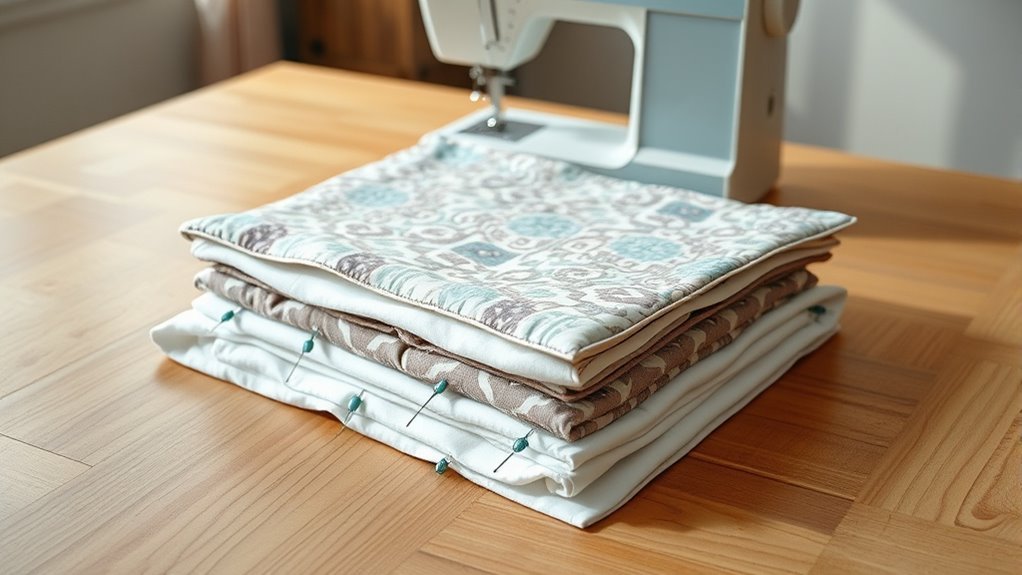
Before you start quilting, lay your backing fabric right side down on a flat surface. Make sure it’s larger than your quilt top so it doesn’t shift around.
Next, unroll the batting and smooth it over the backing fabric. Try to get rid of any wrinkles or puckers to create an even surface for quilting.
Now, place the quilt top right side up on the batting. Take your time to carefully align all the edges.
Once your layers look perfectly aligned, secure them together. You can use pinning or spray basting for this.
Start from the center and work your way outward. This helps avoid any shifting when you begin quilting.
Oh, and don’t forget to trim any excess fabric. Also, iron the seams on your quilt top beforehand.
These little steps really help keep your layers smooth and aligned. It makes the whole quilting process way easier and more precise.
Choose the Right Needle and Thread
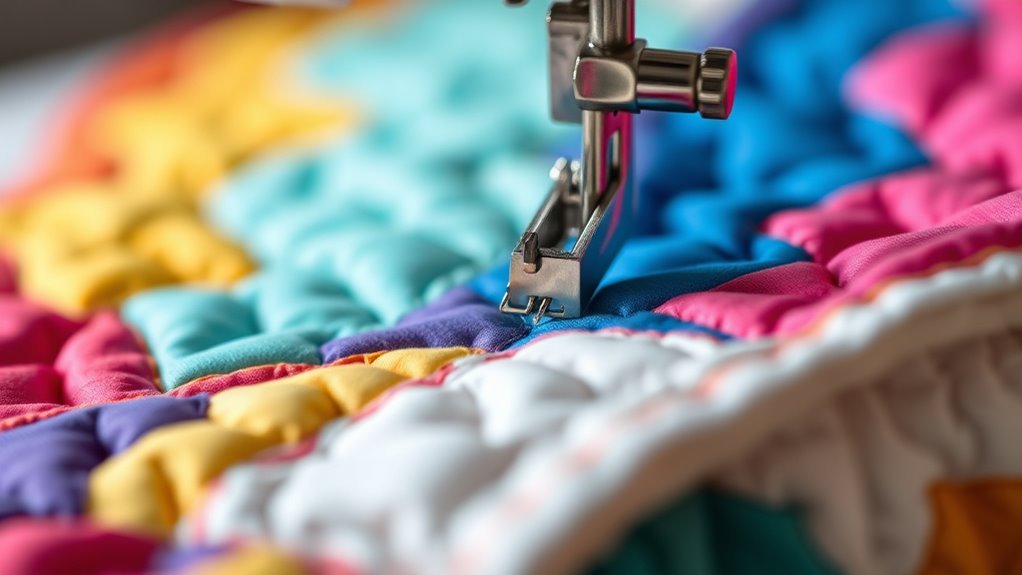
To get smooth stitching, pick a sharp quilting needle in size 80/12 or 90/14 that suits your project. Match your thread weight to the look you want—50 wt. for subtle stitches or 40 wt. for more visible quilting.
Choosing the right needle and thread keeps your tension balanced and your stitches flawless. It really makes a difference in how your quilting turns out!
Needle Size Selection
When you select the right needle and thread for quilting, your machine glides smoothly through multiple layers without snagging or skipped stitches. For effective needle selection, refer to a needle size chart to match the needle gauge with your fabric layers.
Size 80/12 and 90/14 quilting needles, especially microtex types, work best for machine quilting through layered fabric. If you’re quilting thick or layered fabric like T-shirt quilts, consider larger needles such as 90/14 or 100/16 to prevent needle breakage.
Using fresh quilting needles ensures sharp penetration and consistent stitch quality. Different quilting needle types suit varying fabric thicknesses, so choose accordingly.
Proper needle size improves stitch appearance and reduces tension issues, making your quilting smoother and more precise. It really makes a difference!
Thread Weight Choices
How do you choose the right thread weight for your quilting project? Start by thinking about your quilting design and the fabric you’re using.
If you want subtle quilting, go for a 50 wt. thread like Aurifil. But if you want your stitching to stand out or do bold topstitching, a 40 wt. thread works better.
Make sure to match the thread weight in both your top thread and bobbin. This helps keep the tension just right and avoids uneven stitching.
Pair lighter threads with finer needles—something like size 80/12. For thicker threads, use larger needles that can handle the heavier thread without trouble.
Keep in mind, heavier threads usually need a slower sewing speed so your stitching comes out smooth.
It’s always a good idea to test different thread choices on scrap fabric first. That way, you find the perfect combo for your machine and quilting style. Just make sure your needle size, thread weight, and fabric all work well together.
Baste the Quilt Sandwich Securely
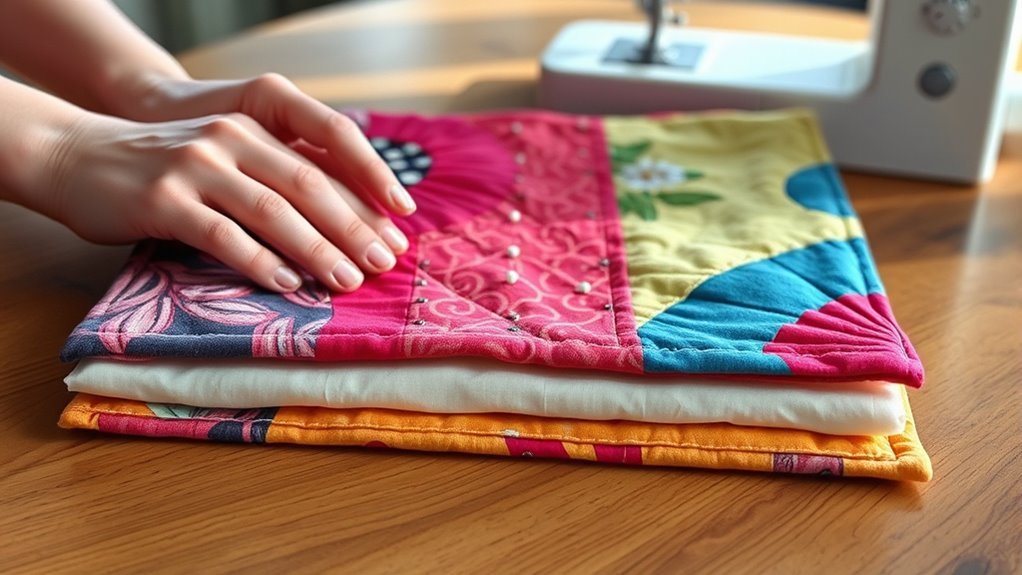
Because your quilt sandwich needs to stay perfectly aligned during quilting, you’ll want to baste it securely using spray basting or safety pins. Start by laying your backing fabric smooth and wrinkle-free, pinning or spraying it to your work surface for stability.
Next, place the batting evenly over the backing, then carefully smooth the quilt top on top, eliminating any puckers. Baste from the center outward, working in sections to secure the layers of your quilt firmly. This method helps prevent shifting or bunching as you quilt.
Regularly check the smoothness of your quilt sandwich and adjust as needed before starting your stitching. Using spray basting or safety pins ensures your quilt sandwich stays secure throughout the quilting process.
Set Up Your Sewing Machine for Quilting
Before you start quilting, make sure to install a sharp quilting needle like size 90/14. This helps handle multiple fabric layers easily.
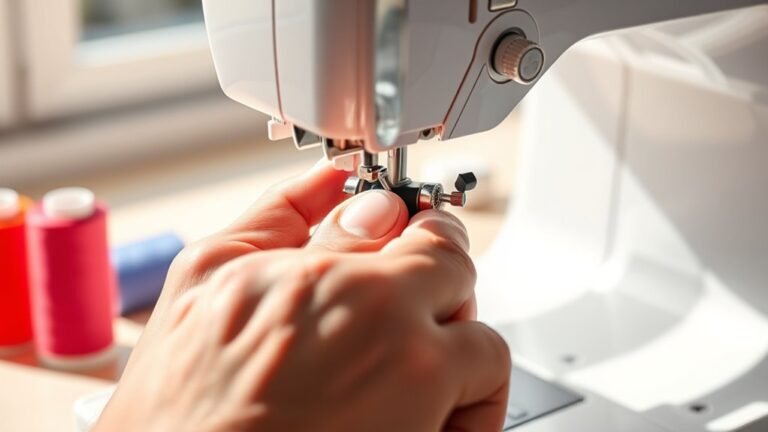
Attach a walking foot to your machine. It’s great for ensuring even feeding of the quilt sandwich.
Finally, adjust your stitch length to around 3.0 to 4.0 mm. This gives you balanced and durable stitches.
Select Appropriate Needle
When you set up your sewing machine for quilting, selecting the right needle is essential to achieve smooth stitching through multiple fabric layers. Using a sharp, high-quality needle assures consistent stitch quality and prevents fabric damage.
Choose a needle type that matches your fabric—Microtex needles work well for tightly woven materials, while other types suit jersey or layered fabrics. Remember to replace your needle regularly to maintain performance.
- Use size 80/12 or 90/14 quilting needles for easy penetration
- Replace needles every 4-6 hours of quilting or per project
- Install needle with the flat side facing backward or left
- Check for skipped stitches or bent needles and replace promptly
Selecting the proper needle keeps your sewing machine running smoothly and your quilt looking professional. It’s a small step that makes a big difference!
Attach Walking Foot
Although attaching the walking foot might seem tricky at first, you can easily swap it onto your sewing machine by removing the standard presser foot and securing the walking foot firmly to the presser foot shank. First, verify your sewing machine is turned off for safety.
Consult your machine’s guide to attach the walking foot properly, as models differ. Align the walking foot with the shank and tighten it securely, making sure it clicks or screws into place.
Once attached, gently test the foot by hand to confirm it moves freely over the fabric. Position your sewing machine on a stable sewing table to begin machine quilting confidently.
Properly attaching the walking foot helps feed multiple fabric layers evenly, ensuring smooth quilting results. It makes your quilting so much easier and neater!
Adjust Stitch Settings
Since stitch settings directly affect the look and durability of your quilting, you’ll want to adjust your machine carefully. Start by selecting a straight stitch or decorative stitch that fits your design, setting the stitch length between 3.0-4.0 mm for balanced results.
Longer stitches help prevent puckering across multiple fabric layers. Next, adjust the thread tension to guarantee smooth, even stitches—this is essential when working with different thread weights or fabric thicknesses.
Always test your settings on scrap fabric before quilting your project to verify stitch quality. And don’t forget to keep your needle suitable for quilting to avoid skipped stitches or damage.
- Set stitch length for a professional finish
- Choose stitch type and width to match design
- Adjust thread tension for even stitching
- Test settings on fabric scraps before starting
Start Quilting From the Center of the Quilt
Why start quilting from the center of your quilt? Beginning at the center helps you manage tension evenly, preventing bunching or puckering.
First, mark the center point with fabric chalk or a water-soluble marker to guide your stitching. As you sew, roll or fold the quilt edges inward to control the bulk, making it easier to handle your work.
Work in small sections, gradually unfolding the quilt as you progress outward. This approach lets you maintain better control and ensures smooth quilting.
After completing one side, flip the quilt to the opposite side and continue quilting from the center outward. This method keeps your stitching consistent and your quilt flat, giving you professional-looking results every time.
Maintain Consistent Stitch Length and Speed
To achieve smooth, even quilting, you’ll want to maintain a consistent stitch length and sewing speed throughout your work. Set your machine’s stitch length to around 3.0 to 4.0 mm for durable, uniform stitches that hold your quilt top together nicely.
Keep a steady sewing speed to prevent puckering or skipped stitches, and practice fabric control to avoid sudden speed changes. Before you start, always test stitch on scrap fabric to dial in your settings.
- Use a fabric guide or mark lines to follow your quilting design precisely
- Maintain steady sewing for stitch consistency
- Control the fabric gently to avoid uneven stitches
- Adjust stitch length and speed based on test stitch results
This approach ensures your quilt looks polished and professionally done.
Finish and Press Your Quilt
After completing your quilting, you’ll want to trim any excess batting and backing fabric evenly around the edges to create a clean, square finish. Next, carefully press the quilt top and quilted layers from the center outward, using an iron set to the appropriate temperature.
Press gently without dragging to avoid puckering or distortion. Focus on pressing seams flat and smooth, ensuring each layer lies perfectly.
When working on the binding, press the edges outward, then fold over to secure raw edges neatly. This pressing step is *vital* to achieve a professional finish.
Finally, allow your quilt to cool completely after pressing; this sets the seams and prevents future wrinkles or creases. Proper pressing really enhances your quilt’s overall look and durability.
Frequently Asked Questions
How to Quilt With a Regular Sewing Machine for Beginners?
You’ll start by using a walking foot to feed layers evenly, mark quilting lines, set a longer stitch length, and begin quilting from the center outward.
Quilt slowly, adjusting fabric often to keep stitches smooth and fabric flat. It helps to take your time and enjoy the process!
What Is the Rule of 7 in Quilting?
The Rule of 7 in quilting is like dividing the universe into perfect slices—you split your quilt blocks into seven equal parts.
This helps you achieve balance, consistency, and harmony in your quilt’s design and spacing.
It’s a simple way to make sure everything looks just right and flows nicely together.
What Is the Easiest Quilt to Make for a Beginner?
The easiest quilt for you to make as a beginner is a simple patchwork quilt with large squares or rectangles.
Use precut fabric strips and stick to straight-line quilting to keep things manageable and build your confidence.
This way, you won’t get overwhelmed with complicated patterns.
Plus, straight lines are much easier to sew and help you practice your stitching skills.
Before you know it, you’ll feel ready to try more intricate designs!
What Setting Do You Use on a Sewing Machine for Quilting?
When Sarah quilted her first blanket, she set her machine to a straight stitch at 3.5 mm length with zero stitch width.
You should do the same for smooth, even quilting that’s easy to control and looks professional.
Conclusion
Quilting with a sewing machine might seem tricky at first, but once you get the hang of it, you’ll see how rewarding and creative the process can be. Remember, every stitch you make is a step toward bringing your unique vision to life.
Don’t stress about perfection—embrace the journey. With patience and practice, your quilt will not only look beautiful but also carry the warmth and love you put into every thread.
Keep quilting! Machine quilting opens up so many possibilities for creativity and personalization. As you continue to quilt with your sewing machine, you’ll develop skills that make the process smoother and more enjoyable. Each project is a chance to express yourself and create something truly special. So, keep practicing, have fun, and let your quilting machine be your partner in crafting beautiful, heartfelt quilts.