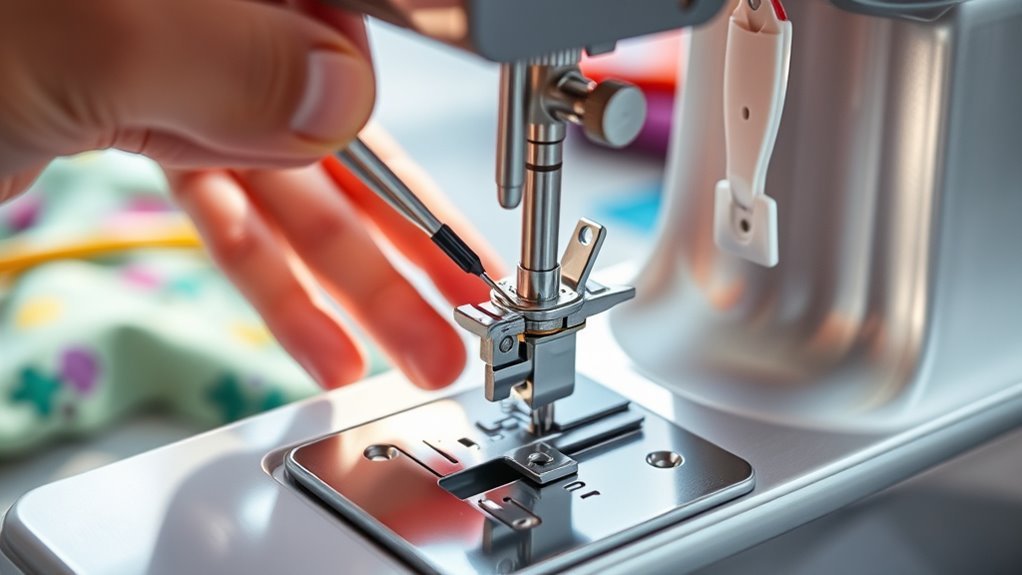
How to Change a Needle in a Sewing Machine in 3 Easy Steps
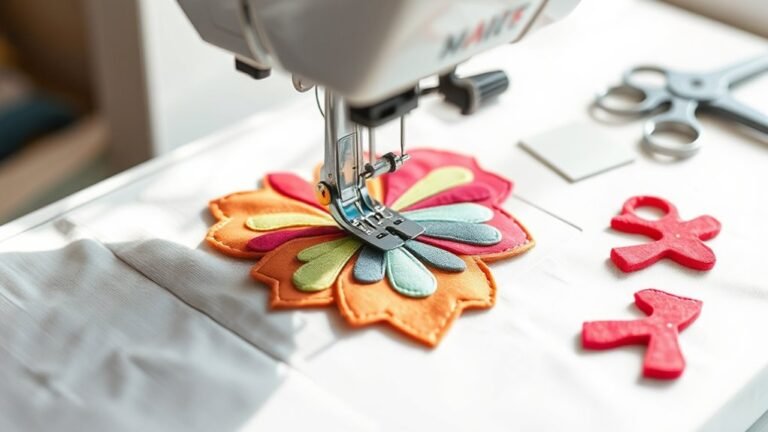
Changing a needle in your sewing machine is simple and super important for great stitching! First, raise the presser foot to make sure the machine is ready.
Then, grab a screwdriver to loosen the clamp screw just enough so you can pull out the old needle easily.
Next, take your new needle and insert it with the flat side facing the back of the machine. Make sure it’s pushed all the way up, then tighten the screw securely so it won’t move while you sew.
Finally, rethread your machine carefully and double-check that the needle is installed correctly. This quick needle change can really improve your stitching quality and keep your fabric safe from snags or damage.
It’s a small step that makes a big difference!
There’s always more to explore about maintaining your machine efficiently, so don’t stop here! Keeping everything in tip-top shape will help your sewing projects turn out beautifully every time.
Key Takeaways
- Raise the presser foot and use a screwdriver to loosen the needle clamp screw for easy removal.
- Pull the old needle out and safely dispose of it to avoid injury.
- Insert the new needle with the flat side facing the back and ensure it’s fully seated.
- Tighten the needle clamp screw securely, but avoid over-tightening for easier future changes.
- Rethread the machine and check the needle installation before beginning to sew.
Why Regular Needle Changes Matter
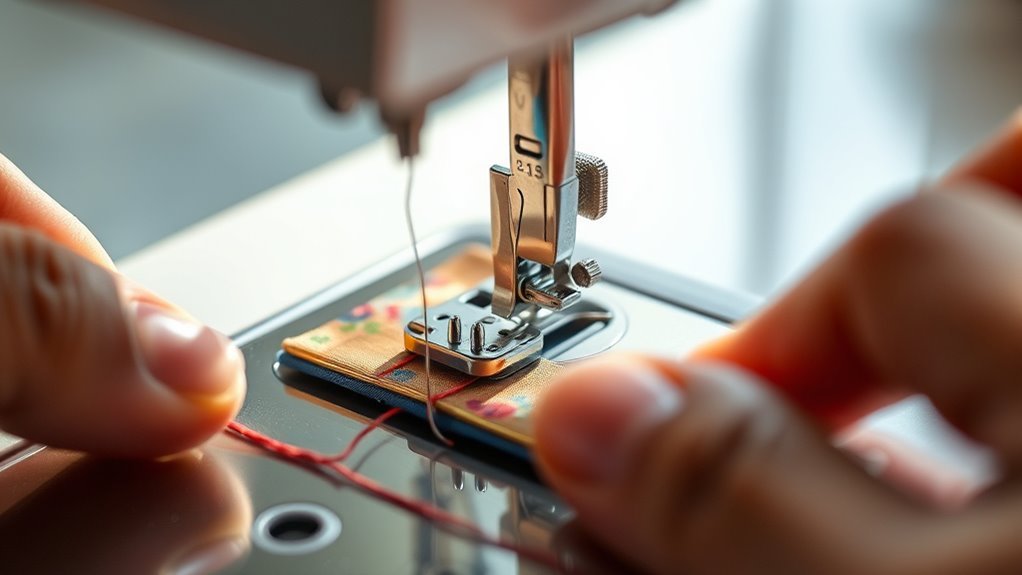
Changing your sewing machine needle regularly isn’t just a good habit; it’s essential for achieving the best results. Dull or broken sewing machine needles can damage your fabric and lead to poor sewing quality.
To keep your projects on track, aim for regular needle changes every 5-10 hours of sewing or after completing two projects. Using a sharp needle helps prevent thread tangling and dropped stitches, which can be super frustrating and waste materials.
Aim to change your needle every 5-10 hours or after two projects to prevent tangling and dropped stitches.
Plus, maintaining a supply of various needle types means you can easily adapt to different fabrics and project needs. It’s also a smart move to replace used needles frequently to avoid damaging the bobbin case and reduce the risk of machine malfunctions.
Keep that needle in place for peak performance!
Essential Tools for Needle Replacement
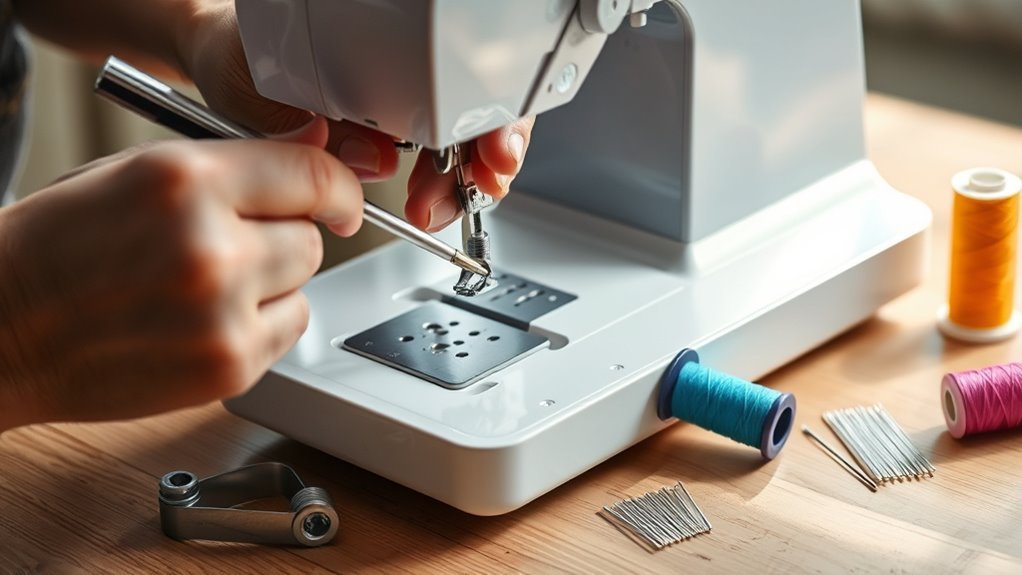
To successfully replace a sewing machine needle, you’ll need a few essential tools at your side. First, grab a screwdriver; it’s critical for loosening and tightening the needle clamp screw. The type of screwdriver you need can vary by sewing machine model, so check yours.
Always keep a selection of sewing machine needles handy, including universal, ballpoint, and specialty options for different fabrics. A clean workspace is essential for minimizing the risk of losing small parts or dropping sharp needles.
After replacing the needle, don’t forget about rethreading your machine with fresh thread to guarantee peak performance. Finally, use a dedicated container for used needles to keep your area organized and safe for future changes.
How to Remove and Insert a Needle?
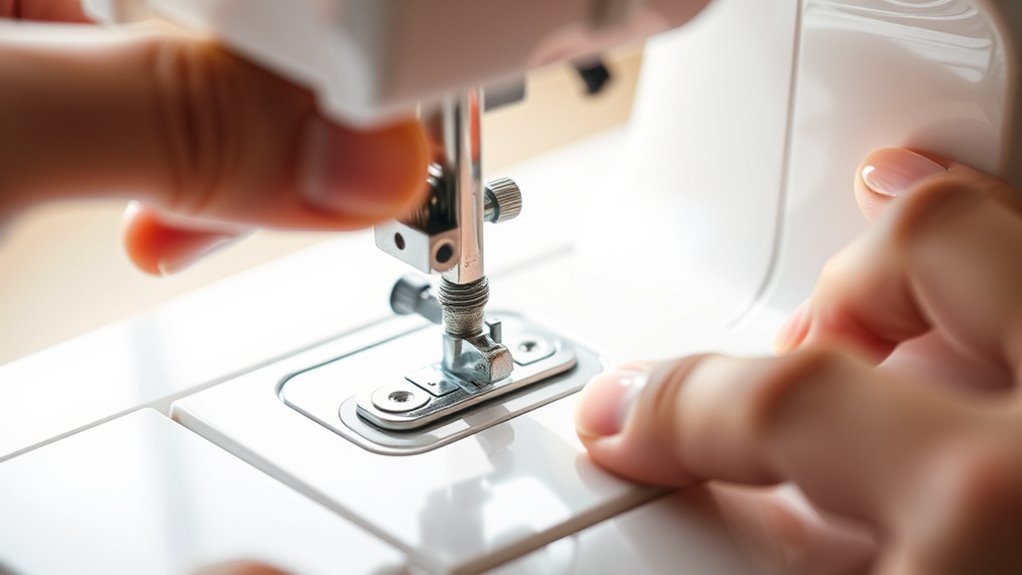
Removing and inserting a needle in your sewing machine is a straightforward process that can be done in just a few steps. First, raise the presser foot to access the needle clamp more easily.
Use a screwdriver to loosen the clamp screw, allowing you to pull the old needle down and out. Make sure to dispose of the old needle safely to avoid injury.
Now, take your new needle and insert it into the clamp with the flat side facing the back of the machine. Make sure it’s fully seated.
Insert the new needle into the clamp, ensuring the flat side faces the back for a secure fit.
Finally, tighten the needle clamp screw securely, but don’t over-tighten; this makes future needle changes easier. With these steps, you’re all set to continue your sewing project!
Frequently Asked Questions
How to Change a Needle in a Machine?
To change a needle in your machine, first turn it off. Then, raise the needle to its highest position.
Next, loosen the clamp screw and carefully remove the old needle. After that, insert the new one securely.
Finally, rethread your machine according to the manufacturer’s instructions. It’s always good to double-check to make sure everything is set up right!
How to Start a Sewing Needle by Hand?
To start a sewing needle by hand, thread it first. Then, hold the fabric taut so it doesn’t move around too much.
Insert the needle through the fabric and pull it all the way through. After that, push it back in to create your first stitch.
Keep repeating these steps to make even seams. It’s pretty simple once you get the hang of it!
How to Put the Needle Down on a Sewing Machine?
To put the needle down, turn the handwheel towards you until it’s at its lowest position. Make sure the presser foot’s raised.
If your machine has it, press the automatic needle down button. It’s pretty simple once you get the hang of it!
How Do I Change the Needle on a Singer Simple Sewing Machine?
To change the needle on your Singer Simple, first turn off the machine and raise the needle. Then, loosen the clamp screw and remove the old needle.
Next, insert the new one and tighten the screw. After that, just rethread your machine and you’re all set! Easy, right?
Conclusion
Changing your sewing machine needle regularly not only keeps your projects running smoothly but can also improve stitch quality by up to 50%. With just three easy steps, you can guarantee your machine works at its best.
Don’t overlook this simple task; it can save you time and frustration in the long run. So grab your tools and give your sewing machine the care it deserves—
you’ll be amazed at the difference a fresh needle can make! Taking a few minutes to change the needle ensures smoother sewing, better stitches, and fewer headaches. Trust me, keeping your sewing machine needle sharp and fresh is one of the easiest ways to boost your sewing experience. Give it a try, and see how much better your projects turn out!