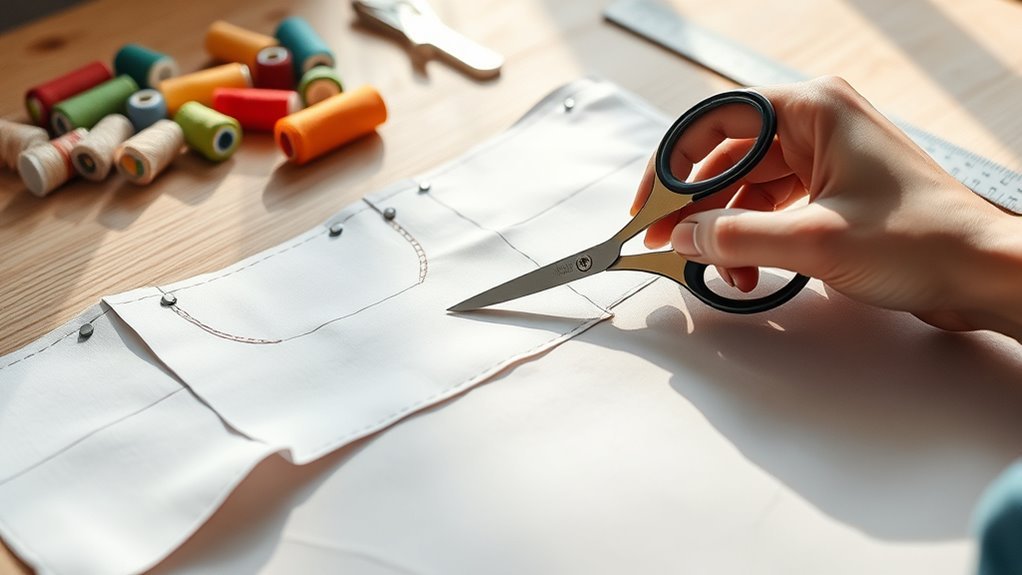
How to Cut Out a Sewing Pattern in 5 Easy Steps
To cut out a sewing pattern in five easy steps, start by gathering your essential materials like paper scissors, pins, and fabric markers. These tools will make your sewing pattern cutting more accurate and manageable.
Next, take some time to understand your pattern pieces and check for important markings like grainlines and notches.
Before you start cutting, prepare your fabric by pre-washing and ironing it to remove wrinkles and prevent shrinkage later on.
Then, carefully cut your fabric using sharp scissors, and if you want extra precision, use dressmaker’s carbon paper to transfer pattern lines.
Finally, don’t forget to transfer essential markings such as notches, darts, and fold lines onto the wrong side of your fabric.
With these simple steps down, you’re all set to tackle your sewing project with confidence. Ready to create something amazing? Keep practicing and enjoy every stitch!
Key Takeaways
– Gather all necessary materials, including scissors, pins, and dressmakers carbon paper, for efficient pattern cutting.
Make sure you have everything ready before you start to keep things running smoothly.
– Review your pattern pieces and instructions to understand the project requirements and important markings.
It’s a good idea to know what you’re working with before cutting anything out.
– Prepare your fabric by pre-washing and ironing it to ensure a smooth, wrinkle-free cutting surface.
This helps avoid any surprises later on when you start sewing.
– Secure pattern pieces on the fabric using weights or pins, then cut along the transferred lines with sharp scissors.
Take your time here to make sure your cuts are clean and accurate.
– Transfer essential markings with a disappearing fabric marker to guide accurate sewing and assembly.
These little details really make a difference when putting your project together.
Gather Materials for Cutting a Sewing Pattern
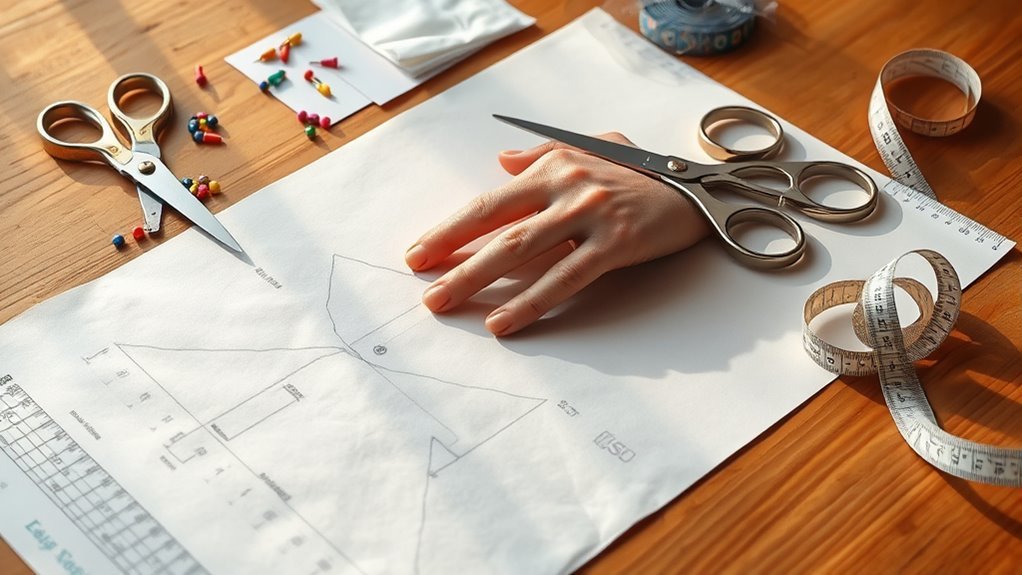
Before you plunge into cutting your sewing pattern, it’s vital to gather the right materials. Start with paper scissors to cut around the pattern pieces, leaving a margin for adjustments.
You’ll also need pins or pattern weights to secure your pattern pieces firmly, preventing any shifting during cutting. Dressmakers carbon paper in a contrasting color is necessary for transferring cutting lines accurately onto your fabric.
To guarantee precision, use a blunt tracing wheel to trace those lines onto the fabric before you cut. Finally, have fabric scissors or a rotary cutter ready for the final cutting process, as they’ll help you achieve clean edges.
With everything gathered, you’re set for a smooth cutting experience!
Understand Your Pattern Pieces Before Cutting
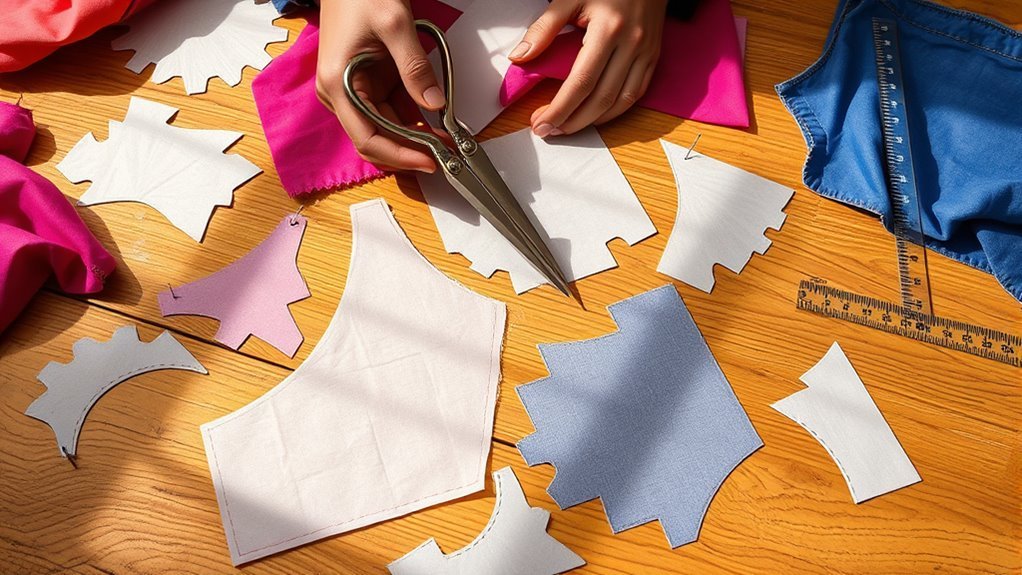
Understanding your pattern pieces is vital for a successful sewing project, as it sets the foundation for your garment’s construction. Before you start cutting, take the time to review the instruction booklet carefully.
Understanding your pattern pieces is essential for a successful sewing project, laying the groundwork for your garment’s construction.
Here are key points to reflect on: Count the number of pattern pieces needed for your project. Also, check for special markings, like notches or darts, which are important for accurate assembly.
Make sure you understand the grainline direction to guarantee your fabric drapes correctly. Don’t forget to take accurate body measurements to select the proper size.
Finally, choose the right tools, like a rotary cutter, for precise cutting. This will help you get clean edges and make your sewing process smoother.
Prepare Your Fabric for Accurate Cutting
Preparing your fabric properly is essential for accurate cutting and a successful sewing project. Start by pre-washing your fabric to prevent shrinkage and guarantee it’s clean.
Once dry, iron the fabric to remove any wrinkles, making it easier to lay flat on your cutting surface. Make sure the fabric is completely smooth, with no folds or creases that could distort your pattern pieces.
Familiarize yourself with the grainline direction, as cutting along it enhances the garment’s drape and structure. To secure the pattern pieces, use weights or pins, preventing any movement during cutting.
This attention to detail will help you achieve precise results, setting you up for success in your sewing endeavor. Just take your time, and you’ll see the difference it makes!
Cut Your Fabric Precisely
Cutting your fabric precisely is essential for achieving a polished final product. To guarantee your cuts are accurate, follow these tips:
Cutting fabric accurately is crucial for a polished finish; ensure precision with these essential tips.
Use dressmakers carbon paper to transfer accurate cutting lines from the pattern pieces included to your fabric. Secure pattern pieces with pins or weights to prevent slipping and maintain alignment with the grainline.
Cut your fabric with sharp fabric scissors or a rotary cutter along the carbon-drawn lines. For layered fabric, pin the pieces together before cutting to guarantee both layers are cut accurately.
Mark any notches or important markings on the wrong side of the fabric using a disappearing fabric marker. This makes them easy to identify during sewing.
Transfer Essential Markings for Accurate Sewing
After you’ve cut your fabric precisely, the next step is transferring any necessary markings from your pattern to confirm accurate sewing. Use disappearing fabric markers or tailor’s chalk to mark essential details on the wrong side of the fabric.
This helps you during assembly by keeping everything clear.
| Marking Type | Purpose |
|---|---|
| Notches | Confirm accurate alignment |
| Pleat Guides | Facilitate precise sewing |
| Darts | Mark shaping points |
| Stitching Lines | Guide your sewing path |
Always double-check that your markings align with the pattern instructions. For plain fabrics, label the right and wrong sides with ‘F’ for front and ‘B’ for back to avoid confusion as you sew.
It’s a small step but makes a big difference!
Frequently Asked Questions
What Type of Fabric Is Best for Beginners?
Cotton’s the best fabric for beginners. It’s easy to work with, forgiving when you make mistakes, and comes in various prints.
Plus, it’s breathable, making your projects comfortable and enjoyable to wear. You’ll find it really friendly to handle, even if you’re just starting out.
How Do I Choose the Right Scissors for Fabric Cutting?
Choose fabric scissors with sharp, stainless steel blades for clean cuts. Make certain they fit comfortably in your hand, and avoid using them on paper to maintain sharpness.
It’s worth investing in quality scissors for smoother, more precise fabric cutting. Trust me, your projects will thank you!
Can I Use a Rotary Cutter Instead of Shears?
Yes, you can use a rotary cutter instead of shears. It often provides cleaner, more precise cuts on fabric, especially for straight lines.
Just make sure you’re using a cutting mat to protect your surfaces. It’s a simple step but really important to keep things safe and neat.
What Are the Best Ways to Store Sewing Patterns?
You can store sewing patterns by using clear plastic sleeves, hanging them in a binder, or rolling them up and securing with rubber bands.
Keep them in a cool, dry place to prevent damage. That way, your patterns stay in great shape and are easy to find when you need them.
How Do I Fix Mistakes After Cutting?
Imagine stitching a beautiful quilt, only to find a wrong piece cut. Don’t panic!
You can patch errors with fabric scraps, use fusible interfacing, or add creative embellishments. Mistakes can lead to unique designs!
Conclusion
Now that you’ve gathered your materials, understood your pattern pieces, prepared your fabric, cut with precision, and transferred your markings, you’re ready to sew!
Embrace the thrill of creating, enjoy the satisfaction of each stitch, and celebrate your crafting journey. With every cut, every measurement, and every seam, you’re not just making a garment—you’re bringing your vision to life.
So, immerse yourself in your project, trust your skills, and let your creativity shine! Cutting out a sewing pattern can seem tricky at first, but with these easy steps, you’ve mastered the basics. Keep practicing, and soon you’ll be confidently creating beautiful, custom garments that fit perfectly. Remember, sewing is all about patience and creativity—so have fun and keep crafting!