How to Hand Sew a Hole in Pants in 10 Easy Steps
To hand sew a hole in your pants, start by gathering your materials like a needle, thread, and scissors. Having everything ready makes the process smoother and faster. Make sure you have a thread that matches your pants for a neat finish.
Next, prep the fabric by trimming any loose threads around the hole and aligning the edges carefully. This helps your repair look clean and professional.
Then, select a sturdy needle that can handle the fabric without bending.
Thread your needle and tie a knot at the end to keep it secure. Begin making uniform stitches around the hole, pulling the thread tight but not too tight to avoid puckering. Keep your stitches consistent for a durable fix.
Once you’ve sewn the hole closed, secure the thread with a knot and trim any excess.
Finally, inspect your work for any loose ends or gaps. Want more tips on maintaining your pants and other sewing techniques? Keep reading to learn more!
Key Takeaways
– Gather materials like needle, thread, scissors, and fabric clips. Make sure your workspace is well-lit and organized.
This will make the whole process way easier and more enjoyable.
– Choose a sturdy needle and thread that matches your pants. Then, cut a patch that’s a bit larger than the hole you want to fix.
Having a patch bigger than the hole helps cover everything nicely.
– Pin the patch securely over the hole. Align the edges carefully and make sure the fabric is clean and flat before you start sewing.
This prevents any bunching or unevenness while you work.
– Use a backstitch or running stitch to sew the patch on. Keep your stitches about 1/8 inch apart so they’re strong and look neat.
Taking your time here really pays off in durability.
– Tie off the thread securely when you’re done. Check for any loose ends and give the area a gentle press for a polished, finished look.
And there you go—your pants are good as new!
10 Simple Steps to Repair Holey Pants
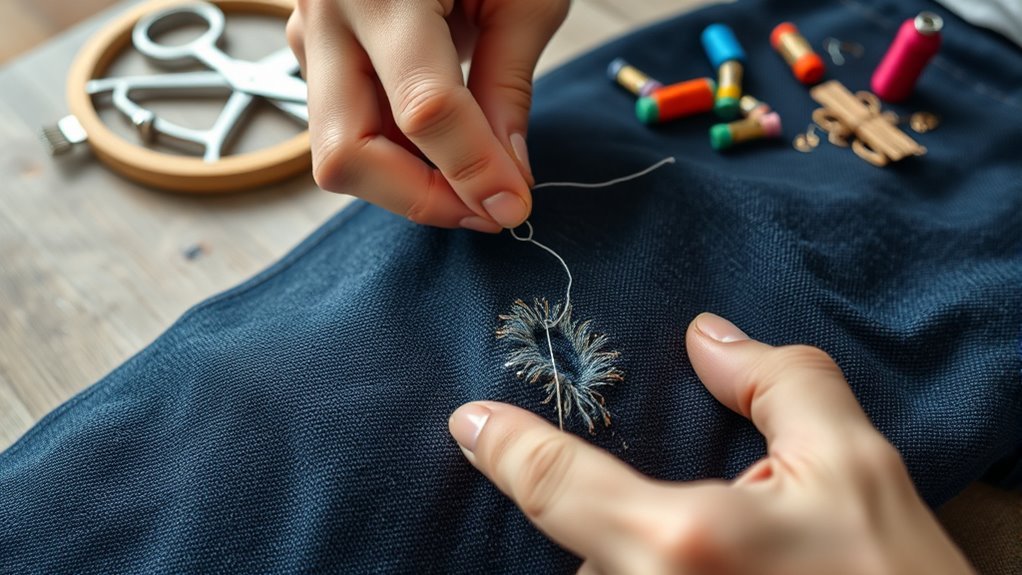
When you notice a hole in your favorite pants, don’t fret; repairing it can be quick and easy. Start your easy sewing project by grabbing a needle, matching thread, scissors, and a patch if needed.
First, trim any loose threads around the hole and make sure the fabric’s clean and flat. Next, use a simple backstitch technique, making small, even stitches to reinforce the hole for durability.
If the hole’s large, place a fabric patch over it and sew around the edges for extra strength. Finally, finish by tying off the thread securely on the inside of the pants to prevent unraveling.
You’ll be amazed at how simple it is to restore your favorite pair!
Gather Materials to Repair Holey Pants
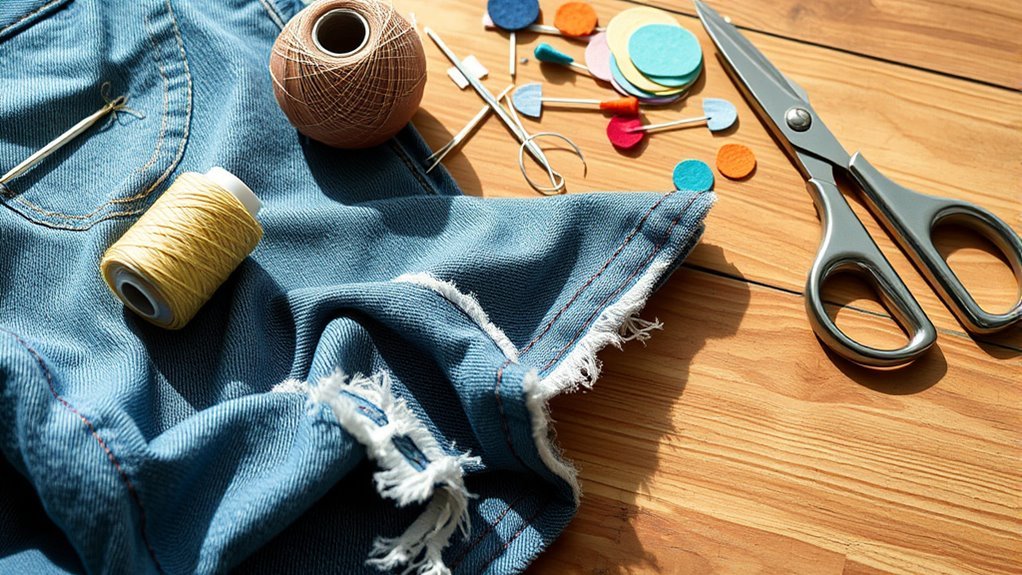
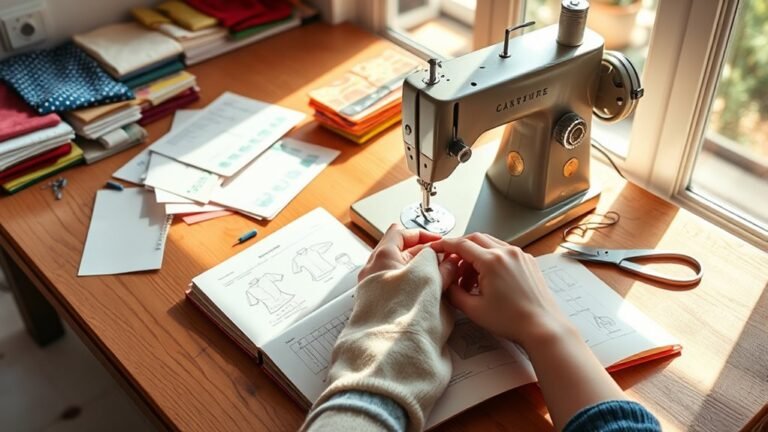
To repair your holey pants, you’ll need some essential tools like a needle, thread that matches your fabric, and scissors. Make sure you choose a sturdy thread for durability, and prepare a clean, well-lit workspace to make the process smoother.
If sewing isn’t your thing, consider having fabric glue on hand for quick fixes. It’s a handy alternative that can save you time and effort!
Essential Tools Needed
Repairing holey pants requires a few essential tools to make the job easier and more effective. Here’s what you’ll need:
- Needle – A sturdy needle that can handle the fabric type.
- Thread – Preferably in a color that matches your pants for a seamless look.
- Scissors – Sharp scissors will help you trim any excess fabric or thread.
- Thimble – Protects your fingers while pushing the needle through thick material.
Additionally, having a measuring tape can help you size patches accurately, and an iron will guarantee smooth fabric before and after sewing.
Don’t forget to set up a comfortable workspace with good lighting to enhance your sewing experience. These tools will make your repair process much smoother!
Choosing the Right Fabric
After gathering your tools, the next step is selecting the right fabric for your repair. Choose a fabric that closely matches the color and weight of your pants for a seamless look.
Sturdy fabrics like denim or cotton are ideal, as they can withstand the stress of wear, especially in high-friction areas. If the hole is significant, consider using a patch made from a similar fabric to reinforce the area. This adds durability and helps prevent further damage.
Always pre-wash your chosen fabric to avoid shrinkage or color bleeding later. For temporary fixes, lighter fabrics like muslin work well until you can apply a more permanent solution.
This careful selection guarantees your repair blends nicely and lasts longer.
Preparing Your Workspace
A well-prepared workspace makes all the difference when fixing a hole in your pants. Start by gathering essential materials to guarantee a smooth repair process.
Here’s what you’ll need:
- Needle – Choose one appropriate for your fabric.
- Thread – Pick a color that matches your pants.
- Scissors – Use fabric scissors to trim frayed edges.
- Thimble – Protect your fingers when pushing the needle through thicker layers.
Set up in a flat, well-lit area to avoid losing small items and to guarantee precision. Organizing your materials in a small container or designated space keeps your workspace tidy and efficient.
With everything in place, you’re ready to tackle that hole and revive your favorite pants!
Prepare the Fabric for Repair
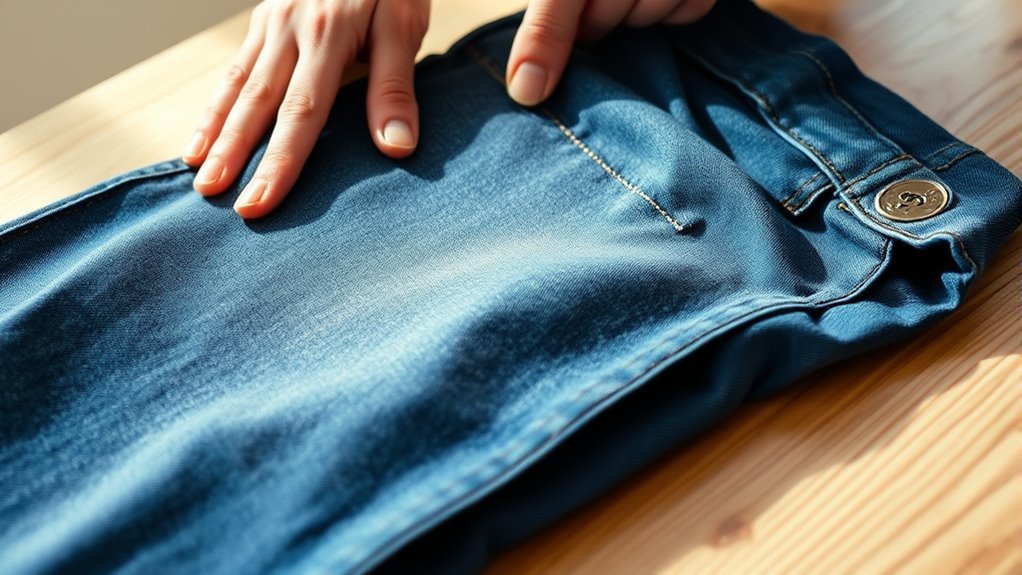
Before you start sewing, it’s essential to prepare the fabric for a successful repair. First, clean the area around the hole to remove any dirt or debris. This guarantees a smooth surface for sewing.
Next, cut a patch of fabric slightly larger than the hole. Try to match the original material so the repair looks seamless. Use fabric scissors to trim any frayed edges around the hole to prevent further damage.
Then, pin the patch in place, making sure it completely covers the hole. Finally, choose a thread color that closely matches your pants for a cohesive finish.
| Step | Action | Purpose |
|---|---|---|
| Clean the area | Remove dirt and debris | Guarantees smooth sewing surface |
| Cut a patch | Fabric slightly larger than the hole | Provides coverage for repair |
| Pin in place | Secure patch over the hole | Keeps it steady while sewing |
Select the Right Needle and Thread
Choosing the right needle and thread is essential for a successful repair. You’ll want a needle that suits your fabric type—like a universal needle for cotton or a ballpoint for knits.
And don’t forget about the thread. Pick one that matches your pants for a seamless finish.
Using a heavier thread for denim or a double strand for added strength can really make a difference in durability. It’s all about making sure your repair lasts!
Needle Types Explained
Selecting the right needle and thread is essential for effective repairs on your pants. Here’s a quick guide to help you choose:
- Universal Needles: These are perfect for general sewing and work well with most fabrics. They’re a versatile choice for your repairs.
- Jeans Needles: With a thicker blade and sharper point, these needles are designed for heavy fabrics like denim. This ensures your stitches are clean and effective.
- Needle Size: Opt for a size 80/12 to 90/14 needle for typical pants. This helps avoid damaging the fabric while achieving excellent results.
- Matching Thread Color: Choosing thread that matches your fabric helps conceal repairs. It gives your patched area a seamless look.
With these tips, you’re all set for a successful mend!
Thread Selection Tips
Once you’ve picked the right needle, it’s time to focus on your thread choice. Start by selecting thread that closely matches your fabric color for a seamless blend. Polyester or cotton threads are great options for durability and ease of use.
If you’re working with heavy fabrics like denim, opt for a thicker thread, ideally around 30-weight or higher, to withstand tension. You might also consider using a contrasting thread for decorative stitching, adding a unique touch to your repair.
Before you begin, always test your thread and needle combination on a scrap piece of fabric to verify proper tension and stitch quality. This step can save you from potential headaches later on!
Thread Your Needle and Tie a Knot
Start by cutting a length of thread about three times the width of the hole. This helps make sure you’ve got enough to work with.
Next, follow these steps to thread your needle and tie a knot:
- Insert the thread through the eye of the needle and pull it until both ends are even.
- For added strength, consider doubling the thread before inserting it through the needle.
- Tie a secure knot at the end of the thread, making sure it’s tight and close to the fabric.
- Check that the knot won’t snag on the fabric as you sew.
With your needle threaded and the knot secured, you’re all set to start stitching around the hole!
Start Stitching Around the Hole
Now it’s time to get stitching! Begin by laying the fabric flat on a surface, making sure it’s stable while you work.
Choose a needle and thread that match your fabric color closely for a seamless repair. Start your stitching about a quarter-inch around the hole.
A simple running stitch or backstitch works well for durability. As you sew, pull the thread taut, but not too tight. You want to avoid puckering the fabric, since that can affect the finished look.
When you reach the end of your stitching, secure it with a knot or weave the thread back through the last few stitches. This stops unraveling and keeps your repair neat and tidy.
Happy sewing!
Make Uniform Stitches for a Polished Look
Achieving a polished look in your repair hinges on making uniform stitches. Here’s how to get it right:
- Spacing: Keep your stitches about 1/8 inch apart for a consistent appearance. It really helps make everything look neat and tidy.
- Thread Color: Choose a thread that matches the fabric closely to blend seamlessly. You want your stitches to almost disappear into the fabric.
- Stitch Type: Use a basic running stitch or backstitch for durability while ensuring a neat finish. These stitches hold up well and look clean.
- Tension: Maintain consistent tension by pulling the thread gently but firmly to avoid puckering or sagging. It might take a bit of practice, but you’ll get the hang of it.
If you’re working with thicker fabrics, consider using a thimble. This will protect your fingers and help you push the needle through smoothly.
It makes the whole sewing process easier and more effective, so definitely give it a try.
Secure the Fabric and Close the Hole
To secure the fabric and close the hole effectively, align the edges of the hole carefully so they create a smooth surface for sewing. Use a fabric clip or pin to hold the area around the hole, preventing any movement while you sew.
Next, thread a needle with strong, matching thread, and tie a small knot at the end. Start sewing from the inside, making small, even stitches around the hole to close it up.
Make sure to reinforce your stitches at the beginning and end to guarantee durability. Once the hole is securely closed, trim any excess thread.
Finally, gently press the area with an iron to flatten the fabric for a polished finish. And just like that, your pants are now ready to wear!
Inspect Your Work for Final Touches
Once you’ve secured the fabric and closed the hole, it’s time to inspect your work for final touches. This step guarantees your repair is solid and ready for wear.
Check your stitching for evenness and security. Also, look for any loose threads that might need attention.
Inspect your stitching for consistency and security, and don’t forget to address any loose threads that may need fixing.
Use a fabric marker or chalk to highlight areas needing reinforcement before finalizing. This helps you catch spots that could give out later.
Gently tug on the repaired area to test its strength. Make sure it holds up well under stress.
Trim any excess thread carefully, but leave a small tail to prevent unraveling. This keeps your repair neat and durable.
Finally, consider washing the repaired pants to see how the fabric and stitches behave after cleaning. Make any necessary adjustments to perfect your work!
Future Repair Tips: Keep Your Pants Looking Great
While you may have successfully repaired your pants, keeping them in great shape requires ongoing attention. Regularly check for small holes or frays, and address them promptly to prevent further damage.
Use a needle and thread that matches the fabric color for discreet repairs. Consider reinforcing the area with a patch or extra stitching to enhance durability and ward off future wear.
Always wash and dry your pants according to the fabric care instructions; this minimizes stress on seams and repairs. Try incorporating simple hand sewing techniques, like the whip stitch or running stitch, for effective repairs you can finish quickly.
With these tips, your pants will remain looking great and last longer. It’s all about staying on top of the little things!
Frequently Asked Questions
Can I Use a Sewing Machine Instead of Hand Sewing?
Yes, you can use a sewing machine instead of hand sewing. It’ll save you time and often create a more durable stitch.
Just make sure to choose the right thread and stitch type for your fabric. That way, your project will turn out great every time!
What Type of Thread Is Best for Pants Repair?
For pants repair, use polyester thread. It’s strong, durable, and blends well with most fabrics.
Cotton thread can work too, but it’s less resilient. Always match the thread color to your pants for a seamless look.
How Do I Match Thread Color With My Pants?
To match thread color with your pants, hold the thread against the fabric in natural light. You’ll want it to blend seamlessly, but beware—a slight variation can add character.
Trust your instincts; it’s all about balance. Don’t stress too much, just go with what feels right.
Is It Necessary to Wash Pants Before Repairing?
Yes, it’s best to wash your pants before repairing. This removes dirt and oils, ensuring a cleaner, more secure repair.
Plus, it helps you see the true color and texture of the fabric. That way, you know exactly what you’re working with before you start.
How Can I Prevent Future Holes in My Pants?
To prevent pesky punctures, practice proper preservation. You can reinforce seams, avoid overloading pockets, and wash with care.
Plus, steer clear of sharp edges—these simple steps’ll greatly safeguard your favorite pants from future holes.
Conclusion
As you stitch your pants back together, think of each thread as a lifeline, weaving resilience into your wardrobe. Each repair tells a story, transforming wear and tear into a badge of honor.
So, embrace those imperfections; they make your clothes uniquely yours. Just like your journey, every hole you mend adds character and strength.
With these skills, you’re not just fixing fabric—you’re crafting memories, one stitch at a time. Keep your style alive and evolving by learning how to hand sew a hole in pants. This simple repair not only saves your favorite clothes but also boosts your confidence in DIY clothing fixes.
Remember, hand sewing a hole in pants is more than a quick fix—it’s a way to preserve your personal style and extend the life of your wardrobe effortlessly. So grab a needle and thread, and start stitching your way to stylish, long-lasting pants!