How to Hand Sew a Pillowcase in 5 Easy Steps
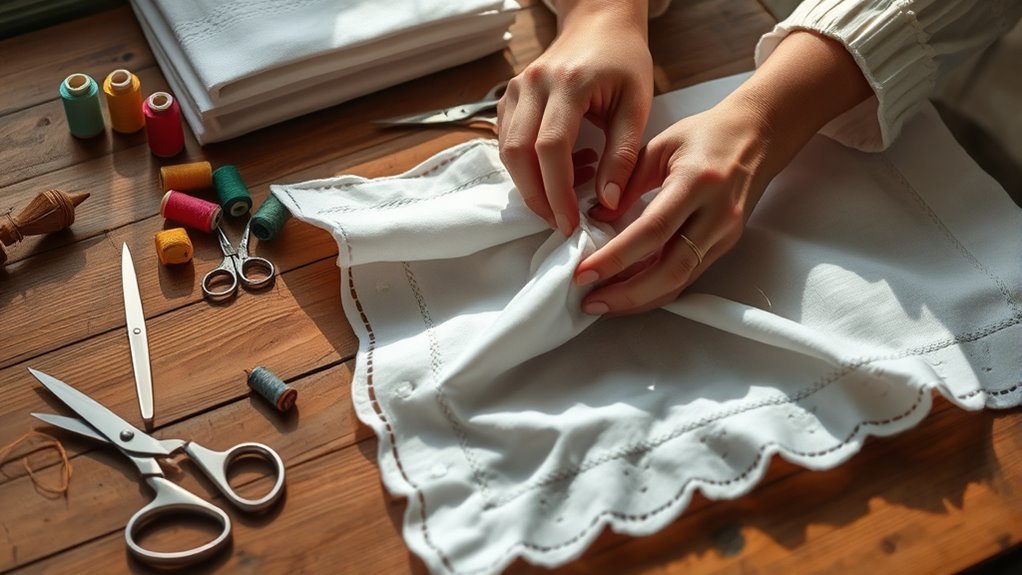
You can hand sew a pillowcase in five easy steps! It’s a simple and fun sewing project that’s perfect for beginners or anyone wanting a quick handmade touch for their bedroom.
With just a few materials like fabric and thread, you can create a cozy, personalized pillowcase that’s both functional and stylish.
First, gather your materials, including fabric and thread.
Next, cut two rectangles to size, adding seam allowances.
Then, sew the edges, folding them to prevent fraying.
Once that’s done, flip the pillowcase inside out and give it a good press.
Finally, add personal touches like embroidery or decorative trims to make it unique.
Stick around to discover more helpful tips for your sewing project!
Key Takeaways
- Gather materials, including fabric, thread, scissors, measuring tape, and pins for precise sewing.
- Cut two rectangles of fabric (20 x 30 inches) with a 0.5-inch seam allowance. Make sure to pre-wash and iron the fabric first.
- Fold raw edges inward, secure with pins, and sew using a running stitch or backstitch for strong seams.
- Flip the pillowcase inside out, push out corners, and press seams flat for a polished look.
- Personalize with embroidery, fabric paint, or decorative trims to enhance the pillowcase’s appearance.
Gather Your Materials for Sewing a Pillowcase
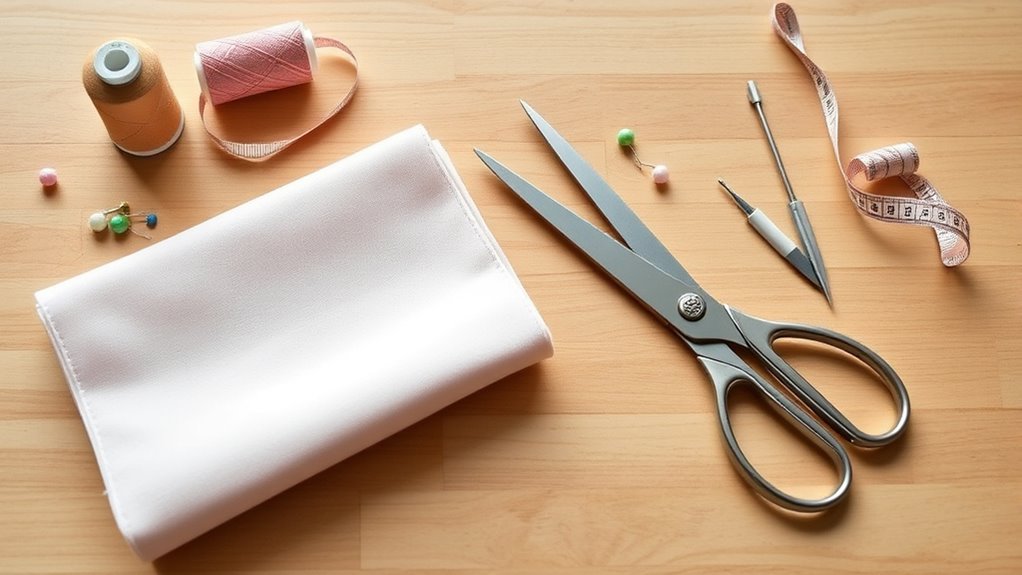
Gathering your materials is the first step to sewing a pillowcase. You’ll need about 1 meter of light to medium-weight fabric, like cotton percale or sateen, for durability and comfort.
Gather your materials for sewing a pillowcase: 1 meter of durable fabric like cotton percale or sateen is essential for comfort.
Grab a sewing needle, matching thread, and either scissors or a rotary cutter for precise cutting. Don’t forget a measuring tape to guarantee accurate dimensions.
Pre-wash and dry your fabric to avoid shrinkage later, and have some pins handy to secure those raw edges while you sew.
An iron can be your best friend too; pressing your fabric will give you a professional finish, especially at the seams. With these supplies ready, you’re set to follow the tutorial and create your pillowcase!
Cut Your Fabric to the Right Dimensions
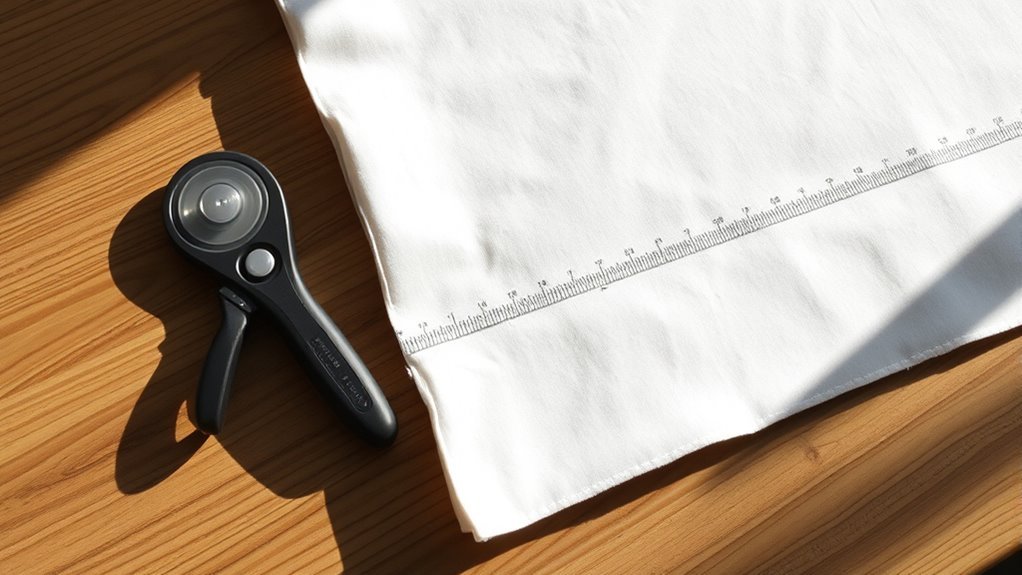
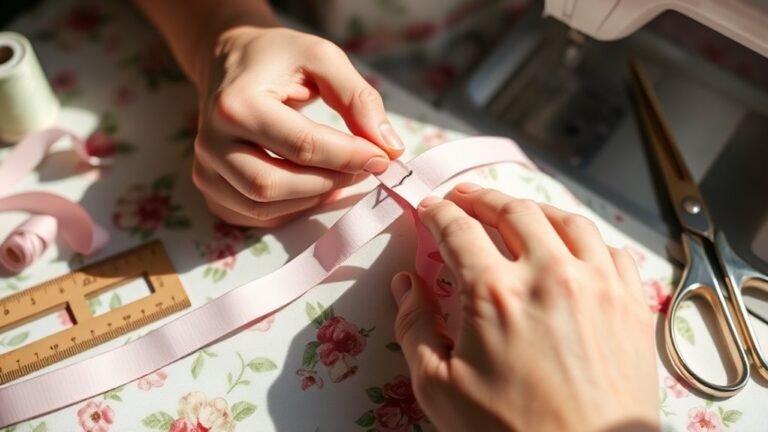
To cut your fabric to the right dimensions, start by measuring and marking your pieces accurately. For standard size pillows, cut two rectangles of fabric measuring 20 x 30 inches each, adding an extra 0.5 inches for seam allowances to guarantee a neat finish.
If you’re using directional fabric, consider cutting two pieces measuring 21 x 27 inches and stitching them together to maintain your pillowcase pattern. Before you cut your fabric, pre-wash and iron it to prevent shrinkage and achieve a smooth surface.
Use a fabric marker or chalk to mark cutting lines for accuracy, assuring your dimensions are precise before making any cuts. This will make your sewing process much smoother!
Sew the Edges Securely
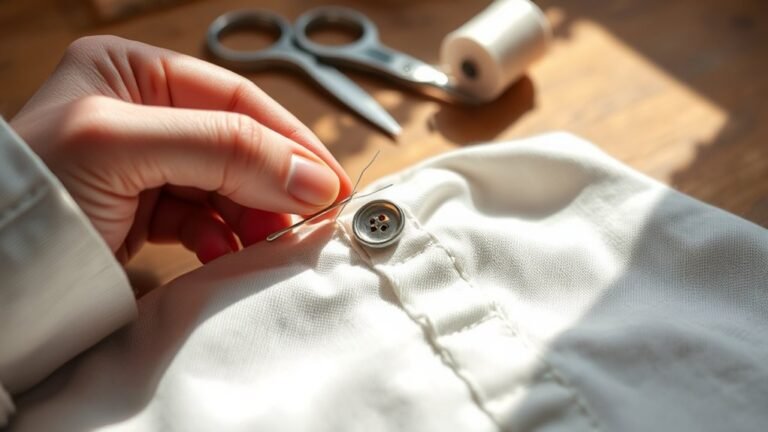
Start by folding the raw edges of your fabric inward about 1/4 inch to prevent fraying before you sew the seams.
To sew the edges securely and make pillowcases that last, follow these steps:
- Use a running stitch or backstitch for strong seams.
- Securely knot the thread at both ends of each seam to prevent unraveling.
- Consider adding a whip stitch along the edges for a decorative finish.
After stitching, press the seams flat to create finished edges and give your pillowcase a professional appearance.
This step not only enhances the look but helps set the stitches. With these tips, sewing edges is super easy and guarantees your pillowcase is both durable and stylish!
Flip It Inside Out and Finish Up
Once you’ve sewn the three sides of your pillowcase, carefully flip it inside out to reveal the right side of the fabric. Make sure all the seams are tucked neatly inside.
You can use a tool like a chopstick to push out the corners for a crisp finish and avoid any fabric bunching. Once flipped, press the pillowcase with an iron to flatten the seams and give it a polished look.
Before you insert the pillow, check for any raw edges or unsewn spots. If you find any weak seams, go ahead and reinforce them to make sure your pillowcase lasts.
Finally, give your completed pillowcase a last press. Take a moment to admire your handiwork—it’s all ready for use or gifting! Enjoy your beautiful quilted cotton creation!
Add Personal Touches to Your Pillowcase
Adding personal touches to your pillowcase not only enhances its beauty but also makes it uniquely yours. Here are some creative ways to personalize your design:
- Embroidered Initials: Stitch your initials or name for a unique flair. It’s a simple way to make your pillowcase stand out.
- Fabric Scraps: Use colorful fabric scraps to create a patchwork design that reflects your style. It’s a fun way to use leftover fabrics and add some texture.
- Fabric Paint: Draw patterns or messages using fabric paint for a fun, artistic touch. You can get as creative as you want with colors and shapes.
Don’t forget to add a decorative finish, like ribbon or lace trim, to elevate the overall look. It really ties everything together and makes your pillowcase look polished.
Frequently Asked Questions
What Type of Fabric Is Best for a Pillowcase?
Cotton’s the best fabric for a pillowcase. It’s breathable, soft, and easy to wash.
You’ll love the comfort it provides, and it holds up well over time. Plus, it’s available in various colors and patterns!
Can I Use a Sewing Machine Instead of Hand Sewing?
Yes, you can definitely use a sewing machine instead of hand sewing. It’ll save you time and provide a more consistent finish.
Just make sure to choose the right stitch and fabric for best results. That way, your project will look great and hold up well.
How Do I Choose the Right Thread Color?
Choose a thread color that matches your fabric, complements it, or contrasts with it. Consider the overall design, mood, and surrounding decor.
Trust your instincts; they’ll guide you to the perfect choice every time.
What Tools Do I Need for Hand Sewing?
You’ll need a needle, thread, scissors, pins, and fabric. A thimble can protect your fingers, and a ruler or measuring tape helps with precise cuts.
Gather these tools, and you’re ready to start sewing! It’s pretty simple once you have everything in one place. Just take your time and enjoy the process.
How Can I Prevent Fraying Edges?
You don’t need fancy tools to prevent fraying edges. Simply use pinking shears or zigzag stitches along the raw edges.
Ironing the fabric before cutting also helps keep everything neat and manageable. It really makes a difference!
Conclusion
Now that you’ve stitched together your pillowcase, it’s time to let your creativity shine! Like a painter adding the final brushstrokes to a masterpiece, personalize your pillowcase with embroidery or fabric paint.
As you fluff your newly crafted pillow, feel the satisfaction of your handiwork cradling your dreams. With each gentle touch, you’ve woven comfort into your nights, transforming a simple piece of fabric into a cozy haven that whispers sweet lullabies.
Hand sewing a pillowcase isn’t just about sewing fabric; it’s about creating something personal and comforting. Your handmade pillowcase adds a unique touch to your bedroom, blending creativity with coziness. So, enjoy the pride that comes with every stitch, knowing you’ve crafted a pillowcase that’s both functional and full of heart.