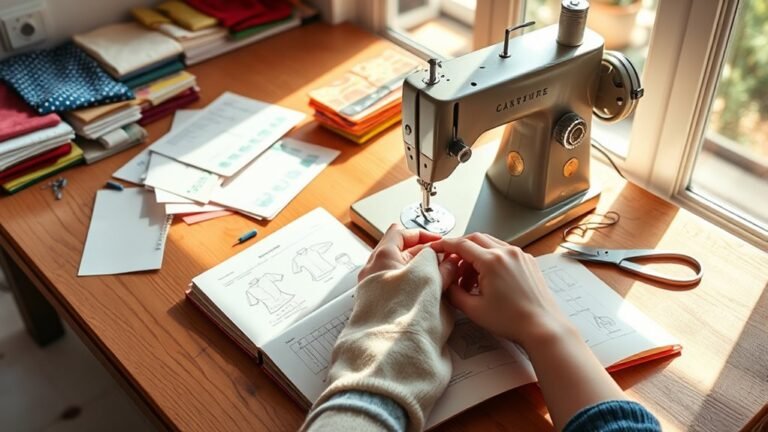
How to Hand Sew Binding to a Quilt in 3 Easy Steps
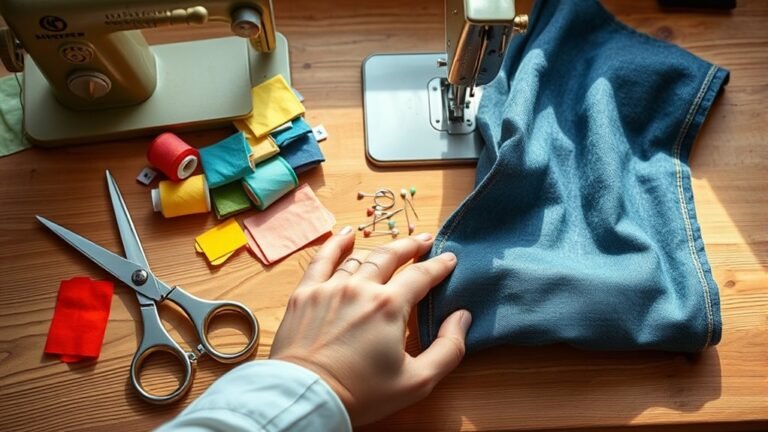
To hand sew binding to your quilt, first gather your materials: a needle, thread, scissors, and pins. These are the basics you’ll need before you start.
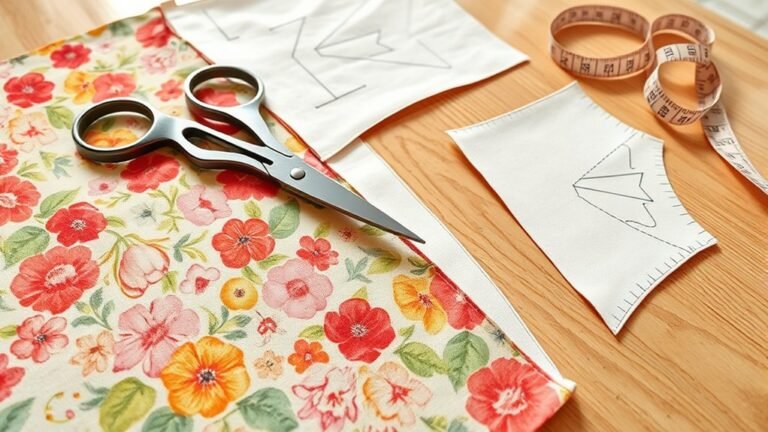
Cutting your binding strips to 2 1/4 inches wide is the next step, and then pin them carefully to the edges of your quilt.
Start sewing with small, even stitches. Using a slip stitch here is key because it gives you an invisible finish that looks neat and professional.
When you get to the corners, fold the binding smartly to create those neat mitered corners we all love.
Keep going, and you’ll pick up useful tips along the way to avoid common mistakes. With practice, you’ll achieve a polished look that makes your quilt truly special.
Hand sewing binding may sound tricky, but once you get the hang of it, it’s simple and very rewarding!
Key Takeaways
- Prepare binding strips by cutting them 2 1/4 inches wide and pinning them to the quilt’s raw edges.
- Use a slip stitch or blind stitch with small, even stitches to secure the binding.
- Backstitch at the beginning and end of your sewing for added security.
- Fold binding at corners to create neat mitered edges, ensuring consistent alignment.
- Avoid common mistakes by maintaining even tension and cutting binding strips accurately.
It’s pretty simple once you get the hang of it! Just take your time with those stitches and your quilt will look amazing.
Gather Materials for Hand Sewing Binding
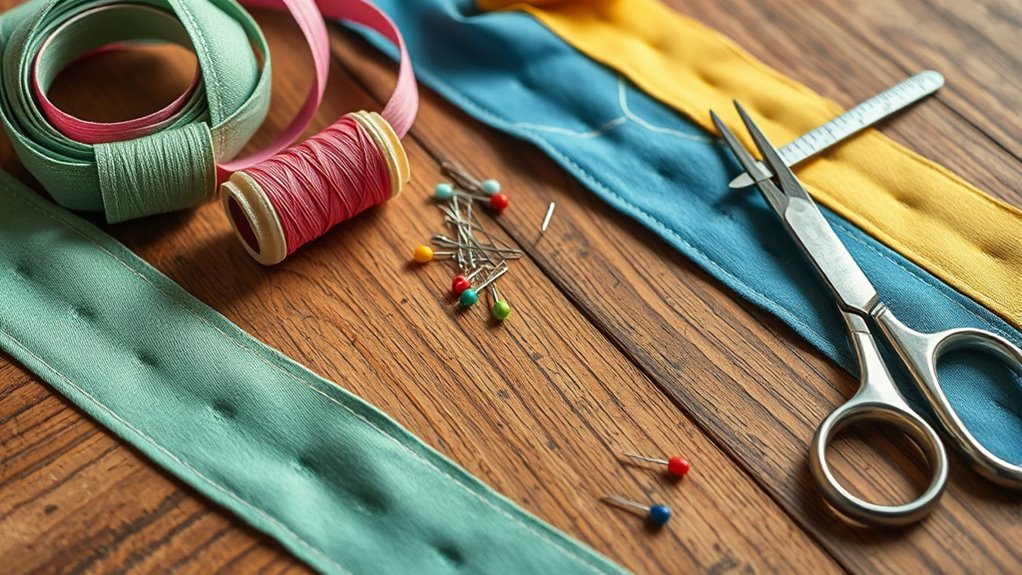
Gathering your materials is essential for a smooth hand sewing experience when binding your quilt. Start by collecting a needle, thread that matches your binding, scissors, and pins to secure the binding strips to the back of your quilt.
Gather your needle, matching thread, scissors, and pins for a seamless hand sewing experience while binding your quilt.
For traditional binding, cut your strips at 2 1/4 inches wide or opt for 2 1/2 inches for easier handling. Make sure your quilt’s seams are pressed flat, allowing your binding to lay neatly.
As you begin hand stitching, focus on maintaining a consistent seam allowance. Using a slip stitch or blind stitch technique will help achieve that nearly invisible finish on the front.
Keep your stitches small and even, about 1/8 inch apart, for polished, durable finished edges. It really makes all the difference in how professional your binding looks.
Let’s Sew That Binding: A Step-by-Step Guide
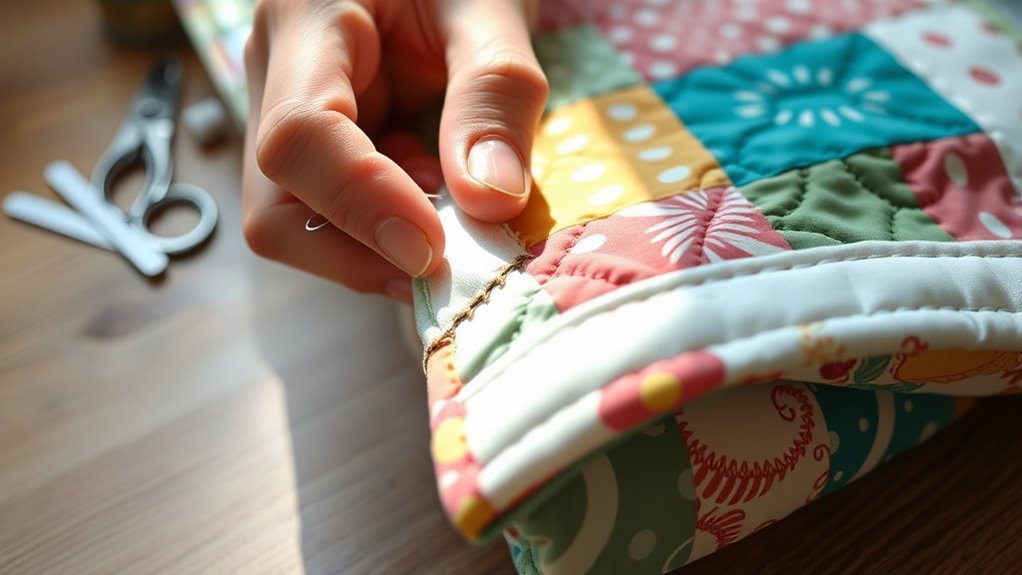
Ready to bring your quilt to life? Start by folding the binding over the quilt edge, pinning it in place so the raw edges align neatly.
You’ll be hand sewing the binding to the back of the quilt, which guarantees a clean finish. Use a needle and thread to create small, even stitches, inserting the needle into the binding and then the quilt.
When you reach the corners, fold the binding up and down to form a mitered corner for that polished look. Remember to backstitch at the beginning and end to secure your work.
Finally, press the binding to set the stitches. This helps enhance the overall appearance of your quilt binding.
Common Mistakes to Avoid When Hand Sewing Binding
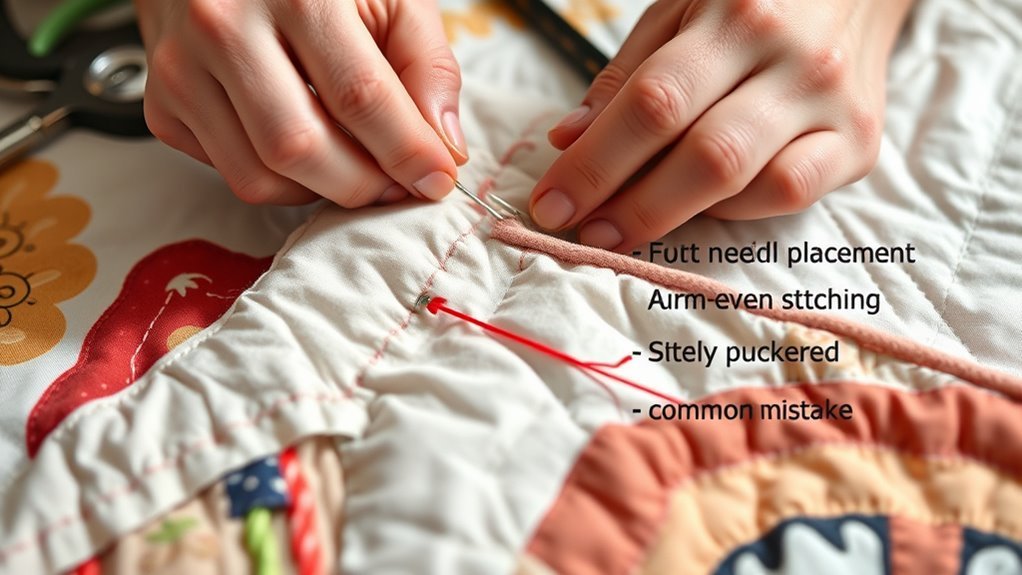
While hand sewing binding to your quilt, it’s easy to make mistakes that can affect the final look. Here are some common pitfalls to avoid:
| Mistake | Solution | Impact |
|---|---|---|
| Miscut binding strips | Cut strips at 2 1/4 inches | Avoids bulk and folding issues |
| Skipping backstitch | Always backstitch at seams | Prevents unraveling |
| Inconsistent needle placement | Use a consistent technique | Guarantees even stitching |
| Incorrect tension | Maintain balanced tension | Prevents distortion or gaps |
| Poor corner pivots | Practice mitered corners | Enhances quilt appearance |
Pay attention to these details, and you’ll achieve beautifully finished quilt edges! It’s these little things that make a big difference in the final look. Happy sewing!
Frequently Asked Questions
What Type of Thread Should I Use for Binding?
You should use a high-quality, cotton thread for binding. It blends well with your fabric, provides strength, and guarantees durability.
Try to avoid polyester blends. They can stretch and might affect the quilt’s overall look.
How Wide Should My Binding Strips Be?
Your binding strips should be about 2.5 inches wide. This width gives you enough fabric to fold neatly and secure without bulk.
Try experimenting a bit, and you’ll find the perfect fit for your quilt! It’s all about what feels right to you.
Can I Use Pre-Made Binding Instead of Making My Own?
Yes, you can definitely use pre-made binding instead of making your own. It saves time and offers various colors and patterns.
How Do I Choose a Binding Color That Complements My Quilt?
Choose a binding color that echoes your quilt’s dominant hues or contrasts with them for a striking effect.
You can also consider a neutral shade to enhance the overall design without overwhelming it.
This way, your binding either blends beautifully or stands out just enough to catch the eye. It’s all about what mood you want your quilt to express!
What Tools Are Essential for Hand Sewing Binding Effectively?
You’ll need a needle, thread, scissors, and pins for hand sewing binding effectively. A thimble can protect your finger, while a seam ripper helps fix any mistakes.
Keep everything organized for a smoother process. It really makes the whole thing easier and less stressful.
Conclusion
As you stitch the binding onto your quilt, think of each tiny knot as a promise, weaving together memories and warmth. With practice, you’ll find your rhythm, transforming fabric scraps into a cherished legacy.
You’ve not just finished a quilt; you’ve crafted a tapestry of moments, love, and creativity. So, pick up that needle, and let your hands tell the story—because every quilt deserves a binding as unique as the journey it represents.
Hand sewing binding to a quilt is more than just a finishing touch. It’s a way to add durability and beauty, making your quilt last for generations. By following these simple steps, you’re not only securing the edges but also enhancing the overall look of your quilt. So dive in, enjoy the process, and watch your quilt come to life with every stitch you make!