How You Can Make Sewing Patterns Yourself Step by Step
You can make sewing patterns yourself by first gathering essential tools like measuring tape, rulers, and marking tools. Accurate body measurements are key to creating a well-fitting pattern. Start by taking these measurements carefully, then draft a basic sloper or block pattern based on them.
Next, design your style lines and add details such as darts or pleats. Remember to include seam allowances, grainlines, and notches to ensure proper construction. These little details make a big difference when you sew your garment.
Finally, sew a test muslin to check the fit. Adjust your pattern as needed based on how it fits. Keep practicing, and you’ll master each step with confidence. Making your own sewing patterns is a rewarding skill that lets you customize your clothes perfectly!
Key Takeaways
– Use flexible measuring tape to take accurate body measurements like bust, waist, hips, and shoulder width for a precise pattern base.
This step is super important because getting the right measurements means your pattern will fit better.
– Draft a basic sloper by drawing rectangles and marking bust, waist, and hip lines, then add seam allowances and darts for fit.
Think of the sloper as your pattern’s foundation. Adding seam allowances and darts helps shape the garment to the body.
– Design style lines by sketching garment silhouettes with darts, seams, pleats, and tucks, transferring these details clearly onto the pattern paper.
This is where your creative ideas start to take form. Make sure to draw every detail neatly so it’s easy to follow later.
– Add seam allowances, grainlines parallel to fabric selvage, and notches on pattern edges to ensure proper fabric cutting and assembly.
These little markings are like your sewing GPS—they guide you through cutting and putting the pieces together accurately.
– Test the pattern by sewing a muslin sample, evaluate fit, and adjust the pattern before finalizing for production.
Don’t skip this step! Making a test garment helps spot issues early so you can tweak the pattern for the perfect fit.
Gathering Essential Tools and Materials
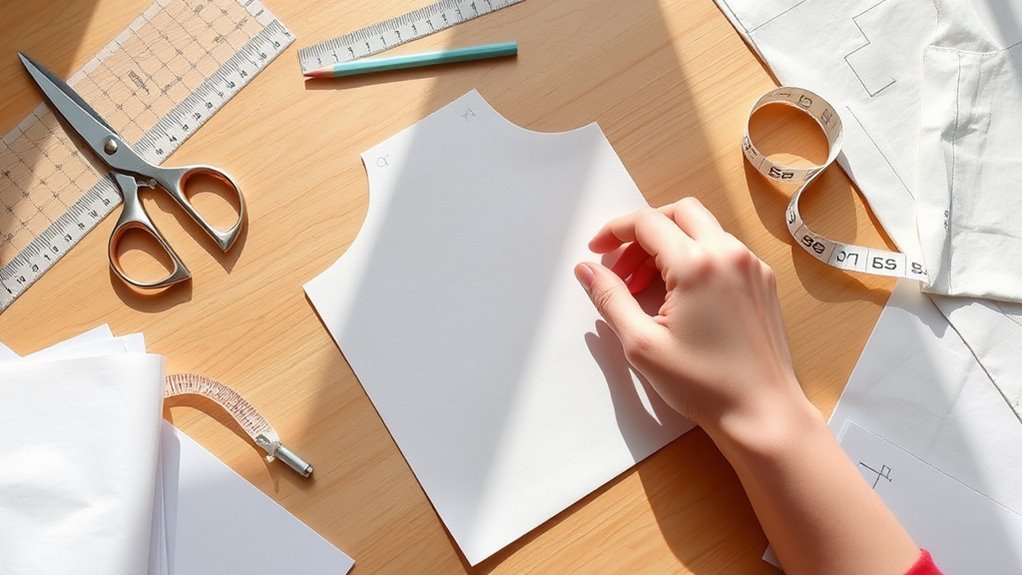
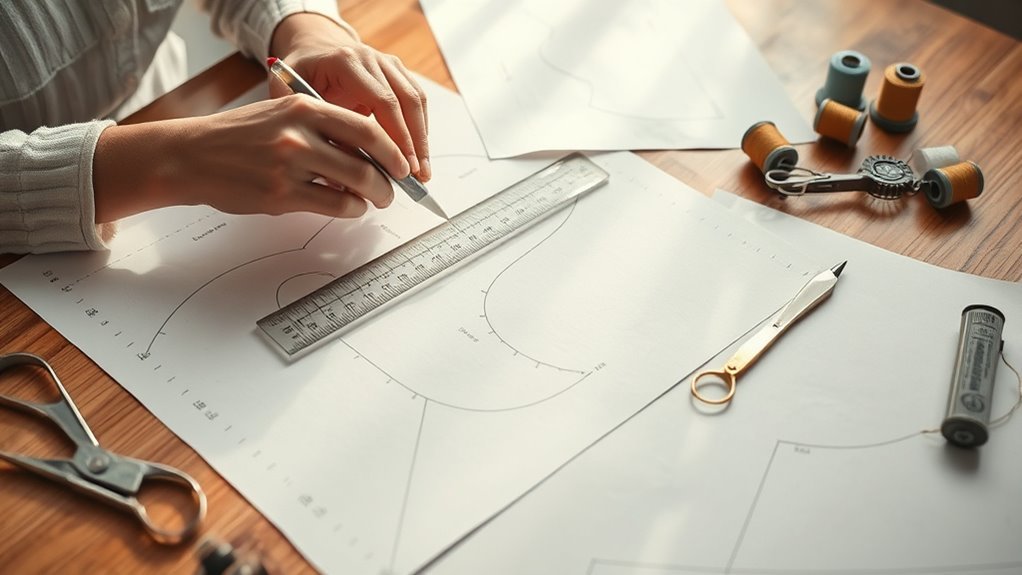
Before you start drafting your sewing patterns, gather essential tools and materials to guarantee accuracy and efficiency. Begin with a flexible measuring tape to ensure precise measurements.
Select suitable pattern paper, such as large paper rolls of Kraft or manila, which are easy to erase and work with. Equip yourself with rulers and French curves—key pattern drafting tools that help you create smooth lines and accurate shapes.
Don’t forget pattern marking tools like fabric chalk, tracing wheels, or fabric markers to transfer your designs onto fabric or paper effortlessly. To keep everything tidy, set up a system for pattern organization using hooks, rolls, or flat folders.
Having these essentials ready will streamline your workflow and improve the quality of your sewing patterns. It really makes the whole process smoother and more enjoyable!
Taking Accurate Body Measurements
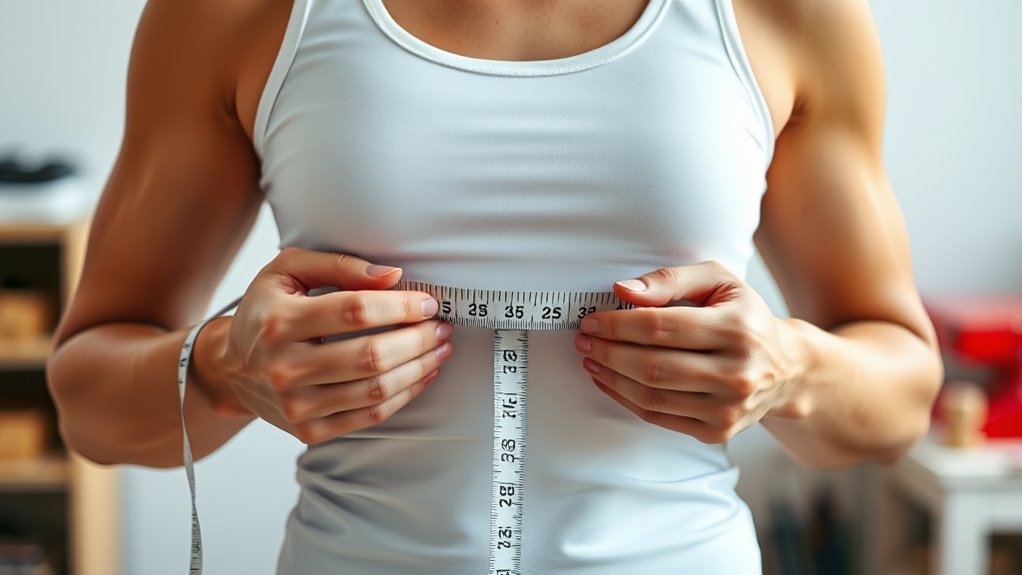
When you take accurate body measurements, you set the foundation for a well-fitting sewing pattern. Use a flexible, non-stretch measuring tape to capture your body shape precisely.
Measure key areas like bust, waist, hips, shoulder width, and arm length at their fullest points. Keep the tape snug but not tight, and stand naturally with relaxed shoulders to ensure correct measuring techniques.
Record each measurement carefully in consistent units, double-checking for accuracy. Proper body measurements help you draft sewing patterns that fit well from the start, minimizing the need for extensive pattern adjustments.
Creating Your Basic Sloper or Block Pattern
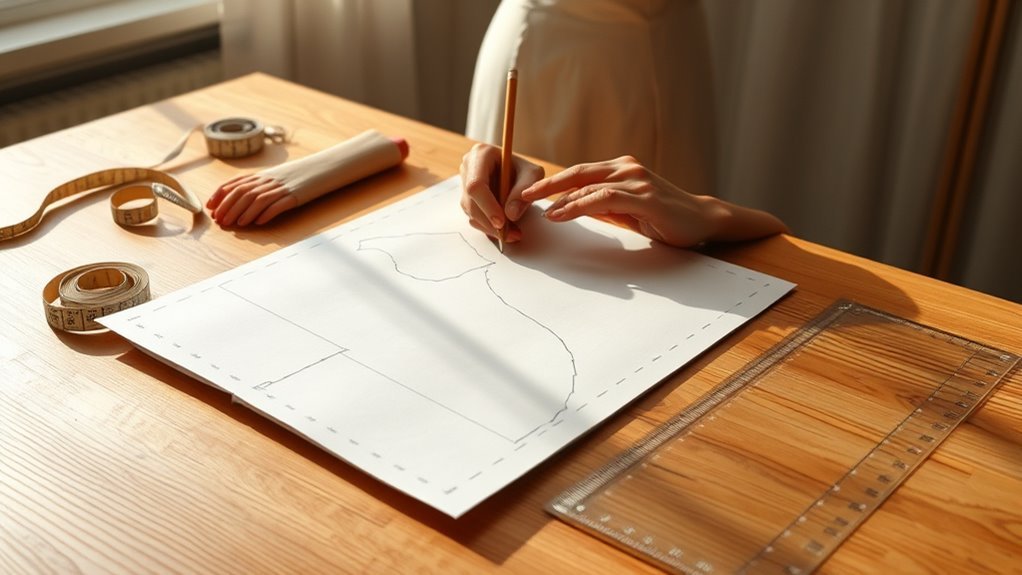
How do you transform your measurements into a wearable foundation? Start pattern making by drafting your basic block on pattern paper. Using your precise measurements, draw a rectangle and mark bust, waist, and hip lines.
Apply flat pattern drafting techniques to connect these points smoothly with rulers and French curves, shaping armholes and neckline accurately. Add seam allowances around all edges—usually ¼ to ½ inch—and mark grainlines, notches, and darts for proper fit and construction.
Cut out your pattern pieces carefully, then sew a test muslin to evaluate the fit. Use drafting resources to adjust as needed before transferring the finalized block onto sturdy pattern paper.
This basic sloper becomes the essential template you’ll use to create patterns tailored perfectly to your body.
Designing Style Lines and Adding Pattern Details
Although your basic sloper provides the foundation, you’ll bring your design to life by sketching style lines that define the garment’s shape and character. Start by drafting your garment silhouette, highlighting darts, princess seams, or panels.
Use pattern drafting tools to draw smooth lines that enhance the design and suit fabric properties. Add pattern details like pleats or tucks, marking them precisely and making pattern adjustments as needed.
Transfer your finalized style lines and details by pattern tracing onto your sewing patterns for clear construction guidance. It’s a great way to keep everything organized and easy to follow.
| Style Lines | Pattern Details | Pattern Making Tips |
|---|---|---|
| Define silhouette | Include pleats/tucks | Use rulers for precision |
| Complement fabric | Mark darts clearly | Adjust patterns as needed |
| Enhance design flow | Plan seam locations | Trace carefully for clarity |
Adding Seam Allowances, Grainlines, and Notches
Since precise alignment is vital for your garment’s fit and finish, you’ll need to add seam allowances, grainlines, and notches to your pattern pieces. Begin by adding seam allowances—typically between 1/4 and 1/2 inch—around all pattern edges. Use a ruler or French curve to keep smooth curves consistent.
Adding seam allowances between 1/4 and 1/2 inch ensures precise garment alignment and smooth curves.
Next, draw grainlines parallel to the fabric’s selvage on each pattern piece. This pattern marking ensures your garment drapes correctly.
Then, add notches—small clipping marks along seam lines—to help you align pieces during pattern assembly. Make sure to clearly label all seam allowances, grainlines, and notches for easy reference.
These details are vital in pattern drafting. They make sewing and fitting much smoother by guiding you through accurate cutting and joining of your fabric pieces.
Sewing a Muslin Test Garment for Fit
With your pattern pieces fully marked with seam allowances, grainlines, and notches, the next step is to bring your design to life by sewing a muslin test garment. Start by tracing your pattern onto inexpensive muslin fabric, carefully adding seam allowances.
Sew the test garment using consistent seam allowances and press the seams flat to evaluate the fit. Try the muslin on your body or a dress form to spot areas that need pattern adjustments, such as darts or shoulder seams.
Mark any fit issues with fabric chalk or pins during this fitting process. These clear markings guide your pattern modification, making your sewing test more effective.
The fitted muslin serves as an essential tool for refining your pattern before cutting into your final fabric.
Adjusting and Finalizing Your Sewing Pattern
After sewing and fitting your muslin test garment, you’ll want to carefully transfer all necessary alterations onto your pattern paper. Begin by marking your pattern adjustment directly on the muslin during fitting.
Then, use pattern tracing tools like tracing wheels or marking pens to trace modifications onto fresh pattern paper. Redraw any altered edges smoothly with a ruler and French curve to maintain balanced pattern drafting.
Be sure to add seam allowances, notches, grainlines, and other pattern markings after adjustments so construction goes smoothly. Label your final pattern with version details, dates, and notes on changes made.
This organized approach ensures that your muslin fitting converts into an accurate, ready-to-use final pattern. It really sets you up for sewing success every time!
Frequently Asked Questions
How Can I Create My Own Patterns?
You can create your own patterns by measuring yourself accurately and drafting a basic block. Then, sketch your design using some handy tools.
Next, sew a test garment to see how it fits. Adjust the fit as needed, and refine the pattern accordingly.
Finally, add style details to make it uniquely yours before finalizing the pattern. It’s a fun process that lets you customize your clothes perfectly!
What Is the Best Free App for Pattern Making?
You’ll find Seamly2D the best free app for pattern making since it’s designed specifically for fashion patterns, offers customizable measurements, and exports in useful formats.
Valentina and Inkscape are great alternatives depending on your needs. So, if one doesn’t quite fit what you’re looking for, give the others a try!
What Are the Basic Steps for Pattern Making for Beginners?
You’ll feel like a wizard measuring every curve perfectly! Start by taking accurate measurements, draft a basic block, add seam allowances, sew a test garment, then adjust and finalize your pattern for flawless fits every time.
It might sound like a lot, but just take it step by step. Before you know it, you’ll be creating patterns like a pro!
What Website Can I Use to Create My Own Sewing Patterns?
You can use Seamly2D or Ink/Stitch to create your own sewing patterns easily. Both offer free, open-source tools with tutorials and community support, helping you design, customize, and print patterns right from your computer.
They’re pretty user-friendly, even if you’re new to pattern making. Plus, there’s a bunch of helpful resources online to guide you through the process. Give them a try and start crafting your unique designs!
Conclusion
Now that you’ve gathered your tools, taken precise measurements, and created your basic sloper, you’re ready to design style lines, add seam allowances, and sew your test garment. This is where your creativity really starts to shine.
You’ll adjust for fit, finalize your pattern, and bring your vision to life. It’s all about making those tweaks until everything feels just right.
By following these steps, you’ll gain confidence and sharpen your sewing skills. Making patterns tailored just for you becomes easier with every project.
Keep practicing, stay creative, and enjoy every stitch of your sewing journey! Remember, mastering how to make sewing patterns yourself step by step opens up endless possibilities for custom clothing and unique style.